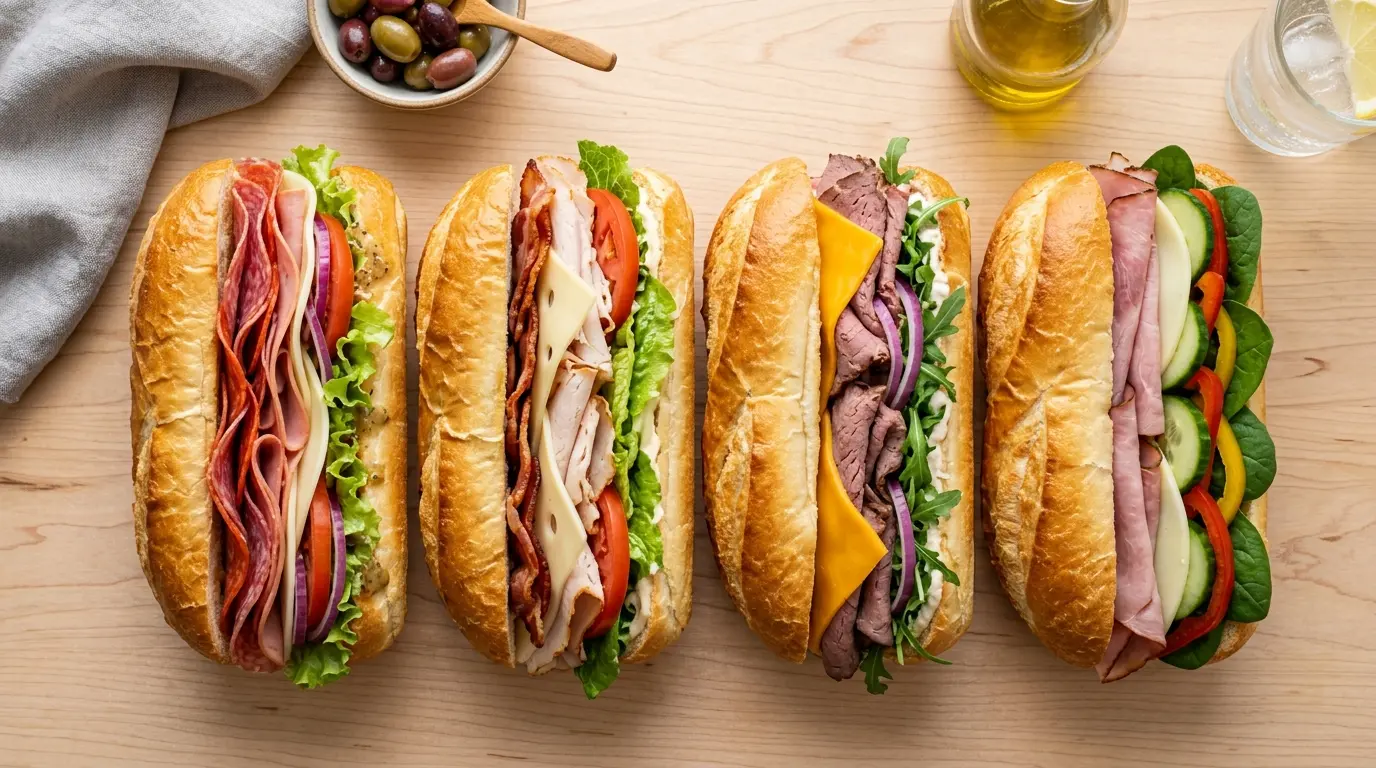
If you have ever bitten into a sandwich on a freshly baked roll and thought, “nothing store-bought will ever compare,” this sub roll recipe is exactly what you have been waiting for.
Homemade sub rolls are pillowy soft on the inside, just slightly golden on the outside, and sturdy enough to hold any filling you pile on without falling apart. The ingredient list is short, the method is beginner-friendly, and the results are genuinely bakery-quality.
These rolls take a little patience because of the two rise times, but almost all of that time is completely hands-off. You are essentially letting the yeast do the heavy lifting while you go about your day.
Once you bake a batch of these, you will have a hard time going back to the packaged stuff.
If you also love baking your own sandwich breads, check out this Hoagie Roll Recipe for another crowd-pleasing option.

Why You’ll Love This Sub Roll Recipe
This is the kind of recipe that becomes a regular in your kitchen rotation from the very first batch.
The dough comes together with pantry staples you almost certainly already have on hand, and no special bread-baking experience is required.
The rolls hold their shape beautifully, so they will not get soggy or squash flat when you load them up with toppings.
They freeze perfectly, which means you can bake a big batch and have fresh-tasting rolls available anytime, with no extra effort.
The texture is ideal: soft and fluffy inside with a thin, lightly golden crust that has just a bit of chew.
Kids and adults love them equally, making them a reliable choice for weeknight sandwiches, packed lunches, and weekend cookouts.
- Soft, airy crumb with just the right amount of chew
- Sturdy enough for hot fillings like meatballs or pulled pork
- Ready in just over two hours, most of which is passive rise time
- Freezer-friendly for up to three months
- Made with simple pantry staples, no specialty ingredients needed
- Easily scaled up to make a larger batch
Another favorite you might enjoy: Pretzel Rolls Recipe
Ingredients
This sub roll recipe uses a handful of basic baking ingredients. The combination of bread flour and all-purpose flour gives these rolls their ideal balance of soft texture and structural strength. Bread flour is higher in protein, which builds the gluten network that keeps rolls tall and chewy rather than flat and dense. Using a mix of the two keeps things tender.
- 2 cups (240g) bread flour
- 1 1/4 cups (150g) all-purpose flour, plus extra for dusting
- 2 1/4 teaspoons (7g) instant yeast (one standard packet)
- 1 teaspoon (5g) granulated sugar
- 1 teaspoon (6g) fine salt
- 1 cup (240ml) warm water (around 105-110°F / 40-43°C)
- 2 tablespoons (30ml) olive oil
- 1 large egg (for egg wash)
- 1 tablespoon (15ml) milk (to thin the egg wash)
- Sesame seeds or poppy seeds for topping (optional)
Read Also: Potato Rolls Recipe
Kitchen Equipment Needed
Having the right tools makes the process smoother and helps you get consistent results, even on your first attempt. A stand mixer is the easiest route, but this dough can absolutely be made by hand.
- Stand mixer with dough hook attachment (or a large mixing bowl for hand kneading)
- Digital kitchen scale (for accurate flour measurement)
- Large mixing bowl
- Bench scraper
- Rimmed baking sheet
- Parchment paper or silicone baking mat
- Pastry brush (for egg wash)
- Plastic wrap or clean kitchen towel
- Wire cooling rack
- Sharp knife or bread lame (for scoring the tops)
The technique works wonderfully alongside other bread-baking projects too, like this Sandwich Bread Recipe.
Recommended Products for This Recipe
These are products worth picking up based on quality, ease of use, and real impact on the final result.
1. KitchenAid Stand Mixer with Dough Hook
A stand mixer takes almost all the effort out of kneading and gives the dough a consistent, thorough mix that is hard to replicate by hand. The dough hook does in five minutes what would take ten to twelve minutes of hand kneading. It is a long-term investment that pays off across hundreds of recipes.
2. King Arthur Bread Flour
The protein content in bread flour makes a measurable difference in roll structure. King Arthur’s bread flour consistently delivers tall, well-developed rolls with great chew. It is widely considered one of the most reliable options for home bread bakers.
3. OXO Good Grips Bench Scraper
A bench scraper is one of the most useful tools for dividing dough cleanly and evenly. It also helps lift dough from the counter without tearing and keeps your work surface clean during shaping.
4. Silpat Non-Stick Baking Mat
A silicone baking mat gives sub rolls a slightly crispier bottom than parchment paper does, while still keeping them from sticking. It is reusable, easy to clean, and produces even heat distribution across the baking sheet.
5. Instant Read Thermometer
Getting the water temperature right is one of the most important steps in yeast bread. An instant-read thermometer takes the guesswork out of it. Too hot and the yeast dies; too cool and it barely activates.
You might also enjoy: French Bread Recipe
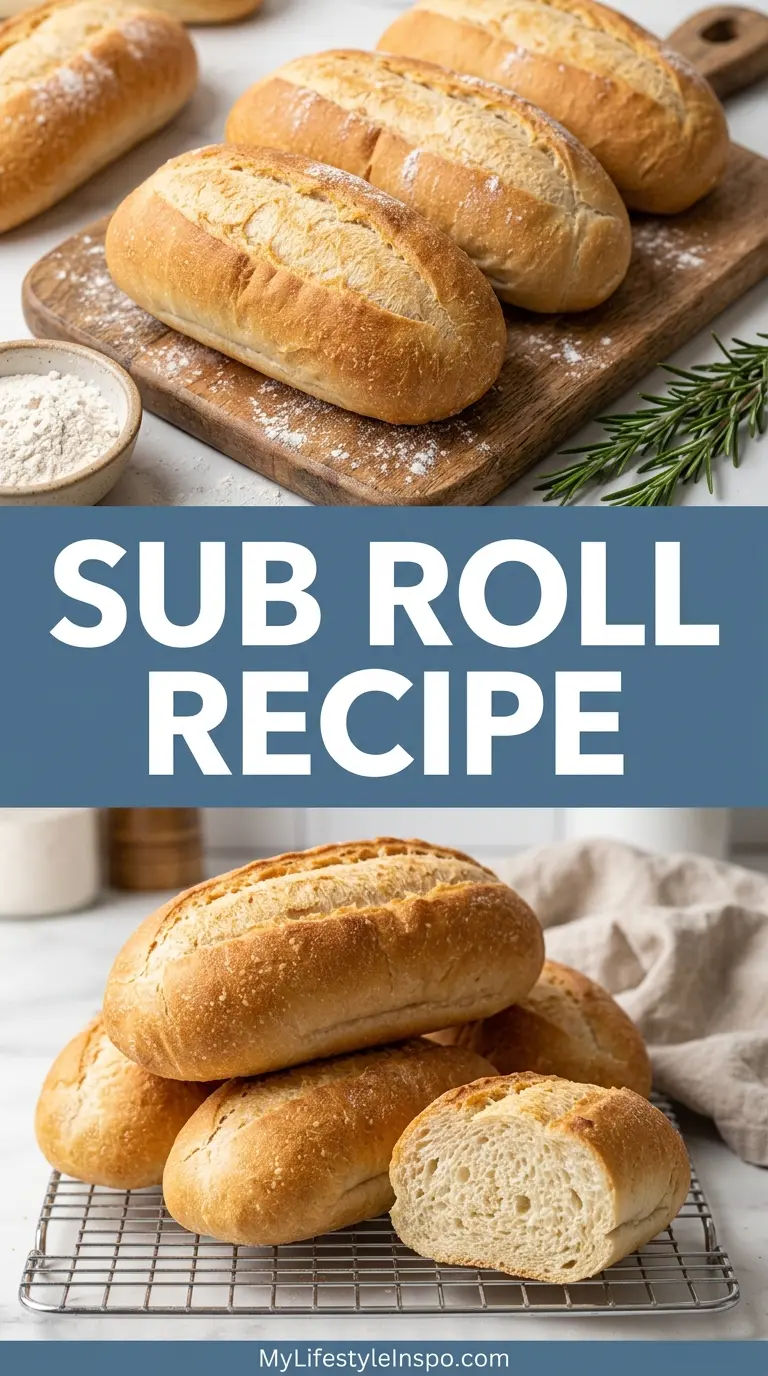
Step-by-Step Instructions
1. Activate the Yeast
- Measure 1 cup (240ml) of warm water into a small bowl or liquid measuring cup. The water should feel comfortably warm on your wrist, around 105-110°F (40-43°C). If the water is too hot, it will kill the yeast; too cold, and the yeast will not activate properly.
- Add the instant yeast and 1 teaspoon of granulated sugar to the warm water.
- Stir gently with a spoon to combine everything.
- Let the mixture sit for 5-7 minutes. You should see the surface become foamy and bubbly, which tells you the yeast is alive and active. If nothing happens after 10 minutes, the yeast may be expired or the water was the wrong temperature. Start again with fresh yeast.
2. Mix the Dough
- In the bowl of your stand mixer (or a large mixing bowl), add 2 cups (240g) of bread flour and 1 teaspoon (6g) of fine salt.
- Stir the dry ingredients together briefly with a spoon.
- Pour the activated yeast mixture into the bowl along with 2 tablespoons (30ml) of olive oil.
- If using a stand mixer, attach the dough hook and start mixing on low speed (speed 2) until the ingredients are roughly combined, about 1-2 minutes.
- Add the all-purpose flour a little at a time, about 1/4 cup (30g) at a time, while the mixer runs on low.
- Continue adding flour until the dough pulls away from the sides of the bowl but still sticks slightly to the bottom. You may not need every bit of the 1 1/4 cups; stop adding flour once the dough comes together.
- If mixing by hand, stir with a wooden spoon until a shaggy dough forms, then turn it out onto a lightly floured surface.
3. Knead the Dough
- Increase stand mixer speed to medium (speed 4) and knead for 5-6 minutes. The dough should become smooth, elastic, and slightly tacky but not sticky. If it clings to your finger and leaves a residue, add flour one tablespoon at a time.
- If kneading by hand, push the dough away from you with the heel of your hand, fold it back over itself, rotate it a quarter turn, and repeat. Knead for 8-10 minutes until the dough is smooth and stretchy.
- Perform the windowpane test: stretch a small piece of dough between your fingers. If it stretches thin enough to let light through without tearing, the gluten is well-developed and the dough is ready.
4. First Rise
- Lightly coat a large, clean bowl with olive oil or cooking spray.
- Shape the kneaded dough into a smooth ball by tucking the edges underneath and rotating it against the surface.
- Place the dough ball in the oiled bowl, smooth side up, and turn it once so all sides are coated.
- Cover the bowl tightly with plastic wrap or a clean kitchen towel.
- Place the bowl in a warm, draft-free spot. A turned-off oven with just the oven light on works well. Alternatively, heat your oven to its lowest setting for 3 minutes, then turn it off before placing the dough inside.
- Let the dough rise for 1 hour to 1 hour 30 minutes, or until it has doubled in size.
5. Divide and Shape the Rolls
- Line a large rimmed baking sheet with parchment paper or a silicone baking mat.
- Gently turn the risen dough out onto a lightly floured work surface. Press it down lightly with your hands to release the larger gas bubbles.
- Using a bench scraper or sharp knife, divide the dough into 4 equal pieces for footlong-style rolls or 8 equal pieces for 6-inch rolls. If you have a kitchen scale, weigh each piece for consistency.
- Take one piece of dough and flatten it gently into a rough rectangle with your palms.
- Starting at the long edge closest to you, roll the dough tightly into a cylinder, the same way you would roll a jelly roll.
- Pinch the seam firmly along the bottom and pinch each end closed to seal.
- Gently roll the cylinder on the work surface to elongate it to your desired length, typically 6-8 inches (15-20cm) for a standard sub roll.
- Place the roll seam-side down on the prepared baking sheet. Repeat with remaining pieces of dough, spacing them at least 2 inches (5cm) apart.
6. Second Rise
- Cover the shaped rolls loosely with plastic wrap or a clean kitchen towel.
- Let them rise in a warm place for 45-60 minutes, or until they look noticeably puffed and pillowy.
- Do not rush this step. Under-proofed rolls will be dense and compact rather than light and airy.
- While the rolls are in their second rise, preheat your oven to 375°F (190°C). Make sure it is fully preheated before you bake.
7. Score and Apply Egg Wash
- In a small bowl, whisk together the egg and 1 tablespoon of milk to make the egg wash.
- Using a sharp knife or a bread lame, score the top of each roll with one shallow slash down the center, about 1/4 inch (6mm) deep. Do this gently to avoid deflating the rolls.
- Using a pastry brush, lightly brush the egg wash over the top and sides of each roll. Try not to let it pool or drip down the sides, as this can cause uneven browning.
- If using sesame seeds or poppy seeds, sprinkle them on now while the wash is still wet.
8. Bake the Rolls
- Place the baking sheet on the center rack of your preheated oven.
- Bake for 18-22 minutes, or until the rolls are a deep golden brown. The bottoms should also look golden when you lift one with a spatula.
- If you have an instant-read thermometer, the internal temperature of a fully baked roll should be around 190-200°F (88-93°C).
- Remove the baking sheet from the oven and immediately transfer the rolls to a wire cooling rack.
9. Cool and Serve
- Let the rolls cool on the wire rack for at least 15-20 minutes before slicing. Slicing into hot bread compresses the crumb and releases steam, which makes the interior gummy.
- Once cooled to just warm, slice the rolls horizontally through the middle, leaving a hinge on one side.
- Fill with your favorite deli meats, cheeses, sauces, and toppings.
This is also a great technique to know when making your own Italian Bread Recipe at home.
Tips for Success
These are the details that make the difference between good sub rolls and truly great ones. Paying attention to just a few key points will dramatically improve your results.
- Use bread flour for the best texture. All-purpose flour works in a pinch, but bread flour’s higher protein content creates more gluten, resulting in taller, chewier rolls that hold their shape much better.
- Measure flour by weight when possible. Scooping flour directly from the bag can pack in up to 20% extra flour, resulting in a stiff, dry dough. A digital kitchen scale is the most reliable approach.
- Do not rush the rise times. Yeast bread improves significantly when given enough time to develop. If your kitchen is cold, the dough may need more time; if it is very warm, keep an eye on it so it does not over-proof.
- Score before the egg wash, not after. Scoring after brushing can drag the wash and tear the surface. Score first, then brush.
- Space rolls properly on the pan. Crowding the rolls means they merge into each other as they rise and bake. Give each one room to expand.
- Cool completely before storing. Sealing warm rolls in a bag traps steam and makes them chewy in the wrong way.
Read Also: Ciabatta Recipe
Serving Suggestions
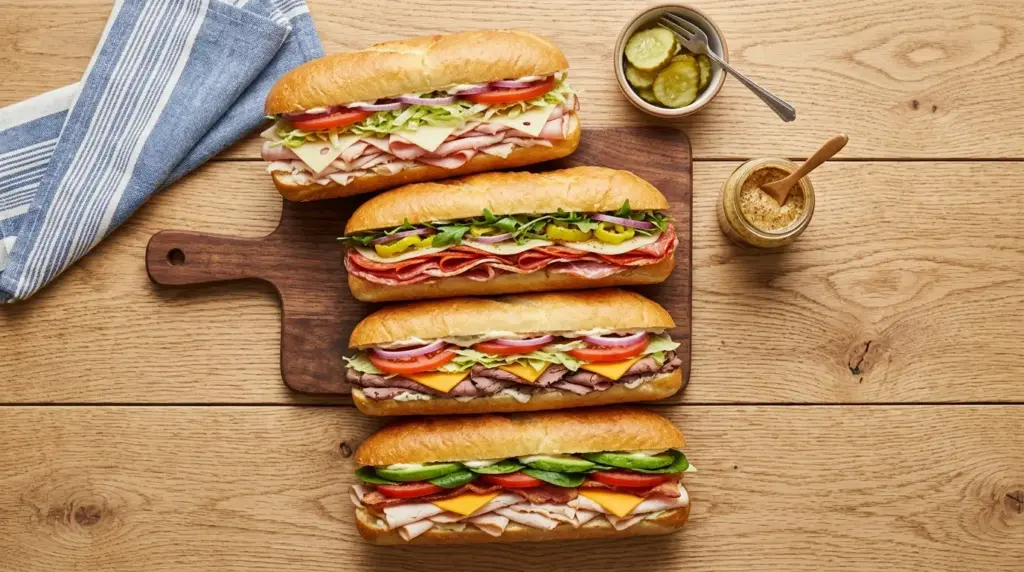
Freshly baked sub rolls are endlessly versatile. They are the perfect vessel for so many fillings, from classic cold cuts to hot, saucy mains.
The sturdy crumb holds up beautifully to saucy fillings, while the soft interior soaks up just enough flavor without going soggy.
Try these ideas to put your rolls to work right away:
- Classic Italian cold cut subs with genoa salami, ham, provolone, pepperoncini, and oil-and-vinegar dressing
- Meatball subs loaded with marinara and melted mozzarella
- Authentic Philly Cheese Steak for a truly iconic sandwich experience
- Classic Sloppy Joe spooned into a warm roll for a family-friendly weeknight dinner
- Buffalo chicken or grilled chicken breast with ranch, lettuce, and tomato
- Shrimp po’boy style with remoulade sauce and shredded lettuce
- Tuna salad, egg salad, or chicken salad for easy lunches
- Served alongside a bowl of Creamy Coleslaw for a complete cookout spread
Variations to Try
Once you have the basic sub roll recipe down, it is easy to customize the dough with different flavors and finishes. Small changes make a big difference.
- Whole wheat sub rolls: Replace half the bread flour with whole wheat flour. Add an extra tablespoon of water to compensate for the drier whole grain flour.
- Herb and garlic rolls: Add 1 teaspoon of garlic powder and 1 teaspoon of dried Italian seasoning directly to the dry ingredients before mixing.
- Cheesy sub rolls: Sprinkle shredded parmesan or sharp cheddar on top after applying the egg wash instead of seeds.
- Sesame sub rolls: Coat the entire top generously in sesame seeds for a classic deli-style finish.
- Soft milk rolls: Replace all the water with warm whole milk for a richer, softer, slightly sweeter roll that pairs beautifully with cold cuts.
- Sourdough flavor: Substitute half a cup of the water with sourdough discard for a mild tang without the long ferment time.
- Honey wheat rolls: Swap the sugar for 1 tablespoon of honey and use half whole wheat, half bread flour for a lightly sweet, nutty roll.
Also check out this Classic Baguette Recipe if you want to try your hand at a crustier bread that uses very similar dough techniques.
Storage and Reheating
These sub rolls store well at room temperature for a couple of days and freeze beautifully for much longer, making them ideal for meal prep.
- Room temperature storage: Place cooled rolls in an airtight bag or container and store at room temperature for up to 2 days. Avoid refrigerating rolls, as the fridge actually speeds up staling.
- Freezer storage: Wrap each roll individually in plastic wrap, then place in a freezer-safe zip bag. They keep well in the freezer for up to 3 months.
- Thawing: Remove frozen rolls from the freezer and let them thaw at room temperature for 1-2 hours, or overnight in the refrigerator still in their wrapping.
- Reheating in the oven: Preheat the oven to 325°F (163°C). Sprinkle the rolls lightly with water and wrap loosely in foil. Heat for 10-12 minutes until soft and warm all the way through.
- Reheating in a toaster oven: Slice the roll in half and toast cut-side up at 350°F (175°C) for 3-5 minutes for a warm, slightly crispy surface.
- Freezing the dough: Shape the rolls, place them on the baking sheet, and freeze them unbaked before the second rise. Once solid, transfer to a bag. To bake, let them thaw and complete their second rise at room temperature, then bake as directed.
You might also enjoy baking your own Sourdough Sandwich Bread for another versatile homemade option.
Nutritional Facts
Nutritional information is estimated per roll, based on a yield of 4 large sub rolls. Actual values will vary depending on size, exact flour amounts used, and any toppings added.
| Nutrient | Per Roll (approx.) |
|---|---|
| Calories | 340-380 kcal |
| Total Carbohydrates | 64-70g |
| Protein | 10-12g |
| Total Fat | 5-7g |
| Saturated Fat | 1g |
| Fiber | 2-3g |
| Sugar | 2g |
| Sodium | 490-540mg |
These rolls are a good source of complex carbohydrates and provide a meaningful amount of protein from the bread flour.
Read Also: Buttermilk Bread Recipe
Health Benefits of Key Ingredients
These sub rolls are made with whole-food ingredients that offer real nutritional value alongside great flavor.
Understanding what each ingredient brings to the table can help you make thoughtful choices about customizing the recipe.
- Bread flour: Higher in protein than all-purpose flour, bread flour provides more of the amino acids needed to support muscle tissue and cell repair. It also creates a more satisfying, filling bread due to its denser gluten network.
- Olive oil: One of the best sources of heart-healthy monounsaturated fats, olive oil also contributes vitamin E and anti-inflammatory polyphenols. Even the modest amount in this recipe adds meaningful nutritional value.
- Eggs (used in the egg wash): Rich in high-quality protein, choline, and fat-soluble vitamins including A and D. While only a small amount is used here, eggs are among the most nutrient-dense foods available.
- Sesame seeds (optional topping): These tiny seeds pack a surprising nutritional punch, offering calcium, iron, magnesium, and zinc in a small serving. They also provide lignans, which are plant compounds with antioxidant properties.
- Whole wheat flour (variation): When substituted in part, whole wheat flour increases the fiber, B vitamin, and mineral content of the rolls significantly compared to using all refined flour.
Also try this Whole Wheat Bread Recipe if you want to incorporate more whole grains into your baking routine.
Frequently Asked Questions
1. Can I make sub rolls without a stand mixer?
Absolutely. Mix the dough together in a large bowl using a wooden spoon until a rough, shaggy dough forms. Turn it out onto a lightly floured surface and knead by hand for 8-10 minutes until the dough is smooth and stretchy. It takes more effort than using a machine, but the result is the same.
2. Why did my rolls turn out flat instead of tall?
The most common causes are under-proofing, over-proofing, or dough that was too wet. Make sure your yeast is fresh and activated properly, allow the full rise time, and measure your flour accurately using the spoon-and-level method or a kitchen scale. Also, make sure you are shaping the rolls tightly enough during forming.
3. Can I use active dry yeast instead of instant yeast?
Yes, with one small change. Active dry yeast needs to be proofed in the warm water for 5-10 minutes until foamy before you add the flour. Instant yeast can be mixed directly into the dry ingredients, but proofing it first, as this recipe does, works with either type and gives you confirmation that the yeast is viable.
4. How do I know when the dough has risen enough?
The dough should roughly double in size during the first rise. A simple test is to poke the dough gently with a floured finger about an inch deep. If the indent springs back slowly and only partially fills in, the dough is ready. If it springs back immediately, it needs more time.
5. Can I make the dough the night before?
Yes, and overnight fermentation actually improves flavor. After kneading the dough, place it in an oiled bowl, cover tightly with plastic wrap, and refrigerate overnight (up to 16 hours). The next day, remove the dough from the fridge, let it come to room temperature for about 30-45 minutes, then shape and complete the second rise as directed before baking.
Read Also: Artisan Bread Recipe

Homemade Sub Rolls

Equipment
- Stand mixer with dough hook attachment - or large mixing bowl for hand kneading
- Digital kitchen scale - for accurate flour measurement
- Large mixing bowl
- Bench scraper
- Rimmed Baking Sheet
- Parchment paper - or silicone baking mat
- Pastry brush - for egg wash
- Plastic wrap - or clean kitchen towel
- Wire cooling rack
- Sharp knife - or bread lame for scoring
Ingredients
- 2 cups bread flour - 240g
- 1 1/4 cups all-purpose flour - 150g, plus extra for dusting
- 2 1/4 teaspoons instant yeast - 7g, one standard packet
- 1 teaspoon granulated sugar - 5g
- 1 teaspoon fine salt - 6g
- 1 cup warm water - 240ml, 105-110°F / 40-43°C
- 2 tablespoons olive oil - 30ml
For the Egg Wash and Topping
- 1 large egg
- 1 tablespoon milk - 15ml, to thin the egg wash
- sesame seeds - for topping, optional
- poppy seeds - for topping, optional
Instructions
- Combine warm water, instant yeast, and sugar. Let sit for 5-7 minutes until foamy.
- Mix bread flour and salt in stand mixer bowl. Add yeast mixture and olive oil. Gradually add all-purpose flour until dough pulls away from sides.
- Knead with dough hook for 5-6 minutes until smooth and elastic. Dough should be slightly tacky but not sticky.
- Shape into a ball and place in oiled bowl. Cover and let rise in warm spot for 1-1½ hours until doubled in size.
- Turn dough onto floured surface and press down. Divide into 4 pieces for footlongs or 8 for 6-inch rolls.
- Flatten each piece into rectangle. Roll tightly into cylinder, pinch seam and ends, then gently roll to desired length.
- Place rolls seam-side down on baking sheet, cover, and let rise 45-60 minutes until puffy. Preheat oven to 375°F (190°C).
- Score each roll with shallow slash down center. Brush with egg wash and sprinkle with seeds if using.
- Bake on center rack for 18-22 minutes until deep golden brown and internal temperature reaches 190-200°F (88-93°C).
- Cool on wire rack for 15-20 minutes before slicing horizontally through the middle.
Notes
- Use bread flour for the best texture. All-purpose flour works in a pinch, but bread flour’s higher protein content creates taller, chewier rolls.
- Measure flour by weight when possible. Scooping flour directly from the bag can pack in up to 20% extra flour, resulting in a stiff, dry dough.
- Do not rush the rise times. If your kitchen is cold, the dough may need more time; if it is very warm, keep an eye on it so it does not over-proof.
- Score before the egg wash, not after. Scoring after brushing can drag the wash and tear the surface.
- Space rolls properly on the pan. Crowding the rolls means they merge into each other as they rise and bake.
- Cool completely before storing. Sealing warm rolls in a bag traps steam and makes them chewy in the wrong way.
- To make ahead: After kneading, refrigerate dough overnight for up to 16 hours. Let come to room temperature for 30-45 minutes before shaping.
- Freeze baked rolls: Wrap individually in plastic wrap and place in freezer bag for up to 3 months. Thaw at room temperature.
- Reheat rolls: Sprinkle lightly with water, wrap in foil, and warm at 325°F (163°C) for 10-12 minutes.
- For whole wheat variation: Replace half the bread flour with whole wheat flour and add an extra tablespoon of water.
Final Thoughts
Homemade sub rolls are one of those small kitchen efforts that deliver an outsized reward. The process is forgiving, the ingredients are minimal, and the difference between a roll you baked yourself and one from a plastic bag is immediately obvious with the first bite.
These rolls have a soft, pillowy interior, a thin golden crust, and just the right chew to stand up to any filling you put inside them.
Give this sub roll recipe a try this week and see how your sandwiches transform. If you make them, leave a comment below to share how they turned out, or share a photo with a friend who loves homemade bread.
Recommended:
- Soft Dinner Rolls Recipe
- Dinner Rolls Recipe
- No Knead Bread Recipe
- Brioche Recipe
- Pull Apart Garlic Bread Recipe
- Easy Garlic Bread Recipe
- Cheesy Garlic Bread Recipe
- Classic Chicken Parmesan Recipe
- Challah Recipe
- Italian Bread Recipe



