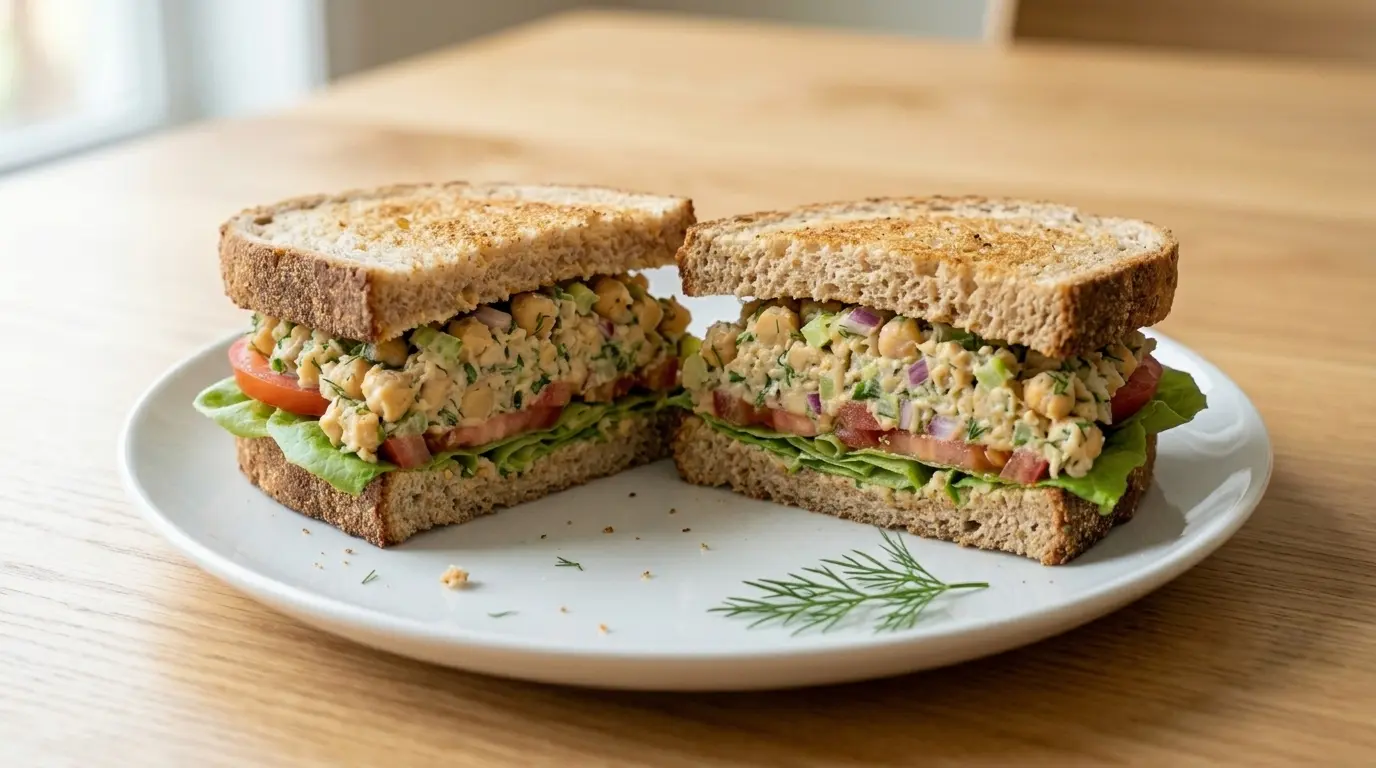
If you’ve been looking for a chickpea salad sandwich recipe that actually tastes like something you’d order at a good deli, this one is it. It’s creamy, a little tangy, and packed with crunch in all the right places.
This sandwich has become one of my go to lunches because it comes together in about ten minutes and uses ingredients I almost always have on hand. No fancy equipment, no cooking required, just a fork, a bowl, and a few pantry staples.
It’s often compared to a tuna or chicken salad sandwich, but chickpeas bring their own nutty flavor and a texture that holds up beautifully once mashed. Once you try it, you’ll understand why so many people make this their go to plant based lunch.
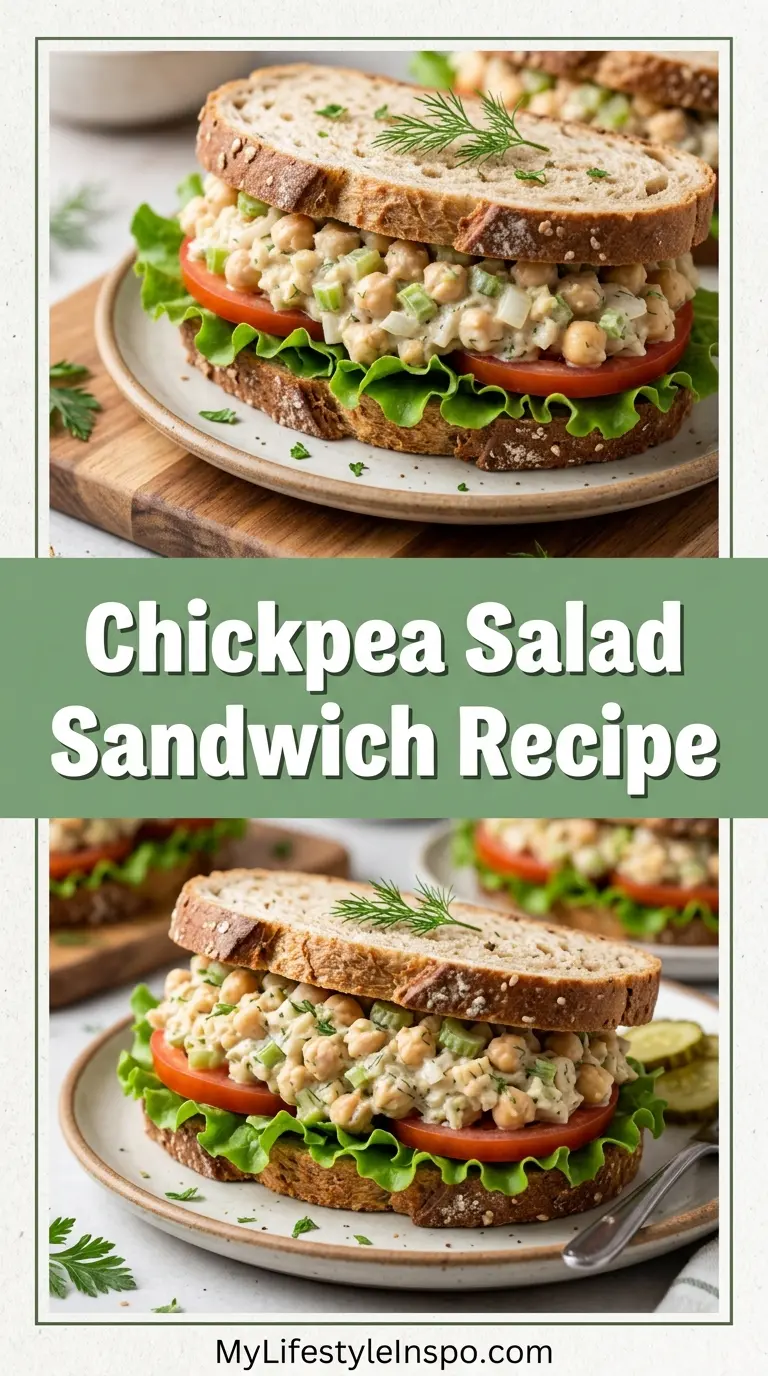
Why You’ll Love This Chickpea Salad Sandwich Recipe
This recipe checks every box for an easy weekday lunch. It’s fast, budget friendly, and endlessly adaptable to whatever you have in your fridge.
Here’s what makes it a keeper:
- Ready in 10 minutes with no cooking or baking required
- Naturally vegetarian and easy to make vegan with a simple swap
- Budget friendly, since canned chickpeas cost just a fraction of meat or fish
- Meal prep friendly and actually tastes better after a few hours in the fridge
- Endlessly customizable with herbs, spices, and mix ins you already love
- Kid approved texture thanks to the mashed, tuna salad like consistency
Ingredients
You only need a handful of ingredients for this recipe, and most of them are already sitting in your pantry or fridge. The key is using good quality mayonnaise and fresh lemon juice, since those two ingredients carry most of the flavor.
Here’s everything you’ll need:
- 2 (15 oz) cans chickpeas, drained and rinsed
- 1/2 cup mayonnaise (or vegan mayo)
- 2 tablespoons Dijon mustard
- 1 tablespoon fresh lemon juice
- 1/3 cup celery, finely diced
- 1/4 cup red onion, finely diced
- 2 tablespoons fresh dill, chopped (or 2 teaspoons dried dill)
- 1 tablespoon sweet pickle relish (optional)
- Salt and black pepper, to taste
- 8 slices of sourdough bread, or your favorite sandwich bread
- Lettuce leaves, tomato slices, and sprouts, for serving
Kitchen Equipment Needed
Nothing fancy is required here, which is part of why this sandwich is such an easy weeknight option. A good potato masher makes the chickpea mashing step much faster and gives you better control over texture.
Here’s what you’ll want to have on hand:
- Potato masher or a large fork
- Large mixing bowl
- Cutting board
- Chef’s knife
- Measuring spoons and cups
- Rubber spatula or mixing spoon
Recommended Products for This Recipe
The right tools can make this recipe even easier and more enjoyable to prepare. These are a few products I genuinely recommend based on how much they improve the process, whether you’re making this once or adding it into your regular lunch rotation.
1. Potato Masher with Ergonomic Handle
A sturdy potato masher gives you much more control over the chickpea texture than a fork does, letting you get that classic chunky yet cohesive consistency. It cuts your prep time nearly in half and is far less tiring on your wrist for bigger batches.
2. Glass Mixing Bowl Set
A good set of glass mixing bowls with lids is ideal for this recipe since you can mix, store, and marinate the salad all in the same container. The nonporous glass surface also won’t absorb onion or garlic odors the way plastic sometimes does.
3. Avocado Oil Mayonnaise
Swapping in a high quality avocado oil mayo gives this salad a cleaner, richer flavor without the overly processed taste some regular mayos have. It also holds up well in the fridge, so your leftovers stay just as creamy on day three.
4. Sourdough Sandwich Bread
A good tangy sourdough loaf gives this sandwich a bakery style bite and holds up well against the creamy filling without getting soggy. The slightly chewy crumb also adds a nice textural contrast to the soft chickpea mixture.
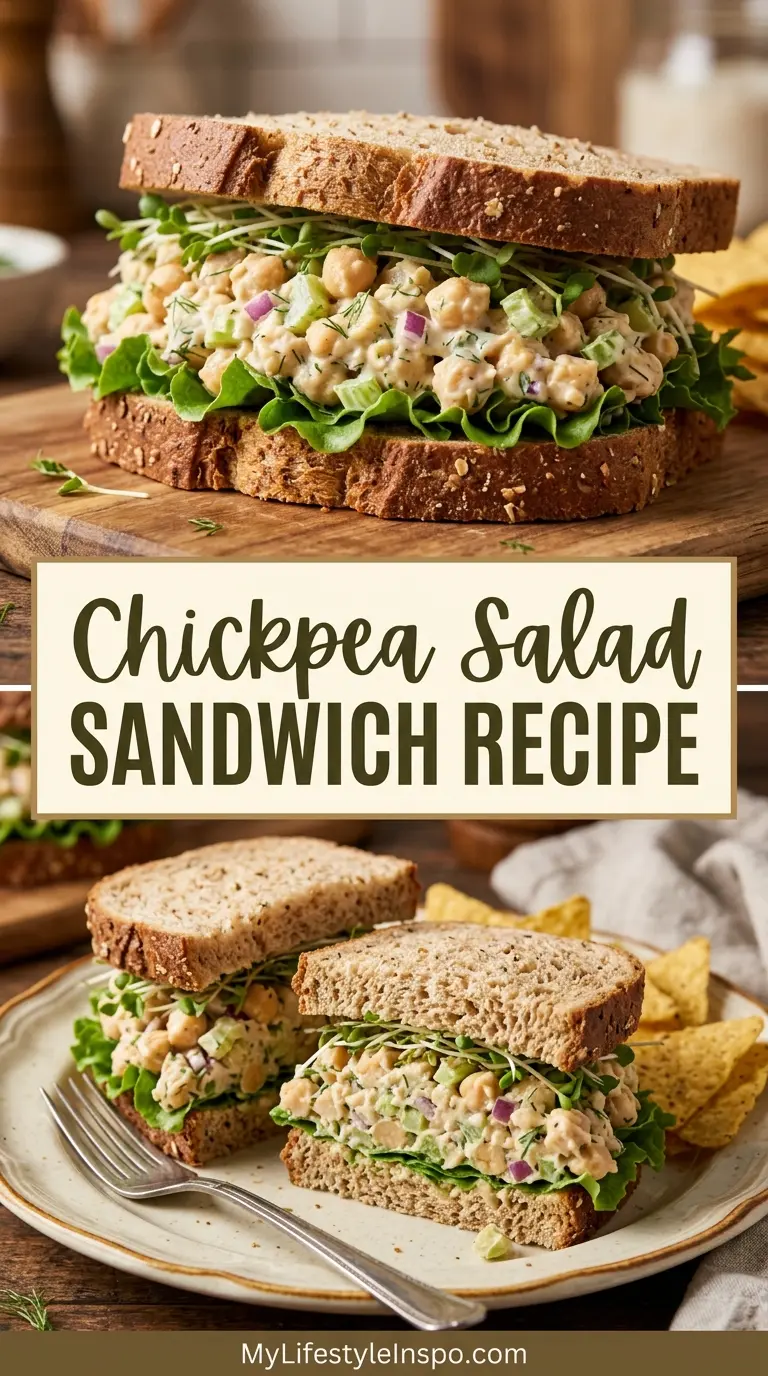
Step-by-Step Instructions
This recipe comes together in three simple phases: mashing the chickpeas, mixing in the flavor components, and assembling the sandwich. Each step below is broken down so even a first time cook can follow along with confidence.
1. Drain and Rinse the Chickpeas
- Open both cans of chickpeas and pour them into a colander set in the sink
- Rinse thoroughly under cold running water for about 30 seconds
- This removes excess sodium and the starchy liquid, known as aquafaba, that can make your salad watery
- Shake the colander well and let the chickpeas sit for a minute or two to drain completely
- Pat them dry with a clean kitchen towel if they still feel wet, since excess moisture will thin out your dressing later
2. Mash the Chickpeas
- Transfer the drained chickpeas to your large mixing bowl
- Using a potato masher or the back of a large fork, mash the chickpeas until about 70 percent of them are broken down
- Leave some larger pieces intact for texture, similar to how you’d want some whole flakes left in a classic tuna salad
- Avoid over mashing into a smooth paste, since the slightly chunky texture is what gives this sandwich its satisfying bite
3. Add the Wet Ingredients
- Add the mayonnaise, Dijon mustard, and fresh lemon juice directly to the bowl of mashed chickpeas
- Stir everything together with a spatula until the chickpeas are evenly coated
- The lemon juice brightens the whole mixture and balances the richness of the mayonnaise, so don’t skip it
- Taste at this point and adjust the mayonnaise up slightly if you prefer a creamier texture
4. Fold in the Fresh Vegetables and Herbs
- Add the finely diced celery and red onion to the bowl
- Stir in the chopped fresh dill and sweet pickle relish, if using
- Fold everything together gently until the vegetables and herbs are evenly distributed throughout the mixture
- The celery adds crunch while the onion brings a sharp bite that mellows out as the salad sits, so don’t worry if it tastes strong right away
5. Season to Taste
- Sprinkle in salt and freshly cracked black pepper
- Stir well, then taste the mixture
- Adjust the seasoning as needed, keeping in mind that flavors will deepen slightly after the salad chills
- If you want extra tang, add a touch more lemon juice or a splash of pickle brine here
6. Chill the Salad
- Cover the bowl with plastic wrap or transfer the salad to an airtight container
- Refrigerate for at least 20 minutes before serving, though 1 to 2 hours is even better
- This resting time allows the flavors to fully meld together and firms up the texture slightly, making it easier to pile onto bread
7. Assemble the Sandwiches
- Lay out your bread slices on a clean cutting board
- Spread a generous, even layer of the chilled chickpea salad onto half of the slices
- Top with lettuce leaves, tomato slices, and sprouts, if desired
- Close each sandwich with the remaining bread slices and press down gently
- Slice in half on a diagonal and serve immediately
Tips for Success
A few small techniques make a big difference in how this sandwich turns out. Paying attention to texture and moisture control will keep your sandwich from ever turning soggy or bland.
Keep these tips in mind as you cook:
- Dry your chickpeas well after rinsing, since excess water dilutes the dressing and makes the filling runny
- Don’t over mash the chickpeas. Leaving some texture makes the sandwich feel more substantial
- Let it chill for at least 20 minutes so the flavors have time to develop fully
- Toast your bread lightly if you’re prepping sandwiches ahead of time, since it creates a moisture barrier
- Taste before serving, as canned chickpeas vary in saltiness between brands
- Dice vegetables small so every bite has a bit of crunch without overwhelming the texture
Serving Suggestions
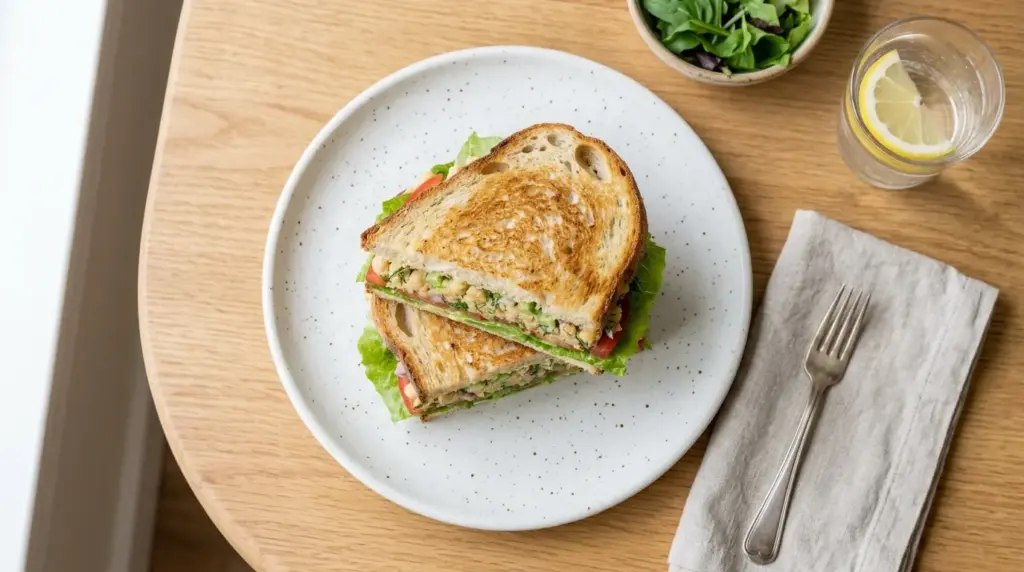
This sandwich is satisfying enough to stand on its own, but it also pairs nicely with a variety of simple sides. A light, acidic side dish works especially well to balance out the creaminess of the chickpea filling.
Here are a few serving ideas to round out the meal:
- A crisp side salad with a light vinaigrette
- Kettle style potato chips for extra crunch
- A cup of tomato soup for dipping, especially in cooler months
- Fresh fruit like grapes or apple slices for a refreshing contrast
- A pickle spear on the side, since the acidity complements the sandwich beautifully
- Sweet potato fries for a heartier, more filling lunch
Variations to Try
One of the best things about this recipe is how easily it adapts to different flavor profiles. Once you’ve made the base version, feel free to experiment with different herbs, spices, and mix ins.
A few popular variations include:
- Curried chickpea salad: add 1 teaspoon curry powder and a handful of raisins or dried cranberries
- Buffalo chickpea salad: swap the Dijon for a few tablespoons of buffalo sauce and add crumbled blue cheese
- Mediterranean chickpea salad: mix in chopped Kalamata olives, crumbled feta, and diced cucumber
- Avocado chickpea salad: replace half the mayonnaise with mashed avocado for a lighter, creamier texture
- Smoky chipotle chickpea salad: add a teaspoon of adobo sauce from canned chipotle peppers for a smoky kick
Storage and Reheating
This chickpea salad is a fantastic make ahead option since it actually tastes better the next day. Because there’s no cooking involved, storage is simple and there’s no reheating required at all.
Here’s how to store it properly:
- Keep the chickpea salad in an airtight container in the refrigerator
- It will stay fresh for up to 4 days
- Store assembled sandwiches separately from lettuce and tomato to prevent sogginess, and add those toppings just before eating
- Avoid freezing this salad, since mayonnaise based dressings tend to separate and turn watery once thawed
Nutritional Facts
A single sandwich made with this chickpea salad recipe (using two slices of sourdough bread) contains approximately:
- Calories: 420
- Protein: 14g
- Carbohydrates: 48g
- Fiber: 9g
- Fat: 20g
- Sodium: 680mg
These values will vary depending on the specific brands of bread and mayonnaise used, as well as any additional toppings.
Health Benefits of Key Ingredients
Beyond being delicious, this sandwich brings some solid nutritional perks to the table thanks to its main ingredient. Chickpeas in particular are a nutritional powerhouse that make this sandwich more satisfying than it might first appear.
Here’s what a few of the key ingredients bring to the table:
- Chickpeas are high in plant based protein and fiber, which help keep you full for longer
- Celery adds hydration along with a small dose of vitamin K and antioxidants
- Lemon juice provides a boost of vitamin C and helps your body absorb iron from the chickpeas
- Red onion contains beneficial plant compounds known as flavonoids, which have antioxidant properties
- Dill offers a mild source of vitamin A and adds flavor without extra sodium or calories
Frequently Asked Questions
1. Can I make this chickpea salad sandwich vegan?
Yes, simply swap the regular mayonnaise for a plant based vegan mayo. Every other ingredient in this recipe is already naturally vegan.
2. How long does chickpea salad last in the fridge?
When stored in an airtight container, this chickpea salad will stay fresh for up to 4 days. Just give it a quick stir before serving, since some liquid may settle at the bottom.
3. Can I use dried chickpeas instead of canned?
You can, though you’ll need to soak and cook them first until tender. About 1 cup of dried chickpeas, once cooked, will yield roughly the same amount as two 15 ounce cans.
4. What can I use instead of mayonnaise?
Mashed avocado, Greek yogurt, or hummus all work well as substitutes. Each option will slightly change the flavor and texture, so start with a smaller amount and adjust to taste.
5. Is this sandwich good for meal prep?
Absolutely, this is one of the best sandwiches for meal prep since the salad actually improves with time. Just store the salad and bread separately, assembling sandwiches fresh each day for the best texture.
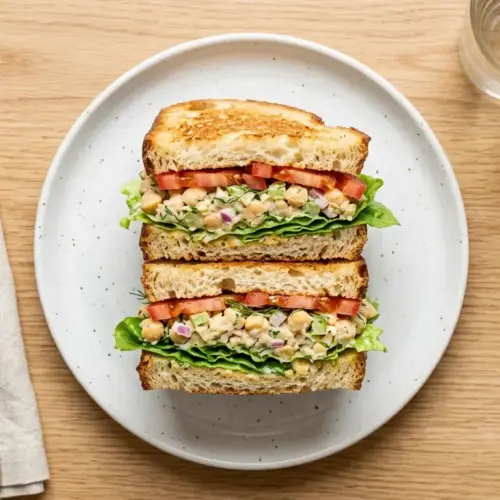
Chickpea Salad Sandwich

Equipment
- Potato masher - Or a large fork
- Large mixing bowl
- Cutting board
- Chef’s knife
- Measuring spoons
- Measuring cups
- Rubber spatula - Or a mixing spoon
- Colander - For draining and rinsing chickpeas
Ingredients
- 2 cans chickpeas - 15 oz cans, drained and rinsed
- 1/2 cup mayonnaise - or vegan mayonnaise
- 2 tablespoons Dijon mustard
- 1 tablespoon fresh lemon juice
- 1/3 cup celery - finely diced
- 1/4 cup red onion - finely diced
- 2 tablespoons fresh dill - chopped, or 2 teaspoons dried dill
- 1 tablespoon sweet pickle relish - optional
- salt - to taste
- black pepper - freshly cracked, to taste
For Serving
- 8 slices sourdough bread - or your favorite sandwich bread
- lettuce leaves - for serving
- tomato slices - for serving
- sprouts - for serving
Instructions
- Drain and rinse the chickpeas in a colander under cold running water, then pat them dry with a clean towel.
- Mash the chickpeas in a large bowl with a potato masher or fork until about 70% are broken down, leaving some larger pieces for texture.
- Add the mayonnaise, Dijon mustard, and fresh lemon juice, then stir until the chickpeas are evenly coated.
- Fold in the finely diced celery, red onion, chopped dill, and sweet pickle relish if using, until evenly distributed.
- Season with salt and pepper to taste, then adjust with extra lemon juice or pickle brine if desired.
- Chill the salad in the fridge for at least 20 minutes to allow the flavors to meld.
- Spread a generous layer of the chickpea salad onto four slices of bread, top with lettuce, tomato, and sprouts, then close with remaining bread slices and serve.
Notes
- Dry chickpeas well: Excess moisture will thin out the dressing and make the filling runny. Pat them dry after rinsing.
- Don’t over-mash: Leaving some chickpea chunks creates a more satisfying, substantial texture similar to tuna or chicken salad.
- Chill for best flavor: Let the salad rest for at least 20 minutes (or 1-2 hours) so the flavors meld together. It tastes even better the next day!
- Toast your bread: Lightly toasting the bread creates a moisture barrier that prevents sogginess, especially if you’re prepping sandwiches ahead of time.
- Make it vegan: Simply use a plant-based mayonnaise. All other ingredients are naturally vegan.
- Storage: Keep the chickpea salad in an airtight container in the fridge for up to 4 days. Store assembled sandwiches separately from lettuce and tomato to prevent sogginess.
- Mayo substitutes: Mashed avocado, Greek yogurt, or hummus work well as alternatives. Start with a smaller amount and adjust to taste.
- Variations: Try a curried version with 1 teaspoon curry powder and raisins, a Buffalo version with buffalo sauce and blue cheese, or a Mediterranean version with olives, feta, and cucumber.
- Freezing not recommended: Mayonnaise-based dressings tend to separate and become watery when thawed.
- Kid-friendly: The mashed, tuna-salad-like consistency is often a hit with kids who may be hesitant about whole chickpeas.
Final Thoughts
This chickpea salad sandwich recipe proves that simple, plant based meals don’t have to be boring. It’s creamy, crunchy, and endlessly adaptable to whatever mood you’re in.
Give this one a try the next time you need a quick lunch that doesn’t skimp on flavor. I’d love to hear how yours turns out, so drop a comment below or share a photo if you make it.
Recommended:
- Willow Tree Chicken Salad
- Classic Chicken Salad
- Chicken Salad with Grapes
- Chicken Salad with Rotisserie Chicken
- Chicken Salad with Canned Chicken
- Tarragon Chicken Salad
- Vinegar Coleslaw
- Creamy Coleslaw
- Cucumber Gazpacho
- Avgolemono Soup


