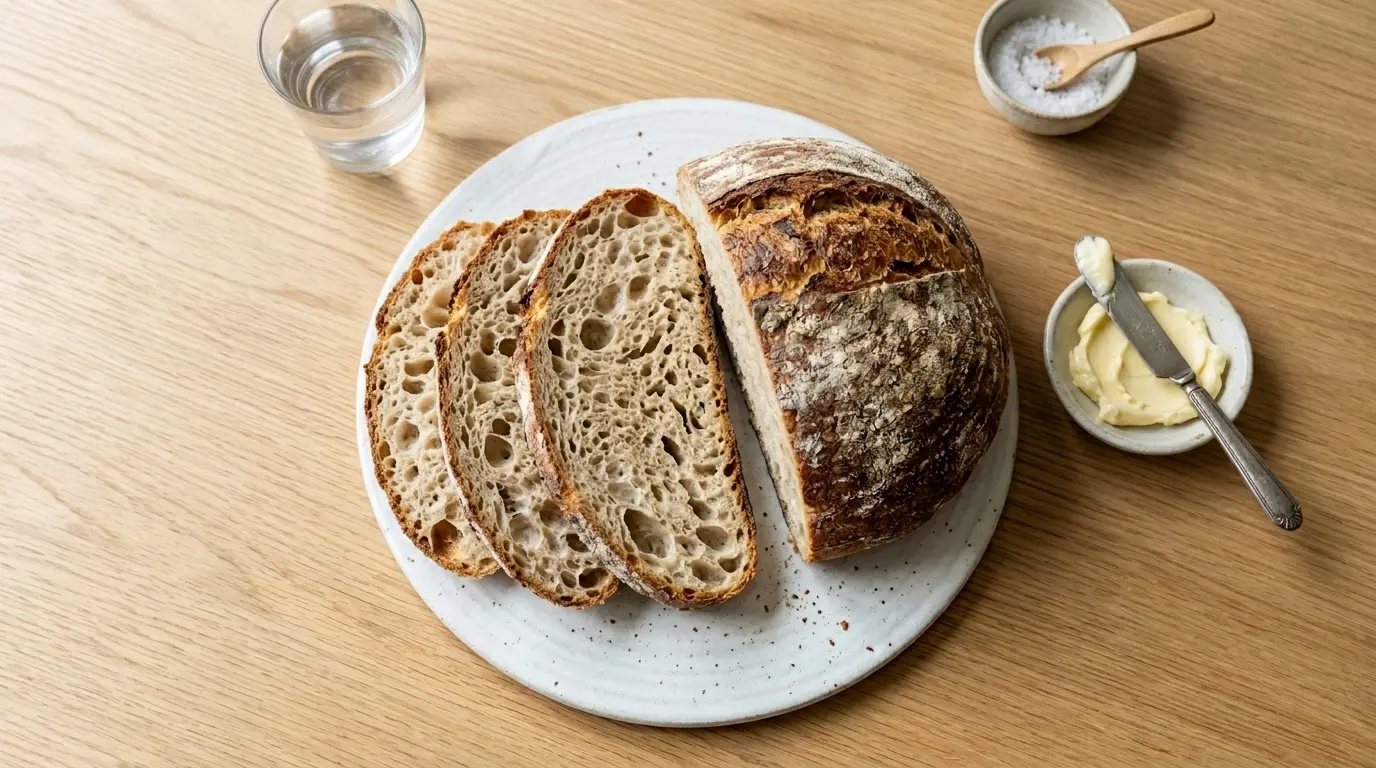
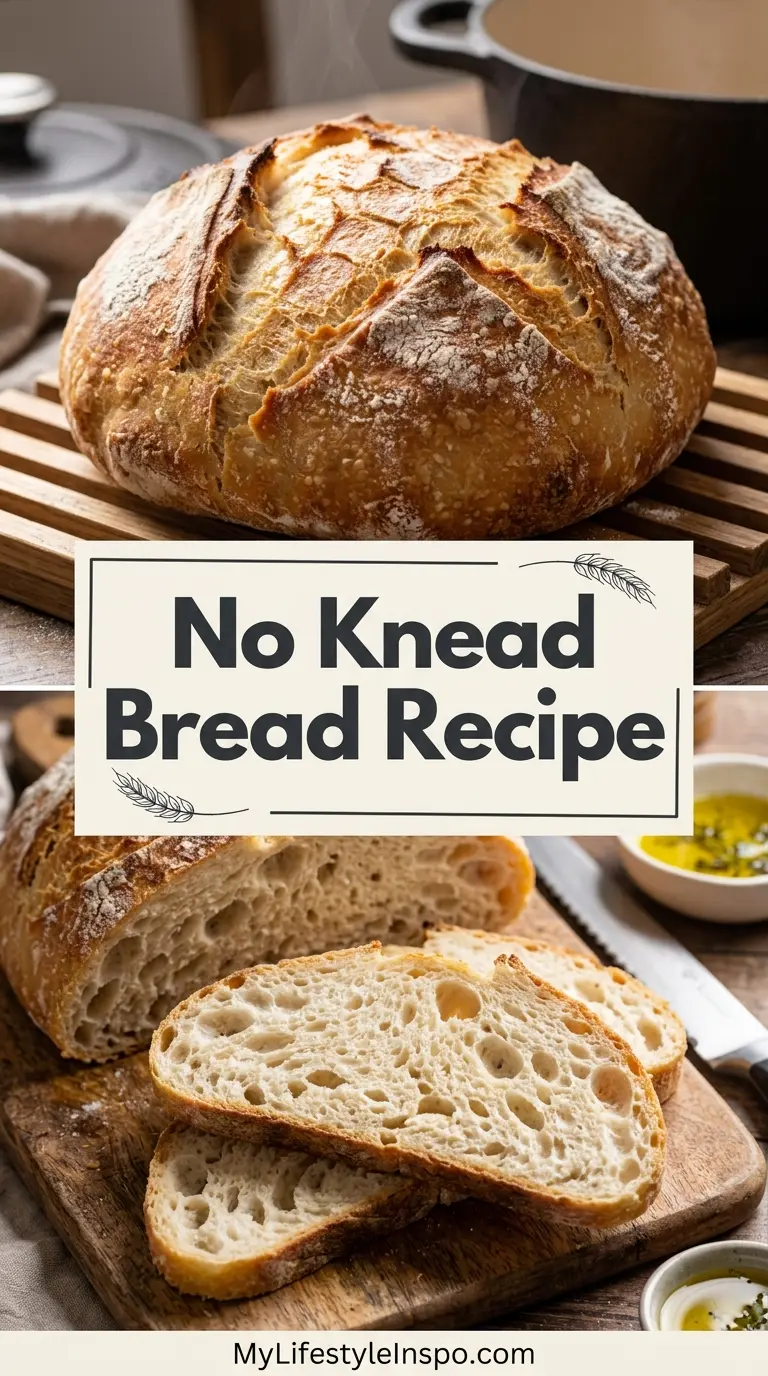
This no knead bread recipe is proof that amazing homemade bread does not require any fancy skills or hours of kneading. With just four basic ingredients and a long, lazy rise, you get a loaf with a crackly crust and an open, chewy crumb that looks like it came from a bakery.
If you have ever been intimidated by yeast or felt like bread baking was too complicated, this recipe will change your mind completely. It is forgiving, low effort, and the kind of thing you can throw together the night before and forget about until morning.
The magic here comes from time, not technique. A slow overnight rise develops flavor and structure in the dough, so your hands barely have to do any work at all.

Why You’ll Love This No Knead Bread Recipe
This recipe has become a staple in so many home kitchens for good reason. It strips bread baking down to the essentials while still delivering bakery quality results.
If you are looking for something to pair this with, a warm slice is fantastic alongside Creamy Wild Rice Soup on a chilly evening.
Here is what makes this recipe so special:
- Minimal hands on time. You mix it, let it sit, shape it, and bake it. There is no kneading involved at all.
- Incredible texture. The long rise creates big air pockets and a chewy, custardy interior.
- Crackly, bakery style crust. Baking in a hot covered pot traps steam and produces a crisp, golden crust.
- Beginner friendly. Even if you have never baked bread before, this recipe is nearly foolproof.
- Budget friendly ingredients. Flour, water, salt, and yeast are pantry staples most people already have.
- Versatile base. Once you master this loaf, you can easily adapt it with herbs, cheese, or seeds.
Read Also: Dutch Oven Bread Recipe
Ingredients
This recipe uses simple pantry staples, but the way they work together is what makes the magic happen. Bread flour gives the dough enough structure and gluten strength to hold onto all those air bubbles created during the long rise, while the small amount of yeast means fermentation happens slowly, building deep flavor over many hours instead of just an hour or two.
- 3 cups (400g) bread flour, plus extra for dusting
- 1 and 1/4 teaspoons salt
- 1/2 teaspoon instant or active dry yeast
- 1 and 5/8 cups (385ml) lukewarm water
- Cornmeal or wheat bran, for dusting (optional)
- Extra flour, for shaping and dusting the proofing cloth
You might also enjoy: Easy Sourdough Bread Recipe
Kitchen Equipment Needed
You do not need much specialized equipment for this recipe, but a few key pieces make a huge difference in how your loaf turns out. The most important item is a heavy pot with a lid, since this is what mimics the steamy environment of a professional bread oven.
- A large mixing bowl
- A Dutch oven or cast iron pot with a lid
- A wooden spoon or silicone spatula
- Plastic wrap or a clean kitchen towel
- A clean cotton or linen proofing cloth
- A bench scraper
- A digital kitchen scale (optional but helpful)
- An instant read thermometer (optional)
This pairs beautifully with Pull Apart Garlic Bread if you want to compare textures side by side.
Recommended Products for This Recipe
These are a few products that genuinely make this recipe easier and more reliable, based on quality, durability, and how well they perform for home bakers.
1. Lodge Cast Iron Combo Cooker
This combo cooker works perfectly as a stand in for a Dutch oven, with a shallow skillet that doubles as a lid. The pre seasoned cast iron retains heat extremely well, which helps create that signature crackly crust on your loaf.
2. Digital Kitchen Scale
Measuring flour and water by weight rather than volume gives far more consistent results with this dough. A small digital scale takes the guesswork out of hydration levels, which matters a lot in a wet dough like this one.
3. Linen Proofing Cloth
A linen cloth, sometimes called a couche, helps the shaped dough hold its form during the second rise without sticking. The natural fibers wick away just enough moisture to keep the surface from getting too tacky.
4. Bread Lame
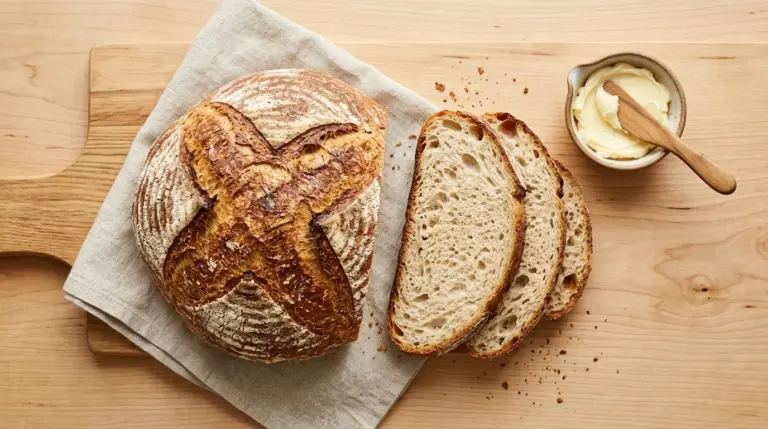
A bread lame gives you a clean, controlled slash on top of the loaf right before baking. This scoring step allows the bread to expand evenly in the oven instead of cracking randomly.
Another favorite for bread lovers: Rosemary Focaccia Recipe
Step-by-Step Instructions
1. Mix the Dough
- In a large mixing bowl, whisk together the bread flour, salt, and yeast until evenly combined.
- Add the lukewarm water all at once and stir with a wooden spoon or spatula until no dry flour remains.
- The dough will look shaggy, sticky, and rough, this is exactly how it should look at this stage.
- Do not knead the dough. Simply make sure everything is evenly hydrated.
2. Let the Dough Rise Overnight
- Cover the bowl tightly with plastic wrap or a damp kitchen towel.
- Place the bowl in a draft free spot at room temperature, ideally around 70 degrees Fahrenheit (21 degrees Celsius).
- Let the dough rise for 12 to 18 hours.
- When ready, the dough should be more than doubled in size, with bubbles visible on the surface and a slightly domed, wobbly texture.
3. Shape the Dough
- Lightly flour a clean work surface and turn the dough out onto it using a bench scraper to help release it from the bowl.
- Sprinkle a little extra flour over the top of the dough.
- Fold the edges of the dough into the center, turning it gently to form a rough ball, this should take 30 to 60 seconds.
- Place the shaped dough seam side down on a heavily floured proofing cloth or clean kitchen towel.
- Dust the top generously with flour, cornmeal, or wheat bran to prevent sticking.
4. Second Rise
- Cover the shaped dough loosely with another kitchen towel.
- Let it rise for an additional 1 to 2 hours at room temperature.
- The dough is ready when it has visibly puffed up and holds an indentation if you gently poke it with a floured finger, the dent should spring back slowly rather than instantly.
- About 30 minutes before baking, place your Dutch oven, with the lid on, into the oven and preheat to 450 degrees Fahrenheit (230 degrees Celsius).
5. Bake the Bread
- Carefully remove the hot Dutch oven from the oven and remove the lid, being careful of the steam and heat.
- Quickly but gently flip the dough seam side up directly into the hot pot, it does not need to be perfectly centered.
- Cover the pot with the lid and return it to the oven.
- Bake covered for 30 minutes.
- Remove the lid and continue baking for an additional 15 to 20 minutes, until the crust is deeply golden brown.
- Carefully remove the loaf from the pot and transfer it to a wire rack to cool completely before slicing, this takes about 1 hour.
This loaf is excellent served alongside Cheesy Garlic Bread for a true bread lover’s spread.
Tips for Success
A few small details can make a big difference between an average loaf and a truly great one. Paying attention to your dough’s appearance and texture, rather than just the clock, will help you get consistent results every time.
- Use bread flour rather than all purpose flour for better structure and chew.
- Lukewarm water should feel warm to the touch but not hot, around 100 to 110 degrees Fahrenheit (38 to 43 degrees Celsius).
- A longer rise time in a cooler kitchen will produce a more flavorful, slightly tangy loaf.
- Do not skip preheating the Dutch oven, this step is essential for a great crust.
- Resist the urge to slice the bread while it is still warm, since the interior is still setting as it cools.
- If your dough seems too sticky to handle, wet your hands slightly instead of adding more flour.
For another long rise loaf, check out the Same Day Sourdough Bread Recipe.
Serving Suggestions
This bread is wonderfully versatile and works for almost any meal of the day. Its sturdy crust and soft interior make it ideal for both savory and simple presentations.
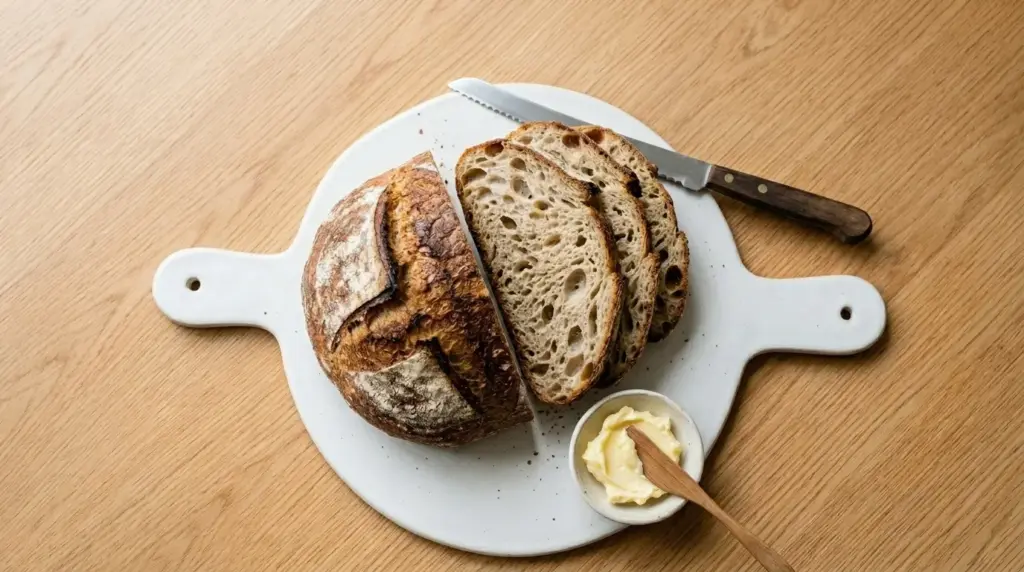
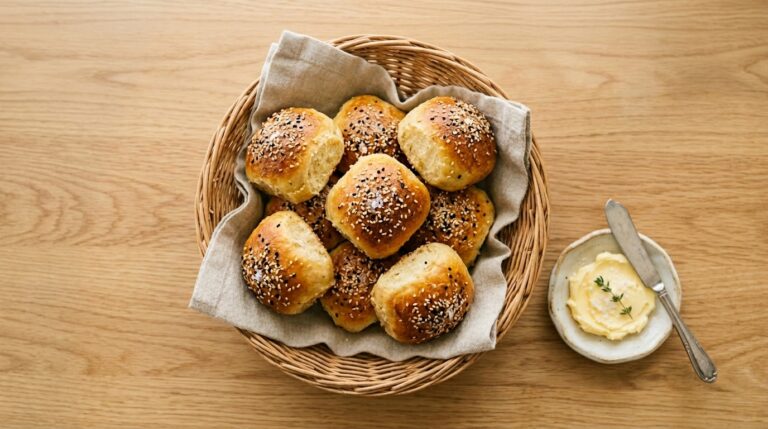
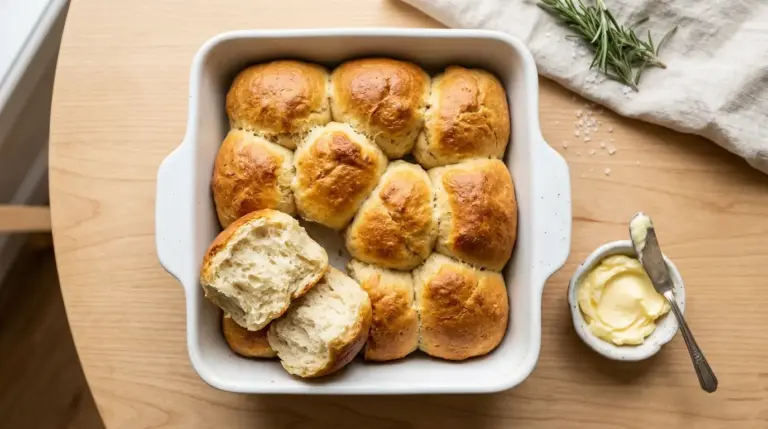
- Serve warm slices with softened butter and a drizzle of honey.
- Use thick slices for hearty sandwiches or toast.
- Pair with a bowl of Creamy Tomato Basil Soup for dipping.
- Serve alongside a cheese board with olives and cured meats.
- Use cubed pieces for homemade croutons or bread pudding.
- Top with avocado, a fried egg, and chili flakes for a quick breakfast.
For a lighter option, try: Healthy Alfredo Sauce
Variations to Try
Once you have the base recipe down, this dough is incredibly easy to customize. Small additions can completely change the flavor profile without changing the basic method.
- Herb and garlic: Add 1 tablespoon of dried herbs and 2 cloves of minced garlic to the dry ingredients.
- Cheese loaf: Fold in 1 cup of shredded sharp cheddar or parmesan before the first rise.
- Seeded crust: Roll the shaped dough in sesame seeds, poppy seeds, or rolled oats before the second rise.
- Whole wheat blend: Replace up to half of the bread flour with whole wheat flour for a heartier loaf.
- Olive bread: Gently fold in 1/2 cup of chopped pitted olives before shaping.
- Cinnamon raisin: Add 1 teaspoon of cinnamon and 1/2 cup of raisins for a sweeter version, great for toast.
This technique works wonderfully for the Whole Wheat Sourdough Bread Recipe as well.
Storage and Reheating
Proper storage helps this bread maintain its crusty exterior and soft interior for as long as possible. Since there are no preservatives, a few simple steps will keep it tasting fresh.
- Store cooled bread at room temperature in a paper bag or bread box for up to 2 days.
- Avoid storing in plastic if you want to preserve the crust, since plastic traps moisture and softens it.
- For longer storage, slice the loaf and freeze in a freezer safe bag for up to 3 months.
- To refresh a day old loaf, sprinkle with a little water and bake at 350 degrees Fahrenheit (175 degrees Celsius) for 10 minutes.
- Frozen slices can go straight into a toaster for a quick warm up.
If you love baking ahead, the Sourdough Discard Bread Recipe is another great make ahead option.
Nutritional Facts
These values are approximate and based on one loaf cut into 12 slices. Actual nutrition will vary depending on exact ingredients and slice size.
| Nutrient | Amount per Serving |
|---|---|
| Calories | 130 |
| Carbohydrates | 27g |
| Protein | 4g |
| Fat | 0.5g |
| Fiber | 1g |
| Sodium | 240mg |
You might also like the Gluten Free Sourdough Bread Recipe for a different dietary approach.
Health Benefits of Key Ingredients
While this bread is certainly a treat, a few of its core ingredients offer some nutritional perks worth mentioning. Understanding what is in your food can make enjoying it even more satisfying.
- Bread flour: Provides protein and carbohydrates that supply steady energy throughout the day.
- Yeast: Contains B vitamins, which support metabolism and nervous system function.
- Salt: In moderate amounts, helps regulate fluid balance and supports nerve function.
- Water: Essential for hydration and plays a key role in dough fermentation and digestion of the bread itself.
- Whole wheat flour (if used in variations): Adds fiber, which supports digestive health and helps you feel fuller longer.
For more wholesome baking ideas, take a look at the Sweet Sourdough Bread Recipe.
Frequently Asked Questions
1. Can I use all purpose flour instead of bread flour?
Yes, you can use all purpose flour, though the texture will be slightly less chewy. Bread flour has a higher protein content, which helps create a stronger gluten network and a more open crumb.
2. What if I do not have a Dutch oven?
Any heavy, oven safe pot with a tight fitting lid will work well. A cast iron skillet with a foil cover can also work in a pinch, though it may not trap steam as effectively.
3. Why is my dough too sticky to shape?
This dough is meant to be quite wet and sticky, which is normal for this style of bread. Lightly flouring your hands and the work surface, rather than adding more flour to the dough itself, will make shaping much easier.
4. Can I speed up the rise time?
The long rise is what develops flavor and texture, so speeding it up significantly will affect the final result. If you are short on time, you can let it rise in a slightly warmer spot, but expect a milder flavor.
5. Why did my bread turn out dense?
A dense loaf usually means the dough did not rise long enough or the yeast was inactive. Make sure your yeast is fresh and that your dough has at least doubled in size before shaping.
Read Also: Fresh Milled Flour Bread Recipe
Final Thoughts
This no knead bread recipe proves that great bread does not have to be complicated or time consuming in terms of effort. With a little patience and very little hands on work, you can pull a gorgeous, crusty loaf straight from your own oven.
Give this recipe a try this weekend and let it transform your idea of what homemade bread can be. If you make it, I would love to hear how it turned out in the comments below, and feel free to share a photo if you post it online.
Recommended:
- Sourdough Sandwich Bread Recipe
- Sourdough Focaccia Recipe
- Einkorn Bread Recipe
- Manna Bread Recipe
- Gluten Free Dairy Free Bread Recipe
- Air Fryer Garlic Bread Recipe
- Sourdough Discard Pizza Dough Recipe
- Sourdough Bagel Recipe
- Sourdough English Muffin Recipe