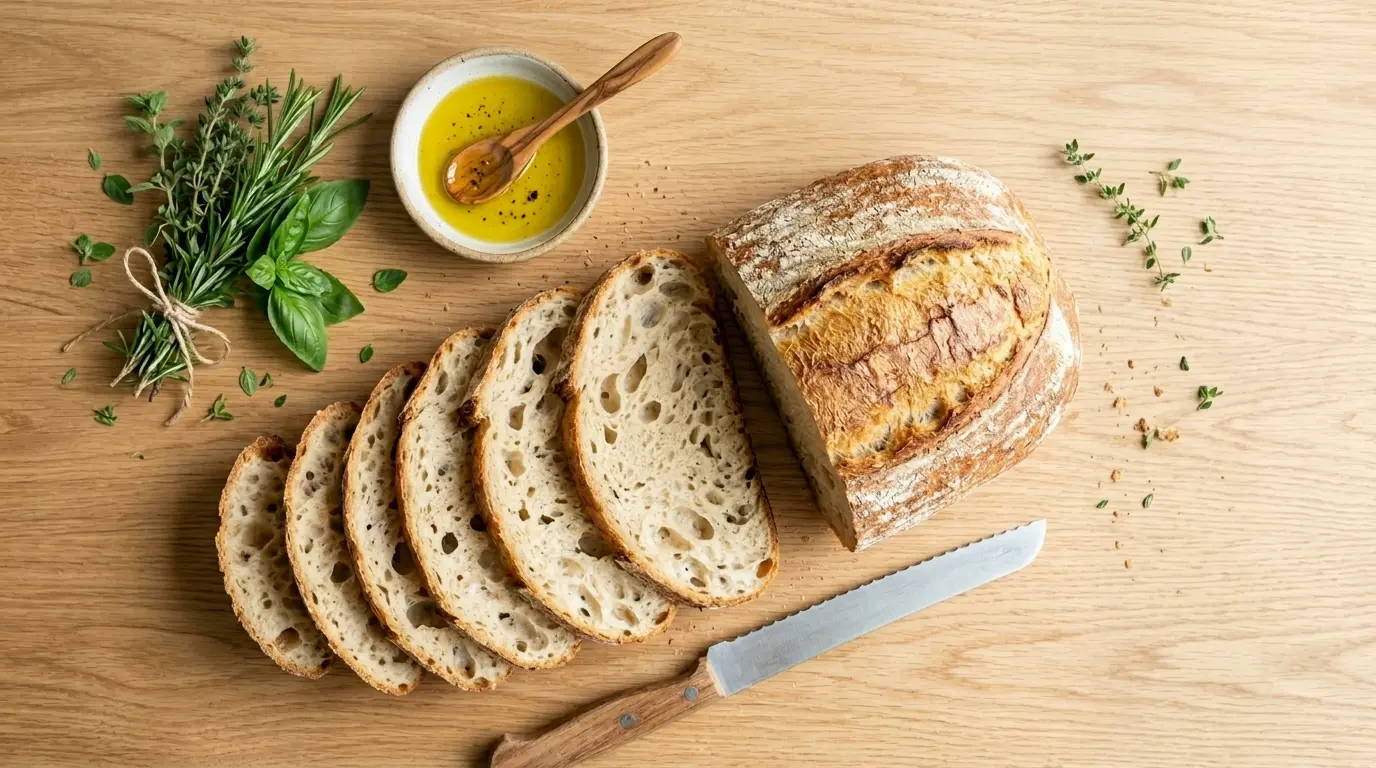
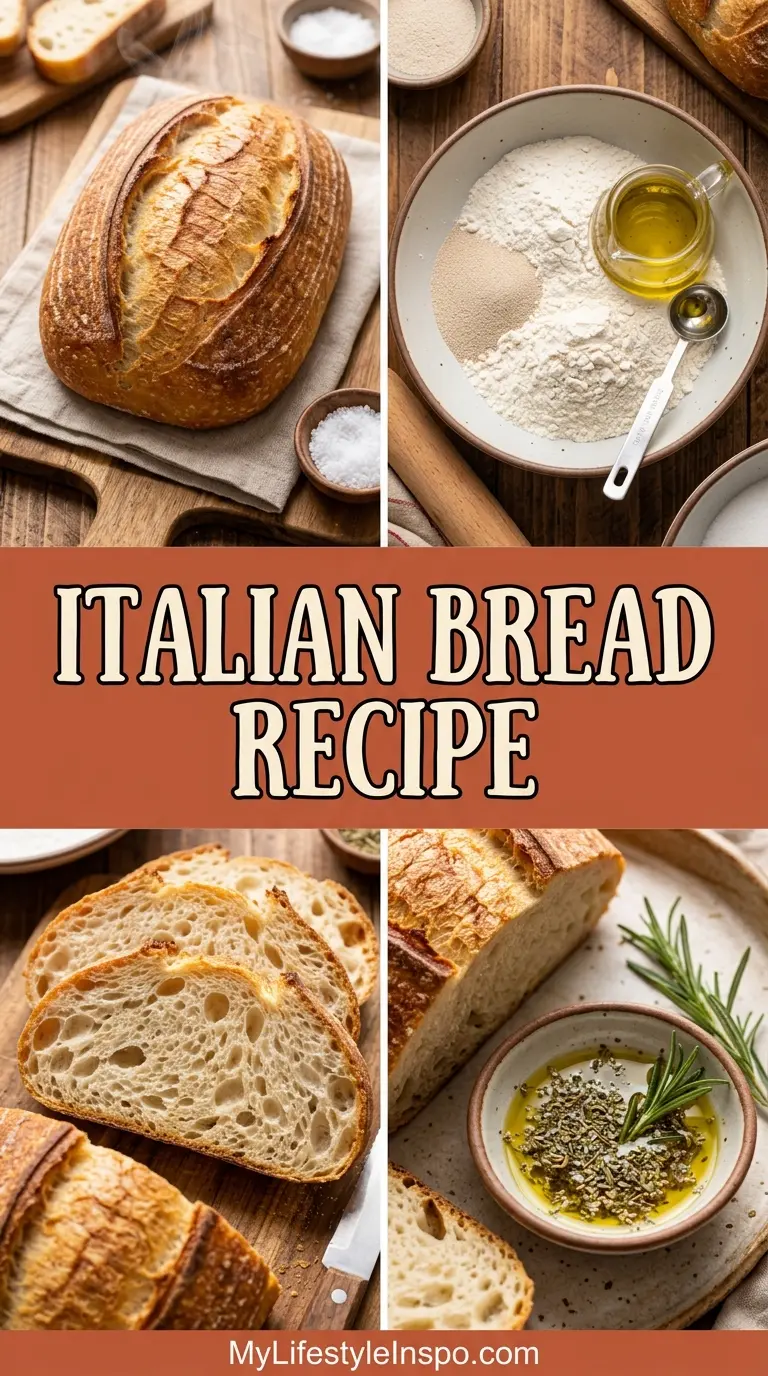
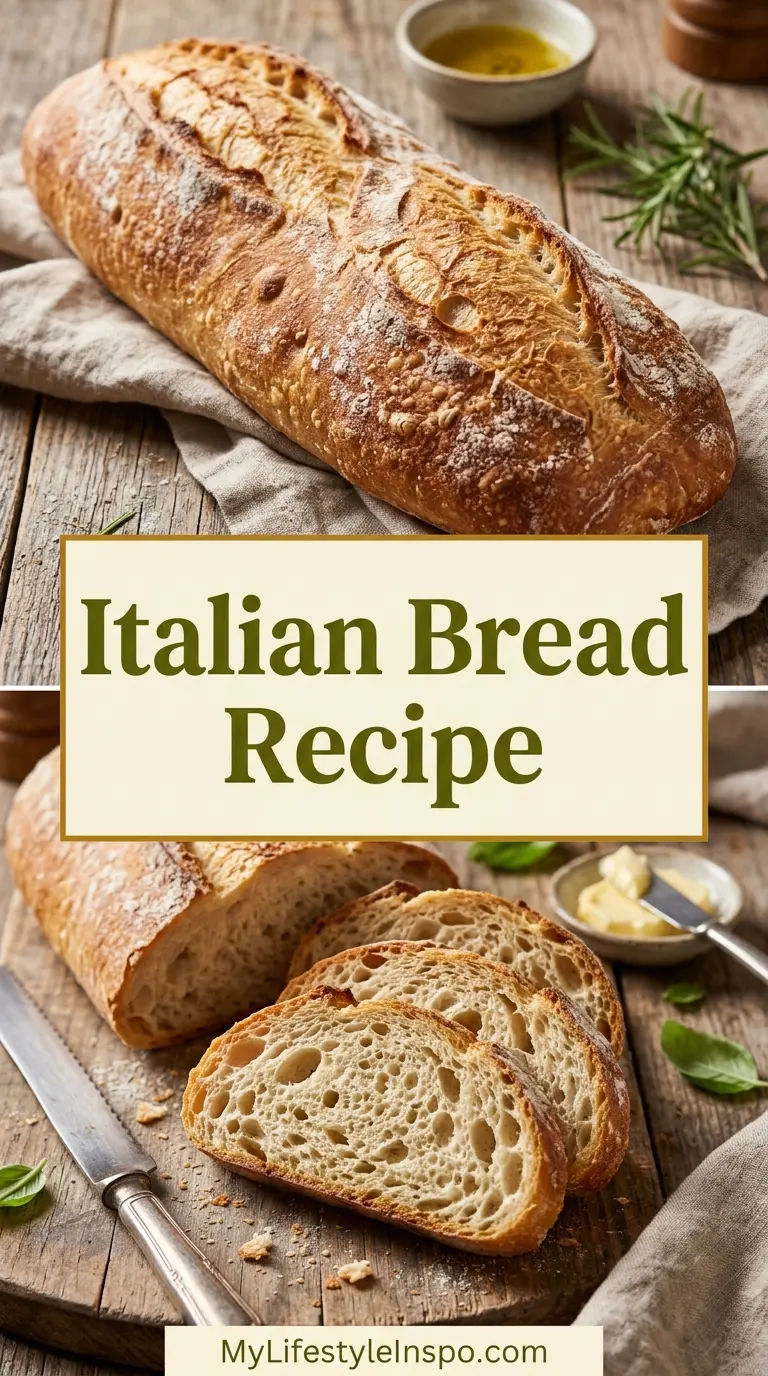
Homemade Italian bread recipe lovers, this one is for you. Few things rival the smell of a golden loaf fresh from the oven, and this classic Italian white bread delivers exactly that. We’re talking about a simple, traditional loaf with a crisp, crackly crust, a soft and chewy interior, and that slightly yeasty aroma that fills every corner of your kitchen. It’s the kind of bread you want to tear into before it even cools completely.
This recipe follows the most widely made version of Italian bread found across Italian-American households and bakeries: a yeasted white bread shaped into a long oval or round loaf, baked to a deep golden finish with a sturdy crust and airy crumb. It doesn’t need a starter, specialty flour, or hours of babysitting. A few simple pantry staples, some hands-on kneading, and two rises are all it takes to get there.
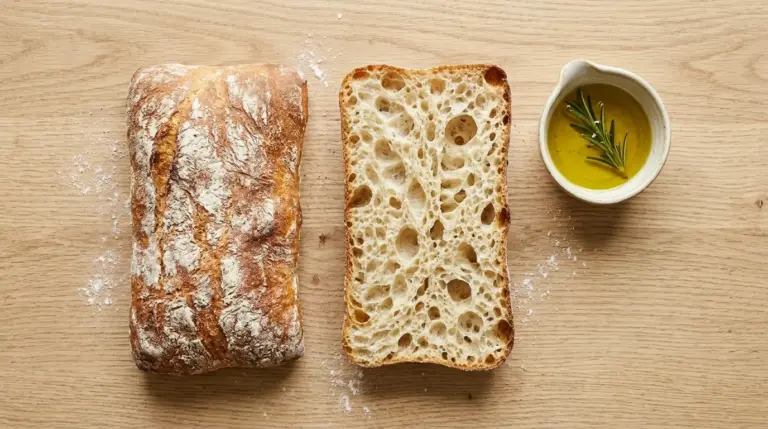
What makes Italian bread so distinct from regular sandwich bread is the use of a higher hydration dough and the lack of enrichments like butter or eggs. This gives the loaf its signature open crumb and chewy bite. A steam-injected oven environment (easily recreated at home using a pan of hot water) helps develop that beautiful, crisp exterior.
Whether you’re a seasoned home baker or just getting started, this recipe walks you through every step with clear, detailed instructions so you get perfect results on your first try.
For another crowd-pleasing loaf that uses a similar technique, check out this Artisan Bread Recipe.
Why You’ll Love This Italian Bread Recipe
This recipe checks every box for homemade bread bakers at any level.
First, the ingredient list is short and inexpensive. You’re working with flour, water, yeast, salt, and a touch of olive oil, all things you likely already have.
Second, the process is beginner-friendly. Each step is laid out in detail, including timing cues and visual markers so you always know exactly where you are.
Third, the results are genuinely impressive. A homemade Italian loaf with a crackling crust and open, chewy crumb is hard to beat, and it looks beautiful on any table.
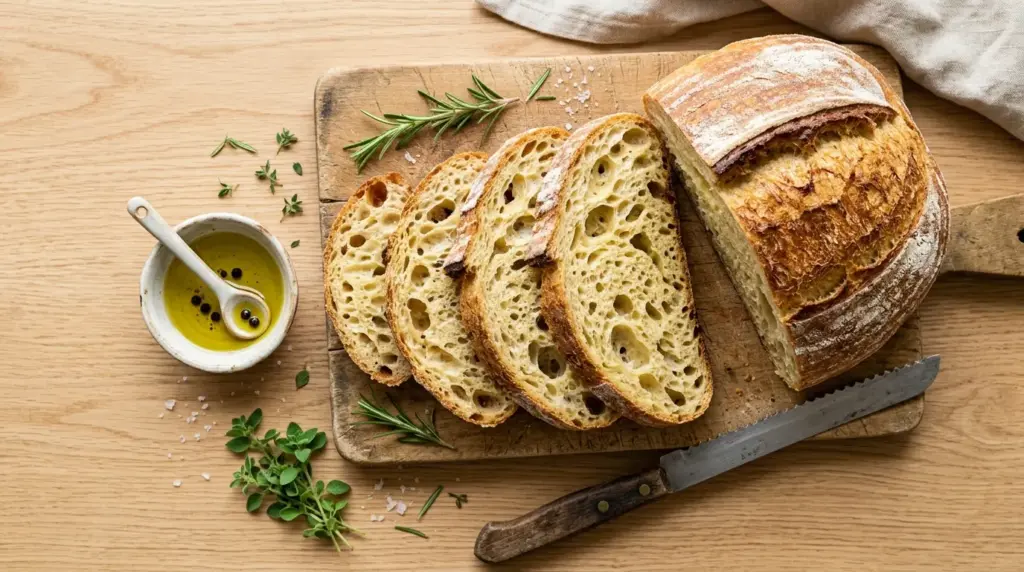
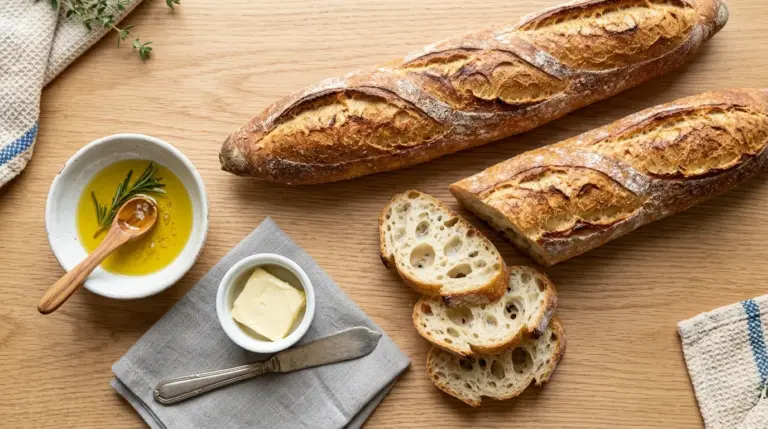
Fourth, this bread is incredibly versatile. It works as a dinner side, a sandwich base, a vehicle for bruschetta, or simply torn apart and dipped in olive oil and herbs.
Fifth, it freezes beautifully. Bake two loaves at once and stash one in the freezer for later in the week.
Here’s a quick summary of why this recipe stands out:
- Uses pantry staples with no specialty ingredients required
- Comes together in about 3 hours from start to finish
- Produces a crispy exterior and chewy, open crumb
- Easily doubled to make two loaves at once
- Works for sandwiches, dipping, soups, and more
- No bread machine or stand mixer required (though both work)
- Stores well and freezes excellently
You might also enjoy: No Knead Bread Recipe
Ingredients
The ingredients for Italian bread are refreshingly minimal. The magic here comes not from fancy additions but from good technique. Using bread flour instead of all-purpose gives you a chewier crumb because of its higher protein content, which develops more gluten during kneading. Active dry yeast works perfectly here, though instant yeast also works and doesn’t require proofing.
- 4 cups (480g) bread flour, plus more for dusting
- 1 packet (2¼ tsp / 7g) active dry yeast
- 1½ tsp (9g) fine sea salt
- 1½ cups (355ml) warm water (about 110°F / 43°C)
- 1 tsp (4g) granulated sugar
- 2 tbsp (30ml) extra virgin olive oil, plus more for the bowl
- 1 egg white (for egg wash, optional but recommended)
- 1 tbsp (15ml) water (for egg wash)
- 1 tsp (3g) sesame seeds or poppy seeds (optional, for topping)
Read Also: French Bread Recipe
Kitchen Equipment Needed
You don’t need a professional bakery setup to make great Italian bread. That said, a few reliable tools make the process smoother. A baking stone or heavy baking sheet helps mimic the deck oven conditions of a traditional bakery and promotes even browning on the bottom crust. A kitchen scale gives you the most consistent results, especially for flour measurements.
- Large mixing bowl
- Kitchen scale (recommended)
- Baking stone or heavy rimmed baking sheet
- Bench scraper
- Stand mixer with dough hook (optional but helpful)
- Parchment paper
- Bread lame or sharp serrated knife
- Small oven-safe pan (for steam)
- Pastry brush (for egg wash)
- Wire cooling rack
- Plastic wrap or clean kitchen towel
Read Also: White Bread Recipe
Recommended Products for This Recipe
These are products selected based on quality and how much they improve the bread-baking experience. Each one addresses a common pain point in the process.
1. KitchenAid Stand Mixer with Dough Hook
Kneading by hand for 10 minutes builds character, but a stand mixer with a dough hook does the same job in half the time with no tired arms. The KitchenAid is built to handle dense bread doughs without overheating, and it develops gluten evenly throughout the dough. If you bake bread more than once a month, this tool pays for itself quickly.
2. Emile Henry Baking Stone
A quality baking stone absorbs and radiates heat evenly from below, giving your Italian bread that bakery-style bottom crust that a regular baking sheet simply can’t replicate. The Emile Henry stone heats consistently and holds temperature well through the full bake. It works for pizza, focaccia, and other hearth-style breads too.
3. OXO Good Grips Bench Scraper
A bench scraper is one of those tools home bakers underestimate until they start using one. It helps you portion, shape, and move dough without tearing it, and keeps your work surface clean. The OXO version has a comfortable grip and a ruler edge for precise cuts.
4. Breadtopia Bread Lame
Scoring your loaf before baking controls where the bread expands in the oven and prevents random cracking. A proper lame holds a razor blade at the right angle for clean, confident slashes. The Breadtopia lame is easy to handle and makes a noticeable difference in how your crust opens up.
The same hands-on shaping technique in this recipe also works wonderfully when making Pull Apart Garlic Bread.
Step-by-Step Instructions
1. Proof the Yeast
- Combine warm water (110°F / 43°C) and sugar in a large mixing bowl or the bowl of your stand mixer.
- Sprinkle the active dry yeast over the water and gently stir to combine.
- Let the mixture sit for 5 to 10 minutes until it becomes foamy and smells yeasty. If it doesn’t foam, the yeast may be expired or the water may have been too hot or cold. Start over with fresh yeast.
- The foamy cap is a sign that the yeast is active and ready to leaven your bread.
2. Make the Dough
- Add the 2 tablespoons of olive oil and salt to the yeast mixture and stir briefly.
- Add the bread flour one cup at a time, stirring after each addition with a wooden spoon or dough hook.
- Once the dough becomes too stiff to stir, turn it out onto a lightly floured surface or continue mixing with the dough hook on low speed.
- Mix until a shaggy dough forms and all the flour has been incorporated. The dough should pull away from the sides of the bowl.
3. Knead the Dough
- If kneading by hand: push the dough forward with the heel of your palm, fold it back toward you, and rotate a quarter turn. Repeat this motion for 8 to 10 minutes.
- If using a stand mixer: run the dough hook on medium speed (speed 2 on most mixers) for 6 to 8 minutes.
- The dough is ready when it is smooth, elastic, and slightly tacky but not sticky. It should bounce back slowly when you poke it with a fingertip.
- If the dough is too sticky, add flour one tablespoon at a time. If it tears instead of stretching, keep kneading.
4. First Rise (Bulk Fermentation)
- Lightly coat a large clean bowl with olive oil.
- Shape the dough into a ball and place it in the oiled bowl, turning once to coat all surfaces.
- Cover the bowl tightly with plastic wrap or a clean damp kitchen towel.
- Set it in a warm, draft-free spot. A turned-off oven with just the light on works well (aim for 75 to 80°F / 24 to 27°C).
- Let the dough rise for 1 to 1.5 hours, or until it has doubled in size.
5. Shape the Loaf
- Gently punch down the risen dough to release the gas.
- Turn the dough onto a lightly floured surface and pat it into a rough rectangle about 10 inches long.
- Fold the top third of the dough down toward the center, then fold the bottom third up over that, like a letter.
- Roll the dough tightly from one end to form a log shape roughly 12 to 14 inches long.
- Pinch the seam firmly along the bottom to seal it.
- Alternatively, shape it into a round boule by tucking the edges underneath and rotating the ball against the work surface to build surface tension.
- Place the shaped loaf seam-side down on a parchment-lined baking sheet or transfer peel.
6. Second Rise (Proofing)
- Loosely cover the shaped loaf with lightly oiled plastic wrap or a clean towel.
- Let it rest and rise again for 45 to 60 minutes, until it is noticeably puffed and jiggly when you gently shake the pan.
- This second rise is essential for flavor and the final open crumb structure.
- While the dough proofs, preheat your oven to 425°F (220°C) with the baking stone or baking sheet inside on the middle rack. Place an empty small oven-safe pan on the bottom rack for steam.
7. Score and Wash
- In a small bowl, whisk together the egg white and 1 tablespoon of water to make the egg wash.
- Using a pastry brush, gently brush a thin layer of egg wash over the entire surface of the proofed loaf. This gives the crust its gorgeous golden shine.
- Use a bread lame or very sharp serrated knife to score the top of the loaf with 3 to 4 diagonal cuts about ½ inch deep. Cut with a quick, confident motion at a 30-degree angle. Scoring allows the bread to expand upward in the oven rather than bursting randomly on the sides.
- Sprinkle sesame seeds or poppy seeds over the top if using.
8. Create Steam and Bake
- Carefully pour about 1 cup (240ml) of hot water into the empty pan on the bottom rack of the oven to create steam. Do this quickly and shut the oven door immediately to trap the steam.
- Slide the loaf (on its parchment) onto the hot baking stone or preheated baking sheet.
- Bake at 425°F (220°C) for 25 to 30 minutes until deep golden brown. The internal temperature should read 200 to 205°F (93 to 96°C) on an instant-read thermometer.
- The crust should feel hard and sound hollow when you tap the bottom of the loaf.
9. Cool Before Slicing
- Transfer the baked loaf immediately to a wire cooling rack.
- Resist the urge to slice it for at least 20 to 30 minutes. The interior continues to set as steam escapes, and cutting too soon results in a gummy crumb.
- The crust will crackle and creak as it cools, which is a completely normal and deeply satisfying sound.
This recipe pairs wonderfully with Italian Meatballs for a classic family dinner spread.
Tips for Success
Small adjustments make a big difference in homemade bread. Here are the most impactful tips to get a consistently beautiful loaf:
- Measure flour by weight, not volume. Spooning flour into a cup packs it down and can add 20 to 30% more than intended, resulting in a dense loaf. A kitchen scale removes all guesswork.
- Use bread flour, not all-purpose. Bread flour has about 12 to 14% protein versus 10 to 11% in all-purpose flour. That extra protein builds more gluten, giving you the chewy, airy crumb Italian bread is known for.
- Don’t rush the rises. Fermentation is where flavor develops. A cold, rushed dough produces bland bread. If your kitchen is cold, extend the rise times rather than moving to the next step too early.
- Check your yeast date. Yeast has a shelf life. If yours has been sitting in a warm pantry for over a year, proof it first to confirm it’s still active before mixing your dough.
- Steam in the oven is non-negotiable. The burst of steam in the first 10 minutes of baking keeps the crust flexible long enough for maximum oven spring (rise), then allows it to harden into a proper crust during the remaining bake time.
- Score confidently. Timid, shallow cuts don’t open up properly. Make your slashes at a 30-degree angle with one smooth stroke per cut.
- Cool completely before storing. Sealing a warm loaf traps moisture and softens the crust.
You might also enjoy: Rosemary Focaccia Recipe
Serving Suggestions
Italian bread is one of the most versatile things you can put on a table, and it shines in every role.
Slice it thick and serve it alongside a bowl of Minestrone Soup or Italian Wedding Soup for a complete and comforting meal. The crusty exterior holds up to dipping without falling apart.
Here are more delicious ways to serve this Italian bread:
- Slice and serve with a plate of seasoned olive oil and balsamic vinegar for dipping
- Use as the base for classic bruschetta topped with tomato, basil, and garlic
- Slice thickly and layer with Italian Meatballs and marinara for a hearty sandwich
- Serve warm alongside Baked Ziti or pasta for a restaurant-style dinner at home
- Toast slices and top with butter and a sprinkle of sea salt for the simplest, most satisfying snack
- Use day-old slices in a Bread Pudding for a creative use of leftovers
- Pair with a charcuterie board with cured meats, olives, and cheeses
Read Also: Zuppa Toscana Recipe
Variations to Try
Once you’ve mastered the base recipe, there are so many directions to take it. Italian bread adapts beautifully to added flavors and alternative shapes.
Here are some popular and delicious variations:
- Garlic Herb Italian Bread: Add 2 cloves of minced roasted garlic and 1 tablespoon of dried Italian herbs (oregano, basil, rosemary) directly into the dough during mixing. The flavors infuse throughout the crumb.
- Seeded Loaf: Press a generous coating of sesame seeds, poppy seeds, or fennel seeds onto the outside of the shaped loaf before the second rise for a nutty, aromatic crust.
- Cheesy Italian Bread: Fold in ½ cup (50g) of grated Pecorino Romano or Parmesan during the final minute of kneading for a savory, salty crumb that pairs beautifully with soups.
- Olive Oil and Rosemary: Brush the shaped loaf with a generous amount of olive oil and press fresh rosemary sprigs into the surface before baking, similar to a focaccia finish.
- Whole Wheat Italian Bread: Swap out up to half the bread flour (2 cups / 240g) for whole wheat flour. The loaf will be slightly denser but has a wonderful nutty flavor. You may need to add a bit more water to account for the higher absorption of whole wheat.
- Italian Rolls: Divide the finished dough into 8 equal portions and shape each into a small oval roll. Reduce baking time to 18 to 22 minutes. Perfect for sandwiches.
- Braided Italian Bread: Divide the dough into three equal ropes and braid them together. Pinch the ends and fold them underneath. This shape creates a stunning presentation for holidays and gatherings.
For a related homemade bread with a gorgeous open crumb, try this Dutch Oven Bread Recipe.
Storage and Reheating
Proper storage keeps your Italian bread tasting fresh as long as possible. The biggest enemy of a good crust is moisture, so avoid storing the loaf in plastic while it’s still warm or at room temperature.
Here’s how to store and reheat Italian bread:
- Room temperature (up to 2 days): Wrap the cooled loaf loosely in a paper bag or a clean kitchen towel. A paper bag lets the crust breathe and stay crisp. Avoid airtight plastic bags at room temperature, as they trap humidity and turn the crust soft.
- Longer storage (up to 5 days): Once the loaf has cooled completely, store it in an airtight plastic bag or container in a cool spot. The crust will soften, but the flavor stays good.
- Freezing (up to 3 months): Slice the loaf before freezing so you can pull out individual pieces as needed. Wrap tightly in plastic wrap, then place in a zip-top freezer bag. Thaw at room temperature or warm slices directly from frozen.
- Reheating: Preheat your oven to 350°F (175°C). Place the loaf (or slices) directly on the oven rack or a baking sheet for 8 to 10 minutes. This revives the crust and warms the crumb beautifully. Do not microwave the whole loaf, as it toughens the crumb.
This same storage approach works for Soft Dinner Rolls if you’re baking those alongside.
Nutritional Facts
The following is an estimate based on one serving (approximately 1 slice, or 1/12 of the loaf) with standard ingredients. Values may vary depending on exact ingredient brands and portion sizes.
| Nutrient | Amount Per Slice |
|---|---|
| Calories | 165 |
| Total Fat | 2.5g |
| Saturated Fat | 0.4g |
| Cholesterol | 0mg |
| Sodium | 290mg |
| Total Carbohydrates | 30g |
| Dietary Fiber | 1g |
| Sugars | 0.5g |
| Protein | 5g |
| Iron | 10% DV |
| Calcium | 2% DV |
Italian bread is relatively low in fat compared to enriched breads like brioche or challah, making it a lighter choice that still delivers satisfying carbohydrates for energy.
Read Also: Whole Wheat Bread Recipe
Health Benefits of Key Ingredients
This bread is simple, but each ingredient plays a meaningful nutritional role beyond just structure and flavor.
Bread flour forms the foundation of the recipe and provides complex carbohydrates for sustained energy release. It also contains a modest amount of B vitamins and iron, especially when made with enriched flour.
Here is a closer look at the health benefits of the key ingredients in this Italian bread recipe:
- Bread Flour: A good source of protein (5g per slice), which supports muscle maintenance and satiety. The protein content also drives the gluten development that gives Italian bread its chewy texture.
- Extra Virgin Olive Oil: Contains heart-healthy monounsaturated fatty acids and powerful antioxidants, including oleocanthal, which has natural anti-inflammatory properties. Even the small amount used in this recipe contributes.
- Active Dry Yeast: A natural source of B vitamins, including B1 (thiamine), B2 (riboflavin), and B3 (niacin). Yeast fermentation also partially breaks down phytic acid in flour, which can improve the bioavailability of minerals like zinc and magnesium.
- Fine Sea Salt: Provides sodium necessary for electrolyte balance, used here in modest amounts. Sea salt also contains trace minerals not found in heavily processed table salt.
- Water: Water is not just a liquid carrier. It activates the yeast, dissolves the salt, and hydrates the flour proteins to form gluten. The quality and temperature of your water matter.
For another fiber-forward baking option, check out this Whole Wheat Sourdough Bread Recipe.
Frequently Asked Questions
1. Can I use all-purpose flour instead of bread flour?
Yes, you can use all-purpose flour, and the bread will still turn out well. The main difference is that all-purpose flour has slightly less protein, so the crumb will be a little less chewy and the gluten network won’t be quite as developed. If all-purpose is all you have, use it and the result will still be a delicious homemade loaf.
2. Why didn’t my bread rise properly?
The most common culprits are expired yeast, water that was too hot (above 115°F / 46°C kills yeast), or a drafty, cold environment during rising. Always proof your yeast first to confirm it’s active, use a thermometer to check water temperature, and find a consistently warm spot for your rises.
3. How do I know when the bread is done baking?
The most reliable method is an instant-read thermometer. Italian bread is fully baked when the internal temperature reaches 200 to 205°F (93 to 96°C). Visually, the loaf should be deep golden brown on all sides. When you tap the bottom of the loaf, it should sound hollow, like a drum.
4. Can I make this Italian bread recipe ahead of time?
Absolutely. After the first rise, you can punch down the dough, shape it, cover it tightly, and refrigerate it overnight (up to 16 hours). The next day, take it out of the fridge and let it come to room temperature for about 30 minutes before scoring and baking. This slow cold proof also develops a deeper, more complex flavor.
5. Why is my crust soft instead of crispy?
A soft crust usually comes from two things: not enough steam during baking, or storing the bread in an airtight container before it cools completely. Make sure you add the pan of hot water right when you load the loaf into the oven, and always cool the bread fully on a wire rack before storing. You can also re-crisp a softened loaf by placing it directly on the oven rack at 350°F (175°C) for about 8 minutes.
Read Also: Beer Bread Recipe
Final Thoughts
Homemade Italian bread is one of those recipes that feels like a bigger deal than it actually is to make. Once you’ve done it once, you’ll realize the process is straightforward and deeply satisfying, from the moment the dough comes together to the sound of that crust crackling as it cools on the rack.
Give this Italian bread recipe a try this week and see just how much better a homemade loaf is compared to anything from a store shelf. If you make it, I’d love to hear how it turned out. Drop a comment below, share a photo, or pass the recipe along to a friend who loves to bake!
Recommended:
- French Bread Recipe
- Artisan Bread Recipe
- Dutch Oven Sourdough Bread Recipe
- Sourdough Focaccia Recipe
- Brioche Recipe
- Cheesy Garlic Bread Recipe
- Air Fryer Garlic Bread Recipe
- Sourdough Discard Breadsticks Recipe
- Pasta Fagioli Recipe
- Lasagna Recipe with Ricotta