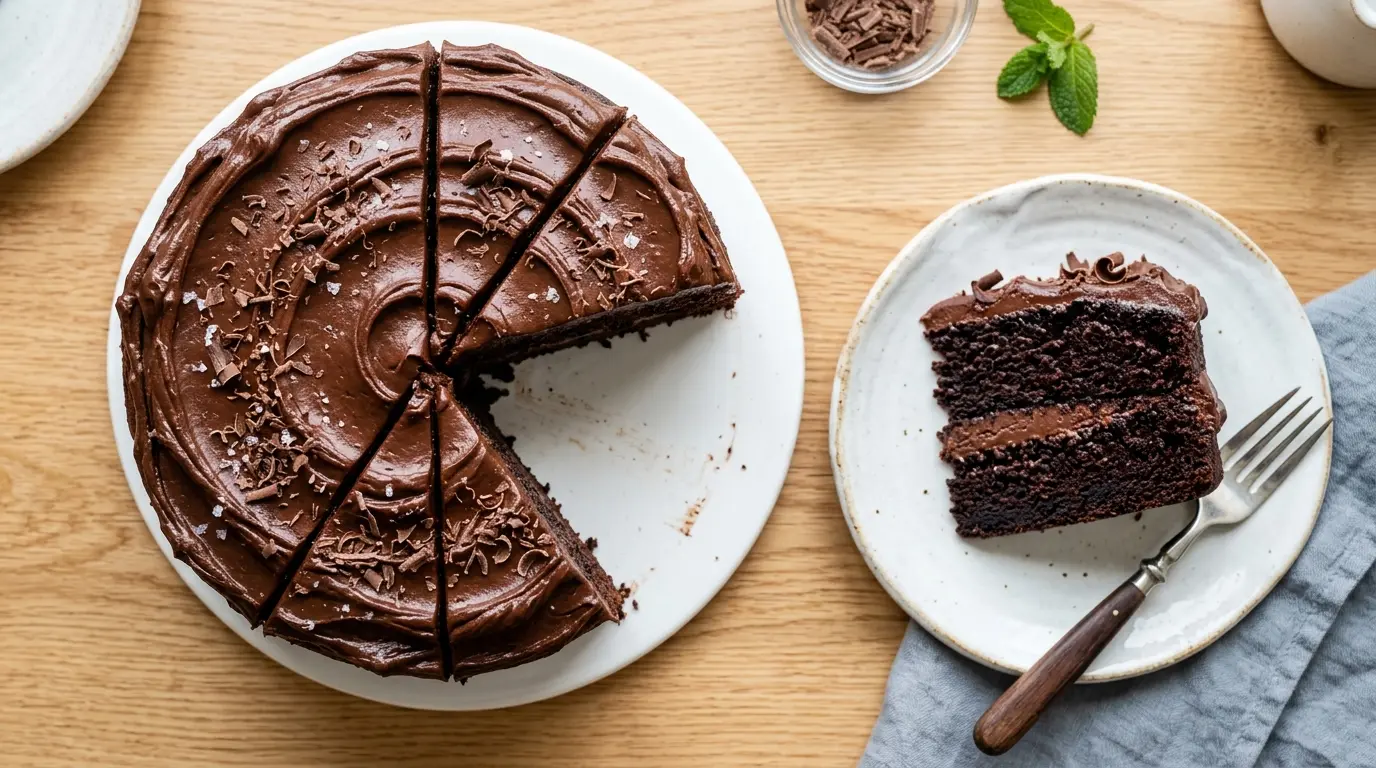
If you have a jar of sourdough discard sitting in your fridge and a serious chocolate craving, this sourdough discard chocolate cake recipe is exactly what you need to make today.
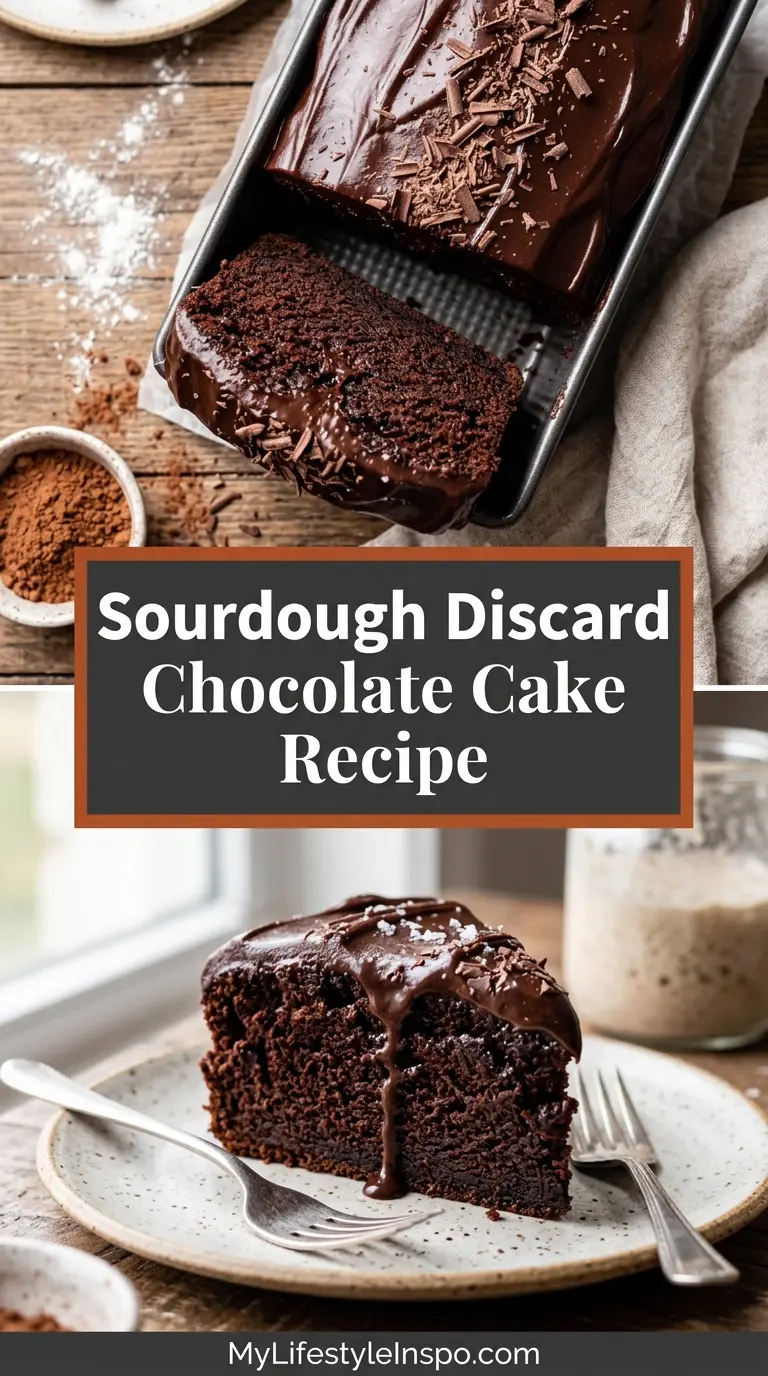
This cake is deeply fudgy, incredibly moist, and topped with a silky chocolate buttercream that takes it completely over the top.
The discard does something magical here. It adds a subtle tang that balances out the sweetness, and the extra acidity helps the cocoa powder bloom more fully, which means more intense chocolate flavor in every single bite.
You don’t need to be a sourdough expert to make this. The discard is just a wet ingredient, no fermentation time required.
All you need is one bowl, basic pantry staples, and about an hour. The result is a layer cake that genuinely rivals anything from a bakery.
If you’ve been looking for a reason to keep your sourdough starter alive, this is it.
Love baking with your discard? You’ll want to bookmark this Sourdough Discard Banana Bread next.
Why You’ll Love This Sourdough Discard Chocolate Cake Recipe
This cake earns a permanent spot in your recipe rotation, and here’s why.
The texture is exceptional. Oil-based chocolate cakes stay moist for days longer than butter-based versions, and the sourdough discard adds even more tender richness to the crumb.
The chocolate flavor is deep and complex, not one-dimensional. Blooming the cocoa powder in hot coffee unlocks a level of chocolate intensity that plain water simply can’t match.
It’s a brilliant way to reduce waste. Instead of throwing away your sourdough discard with every feeding, you’re turning it into a showstopping dessert.
The frosting is luscious without being overly sweet. Made with real butter, cocoa powder, and a splash of cream, it strikes the perfect balance.
Even beginner bakers can nail this recipe on the first try. The method is simple, the steps are clear, and the result is consistently stunning.
- Ultra-moist crumb that stays soft for days
- Deep, complex chocolate flavor thanks to hot coffee and quality cocoa
- Subtle tang from the discard that perfectly balances the sweetness
- Easy one-bowl batter with no special equipment needed
- Impressive enough for birthdays, dinner parties, or any celebration
- A genuinely delicious way to use up your sourdough discard
Read Also: Sourdough Discard Chocolate Chip Cookies Recipe
Ingredients
This recipe uses pantry-friendly ingredients, with the sourdough discard doing the heavy lifting on flavor. Make sure your discard is no more than one to two days old for the best result. Room temperature ingredients mix together more smoothly and produce a more even crumb.
For the Cake:
- 1 cup (240g) sourdough discard, room temperature
- 2 cups (250g) all-purpose flour
- 2 cups (400g) granulated sugar
- ¾ cup (75g) Dutch-process cocoa powder, sifted
- 2 tsp baking soda
- 1 tsp baking powder
- 1 tsp fine sea salt
- 2 large eggs, room temperature
- 1 cup (240ml) full-fat buttermilk, room temperature
- 1 cup (240ml) strong brewed coffee (or hot water), cooled slightly
- ½ cup (120ml) neutral vegetable oil (such as canola or avocado oil)
- 2 tsp pure vanilla extract
For the Chocolate Buttercream Frosting:
- 1 cup (225g) unsalted butter, softened to room temperature
- 3 cups (360g) powdered sugar, sifted
- ¾ cup (75g) Dutch-process cocoa powder, sifted
- ¼ cup (60ml) heavy cream, plus more as needed
- 1 tsp pure vanilla extract
- Pinch of fine sea salt
Another discard recipe worth trying: Sourdough Discard Cinnamon Rolls
Kitchen Equipment Needed
You don’t need anything fancy to make this cake. A couple of good mixing bowls, a hand mixer or stand mixer for the frosting, and two round cake pans are all you really need. A digital kitchen scale makes measuring flour and cocoa more accurate, which does make a difference in baking.
- Two 9-inch (23cm) round cake pans
- Parchment paper, for lining
- Large mixing bowl
- Medium mixing bowl
- Digital kitchen scale
- Whisk
- Rubber spatula
- Hand mixer or stand mixer (for the frosting)
- Toothpick or cake tester
- Wire cooling rack
- Offset spatula or butter knife (for frosting)
- Sifter or fine mesh strainer
- Measuring cups and spoons
Read Also: Sourdough Discard Waffles Recipe
Recommended Products for This Recipe
These are products I genuinely recommend based on how much they improve the final result of this cake. Each one makes a noticeable difference.
1. Valrhona Dutch-Process Cocoa Powder
Dutch-process cocoa powder produces a darker, richer, less acidic chocolate flavor than natural cocoa powder. Valrhona is widely regarded as one of the best for baking, giving you that deep, almost bittersweet chocolate intensity that makes this cake so memorable. Using a high-quality cocoa is the single biggest upgrade you can make to this recipe.
2. Fat Daddio’s 9-Inch Round Cake Pans
Even heat distribution is critical for a moist, level cake. Fat Daddio’s anodized aluminum pans are a favorite among bakers for exactly this reason. They heat evenly, release cakes cleanly, and don’t warp in the oven.
3. KitchenAid Hand Mixer
A hand mixer makes the chocolate buttercream beautifully smooth and fluffy in just a few minutes. It’s far more efficient than beating by hand, and the difference in frosting texture is noticeable. This is one kitchen tool that pays for itself quickly.
4. OXO Good Grips Offset Spatula
Frosting a cake cleanly is much easier with a proper offset spatula. The angled blade lets you spread frosting smoothly across the top and down the sides without your hand getting in the way.
5. OXO Digital Kitchen Scale
Weighing your flour and cocoa powder is the best way to ensure consistent results every time you bake this cake. Scooping flour from a bag can add 20 to 30 percent more than the recipe calls for, leading to a denser, drier crumb.
You might also enjoy: Sourdough Discard Blueberry Muffins
Step-by-Step Instructions
1. Prepare Your Pans and Preheat the Oven
- Preheat your oven to 350°F (175°C) and position a rack in the center.
- Grease two 9-inch round cake pans thoroughly with butter or nonstick cooking spray, making sure to coat the sides as well as the bottom.
- Cut two circles of parchment paper to fit the bottom of each pan and press them in. Grease the parchment as well. This double-greasing ensures clean, easy release.
- Set the prepared pans aside.
2. Combine the Dry Ingredients
- In a large mixing bowl, sift together the all-purpose flour, sifted Dutch-process cocoa powder, baking soda, baking powder, and fine sea salt.
- Whisk everything together for about 30 seconds so the leavening agents and salt are evenly distributed throughout the flour and cocoa mixture.
- Set the dry ingredient bowl aside.
3. Bloom the Cocoa with Coffee
- In a separate medium-sized bowl or large measuring cup, combine the slightly cooled hot coffee with 2 tablespoons of the sifted cocoa powder from your dry mixture.
- Whisk vigorously for about 30 seconds until the cocoa is fully dissolved and the mixture is smooth. This process is called blooming, and it activates the cocoa solids, releasing a much deeper and richer chocolate flavor that carries through the entire cake.
- Set aside and allow to cool slightly if still very hot.
4. Mix the Wet Ingredients
- In a separate large bowl (or the bowl of a stand mixer), whisk together the granulated sugar and vegetable oil until well combined, about 1 minute.
- Add the two room-temperature eggs, one at a time, whisking well after each addition. The batter should look pale and slightly thickened.
- Add the sourdough discard and whisk until it is fully incorporated with no visible lumps or streaks of discard remaining. This step is important because unmixed discard can create dense, rubbery spots in the finished cake.
- Add the buttermilk and vanilla extract and whisk until everything is smooth and uniform.
5. Combine Wet and Dry Ingredients
- Pour the coffee-cocoa mixture into the wet ingredient bowl and whisk gently to combine.
- Add the dry ingredients (flour, cocoa, baking soda, baking powder, salt mixture) all at once to the wet ingredients.
- Gently fold everything together with a rubber spatula using slow, deliberate strokes. Mix just until no dry streaks remain. Do not overmix. Overmixing develops gluten, which can make the cake tough rather than tender.
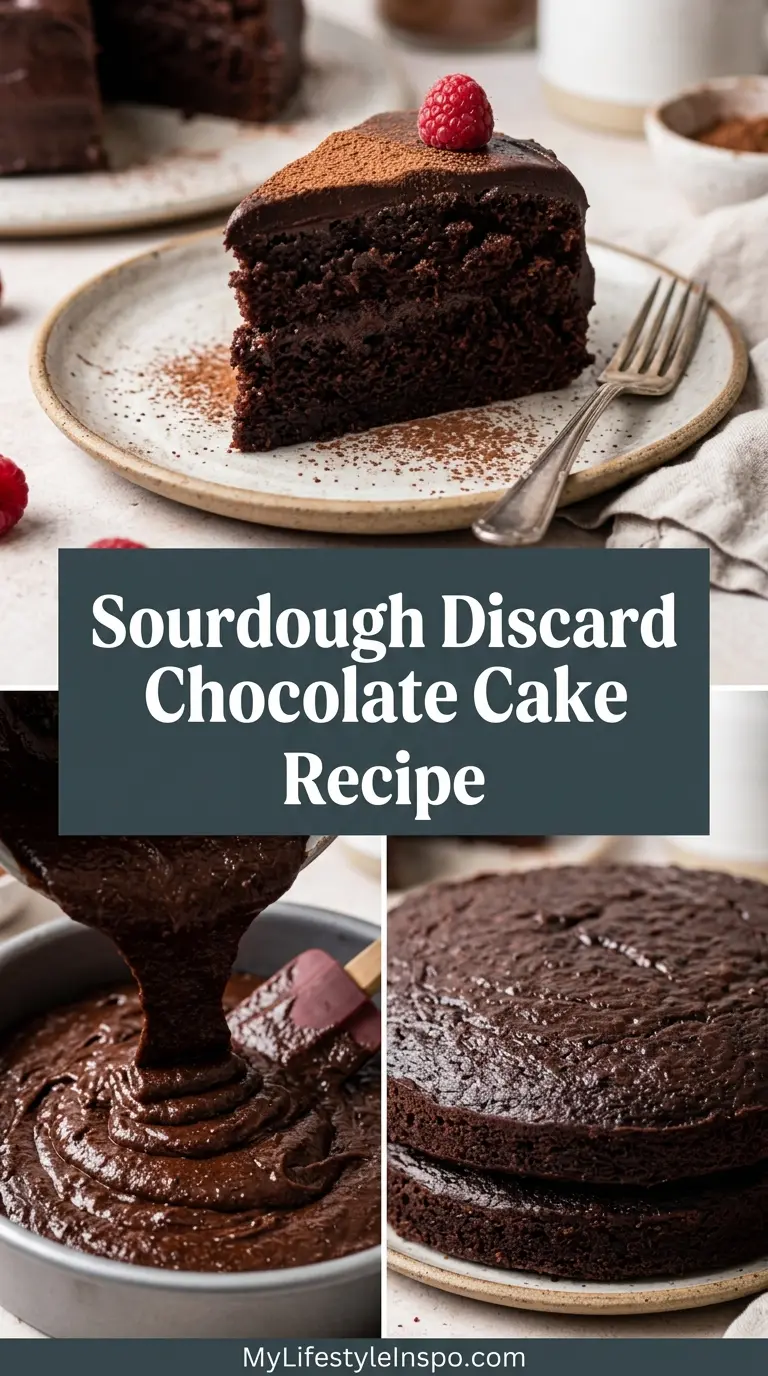
- The batter will be quite thin and pourable. This is completely normal and is actually what creates the moist, fudgy crumb.
6. Bake the Cake Layers
- Divide the batter evenly between the two prepared cake pans. You can use a kitchen scale to weigh each pan for perfectly even layers, which makes the finished cake easier to frost.
- Gently tap each pan on the counter two or three times to release any trapped air bubbles.
- Place both pans on the center rack of the preheated oven. If your oven is small, bake one pan at a time.
- Bake for 30 to 35 minutes. Start checking at the 30-minute mark by inserting a toothpick into the center of the cake. If it comes out clean or with just a few moist crumbs (not wet batter), the cake is done.
- Do not open the oven door before the 28-minute mark, as the sudden drop in temperature can cause the cake to sink in the center.
- Remove from the oven and allow the cakes to cool in their pans on a wire rack for 15 minutes.
7. Cool the Cake Layers
- After 15 minutes, run a thin knife or offset spatula around the edges of each pan to loosen the cake.
- Invert each cake layer onto a wire cooling rack, peel off the parchment paper, and allow them to cool completely to room temperature before frosting. This usually takes about 1 to 1.5 hours.
- Do not try to frost a warm cake. The heat will melt the buttercream and cause it to slide right off.
8. Make the Chocolate Buttercream Frosting
- In a large bowl, beat the softened unsalted butter with a hand mixer on medium speed for about 3 minutes until it is very pale, creamy, and fluffy. Properly creaming the butter is the foundation of a great frosting.
- Sift in the powdered sugar and Dutch-process cocoa powder a little at a time, alternating between the two to prevent the mixer from sending a cloud of powder into the air.
- Add the heavy cream, vanilla extract, and pinch of salt.
- Beat on medium-high speed for 3 to 4 minutes until the frosting is light, fluffy, and silky smooth. If the frosting seems too thick, add additional heavy cream one teaspoon at a time. If it seems too thin, add more sifted powdered sugar.
- Taste and adjust sweetness or salt as needed.
9. Frost and Assemble the Cake
- Place one cooled cake layer on your serving plate or cake stand. If the top of the layer has domed, you can level it with a serrated knife for a flatter surface.
- Spread a generous, even layer of chocolate buttercream over the top of the first layer using your offset spatula.
- Carefully place the second cake layer on top, flat side up.
- Apply a thin crumb coat of frosting over the entire cake. This thin layer traps any loose crumbs so they don’t show up in the final layer of frosting. Refrigerate for 15 minutes to set the crumb coat.
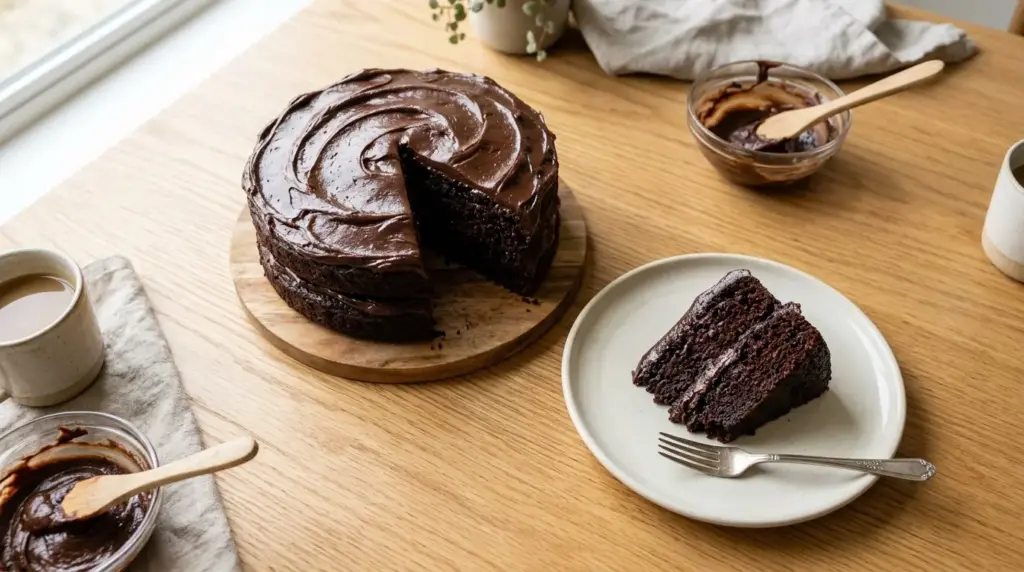
- Apply the remaining frosting generously over the top and sides of the cake, smoothing it as you go. Use the edge of your offset spatula to create swirls or a smooth finish according to your preference.
10. Slice and Serve
- Allow the frosted cake to rest at room temperature for at least 30 minutes before slicing so the frosting sets completely.
- Slice with a sharp knife, wiping the blade clean between cuts for the neatest slices.
- Serve at room temperature for the best flavor and texture. Enjoy!
This technique pairs beautifully with the light, tangy flavor of Sourdough Discard French Toast if you’re planning a weekend brunch alongside your baking.
Tips for Success
A few simple habits make the difference between a good chocolate cake and a truly great one. Keep these in mind every time you make this recipe.
- Use room temperature ingredients. Cold eggs, cold buttermilk, and cold sourdough discard don’t incorporate as smoothly into the batter. Take everything out of the fridge 45 to 60 minutes before baking.
- Weigh your flour and cocoa. Volume measurements for powdery ingredients like flour and cocoa are notoriously inconsistent. A kitchen scale removes all of the guesswork.
- Don’t skip the coffee. You will not taste coffee in the finished cake. What the hot coffee does is amplify the chocolate flavor dramatically. If you’d prefer to avoid caffeine, use hot water, but the coffee version is noticeably richer.
- Use fresh leavening agents. Old baking soda and baking powder lose their potency. If your cakes tend to be flat or dense, this is often the culprit.
- Don’t overmix the batter. Once you add the dry ingredients, mix only until just combined. Overmixing develops gluten and results in a tough, rubbery cake.
- Don’t open the oven early. The sudden drop in temperature can deflate a half-baked cake. Use the oven light to check on things, and only open the door when it’s time to test.
- Cool completely before frosting. This is non-negotiable. Even a slightly warm cake will cause the buttercream to melt and slide.
Read Also: Sourdough Discard Pancakes Recipe
Serving Suggestions
This cake is impressive on its own, but a few thoughtful additions can take it from great to absolutely memorable. It’s rich and decadent, so smaller slices with a complementary topping go a long way.
Consider pairing a slice with a scoop of vanilla ice cream. The cold, creamy contrast against the fudgy chocolate is a combination that never gets old.
A drizzle of warm caramel sauce over each slice adds a gorgeous sweet-salty contrast that works beautifully with the deep chocolate flavor.
Fresh raspberries or sliced strawberries on the side cut through the richness of the chocolate with a little natural tartness.
A dusting of flaky sea salt over the frosting right before serving enhances every other flavor on the plate without making the cake taste salty.
For a coffee-themed dessert spread, serve this alongside a mug of hot chocolate or a strong espresso.
- A scoop of Vanilla Bean Ice Cream on the side
- Warm caramel drizzle from a classic Caramel Sauce
- Fresh raspberries or sliced strawberries for brightness
- Flaky sea salt sprinkled over the frosting
- A generous helping of Chocolate Ganache poured over the top for an extra-indulgent finish
- A hot mug of dark roast coffee or espresso on the side
Read Also: Chocolate Buttercream Frosting Recipe
Variations to Try
Once you’ve made the base recipe, there are plenty of delicious directions you can take it. These variations keep the same structure but change the flavor profile or presentation enough to feel like a brand new dessert.
- Bundt Cake Version: Pour the batter into a well-greased Bundt pan and bake at 350°F (175°C) for 40 to 50 minutes. Finish with a simple chocolate ganache drizzle instead of buttercream.
- Sheet Cake Version: Pour the batter into a greased 13×9-inch baking pan and bake for 30 to 35 minutes. This is the easiest version to transport for potlucks or parties.
- Mocha Frosting Variation: Add 1 tablespoon of instant espresso powder to the buttercream for a coffee-chocolate frosting that intensifies the mocha notes already in the cake.
- Salted Caramel Filling: Spread a layer of homemade salted caramel between the two cake layers before frosting the exterior with buttercream.
- Cream Cheese Frosting Swap: Replace the chocolate buttercream with a classic Cream Cheese Frosting. The slight tang of the cream cheese plays beautifully against the chocolate.
- Chocolate Ganache Glaze: Instead of buttercream, pour a warm ganache over the top and let it drip down the sides for a stunning, glossy finish.
- Add Chocolate Chips: Fold 1 cup of semi-sweet or dark chocolate chips into the batter just before pouring it into the pans for even more chocolate in every bite.
For another creative baking project using sourdough discard, try making Sourdough Discard Crackers.
Storage and Reheating
This cake keeps well and actually gets more moist on the second day, making it an excellent make-ahead option for celebrations. Proper storage keeps it fresh and fudgy for several days.
- Room Temperature: Store the frosted cake under a cake dome or covered loosely with plastic wrap at room temperature for up to 2 days. Refrigerating it is not necessary if your kitchen isn’t too warm.
- Refrigerator: Store covered in the refrigerator for up to 5 days. Remove from the fridge about 45 minutes before serving to allow the frosting to soften back to room temperature.
- Freezer (Unfrosted Layers): Wrap each cooled cake layer tightly in plastic wrap, then in foil, and freeze for up to 3 months. Thaw overnight in the refrigerator, then frost as normal.
- Freezer (Frosted Slices): Individual frosted slices can be frozen on a baking sheet, then transferred to a freezer-safe bag for up to 2 months. Thaw at room temperature for about 1 hour before serving.
- Reheating: If you prefer a slightly warm slice, microwave an individual piece (without frosting if possible) for 10 to 15 seconds. The frosting does not reheat well, so it is best enjoyed at room temperature.
Another delicious discard recipe to add to your rotation: Sourdough Discard Dinner Rolls
Nutritional Facts
The values below are estimates for one slice of frosted cake, assuming the cake is cut into 12 equal slices. Actual values will vary based on ingredient brands and exact portion sizes.
| Nutrient | Per Slice (Approx.) |
|---|---|
| Calories | 520 kcal |
| Total Fat | 26g |
| Saturated Fat | 11g |
| Cholesterol | 72mg |
| Sodium | 380mg |
| Total Carbohydrates | 70g |
| Dietary Fiber | 4g |
| Sugars | 49g |
| Protein | 6g |
These values are for informational purposes only and should not be used as a substitute for professional dietary advice.
Read Also: Chocolate Cake Recipe
Health Benefits of Key Ingredients
This is definitely a treat, but several of the core ingredients bring meaningful nutritional value alongside the indulgence. Here’s a look at what some of the key ingredients contribute.
Sourdough Discard contains beneficial bacteria and wild yeasts from the fermentation process. While baking neutralizes live cultures, the discard still contributes organic acids that may support better digestibility compared to cakes made without fermented ingredients.
Dark Cocoa Powder is packed with flavonoids, a class of plant compounds linked to improved heart health and reduced inflammation. The Dutch-process version used here is rich, flavorful, and provides a meaningful dose of these antioxidants per serving.
Eggs bring complete protein, as well as fat-soluble vitamins A, D, E, and K. They also provide choline, a nutrient important for brain health that many people don’t get enough of.
Coffee (used in the batter) contains antioxidants and has been associated with a range of health benefits in numerous studies, from improved cognitive function to liver protection.
- Sourdough discard adds fermented organic acids that may support digestibility
- Dutch-process cocoa powder is high in flavonoids and antioxidants
- Eggs provide complete protein and essential fat-soluble vitamins
- Coffee deepens flavor while contributing its own antioxidant compounds
- Buttermilk adds calcium and probiotics that support gut and bone health
- Vegetable oil provides unsaturated fats, which are easier on heart health than many saturated alternatives
Another baked good that uses sourdough discard in a surprisingly wholesome way: Sourdough Discard Naan
Frequently Asked Questions
1. Can I use sourdough starter instead of discard?
Yes, you can use active sourdough starter instead of discard without any problem. The flavor difference is minimal, as the starter won’t ferment any further during the short mixing and baking time. Either unfed discard or active starter works well here.
2. What can I substitute for buttermilk?
If you don’t have buttermilk on hand, you can make a quick substitute by adding 1 tablespoon of white vinegar or fresh lemon juice to 1 cup of regular whole milk. Stir, let it sit for 5 minutes, and it’s ready to use. This mimics the acidity and slight tang of real buttermilk.
3. Can I make this cake without coffee?
Absolutely. Hot water works fine as a substitute. The coffee is used to bloom the cocoa and add moisture, but you won’t taste coffee in the finished cake. That said, the coffee version does produce a noticeably deeper chocolate flavor, so use it if you can.
4. Why did my cake sink in the middle?
The most common cause is opening the oven door too early before the cake has had time to set. Other causes include expired leavening agents (baking soda or baking powder that has lost its potency) or underbaking the cake. Always test with a toothpick before removing from the oven.
5. How far in advance can I make this cake?
You can bake the cake layers up to 2 days in advance and store them tightly wrapped at room temperature. The frosting can also be made ahead and refrigerated in an airtight container for up to 3 days. Bring it back to room temperature and re-whip before using. Fully assembled and frosted, the cake keeps beautifully for 5 days in the refrigerator.
This recipe pairs wonderfully with other sourdough discard bakes. For your next weekend project, check out the Sourdough Discard Focaccia for a savory balance to all this chocolate indulgence.
Final Thoughts
This sourdough discard chocolate cake recipe is proof that something wonderful can come from what most people throw away.
It’s rich, deeply chocolatey, moist for days, and genuinely one of the best chocolate cakes you can make at home.
The sourdough discard adds a layer of complexity that you can’t get from a standard chocolate cake recipe, and once you taste the difference, you’ll find yourself looking forward to every jar of discard.
Give this recipe a try and see for yourself. Drop a comment below and let me know how it turned out, or share a photo if you made it your own with a fun variation.
Recommended:
- Sourdough Discard Pretzels
- Sourdough Discard Tortillas
- Sourdough Discard Bagels
- Sourdough Discard Pita Bread
- Sourdough Discard Flatbread
- Sourdough Discard Breadsticks
- Sourdough Discard Biscuits
- Sourdough Discard English Muffins
- Moist Chocolate Cake
- Easy Chocolate Cake

