If you have ever bitten into a slice of red velvet cake or a warm cinnamon roll and marveled at that luscious, tangy topping, you already know the magic of a good cream cheese frosting recipe. This classic frosting is the kind that turns ordinary baked goods into something truly unforgettable. It strikes the ideal balance between sweet and tangy, with a silky-smooth texture that pipes beautifully and spreads like a dream.
What makes this version stand out is the technique. Using full-fat block cream cheese (not the spreadable kind in a tub) and real unsalted butter at the right temperature makes all the difference between a frosting that holds its shape and one that turns soupy. A touch of pure vanilla extract rounds out the flavor, and the ratio of powdered sugar is just right. Not too sweet, not too tart.
This frosting comes together in under 10 minutes with just a handful of pantry staples. It is thick enough to pipe onto cupcakes, smooth enough to spread across a layered cake, and sturdy enough to hold up at room temperature for a few hours. Once you make it from scratch, you will never go back to store-bought.
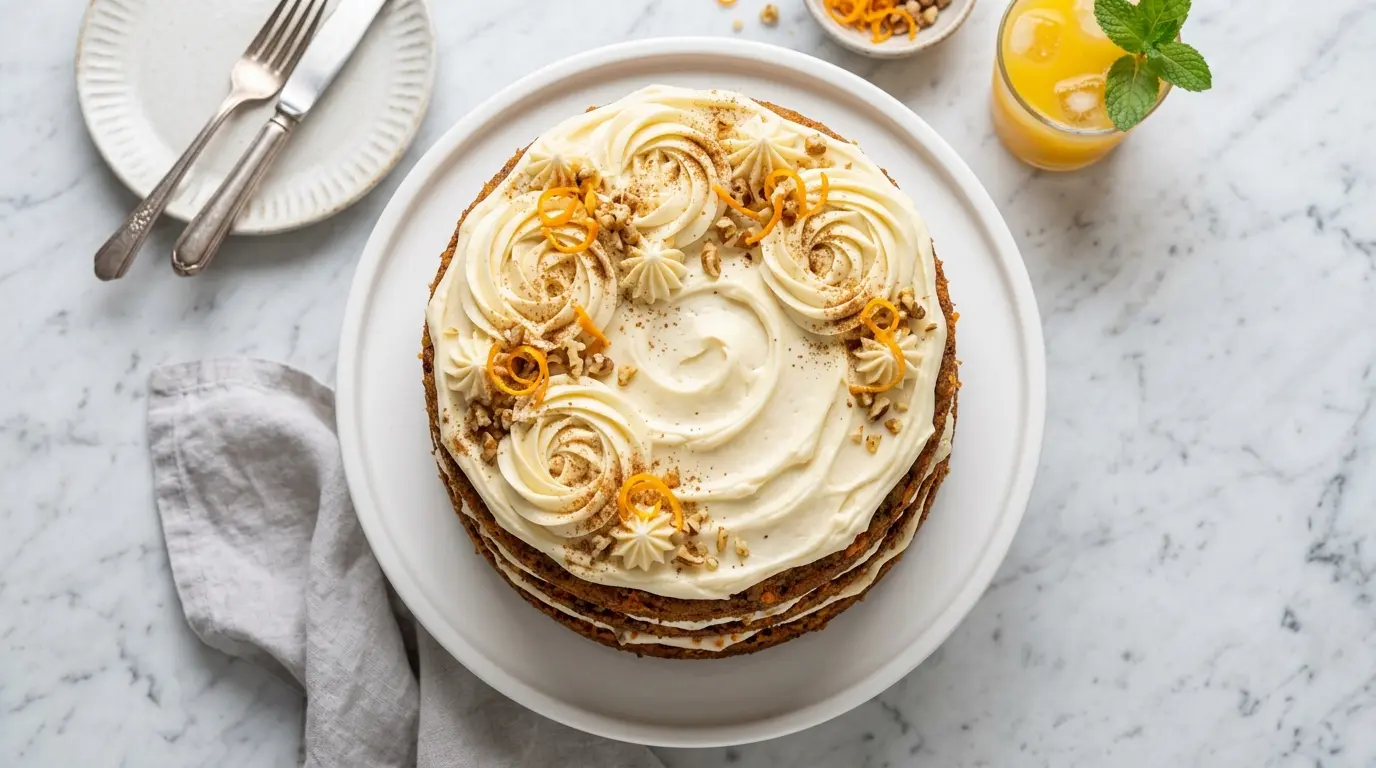
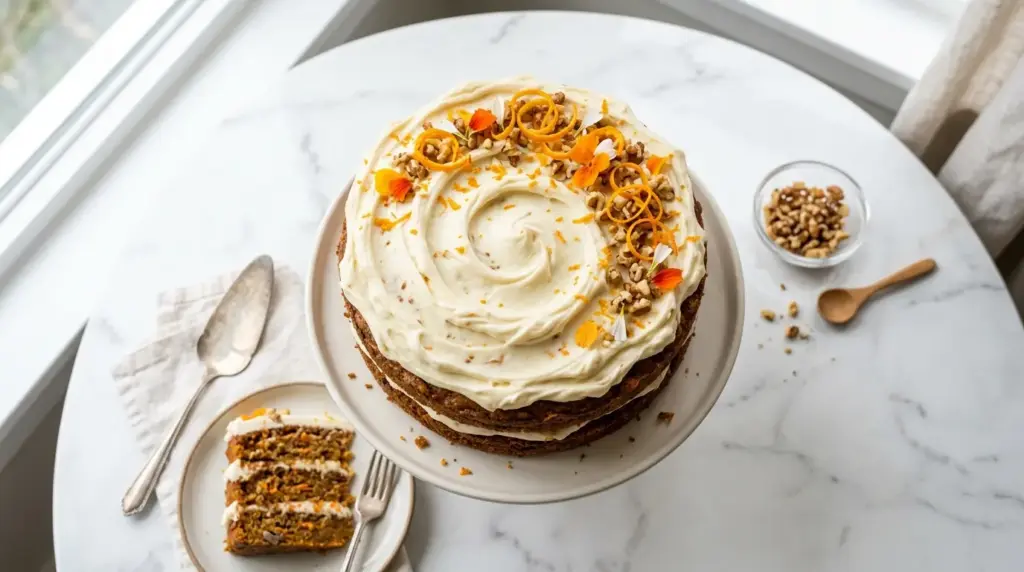
If you love using cream cheese in baking, you might also enjoy this Carrot Cake with Cream Cheese Frosting for a complete showstopper dessert.
Why You’ll Love This Cream Cheese Frosting Recipe
This frosting wins fans for a reason. It delivers that signature tang that balances the sweetness of almost any cake or cupcake, making each bite more complex and satisfying than a standard buttercream.
The texture is what really sets it apart. When made correctly, this frosting is smooth, creamy, and cloud-like. It holds its shape beautifully, making it ideal for decorating.
It is also one of the most versatile frostings you can have in your baking repertoire. It works on carrot cake, red velvet, banana cake, pumpkin bars, cinnamon rolls, and even as a dip for fruit.
The ingredient list is short and simple. You likely already have everything you need, and the whole recipe is done in about 10 minutes flat.
It scales effortlessly too. Double it for a three-layer cake, halve it for a small batch of cupcakes. The ratios stay consistent no matter the quantity.
- Irresistible tangy flavor that complements almost any sweet baked good
- Silky smooth texture with no lumps when made at the right temperature
- Quick and easy with just 4 core ingredients and 10 minutes of prep
- Pipes and spreads beautifully for professional-looking results at home
- Incredibly versatile for cakes, cupcakes, cookies, cinnamon rolls, and more
- No special equipment required beyond a hand mixer or stand mixer
You might also enjoy this Vanilla Buttercream Frosting as another classic frosting option to have in your arsenal.
Ingredients
You only need four main ingredients for this frosting, but quality matters. Full-fat block cream cheese and real butter are non-negotiable for the best flavor and structure. Make sure both are softened to room temperature before you start.
- 8 oz (225g) full-fat block cream cheese, softened to room temperature
- 1/2 cup (113g) unsalted butter, softened to room temperature
- 3 to 4 cups (360–480g) powdered sugar (confectioners’ sugar), sifted
- 2 teaspoons pure vanilla extract
- Pinch of salt (optional, to balance sweetness)
Read Also: Chocolate Buttercream Frosting Recipe
Kitchen Equipment Needed
You do not need much to make this frosting, but having the right tools ensures a lump-free, silky result. A stand mixer or electric hand mixer is essential. Trying to beat cream cheese by hand will leave you with lumps.
- Stand mixer with paddle attachment, or an electric hand mixer
- Large mixing bowl (if using a hand mixer)
- Fine mesh sieve or sifter for sifting powdered sugar
- Rubber spatula for scraping down the bowl
- Measuring cups and spoons
- Offset spatula for spreading on cakes
- Piping bags and tips (optional, for decorating cupcakes)
Another frosting worth bookmarking is this Cinnamon Rolls Frosting Recipe Without Cream Cheese for days when you are out of cream cheese.
Recommended Products for This Recipe
These are products recommended based on quality and performance for making the best possible cream cheese frosting at home.
1. KitchenAid Stand Mixer
A stand mixer with a paddle attachment does the heavy lifting here. It beats the cream cheese and butter together more evenly than a hand mixer, resulting in a consistently smooth, lump-free frosting. The splatter guard also keeps powdered sugar from coating your entire kitchen.
2. Sifter and Strainer Set
Sifting your powdered sugar before adding it to the frosting is the single easiest step to guarantee a silky, lump-free result. A quality sifter makes this quick and mess-free, and is useful for countless other baking projects too.
3. Offset Spatula Set
An offset spatula is the professional baker’s secret weapon for achieving smooth, even frosting on layer cakes. The angled blade lets you spread frosting flat without your knuckles dragging across the cake’s surface.
4. Wilton Piping Bags and Tips
If you want bakery-style swirled cupcakes or decorative borders on a cake, a good piping set is essential. Wilton tips are widely trusted and available in sets that include all the classic shapes for roses, stars, and ruffles.
This frosting also pairs beautifully with this Best Carrot Cake for a truly iconic combination.
Step-by-Step Instructions
Step 1: Bring Your Ingredients to Room Temperature
- Remove the cream cheese and butter from the refrigerator at least 1 hour before you plan to make the frosting.
- Proper room temperature means the cream cheese should give slightly when pressed but not feel warm or oily. If it is still cool in the center, it will create lumps that are nearly impossible to beat out.
- The butter should be soft enough to leave an indent when pressed but should not be melted or shiny.
- Do not try to soften cream cheese in the microwave. It heats unevenly and causes the frosting to become watery and loose.
Step 2: Beat the Cream Cheese Until Smooth
- Place the softened cream cheese in the bowl of your stand mixer fitted with the paddle attachment, or in a large bowl if using a hand mixer.
- Beat on medium speed for about 1 to 2 minutes, until the cream cheese is completely smooth and free of any lumps.
- Stop and scrape down the sides and bottom of the bowl with a rubber spatula. Any unblended bits of cream cheese will remain as lumps in your finished frosting.
- The cream cheese should look light, smooth, and slightly puffed before you move on.
Step 3: Add the Butter and Beat Together
- Add the softened unsalted butter to the cream cheese in the mixing bowl.
- Beat on medium-high speed for 2 to 3 minutes until the mixture is completely combined, fluffy, and pale in color.
- Scrape the bowl down again. It is essential that the cream cheese and butter are fully incorporated before adding any sugar.
- The mixture should look uniform with no streaks of either ingredient.
Step 4: Add the Vanilla and Optional Salt
- Pour in the 2 teaspoons of pure vanilla extract.
- If using, add a small pinch of salt at this stage. Salt is optional but it helps balance the sweetness and brings out the tangy flavor of the cream cheese.
- Mix on low speed just until the vanilla and salt are incorporated, about 15 to 20 seconds.
Step 5: Gradually Add the Sifted Powdered Sugar
- With your mixer on low speed, add the sifted powdered sugar 1/2 cup (60g) at a time.
- Adding the sugar gradually prevents it from exploding out of the bowl in a cloud and ensures it is fully absorbed before you add more.
- After each addition, wait until the sugar is mostly incorporated before adding the next batch.
- Continue until you have added 3 cups (360g) of powdered sugar. This will give you a frosting that is sweet but still tangy.
- If you prefer a sweeter, stiffer frosting (for example, for piping), add a 4th cup of powdered sugar.
- Start on low speed to avoid a powdered sugar cloud, then increase to medium once the sugar is mostly absorbed.
Step 6: Beat to the Right Consistency
- Once all the powdered sugar is added, increase the mixer speed to medium-high.
- Beat for 1 to 2 minutes until the frosting is light, fluffy, and smooth.
- Scrape the sides and bottom of the bowl one final time and give it one last mix.
- The frosting should hold soft peaks and be spreadable. It should not be runny or so stiff that it tears the cake.
Step 7: Adjust Consistency If Needed
- If your frosting is too thick, add 1 tablespoon of heavy cream or milk at a time, mixing on low until you reach the desired consistency.
- If your frosting is too thin (usually because the cream cheese was too warm), refrigerate it for 15 to 20 minutes to firm up, then re-whip briefly.
- Do not add more powdered sugar to fix a thin frosting. Excess sugar changes the flavor and makes the frosting overly sweet.
Step 8: Frost Your Cake or Cupcakes
- Use an offset spatula to spread the frosting onto cooled cakes or cupcakes. Never frost a warm cake. The heat will melt the frosting.
- For piping, transfer the frosting to a piping bag fitted with your desired tip. A large star tip (1M) creates beautiful swirls on cupcakes.
- If the frosting has warmed up and softened during preparation, refrigerate it for 10 to 15 minutes before piping.
- Serve immediately or store as directed below.
For another delicious recipe that uses this frosting as the star, check out this Easy Carrot Cake with Cake Mix for a shortcut version.
Tips for Success
These practical tips make the difference between a frosting that holds beautifully and one that disappoints. Pay close attention to the cream cheese and butter temperature. It is the most common source of problems.
- Always use block cream cheese, not the kind that comes in a tub. Tub cream cheese has added water and stabilizers that make frosting too soft and runny.
- Both the cream cheese and butter must be truly at room temperature. Cold ingredients create lumps; too-warm ingredients create a soupy mess.
- Sift your powdered sugar before adding it to avoid gritty lumps in the finished frosting.
- Add sugar gradually and start the mixer on low to keep the sugar from flying out of the bowl.
- Do not over-mix once the sugar is fully incorporated. Over-mixing can make the frosting loose and airy in a way that loses structure.
- Refrigerate before piping if the kitchen is warm. 15 minutes in the fridge firms the frosting up for cleaner, sharper piped edges.
- Cool baked goods completely before frosting. Any warmth will cause the frosting to melt and slide right off.
Read Also: Classic Yellow Cake Recipe
Serving Suggestions
Cream cheese frosting is one of the most versatile toppings in the baking world. It enhances everything from humble snack cakes to elegant celebration cakes.
It is the traditional partner for red velvet and carrot cakes, but do not stop there. This frosting elevates so many other baked goods, from breakfast to dessert.
- Spread generously over a classic Carrot Cake with Cream Cheese Frosting
- Swirl on top of pumpkin cupcakes or a Pumpkin Bar
- Use as a filling and topping for a classic Pumpkin Roll
- Spread on warm cinnamon rolls straight from the oven for a decadent breakfast treat
- Pipe onto red velvet cupcakes for classic celebrations and parties
- Spread between layers of banana cake for a tropical, tangy dessert
- Use as a dip for fresh Strawberry Sauce and graham crackers
- Frost Cut Out Sugar Cookies for a tangy alternative to royal icing
Variations to Try
Once you have mastered the base recipe, the variations are endless. A small tweak in flavoring or color can completely transform this frosting for different occasions and flavor pairings.
- Lemon Cream Cheese Frosting: Add 1 tablespoon of fresh lemon zest and 1 tablespoon of fresh lemon juice in place of the vanilla. This pairs beautifully with lemon cake, blueberry muffins, and carrot cake.
- Brown Butter Cream Cheese Frosting: Brown the butter before cooling it to room temperature, then proceed as directed. The nutty, caramel notes add incredible depth.
- Chocolate Cream Cheese Frosting: Beat in 1/3 cup (30g) of sifted unsweetened cocoa powder along with the sugar. Use on chocolate cupcakes or brownie bars.
- Cinnamon Spice Frosting: Add 1 teaspoon of ground cinnamon and 1/4 teaspoon of nutmeg to the frosting. Perfect on pumpkin cake, spice cake, or snickerdoodle cookies.
- Strawberry Cream Cheese Frosting: Mix in 2 to 3 tablespoons of freeze-dried strawberry powder for a naturally pink frosting with real fruit flavor and no added moisture.
- Maple Cream Cheese Frosting: Replace the vanilla extract with 2 tablespoons of pure maple syrup. Wonderful on sweet potato cake or spiced apple cupcakes.
You might also love pairing these variations with a Moist Chocolate Cake for a rich, indulgent dessert.
Storage and Reheating
Cream cheese frosting must be refrigerated because of its dairy content. Unlike buttercream, it should not be left at room temperature for extended periods. Proper storage keeps it tasting fresh and holds its texture.
- Unfrosted, in the bowl: Transfer the frosting to an airtight container and refrigerate for up to 5 days.
- Frosted cakes and cupcakes: Cover loosely and refrigerate for up to 5 days. Let refrigerated baked goods come to room temperature for 30 minutes before serving for the best flavor and texture.
- Freezing the frosting: Spoon into a freezer-safe airtight container and freeze for up to 3 months. Thaw overnight in the refrigerator, then re-whip briefly with a mixer before using.
- Freezing frosted cakes: Freeze uncovered for 1 to 2 hours to firm the frosting, then wrap tightly in plastic wrap and freeze for up to 3 months.
- Refreshing after refrigeration: If the frosting looks stiff after being chilled, let it sit at room temperature for 15 to 20 minutes, then beat briefly with a mixer to restore its creamy texture.
Read Also: Angel Food Cake Recipe
Nutritional Facts
The following is based on the full recipe (approximately 3 cups of frosting) divided into 16 servings, using 3 cups of powdered sugar.
| Nutrient | Per Serving (approx.) |
|---|---|
| Calories | 175 kcal |
| Total Fat | 9g |
| Saturated Fat | 5.5g |
| Cholesterol | 27mg |
| Sodium | 75mg |
| Total Carbohydrates | 23g |
| Sugars | 22g |
| Protein | 1g |
| Calcium | 20mg |
Nutritional values are approximate and will vary based on specific brands and exact measurements used.
Another dessert worth trying when you’re in a baking mood is these Best Chocolate Chip Cookies.
Health Benefits of Key Ingredients
While cream cheese frosting is certainly an indulgence, a few of its key ingredients do offer some nutritional value when enjoyed in moderation.
No one is going to claim frosting is a health food, but understanding what is in it can help you make mindful choices about how much you enjoy.
- Cream cheese is a source of calcium, which supports bone health and nerve function. It also provides a small amount of vitamin A, which supports immune health and vision.
- Butter contains fat-soluble vitamins A, D, E, and K2, which play roles in bone density, immune function, and cell health.
- Pure vanilla extract contains small amounts of antioxidants derived from the vanilla bean, including vanillin, which has been studied for anti-inflammatory properties.
- Powdered sugar provides quick energy from simple carbohydrates. While it offers no vitamins or minerals, using it in moderation as part of an overall balanced diet is perfectly sustainable.
- Salt (if used) helps regulate fluid balance in the body. The tiny pinch used in this recipe contributes negligible sodium.
For a lighter treat that still satisfies a sweet tooth, try these Lemon Shortbread Cookies.
Frequently Asked Questions
1. Why is my cream cheese frosting runny?
The most common cause of runny cream cheese frosting is using cream cheese that was too warm, or using spreadable tub-style cream cheese instead of full-fat block cream cheese.
Tub cream cheese contains added water and stabilizers that prevent it from firming up properly. If your frosting is too thin, refrigerate it for 20 to 30 minutes and then re-whip. Avoid adding more powdered sugar to fix the problem, as this will make the frosting overly sweet without actually fixing the structural issue.
2. Can I make cream cheese frosting ahead of time?
Yes, absolutely. You can make this frosting up to 5 days in advance and store it in an airtight container in the refrigerator.
When you are ready to use it, let it sit at room temperature for 15 to 20 minutes to soften slightly, then beat it briefly with a mixer until smooth and fluffy again.
3. Can I freeze cream cheese frosting?
Cream cheese frosting freezes well for up to 3 months. Store it in an airtight freezer-safe container and thaw overnight in the refrigerator before using.
Once thawed, re-whip the frosting with a hand mixer or stand mixer to restore its light, fluffy texture before spreading or piping.
4. How much frosting does this recipe make?
This recipe makes approximately 3 cups of frosting, which is enough to frost 12 to 16 cupcakes or frost and fill a two-layer 8-inch or 9-inch cake generously.
If you need to frost a larger three-layer cake or want extra for piped decorations, simply double the recipe. The ratios scale perfectly.
5. Can I use salted butter instead of unsalted?
You can, but it is not recommended as the first choice. Salted butter adds an uncontrolled amount of salt, which can make the frosting taste slightly off and may interfere with the balance of sweet and tangy.
If salted butter is all you have, simply omit the optional pinch of salt from the recipe and taste as you go.
You might also enjoy using this frosting on these Sugar Cookies for a tangy twist on a classic holiday treat.
Final Thoughts
A great cream cheese frosting recipe is one of those foundational baking skills that pays dividends every time you use it. Once you know the technique, including the right temperature for your ingredients, the importance of sifted sugar, and how to adjust consistency, you will be able to nail it every time.
This frosting is the perfect balance of tangy, sweet, and smooth. It elevates everything it touches, from everyday cupcakes to celebration cakes.
Give this recipe a try and see for yourself why it has been a favorite among home bakers for generations. If you make it, leave a comment below to let me know how it turned out, and feel free to share this post with a fellow baking enthusiast!
Recommended:
- Carrot Cake with Cream Cheese Frosting
- Classic Vanilla Cake
- Easy Vanilla Cake
- Snickerdoodle Cookie
- Cake Pop
- Easy Royal Icing
- Lemon Curd
- Fresh Strawberry Sauce
- Caramel Sauce
- Mug Cake


