A perfectly whipped vanilla buttercream frosting recipe is one of those kitchen skills that changes everything.
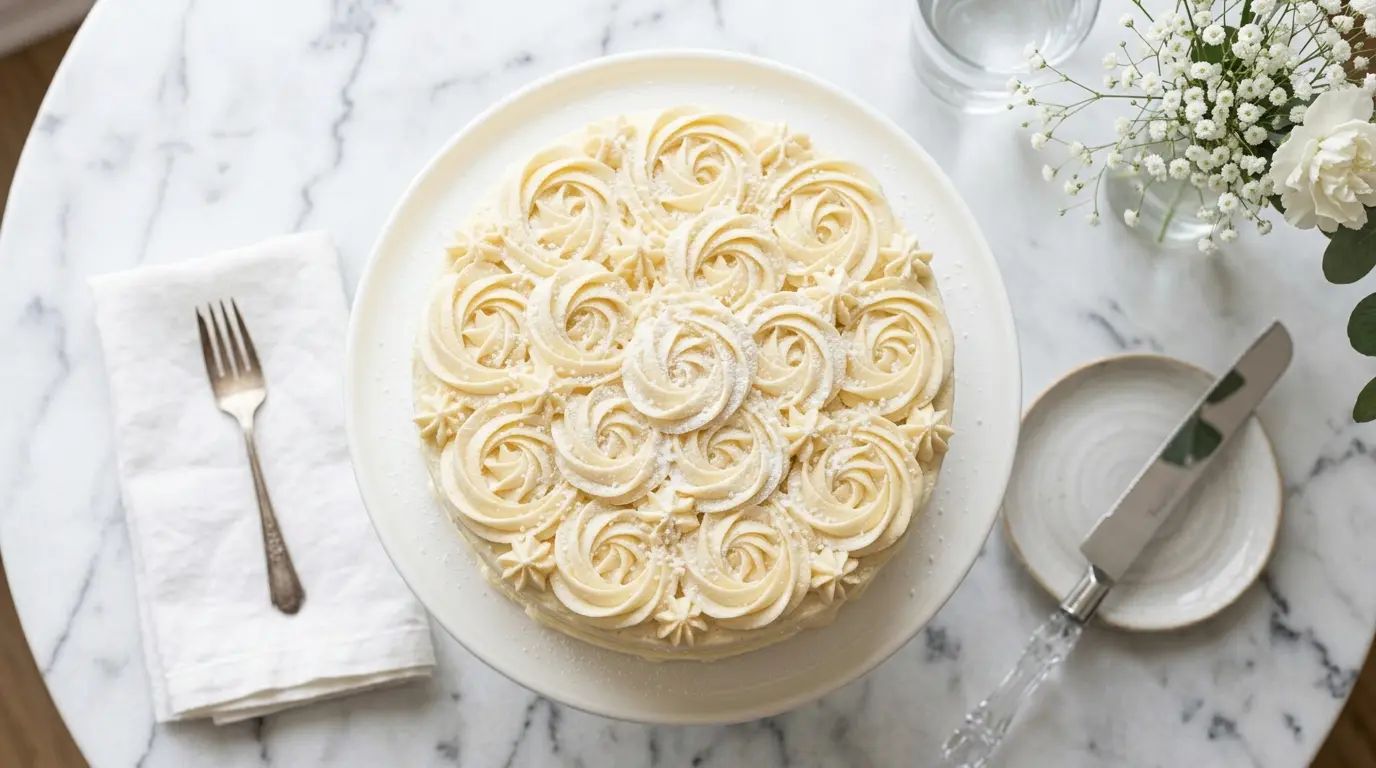
Once you nail it, you’ll never reach for a tub of store-bought frosting again. This classic American buttercream is creamy, sweet, and pipes beautifully onto cakes, cupcakes, and cookies alike.
What makes this version stand out is the technique behind it. Starting with truly softened butter (not melted, not cold) and sifting the powdered sugar before mixing are the two steps that separate a silky, bakery-quality frosting from a grainy, stiff one.
The ratio here is tried and true: one cup of butter to three to four cups of powdered sugar, with heavy cream added gradually to reach the perfect consistency. A splash of pure vanilla extract brings warmth and depth that you simply cannot replicate with imitation flavoring.
Whether you’re frosting a birthday cake, a batch of cupcakes, or a pan of brownies, this recipe is the one to bookmark. It takes about ten minutes from start to finish and works flawlessly every single time.
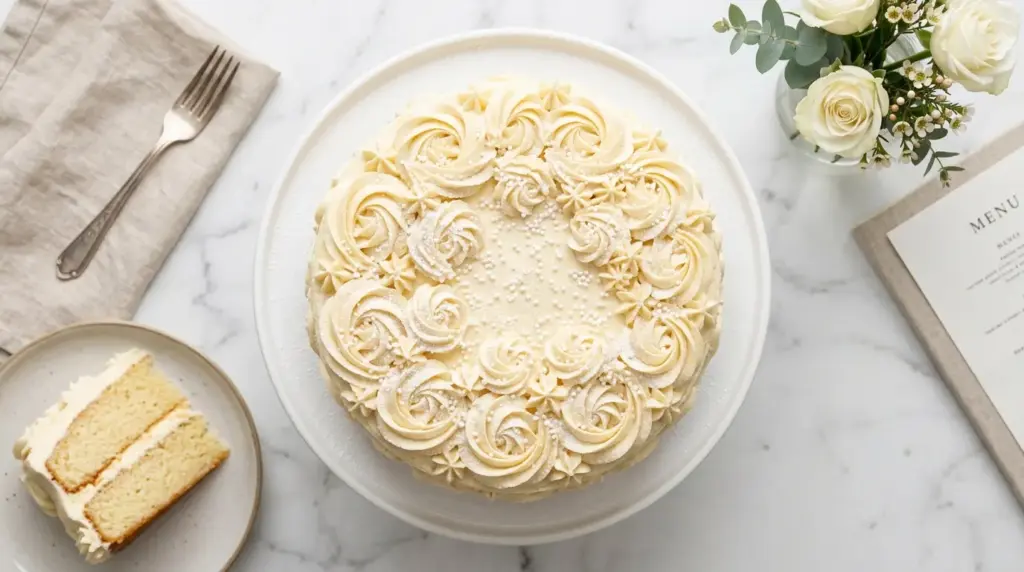
The same dreamy frosting used here is the perfect partner for a Classic Vanilla Cake whenever you want a full showstopper dessert.
Why You’ll Love This Vanilla Buttercream Frosting Recipe
This recipe checks every box you could ask for in a frosting.
It’s simple enough for a beginner but yields professional-looking results that will genuinely impress people.
The texture is light and fluffy without being airy or hollow, which means it holds its shape when piped and doesn’t weep or slide off your cake.
Because the recipe uses just five core ingredients, the quality of each one really matters, and using real butter and pure vanilla makes a noticeable difference in flavor.
It is also incredibly versatile. You can thin it out for a drizzle, keep it thick for piping, or add a drop of food coloring to match any occasion.
- Ready in 10 minutes with no cooking required
- 5 simple ingredients you probably already have on hand
- Pipes beautifully for rosettes, swirls, and decorative borders
- Adjustable consistency from spreadable to stiff with just a splash of cream
- Scales easily for small batches or large celebration cakes
- Stays soft at room temperature for hours, making it party-friendly
You might also enjoy: Easy Royal Icing Recipe
Ingredients
This vanilla buttercream uses pantry staples, but a few key details ensure the best possible outcome. Your butter must be at true room temperature, meaning it yields to gentle pressure but still holds its shape. Powdered sugar should be sifted to prevent lumps. And for the creamiest texture, use heavy whipping cream rather than milk.
- 1 cup (227 g / 2 sticks) unsalted butter, softened to room temperature
- 3 to 4 cups (360 to 480 g) powdered sugar, sifted
- 3 to 4 tablespoons (45 to 60 ml) heavy whipping cream (or whole milk for a lighter version)
- 2 teaspoons (10 ml) pure vanilla extract
- 1/4 teaspoon (1.5 g) fine sea salt
Read Also: Cinnamon Rolls Frosting Recipe Without Cream Cheese
Kitchen Equipment Needed
You don’t need much to make this frosting, but the right tools make a real difference. A stand mixer or hand mixer is essential since you cannot achieve the right fluffiness by hand. A sifter ensures your powdered sugar is completely lump-free before it ever hits the bowl.
- Stand mixer or electric hand mixer
- Large mixing bowl (if using a hand mixer)
- Fine mesh sifter or sieve
- Rubber spatula
- Measuring cups and spoons
- Piping bags and piping tips (optional, for decorating)
- Offset spatula (for spreading)
This frosting is a natural pairing for the Best Carrot Cake Recipe if you love a classic, crowd-pleasing combination.
Recommended Products for This Recipe
These are products chosen for quality and performance that can genuinely elevate your frosting results.
1. KitchenAid Tilt-Head Stand Mixer
The KitchenAid stand mixer whips butter to a perfect pale and fluffy texture in just a few minutes, which is the foundation of great buttercream. Its paddle attachment incorporates air evenly without overworking the frosting. It is one of the most reliable investments any home baker can make.
2. Nielsen-Massey Pure Vanilla Extract
Nielsen-Massey is a favorite among professional pastry chefs for good reason. This pure vanilla extract is made from hand-selected vanilla beans and has a rich, complex flavor that imitation vanilla simply cannot replicate. A small bottle goes a long way and makes a huge difference in the final taste.
3. Wilton Piping Bags and Tips Set
A good piping set lets you transform a simple batch of frosting into a beautifully decorated cake or cupcakes. Wilton’s sets include a variety of tips for rosettes, stars, borders, and more. Even beginners get impressive results with these tips.
4. OXO Good Grips Fine Mesh Strainer
Sifting your powdered sugar through a fine mesh strainer before mixing is the single easiest way to guarantee a lump-free, silky buttercream. The OXO strainer is sturdy, easy to clean, and works perfectly for this task. It is also useful for dusting finished cakes with powdered sugar.
The same piping technique you will use here also works beautifully when decorating a Carrot Cake with Cream Cheese Frosting.
Step-by-Step Instructions
1. Bring Your Butter to True Room Temperature
- Remove the butter from the refrigerator at least 1 to 2 hours before you plan to make the frosting.
- The butter should be soft enough that when you press your finger against it, it leaves an indent easily, but it should NOT be greasy, shiny, or melted around the edges.
- If your kitchen is cold and the butter isn’t softening fast enough, cut it into small cubes and leave it on the counter. Do not microwave it to speed up the process, as melted butter will result in a loose, greasy frosting that won’t hold its shape.
- Properly softened butter is the single most important factor in achieving a light, fluffy, smooth buttercream.
2. Sift the Powdered Sugar
- Measure 3 to 4 cups (360 to 480 g) of powdered sugar.
- Place your fine mesh sifter over a large bowl and pour the powdered sugar through it in batches.
- Use a spoon or your hand to press any clumps through the sifter.
- Sifting removes any lumps from the sugar before it enters the mixer, which means you get a smoother, more velvety final frosting.
- Set the sifted powdered sugar aside.
3. Beat the Butter Until Pale and Fluffy
- Place the softened butter into the bowl of your stand mixer fitted with the paddle attachment (or into a large bowl if using a hand mixer).
- Beat the butter on medium-high speed for 3 to 5 full minutes.
- Stop the mixer once or twice to scrape down the sides of the bowl with a rubber spatula.
- The butter is ready when it has lightened in color from yellow to a very pale, almost white color, and looks light and fluffy in texture.
- This step is not optional. The extended beating time builds air into the butter, which is what makes the finished frosting soft and cloud-like rather than dense and heavy.
4. Add the Powdered Sugar Gradually
- With the mixer running on LOW speed, add the sifted powdered sugar one cup at a time.
- Adding all the sugar at once will send a cloud of powdered sugar flying out of the bowl, so take your time.
- After each cup is added, allow it to incorporate for about 15 to 20 seconds before adding the next.
- After all the powdered sugar has been added, increase the speed to medium and beat for 1 minute.
- Scrape down the sides of the bowl again with the rubber spatula.
5. Add the Vanilla Extract and Salt
- With the mixer on low, add 2 teaspoons (10 ml) of pure vanilla extract and 1/4 teaspoon (1.5 g) of fine sea salt.
- The vanilla extract adds warmth and depth of flavor.
- The small amount of salt is critical as it balances the sweetness of the powdered sugar and keeps the frosting from tasting flat or one-dimensional.
- Mix on medium speed for 30 seconds until fully combined.
6. Add Heavy Cream to Adjust Consistency
- With the mixer on low, add 1 tablespoon (15 ml) of heavy whipping cream at a time.
- After each tablespoon, increase the speed to medium and beat for 20 to 30 seconds, then assess the texture.
- For a spreadable, easy-to-use frosting that works well for icing cakes with an offset spatula, you’ll likely use 3 tablespoons (45 ml) of cream.
- For a stiffer frosting that holds its shape well for piped rosettes, decorative borders, and tall swirls on cupcakes, use only 2 tablespoons (30 ml) or less.
- For a thinner glaze-like consistency, add up to 4 tablespoons (60 ml) or a splash more.
7. Final Whip and Taste Test
- Once you’ve reached the desired consistency, increase the mixer speed to medium-high and beat the frosting for a final 2 minutes.
- This last whip makes the frosting even lighter and fluffier.
- Taste the frosting and adjust as needed. Want it sweeter? Add a touch more powdered sugar. Want more vanilla flavor? Add a tiny splash more extract. Want it a little less sweet? A small additional pinch of salt helps balance the sugar.
- Use the rubber spatula to scrape down the bowl one final time before using or storing.
If you love using this frosting on layer cakes, the Moist Chocolate Cake Recipe is one of the best bases to pair it with.
Tips for Success
Small details make the difference between good buttercream and great buttercream. These tips address the most common issues home bakers run into and show you how to avoid them.
- Use real unsalted butter. Margarine or butter substitutes produce a greasy, inferior frosting with a strange aftertaste. Unsalted butter also gives you full control over the salt level.
- Never use cold butter. Cold butter will not cream properly no matter how long you mix it, and you’ll end up with lumps and a dense, stiff frosting.
- Sift your powdered sugar every time. Powdered sugar clumps during storage, and even small lumps will remain in the finished frosting if you skip sifting.
- Add cream slowly. It’s easy to add too much liquid and make the frosting too soft. Add it one tablespoon at a time and check the texture between additions.
- Beat longer than you think you need to. The extended mixing time is what gives the frosting its light, fluffy texture. Don’t rush it.
- If your frosting looks curdled, it’s usually because the butter was too cold. Keep mixing on medium-high and it will come together.
- If your frosting is too sweet, a small extra pinch of salt or a tiny squeeze of fresh lemon juice will cut through the sweetness beautifully.
- Avoid making frosting in a very humid kitchen. Humidity can make buttercream soft and weepy. If this is unavoidable, use a tiny bit less cream than usual.
Another favorite: Easy Sugar Cookie Recipe
Serving Suggestions
This vanilla buttercream is the most versatile frosting you can have in your arsenal. It complements an enormous range of baked goods and can be dressed up or down to suit any occasion.
- Pipe tall swirls onto vanilla or chocolate cupcakes for a classic bakery look
- Spread generously on a two-layer Best Carrot Cake for a stunning celebration dessert
- Use as a filling and topping for Cut Out Sugar Cookies during the holidays
- Spread onto brownies for a sweet and creamy contrast to the rich chocolate
- Use as a filling between cookie sandwich layers
- Pipe onto Cake Pops as a decorative finishing touch
- Tint with gel food coloring for themed birthday cakes and parties
- Layer it with Easy Crepes and fresh berries for an elegant no-bake dessert
Read Also: Classic Vanilla Cake Recipe
Variations to Try
Once you master the base recipe, the possibilities for customization are genuinely endless. Small tweaks to the core formula can give you a totally different flavor profile that suits any dessert.
- Brown Butter Buttercream: Before making the frosting, melt the butter in a saucepan over medium heat until it turns golden and smells nutty, then refrigerate until solid again and re-soften. The resulting frosting has a rich, caramel-like depth.
- Lemon Buttercream: Replace the vanilla extract with 1 tablespoon of fresh lemon juice and 1 teaspoon of lemon zest. This is beautiful on lemon cake or poppy seed muffins.
- Strawberry Buttercream: Add 3 tablespoons of freeze-dried strawberry powder (not fresh berries, which add too much moisture) for a naturally pink, fruity frosting.
- Chocolate Buttercream: Sift in 1/2 cup of unsweetened cocoa powder along with the powdered sugar for a rich chocolate version.
- Almond Buttercream: Swap the vanilla extract for pure almond extract (use 1 teaspoon instead of 2, as it’s stronger) for a warm, marzipan-like flavor.
- Salted Caramel Buttercream: Drizzle in 3 to 4 tablespoons of cooled caramel sauce and increase the salt to 1/2 teaspoon for a decadent, sweet-salty frosting.
- Cream Cheese Buttercream: Replace half the butter with full-fat cream cheese (both softened) for a tangier, richer frosting that pairs perfectly with Carrot Cake with Cream Cheese Frosting or red velvet cake.
This frosting is also the perfect topping for Snickerdoodle Cookies when you want to turn them into sandwich cookies.
Storage and Reheating
Vanilla buttercream stores exceptionally well, which makes it a great recipe to prepare ahead of time for parties or events. Proper storage keeps it fresh and fluffy until you need it.
- Room temperature: Frosted cakes and cupcakes can sit at room temperature (in a cool kitchen, not in direct sunlight or a hot room) for up to 2 days covered with a cake dome or loosely tented with plastic wrap.
- Refrigerator: Store leftover frosting in an airtight container in the refrigerator for up to 2 weeks.
- Freezer: Vanilla buttercream freezes beautifully. Store it in a freezer-safe airtight container or zip-lock bag for up to 3 months.
- To revive refrigerated frosting: Remove it from the fridge and allow it to sit at room temperature for 30 to 45 minutes, then re-whip with a mixer for 1 to 2 minutes to bring it back to a fluffy, spreadable texture.
- To revive frozen frosting: Thaw overnight in the refrigerator, then bring to room temperature and re-whip as above.
- Note on humidity: In hot or humid climates, frosted baked goods should always be refrigerated and brought out about 30 minutes before serving.
For another make-ahead dessert idea, check out the Vanilla Pudding Recipe on the blog.
Nutritional Facts
Per serving (approximately 2 tablespoons / 30 g), based on 24 servings from a full batch:
| Nutrient | Amount |
|---|---|
| Calories | 135 kcal |
| Total Fat | 8 g |
| Saturated Fat | 5 g |
| Cholesterol | 21 mg |
| Sodium | 55 mg |
| Total Carbohydrates | 17 g |
| Sugars | 16 g |
| Protein | 0 g |
Note: Nutritional values are estimates and will vary depending on exact quantities used and specific ingredient brands.
You might also enjoy: Sugar Cookies Recipe
Health Benefits of Key Ingredients
Vanilla buttercream is a dessert frosting, so it is absolutely an indulgence rather than a health food. That said, the key ingredients in this recipe do carry some noteworthy properties.
Real butter and pure vanilla extract both have something to offer beyond just flavor.
- Unsalted butter is a source of fat-soluble vitamins A, E, and K2, and provides short and medium-chain fatty acids that the body can use as a quick energy source. Grass-fed butter in particular contains higher levels of beneficial conjugated linoleic acid (CLA).
- Pure vanilla extract contains small amounts of antioxidants and has long been used in traditional medicine for its calming and anti-inflammatory properties. The compound vanillin, which gives vanilla its distinctive scent and flavor, has demonstrated antioxidant activity in research settings.
- Heavy cream contributes calcium and a small amount of protein, as well as fat-soluble vitamins.
- Powdered sugar is primarily sucrose with a small addition of cornstarch to prevent clumping. While it has no significant nutritional benefits, using it in moderate amounts as part of a balanced diet is entirely reasonable.
- Salt in small amounts supports fluid balance and enhances the body’s ability to perceive sweetness and depth of flavor.
Read Also: Easy Tiramisu Recipe
Frequently Asked Questions
1. Why does my buttercream look curdled or lumpy?
This almost always means your butter was too cold when you started mixing.
Cold butter doesn’t cream properly, and the sugar particles can’t bind smoothly to it. If this happens, keep mixing on medium-high speed for several more minutes. The friction from the mixing will warm the butter slightly and the frosting will come together into a smooth, creamy texture.
2. Can I make this frosting in advance?
Absolutely. This is one of the best features of vanilla buttercream.
Make it up to a week ahead and store it in an airtight container in the refrigerator. When you’re ready to use it, let it sit at room temperature for 45 minutes and then re-whip it with a mixer for 1 to 2 minutes until fluffy again.
3. How do I fix frosting that is too sweet?
Add a small pinch of fine salt and mix well.
Salt is a remarkable flavor balancer and will reduce the perception of sweetness without making the frosting taste salty. Alternatively, a few drops of fresh lemon juice also cut through excessive sweetness beautifully.
4. Can I use salted butter instead of unsalted?
You can, but with caution.
Salted butter contains varying amounts of sodium depending on the brand, so the frosting may end up too salty if you’re not careful. If using salted butter, skip the added salt in the recipe entirely and taste as you go.
5. How much frosting does this recipe make?
This recipe makes approximately 2.5 to 3 cups of frosting.
That’s enough to frost 12 to 14 cupcakes with generous swirls, or to frost and fill a standard 8-inch or 9-inch two-layer cake. For a three-layer cake or a large sheet cake, double the recipe.
Read Also: Best Chocolate Chip Cookies Recipe
Final Thoughts
A great vanilla buttercream frosting recipe is one of the most useful things any home baker can have in their back pocket.
It is fast, forgiving, and absolutely delicious. Once you make this from scratch, you will understand exactly why it is the gold standard for frosting cakes and cupcakes everywhere.
Try it this week on your favorite cake or cupcakes and taste the difference that real butter, pure vanilla, and a little patience make.
If you give this recipe a try, leave a comment below and share how it turned out. Did you try one of the flavor variations? Tag your photos and share the love!
Recommended:
- Carrot Cake with Cream Cheese Frosting
- Easy Vanilla Cake Recipe
- Cut Out Sugar Cookie Recipe
- Moist Chocolate Cake Recipe
- Easy Chocolate Cake Recipe
- Cake Pop Recipe
- Gingerbread Cookie Recipe
- Pumpkin Roll Recipe
- Old Fashioned Chocolate Chip Cookie Recipe
- Peanut Butter Cookie Recipe


