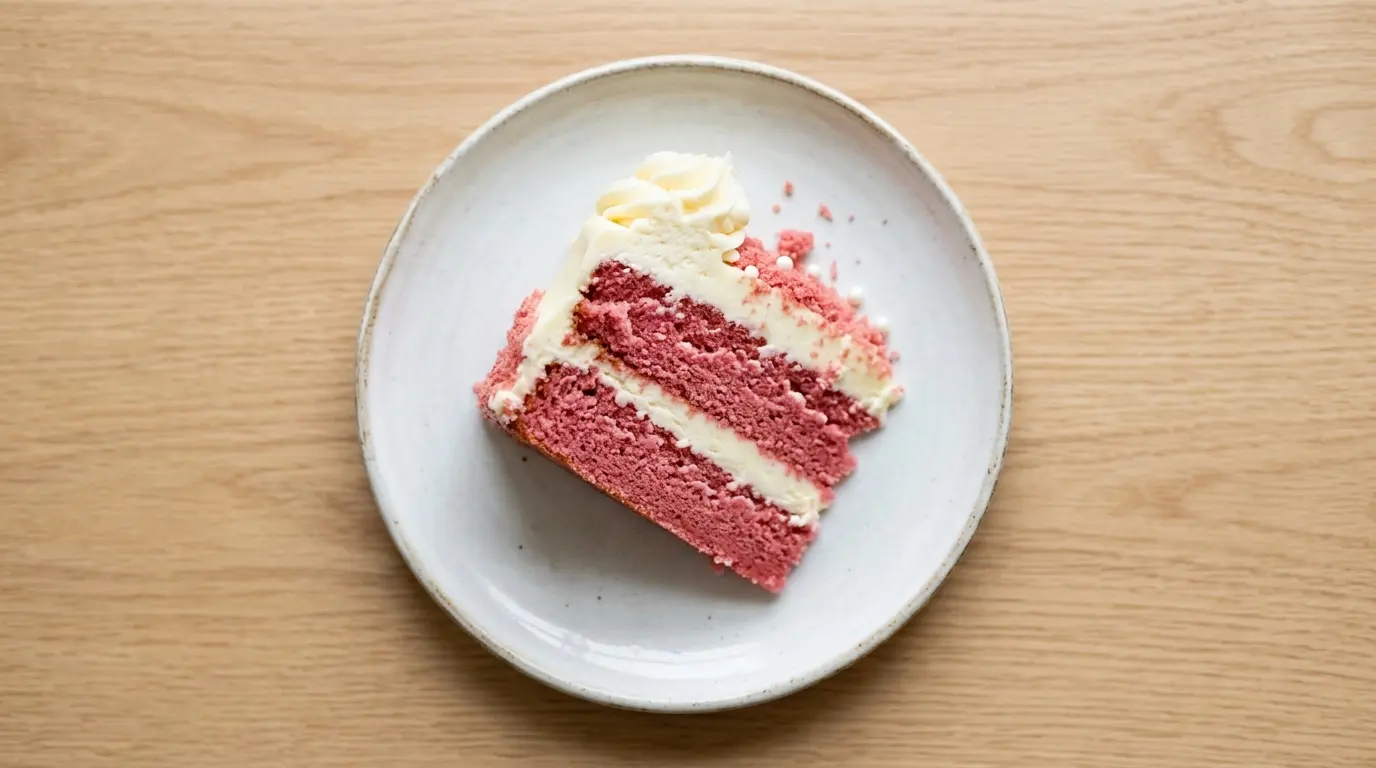
If you’ve been searching for the perfect pink velvet cake recipe, you’ve landed in exactly the right place. This cake is the vanilla-flavored cousin of classic red velvet, with that same signature velvety crumb, a tender, moist texture, and a blush-pink color that turns heads at every celebration. Unlike red velvet, which leans on cocoa for depth, pink velvet is all about pure, sweet vanilla flavor, making it feel lighter and more delicate.
The secret to that impossibly soft texture? Buttermilk. It adds a subtle tang that balances the sweetness and reacts with the leavening agents to create an exceptionally fine, moist crumb. Paired with a luscious cream cheese frosting, this cake is the kind you’ll be asked to bring to every birthday, baby shower, Valentine’s Day party, and gender reveal going forward.
It’s more straightforward to make than it looks, and the payoff is enormous. You get a showstopper cake that looks bakery-worthy with very little fuss.
This Lemon Velvet Cake is another stunning velvet cake to keep in your rotation if you love this style of soft, dreamy layer cake.
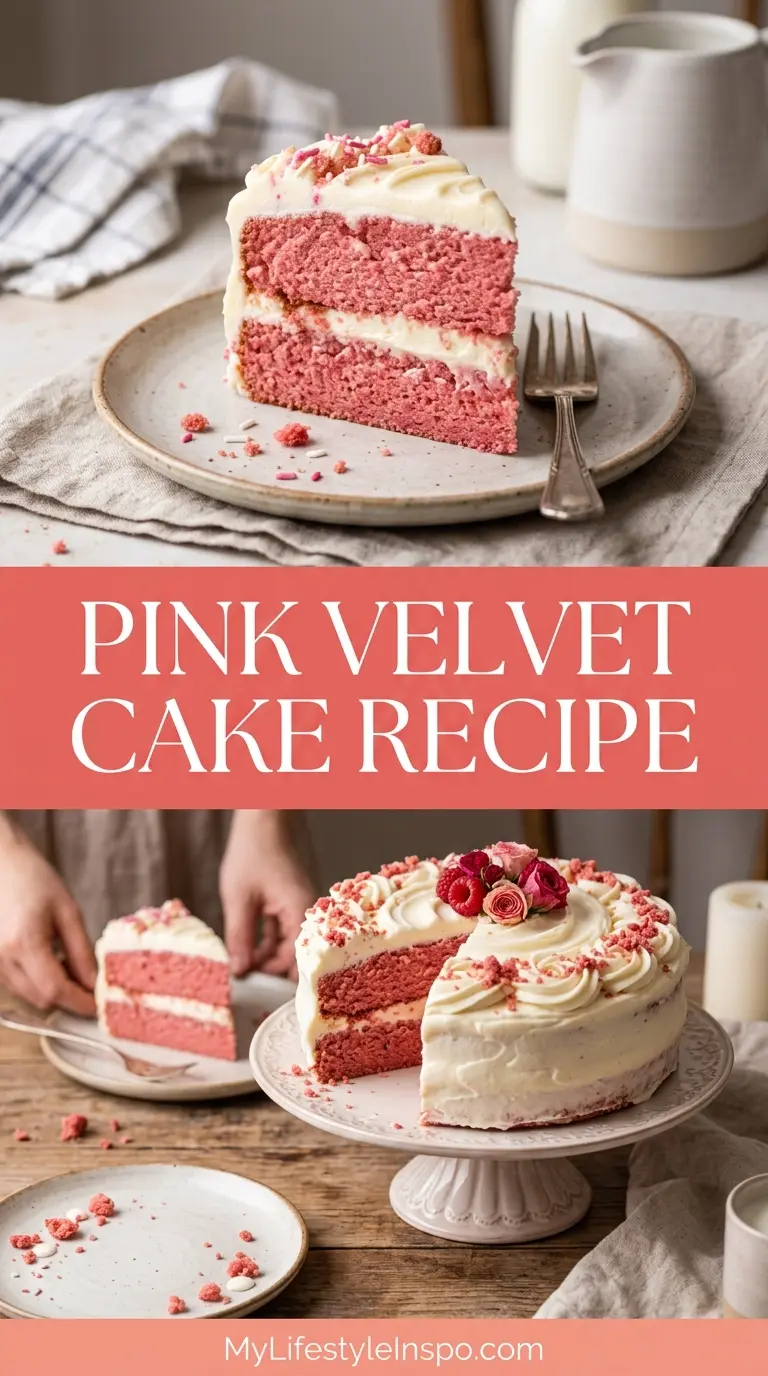
Why You’ll Love This Pink Velvet Cake Recipe
This cake is genuinely one of those bakes that delivers on every front.
The soft, velvety crumb practically melts on your tongue, and the gentle pink color makes it look stunning without any complicated decorating techniques.
It’s incredibly versatile. Dress it up with swirls of cream cheese frosting and fresh berries for a wedding-worthy centerpiece, or keep it simple for a weeknight treat.
The flavor is crowd-pleasing in the best way. Vanilla-forward and buttery, it appeals to almost everyone, from kids to adults.
Here’s why this cake is a consistent winner:
- The buttermilk keeps every layer remarkably moist for days
- Cake flour creates that ultra-fine, velvet-like crumb that sets this apart from a standard vanilla cake
- Cream cheese frosting adds a tangy richness that perfectly offsets the sweet cake layers
- The pink color is customizable from soft blush to bold fuchsia, depending on how much food coloring you use
- It works beautifully as a layer cake, sheet cake, or cupcakes
- It can be made ahead and keeps well in the fridge
You might also enjoy: Purple Velvet Cake
Ingredients
This recipe makes a three-layer 8-inch cake, serving 12 to 16 people. All ingredients should be at room temperature before you begin, as this ensures they blend together smoothly and create the lightest possible batter.
For the Cake:
- 3 cups (360g) cake flour, spooned and leveled
- 1 tablespoon baking powder
- 1/2 teaspoon baking soda
- 1/2 teaspoon fine salt
- 1 cup (225g) unsalted butter, softened to room temperature
- 2 cups (400g) granulated sugar
- 4 large eggs, room temperature
- 2 teaspoons pure vanilla extract
- 1 cup (240ml) full-fat buttermilk, room temperature
- 1/4 cup (60ml) sour cream, room temperature
- 1/2 to 1 teaspoon pink gel food coloring (gel gives a more vibrant result than liquid)
For the Cream Cheese Frosting:
- 16 oz (450g) full-fat cream cheese, softened
- 1 cup (225g) unsalted butter, softened
- 5 cups (625g) powdered sugar, sifted
- 2 teaspoons pure vanilla extract
- Pinch of fine salt
- 2 to 3 tablespoons heavy cream (as needed for consistency)
Read Also: Red Velvet Cake Recipe
Kitchen Equipment Needed
Having the right tools ready before you start saves time and ensures the best result. A stand mixer is highly recommended for this recipe, as creaming butter and sugar properly is key to the light, fluffy texture.
- Stand mixer or hand electric mixer
- Three 8-inch (20cm) round cake pans
- Parchment paper
- Large mixing bowls
- Kitchen scale (strongly recommended for accurate flour measurements)
- Rubber spatula
- Wire cooling racks
- Offset spatula for frosting
- Cake turntable (optional but makes frosting much easier)
- Sifter or fine mesh strainer
- Toothpick for testing doneness
This pairs beautifully with a classic vanilla buttercream frosting if you prefer something lighter than cream cheese frosting.
Recommended Products for This Recipe
These are products I genuinely recommend based on quality and performance. They make a real difference in achieving that perfect bakery-style result at home.
1. Wilton Gel Food Coloring Set
Gel food coloring is far superior to liquid drops for cakes. It delivers an intense, true color without thinning out the batter, which means you need far less product to achieve that beautiful pink hue. A small set gives you the flexibility to create every shade of pink from blush to hot pink.
2. Bob’s Red Mill Unbleached White Fine Pastry Flour
Pastry or cake flour is what gives this cake its signature fine, velvety crumb. All-purpose flour will work in a pinch, but the higher starch and lower protein content in cake flour makes a noticeably softer, more delicate cake. This brand is widely available and consistently reliable.
3. Ateco Offset Spatula Set
A good offset spatula is the single tool that upgrades your frosting from “home baker” to “professional.” The angled blade lets you spread frosting smoothly without your hand dragging through the surface. This set includes a small and large size, covering both detailed work and spreading larger areas.
4. Nordic Ware Natural Aluminum 8-Inch Cake Pans
Aluminum pans heat evenly and prevent overbrowning on the edges, which is critical for a pale pink cake where dark edges would be visible. Three matching pans ensure all your layers bake at the same rate and come out perfectly uniform.
Another favorite: Orange Velvet Cake
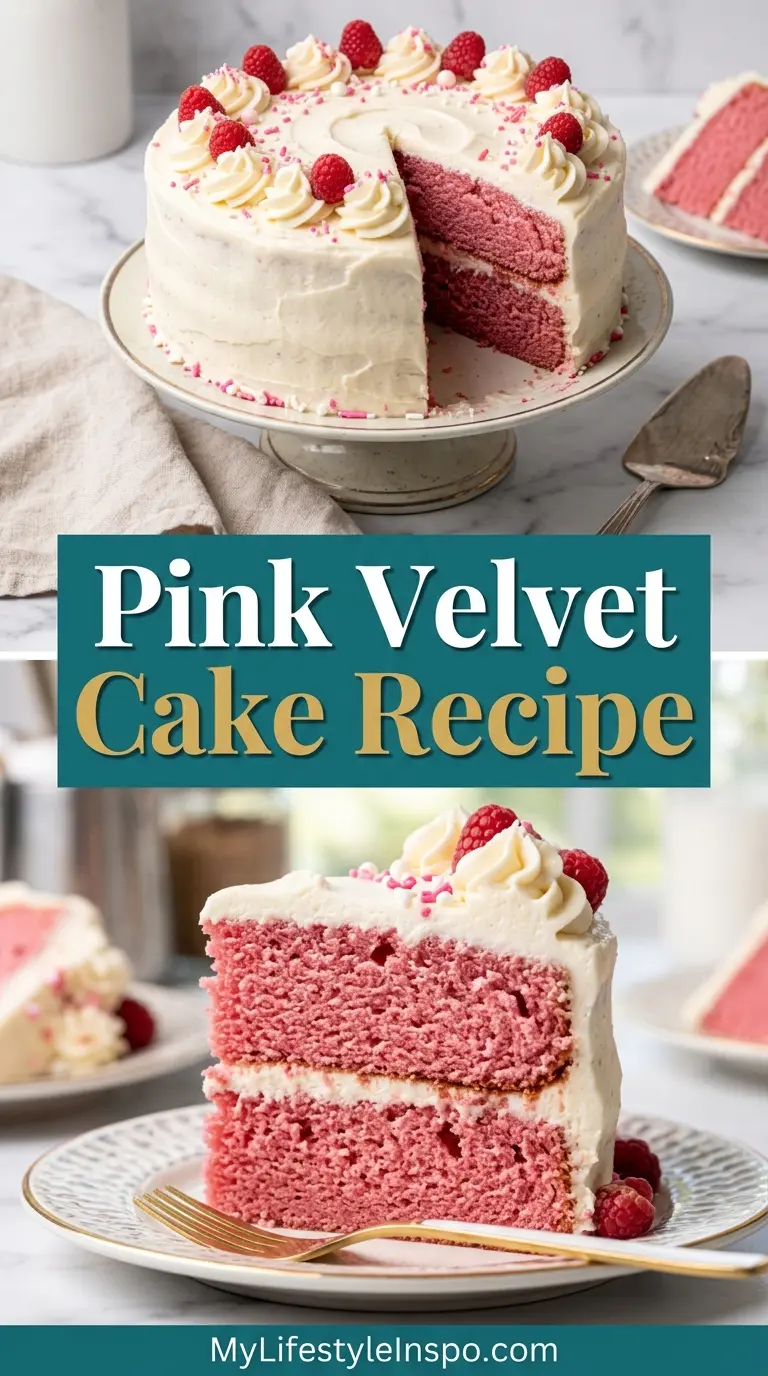
Step-by-Step Instructions
Step 1: Prepare Your Pans and Preheat the Oven
- Preheat your oven to 350°F (175°C). Use the conventional (non-convection) setting for the most even baking.
- Grease three 8-inch round cake pans with butter or non-stick baking spray.
- Cut circles of parchment paper to fit the bottom of each pan and press them in. Grease the parchment lightly too.
- Lightly dust the greased and lined pans with a thin layer of flour, tapping out any excess. This ensures the cakes release cleanly after baking.
Step 2: Mix the Dry Ingredients
- In a large bowl, whisk together 3 cups (360g) of cake flour, 1 tablespoon baking powder, 1/2 teaspoon baking soda, and 1/2 teaspoon fine salt.
- Whisking the dry ingredients together thoroughly ensures the baking powder and baking soda are evenly distributed throughout the flour, which means even rising and no pockets of unreacted leavener.
- Set this bowl aside.
Step 3: Cream the Butter and Sugar
- Place the softened butter in the bowl of your stand mixer fitted with the paddle attachment.
- Beat on medium speed for about 2 minutes until the butter is smooth and creamy.
- Add the granulated sugar and continue beating on medium-high speed for 4 to 5 full minutes. The mixture should turn noticeably pale, light, and fluffy. Don’t rush this step; this is where you incorporate air into the batter that gives the cake its lift.
- Stop and scrape down the sides and bottom of the bowl with a rubber spatula to ensure everything is evenly combined.
Step 4: Add the Eggs and Vanilla
- With the mixer on medium speed, add the 4 eggs one at a time, beating for about 30 seconds after each addition before adding the next. This gradual incorporation prevents the batter from breaking or curdling.
- Once all eggs are incorporated, scrape down the bowl again.
- Add the 2 teaspoons of pure vanilla extract and mix on low just to combine.
Step 5: Add the Pink Food Coloring
- Add 1/2 teaspoon of pink gel food coloring to the butter mixture and mix on low until the color is evenly distributed.
- Check the color against what you have in mind. For a soft blush pink, 1/2 teaspoon of gel is usually perfect. For a brighter, more vivid pink, add a little more, up to 1 teaspoon, and mix again.
- Keep in mind that the baked cake will be slightly lighter than the raw batter, so go a touch deeper than your target color.
Step 6: Alternate the Dry Ingredients and Wet Ingredients
- In a small bowl or measuring cup, whisk together the 1 cup (240ml) of buttermilk and 1/4 cup (60g) of sour cream until smooth.
- With the mixer on low speed, add one-third of the flour mixture to the butter mixture. Mix just until barely combined.
- Add half of the buttermilk and sour cream mixture and mix on low until just combined.
- Add another third of the flour mixture, then the remaining buttermilk mixture, then the final third of flour.
- Stop mixing as soon as the last addition of flour is just incorporated. Overmixing at this stage develops gluten and will make the cake tough instead of tender. A few streaks of flour are fine; they will incorporate when you fold with a spatula.
- Finish by folding the batter gently with a rubber spatula from the bottom of the bowl up, scraping up any unmixed pockets.
Step 7: Divide the Batter and Bake
- Weigh or use a large spoon to divide the batter evenly among the three prepared pans. For the most uniform layers, use a kitchen scale. Each pan should hold roughly 550 to 600 grams of batter.
- Smooth the tops gently with your offset spatula or the back of a spoon.
- Place the pans in the preheated oven. If your oven cannot fit all three pans on one rack with space between them, rotate them halfway through baking for even results.
- Bake for 28 to 33 minutes. The cakes are done when the tops spring back lightly when touched in the center, the edges have just pulled away from the sides of the pan, and a toothpick inserted in the center comes out with just a few moist crumbs, not wet batter.
Step 8: Cool the Cakes
- Remove the pans from the oven and let them cool on wire racks for 15 minutes. Do not attempt to remove the cakes while they are still hot; they are fragile.
- After 15 minutes, run a thin butter knife around the edge of each cake to loosen it.
- Invert each cake onto the wire rack, peel away the parchment, then flip right-side up to finish cooling completely.
- The cakes must be completely cool before frosting, usually 1 to 2 hours at room temperature. Warm cake will melt the cream cheese frosting immediately.
Step 9: Make the Cream Cheese Frosting
- Beat the softened cream cheese in the stand mixer with the paddle attachment on medium speed for 2 minutes until completely smooth with no lumps. Scrape the bowl well.
- Add the softened butter and beat together for another 2 minutes until light and fluffy.
- Reduce the speed to low and add the sifted powdered sugar about 1 cup at a time, mixing after each addition to prevent a cloud of sugar.
- Add the vanilla extract and pinch of salt.
- Increase speed to medium-high and beat for 3 minutes until the frosting is fluffy and smooth.
- Add heavy cream 1 tablespoon at a time if the frosting seems too stiff to spread easily. It should be thick enough to hold its shape but spreadable.
Step 10: Assemble and Frost the Cake
- Place one cake layer on your serving plate or cake board. If using a turntable, center it there.
- Add a generous dollop of frosting (about 3/4 cup) to the top of the first layer and spread it evenly to the edges using your offset spatula.
- Place the second layer on top, gently pressing it down so it’s level. Add another 3/4 cup of frosting and spread evenly.
- Add the final cake layer.
- Apply a thin layer of frosting all over the outside of the cake. This is the crumb coat. It seals in any loose crumbs so your final layer looks clean. Refrigerate for 20 to 30 minutes to set.
- Apply the final, thicker layer of frosting to the top and sides. Use the turntable to help you work evenly around the sides.
- Decorate as desired with piped swirls, fresh raspberries, strawberries, or edible flowers.
Read Also: Cream Cheese Frosting Recipe
Tips for Success
A few extra details can take this cake from good to genuinely exceptional. These are the tips that make the biggest difference.
- Use room temperature ingredients throughout. Cold butter won’t cream properly, cold eggs can cause the batter to break, and cold buttermilk can cause lumps. Take everything out of the fridge at least an hour before baking.
- Measure your flour correctly. Scoop-and-pack flour is the single biggest cause of dry, dense cakes. Use a kitchen scale, or spoon flour into your measuring cup and level it off with a straight edge.
- Don’t overmix after adding the flour. Once the flour goes in, gluten develops quickly. Mix only until just combined.
- Gel food coloring, not liquid. Liquid red food dye is too diluted; you’d need far too much. Gel or paste colors give a vivid result with just a small amount, and they won’t affect the batter consistency.
- Cool completely before frosting. Patience here saves you a lot of heartache.
- Level your layers if needed. Use a serrated knife or cake leveler to trim any domed tops for perfectly flat, professional-looking layers.
- Chill the assembled cake before slicing. 30 minutes in the fridge firms everything up so you get clean, beautiful slices.
The same technique of alternating wet and dry ingredients works beautifully in a White Cake too, so once you master this method you can apply it broadly.
Serving Suggestions
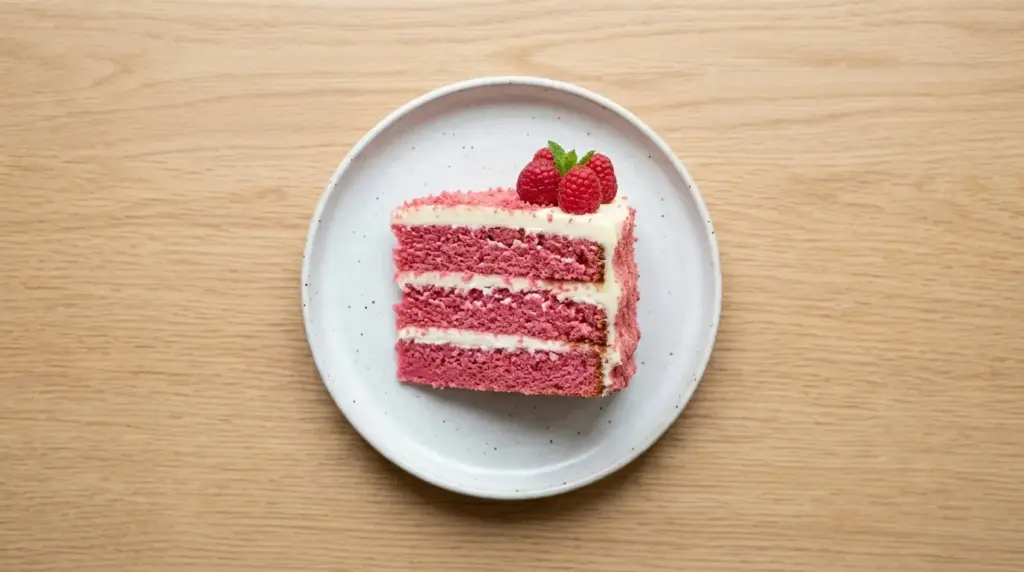
Pink velvet cake is a genuine showstopper on its own, but a few thoughtful serving touches elevate it further.
Serve slices slightly chilled or at room temperature. Cold cake tends to have a firmer crumb, while room temperature lets the flavors open up fully.
Here are some ideas to make each slice feel even more special:
- A spoonful of fresh strawberry sauce drizzled alongside each slice adds a beautiful fruity contrast
- A scoop of vanilla bean ice cream served next to a warm slice makes a dreamy dessert plate
- Fresh raspberries, strawberries, or edible flowers scattered over the top add a gorgeous, natural look
- A light dusting of freeze-dried strawberry powder over the frosting creates a pretty ombre effect and adds fruity flavor
- Serve with a glass of sparkling rosé or a light fruit tea for an elegant afternoon tea spread
Variations to Try
One of the best things about this recipe is how easily it adapts to different flavors and occasions. The base is a blank canvas.
Here are some delicious directions to take it:
- Strawberry Pink Velvet: Add 2 tablespoons of freeze-dried strawberry powder to the cake batter and swap plain vanilla extract for strawberry extract. Fold finely diced fresh strawberries into the frosting.
- Lemon Pink Velvet: Add 2 tablespoons of fresh lemon zest to the batter and replace 2 tablespoons of buttermilk with fresh lemon juice. Use a lemon curd filling between the layers instead of frosting.
- Raspberry Pink Velvet: Fold 1/2 cup of fresh raspberry puree into the frosting for a gorgeous pink raspberry cream cheese frosting.
- Pink Velvet Cupcakes: Divide the batter among 24 lined cupcake wells, filling each about 2/3 full. Bake at 350°F for 18 to 22 minutes.
- Pink Velvet Sheet Cake: Pour all the batter into a greased 9×13-inch pan and bake for 35 to 40 minutes. Frost directly in the pan for easy serving at potlucks and large gatherings.
- White Chocolate Pink Velvet: Fold 3 ounces of melted and cooled white chocolate into the batter after the eggs for extra richness and a lovely white chocolate undertone.
For another stunning layer cake with a similar level of elegance, check out this Strawberry Cake.
Storage and Reheating
Proper storage keeps this cake fresh and delicious for several days. Because the frosting contains cream cheese, it needs to be refrigerated.
Follow these storage guidelines:
- Counter: The frosted cake can sit at room temperature for up to 2 hours during serving.
- Refrigerator: Store the frosted cake in an airtight cake container or loosely covered with plastic wrap for up to 5 days. The cream cheese frosting firms up in the fridge, so take slices out 30 minutes before serving to let them soften.
- Freezer (unfrosted layers): Wrap individual cooled cake layers tightly in plastic wrap, then in a layer of aluminum foil. Freeze for up to 3 months. Thaw overnight in the refrigerator before assembling.
- Freezer (frosted): Freeze the assembled frosted cake uncovered for 1 hour to firm up the frosting, then wrap carefully in plastic wrap. Freeze for up to 2 months. Thaw overnight in the refrigerator.
- Individual slices: Wrap slices individually in plastic wrap and store in an airtight container in the freezer for up to 2 months. Thaw at room temperature for about 30 minutes.
This Lemon Cake is another celebration cake that keeps beautifully using these same storage methods.
Nutritional Facts
The following is an approximate nutritional breakdown per slice, based on 16 slices from a three-layer 8-inch cake with cream cheese frosting.
| Nutrient | Per Slice |
|---|---|
| Calories | ~480 kcal |
| Total Fat | 24g |
| Saturated Fat | 14g |
| Cholesterol | 95mg |
| Sodium | 220mg |
| Total Carbohydrates | 62g |
| Sugars | 47g |
| Protein | 5g |
| Calcium | 60mg |
Please note that these figures are estimates. Actual values will vary based on specific ingredients used, frosting amounts, and slice size.
Read Also: Funfetti Cake Recipe
Health Benefits of Key Ingredients
While this is certainly a treat, a couple of the core ingredients do offer some genuine nutritional value alongside all the deliciousness.
It’s always nice to know there’s something worthwhile tucked into your favorite indulgences.
- Eggs are one of the most nutritionally complete foods available, providing high-quality protein, B vitamins including B12 and riboflavin, vitamin D, selenium, and choline, which supports brain health and memory.
- Buttermilk is lower in fat than regular whole milk and contains probiotics that support gut health. It’s also a good source of calcium, phosphorus, and riboflavin.
- Butter in moderate amounts provides fat-soluble vitamins A, D, E, and K2, which support bone health and immune function.
- Cream cheese contributes calcium and phosphorus, and when made from full-fat milk, it provides a natural source of conjugated linoleic acid (CLA), which has been studied for various health properties.
- Vanilla extract contains small amounts of antioxidants and has been used traditionally to support digestion and reduce inflammation.
Another beautiful cake worth making is this Coconut Cake, which is equally moist and full of wonderful flavor.
Frequently Asked Questions
1. Can I use all-purpose flour instead of cake flour?
You can, but the texture will be noticeably different. Cake flour has a lower protein content than all-purpose flour, which is exactly what creates that delicate, velvety crumb. If you must substitute, use this formula: for every 1 cup of cake flour, use 3/4 cup plus 2 tablespoons of all-purpose flour plus 2 tablespoons of cornstarch, sifted together. This brings the protein content closer to cake flour.
2. Can I make this cake without food coloring?
Absolutely. Without food coloring, you’ll end up with a beautifully pale cream or ivory vanilla layer cake that tastes just as wonderful. The “pink velvet” name refers to the color, but the flavor and texture are all about the buttermilk and cake flour, not the dye.
3. Why did my cake turn out dense instead of fluffy?
The most common causes are overmixing the batter after adding the flour, which develops too much gluten, or using cold butter and eggs, which prevents proper creaming and emulsification. Make sure all ingredients are genuinely at room temperature, cream the butter and sugar for the full 4 to 5 minutes, and stop mixing the batter the moment the flour is just incorporated.
4. Can I make this as a two-layer cake instead of three layers?
Yes, absolutely. Divide the batter between two 9-inch round pans instead of three 8-inch pans and bake for 30 to 35 minutes. The layers will be slightly thicker and may need a few extra minutes. This is a great option if you want a slightly more casual presentation.
5. How far in advance can I make this cake?
The unfrosted cake layers can be baked up to 2 days ahead and stored wrapped at room temperature, or up to 3 months frozen. The cream cheese frosting can be made up to 5 days ahead and kept refrigerated in an airtight container. Let it come to room temperature and re-beat briefly before using. The fully assembled and frosted cake keeps beautifully in the fridge for up to 5 days.
For another elegant and make-ahead friendly dessert option, try this gorgeous Italian Cream Cake.
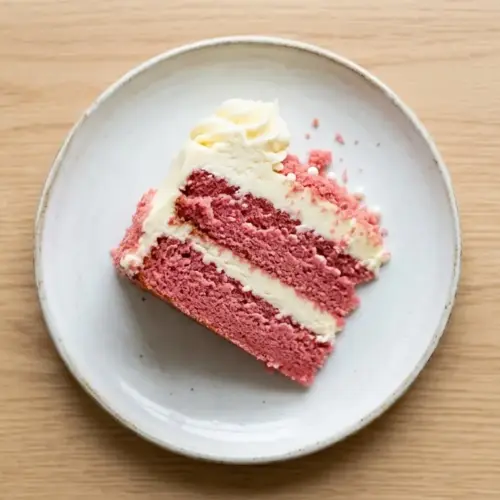
Pink Velvet Cake with Cream Cheese Frosting

Equipment
- Stand mixer or hand electric mixer - A stand mixer is highly recommended for proper creaming
- Three 8-inch (20cm) round cake pans - Matching pans ensure even baking
- Parchment paper - To line the bottom of cake pans
- Large mixing bowls
- Kitchen scale - Strongly recommended for accurate flour measurements and even batter distribution
- Rubber spatula
- Wire cooling racks
- Offset spatula - For frosting
- cake turntable - Optional but makes frosting much easier
- Sifter or fine mesh strainer
- Toothpick - For testing doneness
- Serving plate or cake board
- Serrated knife or cake leveler - Optional, for leveling layers
Ingredients
- 3 cups cake flour - 360g, spooned and leveled
- 1 tablespoon baking powder
- 1/2 teaspoon baking soda
- 1/2 teaspoon fine salt
- 1 cup unsalted butter - 225g, softened to room temperature
- 2 cups granulated sugar - 400g
- 4 large eggs - room temperature
- 2 teaspoons pure vanilla extract
- 1 cup full-fat buttermilk - 240ml, room temperature
- 1/4 cup sour cream - 60ml, room temperature
- 1/2 teaspoon pink gel food coloring - up to 1 teaspoon for more vibrant color
For the Cream Cheese Frosting
- 16 oz full-fat cream cheese - 450g, softened
- 1 cup unsalted butter - 225g, softened
- 5 cups powdered sugar - 625g, sifted
- 2 teaspoons pure vanilla extract
- 1 pinch fine salt
- 2 tablespoons heavy cream - up to 3 tablespoons, as needed for consistency
For Serving (Optional)
- fresh raspberries - for garnish
- fresh strawberries - for garnish
- edible flowers - for garnish
Instructions
- Preheat oven to 350°F (175°C) on conventional setting. Grease three 8-inch round cake pans, line bottoms with parchment, grease parchment, and dust with flour, tapping out excess.
- In a large bowl, whisk together cake flour, baking powder, baking soda, and fine salt until thoroughly combined. Set aside.
- In a stand mixer with paddle attachment, beat softened butter on medium speed for 2 minutes until creamy. Add granulated sugar and beat on medium-high for 4-5 minutes until pale, light, and fluffy, scraping down the bowl as needed.
- With mixer on medium speed, add eggs one at a time, beating for 30 seconds after each addition. Scrape down the bowl, then add vanilla extract and mix on low until combined.
- Add pink gel food coloring (start with 1/2 teaspoon) and mix on low until evenly distributed. Add more up to 1 teaspoon for a more vibrant pink.
- Whisk together buttermilk and sour cream in a small bowl until smooth. With mixer on low, add one-third of flour mixture, then half the buttermilk mixture, then another third of flour, remaining buttermilk, and final third of flour, mixing until just combined after each addition.
- Finish by gently folding the batter with a rubber spatula from the bottom of the bowl up. Divide batter evenly among the three prepared pans (about 550-600g each) and smooth the tops.
- Bake for 28-33 minutes until tops spring back when touched, edges pull away from sides, and a toothpick inserted in the center comes out with just a few moist crumbs. Cool in pans on wire racks for 15 minutes.
- Run a thin butter knife around each cake edge to loosen, invert onto wire racks, peel away parchment, then flip right-side up to cool completely for 1-2 hours.
- Beat softened cream cheese in stand mixer on medium speed for 2 minutes until smooth. Add softened butter and beat for 2 more minutes until light and fluffy.
- Reduce speed to low and gradually add sifted powdered sugar, 1 cup at a time, mixing after each addition. Add vanilla extract and pinch of salt. Increase speed to medium-high and beat for 3 minutes until fluffy and smooth. Add heavy cream, 1 tablespoon at a time, if needed for spreadable consistency.
- Place one cake layer on serving plate. Spread about 3/4 cup frosting evenly to the edges. Add second layer and repeat. Place final layer on top. Apply a thin crumb coat all over, refrigerate for 20-30 minutes, then apply final thick layer of frosting.
- Decorate with piped swirls, fresh raspberries, strawberries, or edible flowers as desired. Chill for 30 minutes before slicing for clean, beautiful slices.
Notes
- Room temperature is crucial: Take all ingredients out of the fridge at least an hour before baking. Cold butter won’t cream properly and cold eggs can cause the batter to break.
- Measure flour correctly: Use a kitchen scale for accuracy, or spoon flour into your measuring cup and level it off with a straight edge. Scooping and packing flour is the leading cause of dense, dry cakes.
- Gel vs liquid food coloring: Gel food coloring is essential for this recipe. It gives a vibrant pink color without adding excess liquid that could alter the batter consistency. Liquid coloring would require far too much.
- Don’t overmix: Once you add the flour to the wet ingredients, mix only until just combined. Overmixing develops gluten and will make the cake tough instead of tender.
- Color guidance: The baked cake will be slightly lighter than the raw batter, so aim for a slightly deeper pink in the bowl than your final desired color.
- Level your layers: If your cakes have domed tops, use a serrated knife or cake leveler to trim them flat for professional-looking, even layers.
- Make ahead: Unfrosted cake layers can be baked up to 2 days ahead and stored wrapped at room temperature, or frozen for up to 3 months. Cream cheese frosting can be made up to 5 days ahead and refrigerated.
- Storage: Because the frosting contains cream cheese, the frosted cake must be refrigerated. Store in an airtight container for up to 5 days. Remove from fridge 30 minutes before serving for best flavor and texture.
- Freezing: Unfrosted cake layers freeze beautifully. Wrap individually in plastic wrap and foil, freeze for up to 3 months. Thaw overnight in the refrigerator before assembling.
- Variation tip: For a stunning twist, add 2 tablespoons of freeze-dried strawberry powder to the batter and fold finely diced fresh strawberries into the frosting.
Final Thoughts
This pink velvet cake recipe is exactly the kind of bake that makes people pause when you set it on the table.
The soft blush layers, the tangy cream cheese frosting, and that cloud-like crumb combine to create something that feels genuinely special, whether it’s for a birthday, a baby shower, or simply a Tuesday when you feel like baking.
Don’t be intimidated by the layer cake format. Once you break it down step by step, it’s straightforward and incredibly satisfying to make.
Give this recipe a try, and when you do, leave a comment below to tell me how it turned out! I’d love to hear what occasion you made it for, what color you chose, or any creative variations you tried.
Recommended:
- Marble Cake
- Checkerboard Cake Recipe
- Classic Vanilla Cake
- Lemon Chiffon Cake
- Red Velvet Cheesecake
- Chocolate Buttercream Frosting
- Pastry Cream
- Chocolate Ganache
- Pound Cake
- Sour Cream Coffee Cake



