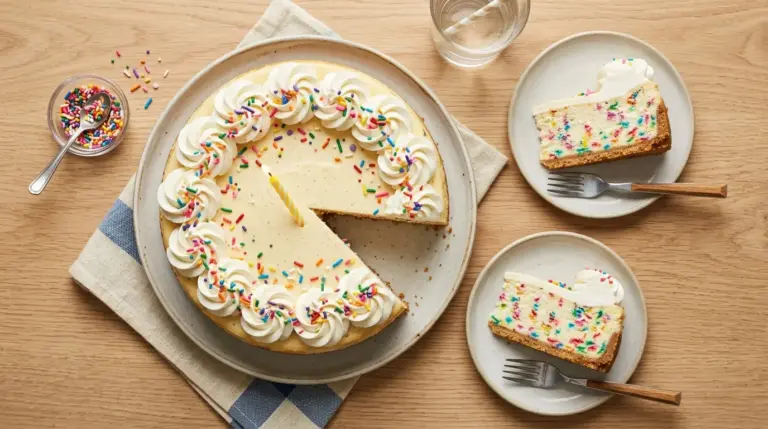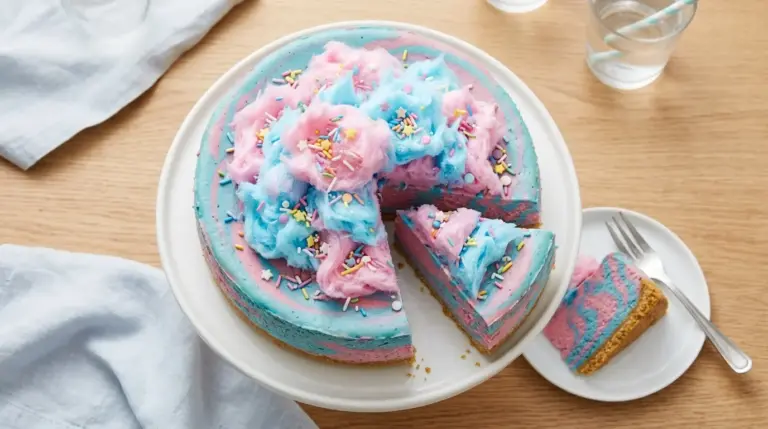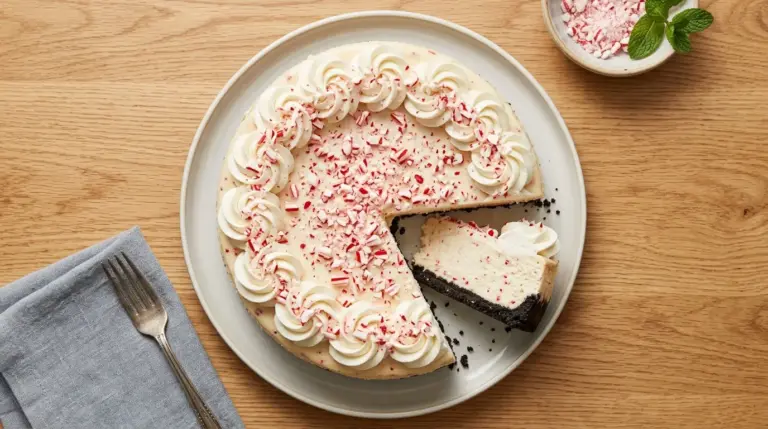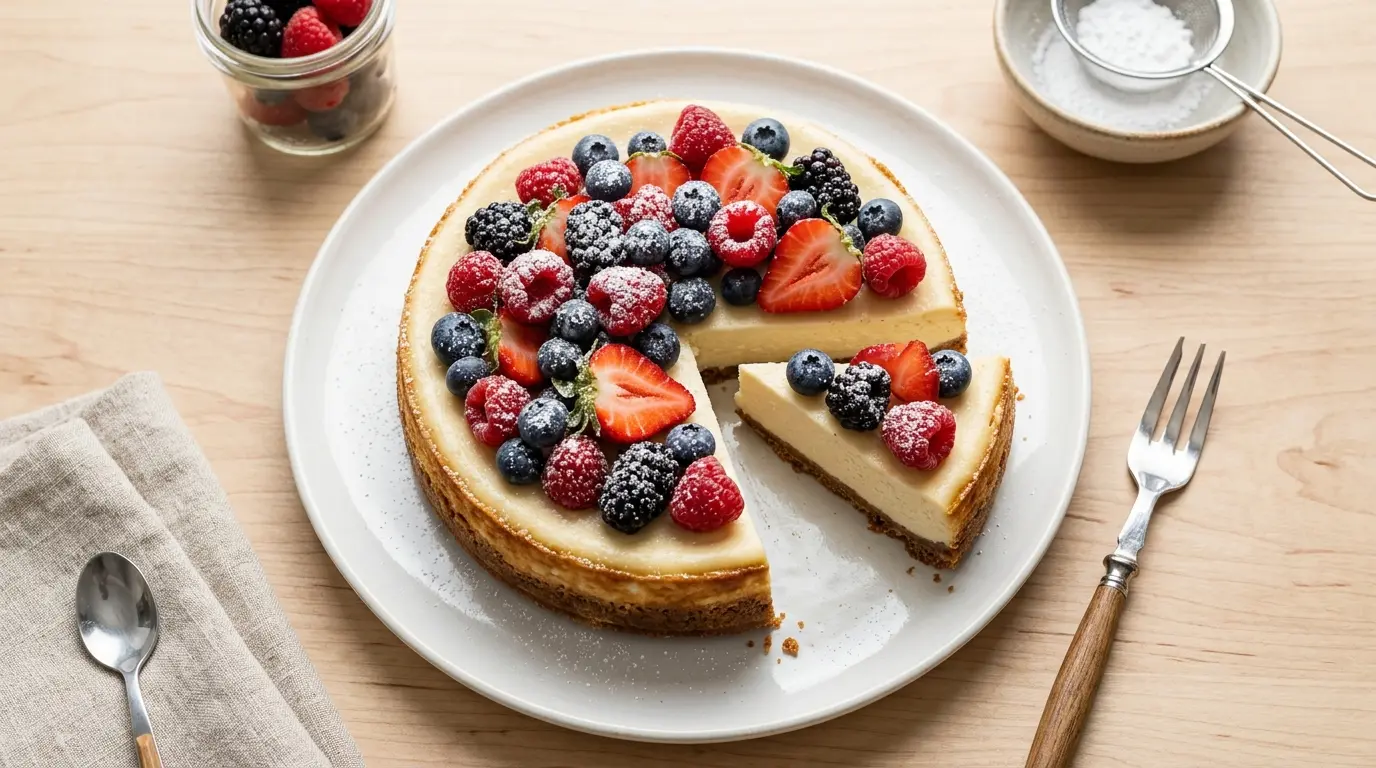
A good low calorie cheesecake recipe is one of those things people assume you have to sacrifice everything for. Less cream, less sweetness, less of the thick, velvety texture that makes cheesecake worth eating in the first place.
But this recipe proves that assumption wrong.
By swapping full-fat cream cheese for a lighter reduced-fat version and folding in thick Greek yogurt, you get a filling that is genuinely creamy, tangy, and satisfying, without packing in hundreds of extra calories per slice. The crust uses just enough butter to hold together, and the sweetness comes from a combination of a natural sweetener and a small amount of sugar, giving you that familiar cheesecake flavor without the guilt.
This is the version you will make again and again. It is simple enough for weeknights, impressive enough for guests, and light enough that one slice does not derail your whole day.
For more lighter cheesecake inspiration, you might also love this Sugar Free Cheesecake Recipe.
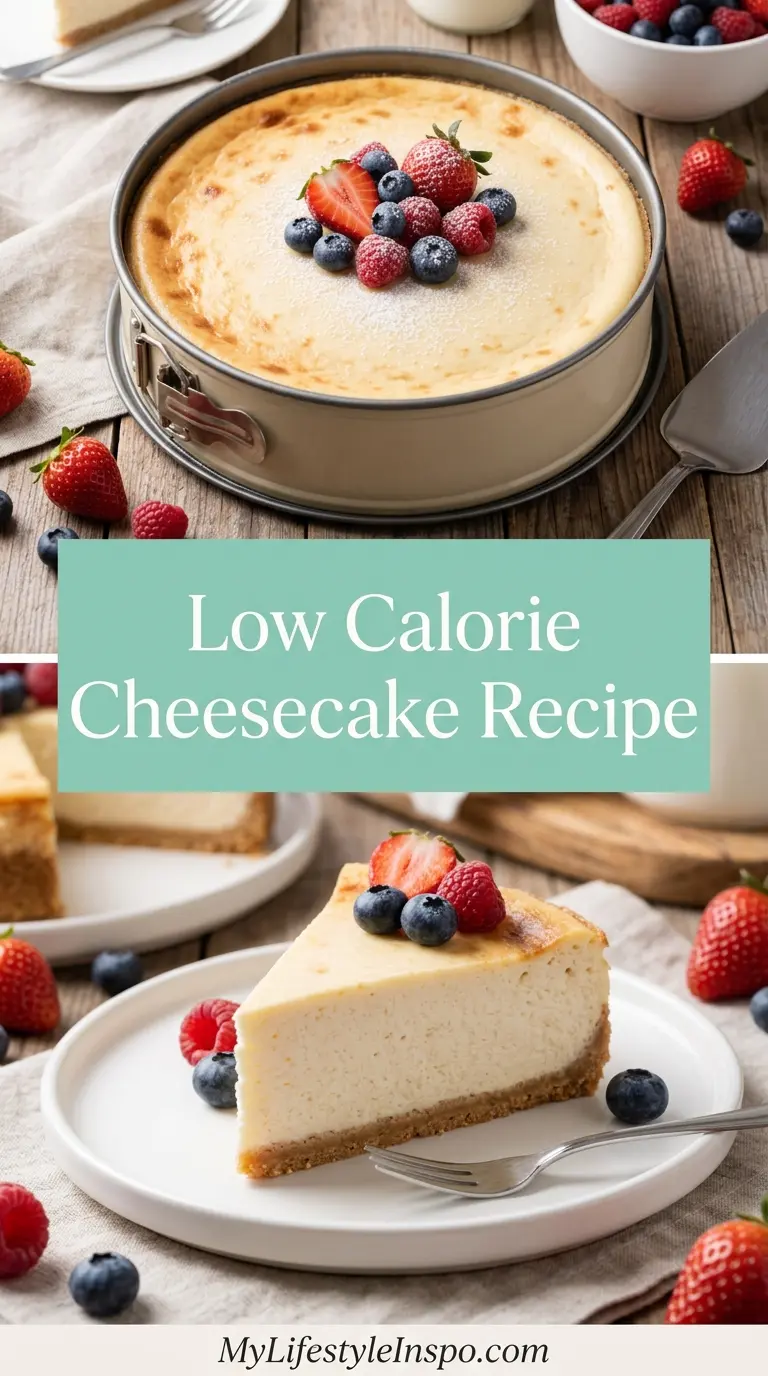
Why You’ll Love This Low Calorie Cheesecake Recipe
Cheesecake has a reputation for being indulgent and heavy, but this lighter version delivers the same satisfaction with a fraction of the calories.
Each slice clocks in at around 200 to 220 calories, which is less than half of a traditional serving.
The filling is smooth and creamy because the Greek yogurt adds protein and body without the fat load of heavy cream. It also gives the cheesecake a beautiful, subtle tang that complements the vanilla perfectly.
The graham cracker crust is kept thin and crisp, giving you that classic cheesecake contrast without turning into a butter bomb.
This recipe skips the water bath entirely, which means no soggy bottoms, no fussing with foil wrapping, and a much more relaxed baking experience.
It is also genuinely beginner friendly and comes together with pantry staples you likely already have.
- Around 200 to 220 calories per slice
- Creamy, tangy filling thanks to Greek yogurt
- No water bath required
- Lighter crust that still has that satisfying crunch
- Works beautifully with fresh fruit toppings, berry sauces, or a simple dusting of powdered sugar
- Makes 10 to 12 slices, perfect for sharing
- Easily adaptable for different flavor variations
You might also enjoy this Keto Cheesecake Recipe if you are looking for an even lower carb option.
Ingredients
This recipe uses a short, focused list of ingredients to keep things simple and the calories in check. The reduced-fat cream cheese is the backbone of the filling, so use a good quality brand for the best results.
For the crust:
- 1 1/2 cups (150g) graham cracker crumbs (about 10 to 11 full sheets)
- 2 tablespoons (25g) granulated sugar
- 3 tablespoons (42g) unsalted butter, melted
For the filling:
- 16 oz (450g) reduced-fat cream cheese, softened to room temperature
- 1 cup (240g) plain full-fat or low-fat Greek yogurt, at room temperature
- 1/2 cup (100g) granulated sugar
- 2 tablespoons (16g) cornstarch
- 2 large eggs, at room temperature
- 1 egg yolk, at room temperature
- 2 teaspoons pure vanilla extract
- 2 tablespoons fresh lemon juice
- 1 teaspoon lemon zest
Optional toppings:
- Fresh strawberries, blueberries, or raspberries
- Fresh strawberry sauce or lemon curd
- Light whipped cream
Read Also: No Bake Cheesecake Recipe
Kitchen Equipment Needed
Having the right tools makes this recipe significantly easier and helps you get a smooth, crack-free cheesecake every time. The springform pan is non-negotiable because it lets you release the cheesecake cleanly without having to flip or pry it out.
- 9-inch springform pan
- Stand mixer or hand electric mixer
- Large mixing bowls
- Rubber spatula
- Measuring cups and spoons
- Food processor or zip-lock bag and rolling pin (for graham cracker crumbs)
- Baking sheet (to place under the springform pan in the oven)
- Wire cooling rack
- Offset spatula or butter knife (for smoothing the top)
- Plastic wrap (for covering during chilling)
Read Also: Gluten Free Cheesecake Recipe
Recommended Products for This Recipe
These are products chosen for their quality and performance, and each one genuinely makes a difference in how your cheesecake turns out.
1. Fat Daddio’s 9-Inch Springform Pan
A quality springform pan is the single most important piece of equipment for cheesecake. Fat Daddio’s anodized aluminum distributes heat evenly, preventing hotspots that lead to cracks, and the latch releases cleanly without tearing the edges. It is a professional-grade tool at an accessible price.
2. Philips Hand Mixer
For low calorie cheesecake, you want a mixer that incorporates everything smoothly without overbeating (which introduces too much air and causes cracks). A reliable hand mixer gives you that control. The Philips model is lightweight, quiet, and handles cream cheese beautifully.
3. Swerve Granular Sugar Substitute
If you want to cut calories even further, Swerve is a zero-calorie erythritol-based sweetener that measures cup-for-cup like regular sugar and bakes beautifully in cheesecake. It does not have the bitter aftertaste of some other sweeteners, making it one of the best options for lighter desserts.
4. OXO Good Grips Offset Spatula
Smoothing the cheesecake filling into the pan evenly is key to even baking and a pretty presentation. An offset spatula gives you much more control than a regular butter knife and is one of those tools you will reach for constantly once you have it.
Another great variation to bookmark for later: Lactose Free Cheesecake Recipe
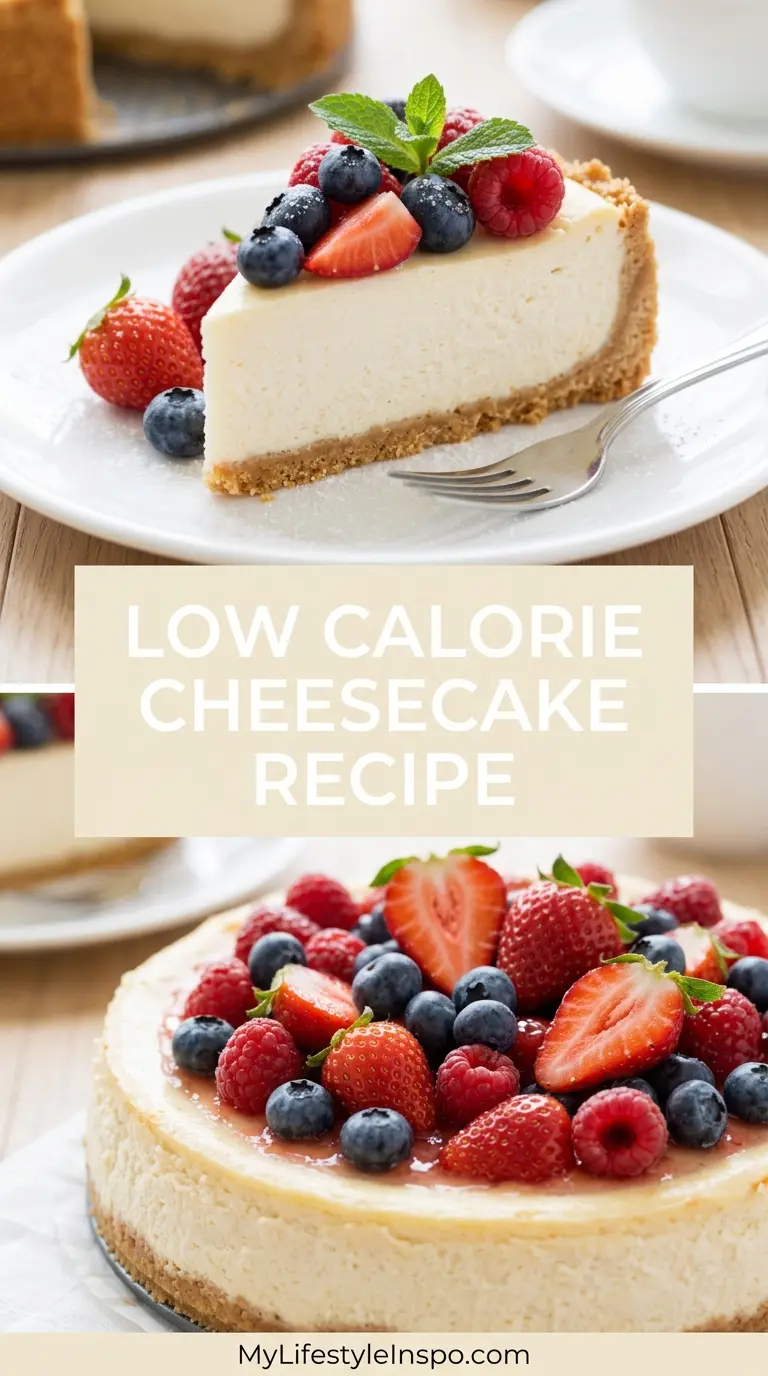
Step-by-Step Instructions
1. Prepare Your Pan and Preheat the Oven
- Preheat your oven to 325°F (163°C). This lower temperature is intentional and helps the cheesecake bake gently and evenly without cracking.
- Lightly grease the inside of your 9-inch springform pan with a small amount of butter or cooking spray, including the bottom and the sides.
- Cut a circle of parchment paper to fit the bottom of the pan and press it in. This makes removing the cheesecake much easier.
- Set the springform pan on a rimmed baking sheet. This protects the oven floor from any butter drips and helps regulate heat from the bottom.
2. Make the Graham Cracker Crust
- If using whole graham crackers, place them in a food processor and pulse until you have fine, even crumbs. Alternatively, place them in a sealed zip-lock bag and crush with a rolling pin.
- Transfer 1 1/2 cups (150g) of graham cracker crumbs to a medium bowl.
- Add 2 tablespoons (25g) of granulated sugar and stir to combine.
- Pour in 3 tablespoons (42g) of melted butter and stir until every crumb is moistened and the mixture resembles wet sand. The mixture should hold together when you press a small amount between your fingers.
- Pour the crumb mixture into the prepared springform pan and use the flat bottom of a measuring cup to press it firmly and evenly across the bottom. Try to get a clean, uniform layer about 1/4 inch thick.
- Place the pan (still on the baking sheet) in the preheated oven and bake the crust for 8 to 10 minutes, until it is lightly golden and smells like toasted cookies.
- Remove from the oven and let the crust cool completely while you prepare the filling. The oven stays on.
3. Bring Ingredients to Room Temperature
- This step is critical for a smooth, lump-free filling. Cold cream cheese will not mix properly and leaves you with a grainy texture.
- Make sure your reduced-fat cream cheese (16 oz / 450g) has been sitting at room temperature for at least 60 minutes before you begin mixing.
- Your Greek yogurt (1 cup / 240g), eggs, and egg yolk should also be at room temperature. If you are short on time, set the eggs in a bowl of warm water for 10 minutes.
4. Mix the Cream Cheese
- In a large mixing bowl, add the softened reduced-fat cream cheese.
- Using an electric hand mixer or stand mixer fitted with the paddle attachment, beat the cream cheese on medium speed for about 2 minutes until it is completely smooth and fluffy.
- Stop and scrape down the sides and bottom of the bowl with a rubber spatula. This ensures there are no hidden lumps of unmixed cream cheese.
- Beat again briefly, just until smooth.
5. Add the Sugar and Cornstarch
- Add 1/2 cup (100g) of granulated sugar to the beaten cream cheese.
- Add 2 tablespoons (16g) of cornstarch. The cornstarch acts as a stabilizer and helps the cheesecake set up firmly and slice cleanly. It is especially helpful in lower-fat cheesecakes.
- Mix on low to medium speed until the sugar and cornstarch are fully incorporated, about 1 minute.
- Scrape down the sides again.
6. Add the Greek Yogurt, Vanilla, and Lemon
- Add 1 cup (240g) of plain Greek yogurt to the bowl.
- Add 2 teaspoons of pure vanilla extract, 2 tablespoons of fresh lemon juice, and 1 teaspoon of lemon zest.
- Mix on low speed just until everything is combined, about 30 seconds. Do not overmix at this stage or after adding the eggs, as too much air in the batter is the leading cause of cracks.
7. Add the Eggs
- Crack the 2 large eggs and 1 egg yolk into a small bowl first, to make sure no shells fall in.
- Add them to the cream cheese mixture one at a time, mixing on the lowest speed setting after each addition just until incorporated. You should see the yolk disappear and the mixture become uniform before adding the next egg.
- The extra yolk adds richness and helps with structure without adding a significant number of calories.
- Once all eggs are added, give the batter a final gentle fold with your rubber spatula to make sure everything is evenly mixed. The batter should be smooth, slightly thick, and pourable.
8. Pour the Filling and Smooth the Top
- Pour the cheesecake filling slowly over the cooled graham cracker crust in the springform pan.
- Use an offset spatula or the back of a spoon to gently smooth the top into an even, level surface.
- Tap the pan gently on the counter 3 or 4 times to release any trapped air bubbles.
- Run a toothpick or skewer around the edge of the filling where it meets the pan to release surface bubbles.
9. Bake the Cheesecake
- Place the springform pan (on the baking sheet) into the preheated 325°F (163°C) oven.
- Bake for 50 to 60 minutes. The cheesecake is done when the edges are fully set and slightly puffed, but the center still has a gentle jiggle, roughly the size of a baseball or tennis ball. It should not look liquid or sloshy.
- Do not open the oven door during the first 40 minutes of baking, as temperature fluctuations cause cracking.
- At the 50-minute mark, check the cheesecake by gently nudging the pan. If the center has stopped wobbling excessively, it is done. If not, give it another 5 to 8 minutes.
10. Cool Slowly
- Turn off the oven. Leave the cheesecake inside with the oven door cracked open about 1 inch (prop it open with a wooden spoon) for 1 hour. This slow, gradual cooling prevents the dramatic temperature drop that causes cracks.
- After 1 hour, remove the cheesecake from the oven and run a thin knife or spatula carefully around the inside edge of the springform pan. This releases the sides and prevents the cheesecake from pulling and cracking as it shrinks.
- Let the cheesecake cool completely to room temperature on a wire rack. This typically takes another 1 to 2 hours.
11. Chill Overnight
- Cover the top of the cheesecake loosely with plastic wrap (do not press it against the surface) and refrigerate for a minimum of 6 hours, but ideally overnight.
- Chilling is not optional. It transforms the cheesecake from a soft, wobbly bake into that dense, sliceable, perfectly set texture that makes cheesecake so satisfying.
- When ready to serve, release the springform latch, gently slide the pan sides away, and transfer the cheesecake to a serving plate. Add your toppings of choice just before serving.
This cheesecake also pairs wonderfully with a slice of Angel Food Cake on the side if you are serving a larger dessert spread.
Tips for Success
Getting the best results from this low calorie cheesecake recipe comes down to a few key habits, most of which cost no extra effort once you know them.
- Room temperature everything. Cold ingredients do not blend properly. Set your cream cheese, yogurt, and eggs out at least an hour before you start. This is the number one tip for a smooth, lump-free cheesecake.
- Do not overmix after adding the eggs. Overbeating incorporates too much air, which causes the cheesecake to puff up in the oven and then crack as it cools. Mix on the lowest speed and stop as soon as each ingredient is combined.
- Bake low and slow. The 325°F (163°C) temperature is intentionally gentle. Resist the urge to turn the heat up to speed things along.
- The jiggle test is your best friend. A set cheesecake jiggles in the center like a thick custard, not like water. Trust the wobble.
- Cool in the oven. Sudden temperature changes are the enemy of crack-free cheesecake. The slow oven cooldown makes a real difference.
- Run a knife around the edge as soon as it comes out. This one small step prevents most cracking from shrinkage.
- Chill overnight if at all possible. The texture on day two is notably better than on day one.
For another light dessert idea, try this Vegan Cheesecake Recipe.
Serving Suggestions
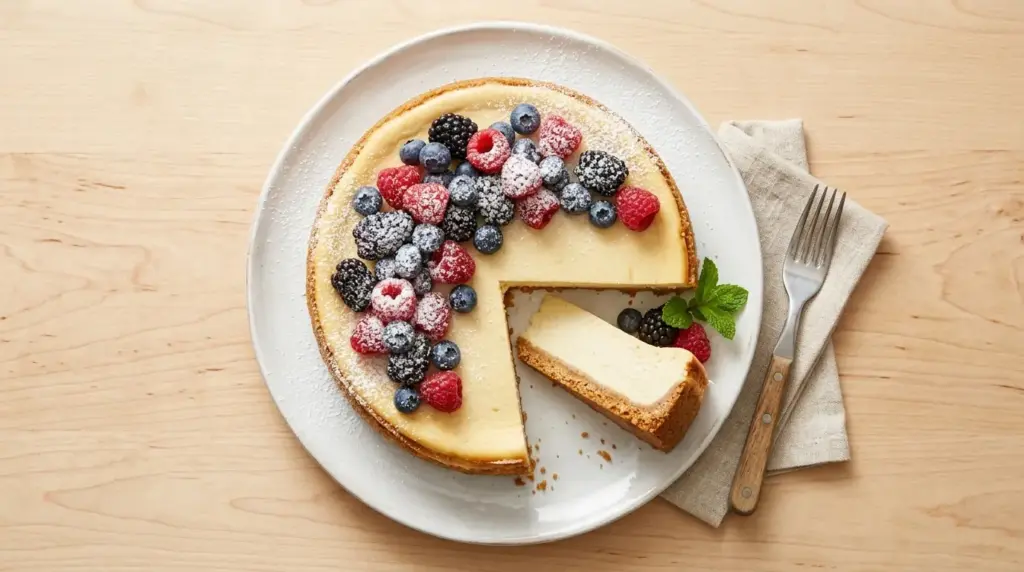
This cheesecake is wonderful plain, but the right topping takes it from delicious to genuinely special.
Fresh fruit is the most classic choice and also one of the most calorie-friendly. Sliced strawberries, raspberries, blueberries, or a mix of all three add color, freshness, and natural sweetness without piling on extra calories.
- Sliced fresh strawberries or a warm Fresh Strawberry Sauce
- A spoonful of Lemon Curd for a bright, citrusy topping
- A light dusting of powdered sugar and a few fresh mint leaves
- A small drizzle of Caramel Sauce for an indulgent-feeling finish that still stays relatively light
- Mixed berry compote made with frozen berries, a splash of lemon juice, and a small amount of sweetener
- Sliced kiwi and mango for a tropical twist
- A thin layer of Chocolate Ganache drizzled over the top before serving
- A dollop of Vanilla Bean Ice Cream on the side for an extra treat
You might also enjoy: Blueberry Cheesecake Recipe
Variations to Try
Once you have mastered the base recipe, there are so many directions you can take it. The filling is remarkably versatile.
- Strawberry swirl: Puree 1/2 cup of fresh strawberries with 1 tablespoon of sugar. Dollop it over the filling before baking and swirl gently with a skewer for a gorgeous marbled effect.
- Lemon cheesecake: Double the lemon zest and lemon juice in the filling, and finish with a layer of lemon curd after chilling.
- Chocolate: Melt 2 oz (56g) of dark chocolate and let it cool slightly, then fold it into the filling at the very end for a chocolate swirl effect.
- Pumpkin spice: Replace 1/2 cup of the Greek yogurt with 1/2 cup of pure pumpkin puree and add 1 1/2 teaspoons of pumpkin pie spice. Perfect for fall.
- Cookie crust swap: Replace the graham crackers with digestive biscuits, vanilla wafers, or finely crushed ginger snaps for a different crust flavor.
- Mini cheesecakes: Use this same filling in a standard muffin tin lined with cupcake liners. Reduce the baking time to 20 to 25 minutes. Individual portions are naturally easier to track for calorie awareness.
- No-bake version: Use gelatin to set the filling instead of eggs and baking. Individual mini portions work especially well with this approach and need no oven time at all.
Another variation worth bookmarking: Lemon Cheesecake Recipe
Storage and Reheating
This cheesecake stores exceptionally well, which makes it a great make-ahead option for dinner parties, holiday gatherings, or simply having a healthy dessert ready in the fridge for the week.
- Refrigerator: Store the cheesecake covered with plastic wrap or in an airtight container in the fridge for up to 5 days. The flavor and texture actually improve on days 2 and 3.
- Freezer: This cheesecake freezes beautifully. Slice it into individual portions, place them on a parchment-lined tray, and freeze until solid. Then transfer to a freezer-safe zip-lock bag or container. It will keep for up to 2 months.
- Thawing: Transfer frozen slices to the refrigerator the night before you plan to eat them and allow them to thaw slowly overnight. Do not thaw at room temperature or the texture can become watery.
- Reheating: Cheesecake is best served cold or at room temperature. It is not a dessert that needs reheating. If it has been refrigerated and you prefer it slightly less cold, simply let it sit at room temperature for 20 to 30 minutes before serving.
- Add toppings at serving: If you plan to store leftovers, keep any fruit toppings or sauces separate and add them fresh when serving each slice.
Read Also: Strawberry Cheesecake Recipe
Nutritional Facts
The following values are approximate and based on 12 equal slices using reduced-fat cream cheese, low-fat Greek yogurt, and granulated sugar as listed. Values will vary slightly depending on the brands used.
| Nutrient | Per Slice (1 of 12) |
|---|---|
| Calories | ~210 |
| Total Fat | 9g |
| Saturated Fat | 5g |
| Cholesterol | 65mg |
| Sodium | 200mg |
| Total Carbohydrates | 23g |
| Dietary Fiber | 0.3g |
| Sugars | 16g |
| Protein | 8g |
For comparison, a traditional New York-style cheesecake slice typically contains 400 to 600 calories and 25 to 35 grams of fat, making this version roughly half the caloric load with a meaningful protein boost from the Greek yogurt.
You might also enjoy: Mini Cheesecake Recipe
Health Benefits of Key Ingredients
This recipe is not just lower in calories. Several of the core ingredients bring genuine nutritional benefits to the table.
Each ingredient was chosen to contribute something meaningful beyond just flavor.
- Reduced-fat cream cheese delivers the creamy base with significantly less saturated fat than the full-fat version, while still providing calcium and a small amount of protein per serving.
- Greek yogurt is arguably the most powerful ingredient swap in this recipe. It is high in protein, rich in probiotics that support gut health, and contributes a thick, creamy texture that replaces the heavy cream found in traditional cheesecakes.
- Eggs provide complete protein, healthy fats from the yolk, and the structural proteins that help the cheesecake set. The lecithin in egg yolks also acts as a natural emulsifier, helping the filling stay smooth and creamy.
- Lemon juice and zest do more than just add brightness. Lemon juice contains vitamin C and helps cut through the richness of the cream cheese, balancing the flavor without adding calories.
- Graham crackers provide the crust base and contribute a small amount of whole grain, along with fiber, depending on the brand. Using just enough butter to bind them keeps the crust lighter than a traditional buttery base.
- Cornstarch is a calorie-efficient stabilizer that helps the cheesecake set cleanly, reducing the need for extra eggs or heavy cream.
Read Also: Philadelphia No Bake Cheesecake Recipe
Frequently Asked Questions
1. Can I use full-fat cream cheese instead of reduced-fat?
You can, and the cheesecake will be richer and slightly denser. The calorie count will increase by roughly 60 to 80 calories per slice, depending on how much cream cheese is used. The texture and technique remain the same, so the recipe works either way.
2. Why did my cheesecake crack?
Cracking usually happens for one of three reasons: the filling was overmixed and had too much air incorporated, the oven temperature was too high, or the cheesecake cooled too quickly. Follow the tips in the Tips for Success section, especially the slow oven cooldown method, to prevent this. A crack does not affect the flavor at all, and toppings cover it beautifully.
3. Can I make this cheesecake without eggs?
Eggs are important for structure in a baked cheesecake, but you can substitute each egg with 1/4 cup of unsweetened applesauce or use a commercial egg replacer. The texture will be slightly different, less set and more mousse-like, but still delicious. Alternatively, try the no-bake version which uses gelatin for setting instead.
4. How do I know when the cheesecake is done baking?
Look for set edges and a center that still has a gentle, uniform jiggle roughly the size of a tennis ball. The surface should look matte rather than shiny, and the cheesecake should be slightly puffed at the edges. It will continue to set as it cools. If the center is completely firm and does not jiggle at all, it may have been slightly overbaked, though it will still taste good.
5. Can I use flavored Greek yogurt instead of plain?
It is best to use plain Greek yogurt to keep the flavor balanced and the sugar level controlled. Flavored yogurts often contain added sugars and fruit pieces that can make the filling too sweet or alter the texture. If you want to add flavor, do so through the other ingredients such as vanilla extract, lemon zest, or a fruit swirl added before baking.
Read Also: Pumpkin Cheesecake Recipe
Final Thoughts
This low calorie cheesecake recipe is proof that eating lighter does not mean giving up the desserts you love.
It has all the creamy, tangy richness of a classic cheesecake, with about half the calories and a generous protein boost from the Greek yogurt. The crust is crisp, the filling is silky, and the whole thing comes together without any complicated techniques or specialty equipment.
Make it for a weekend treat, a birthday celebration, or simply because you want something sweet that you can feel good about.
If you try this recipe, leave a comment below and let me know how it turned out. Sharing which toppings you used would be especially fun to hear. And if you loved it, share it with someone who deserves a lighter slice of something delicious.
Recommended:
- Baked Cheesecake Recipe
- New York Cheesecake Recipe
- Oreo Cheesecake Recipe
- Japanese Cheesecake Recipe
- Basque Cheesecake Recipe
- Churro Cheesecake Recipe
- Philadelphia Cheesecake Recipe
- Best Cheesecake Recipe
- Cheesecake Ice Cream Cake Recipe
- Cream Cheese Frosting Recipe