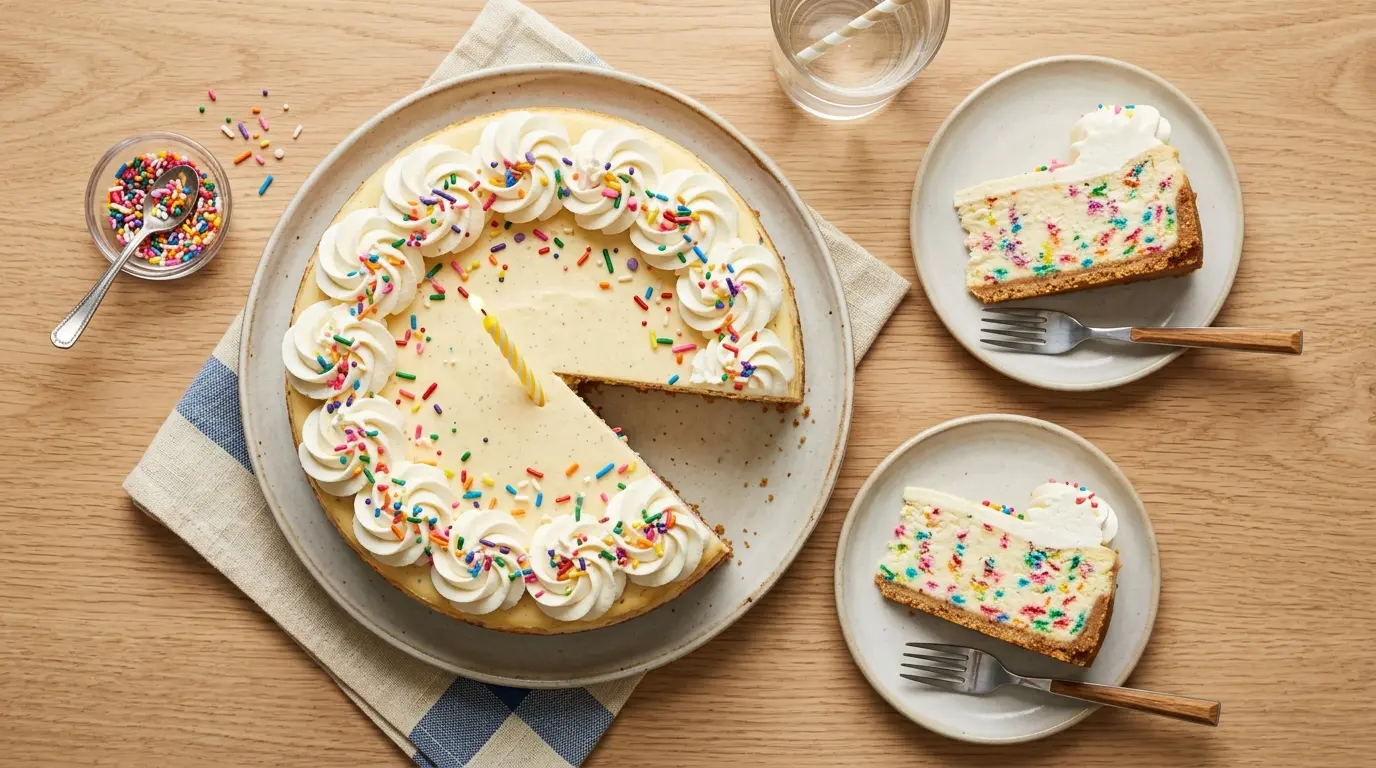
If you’re looking for a birthday cheesecake recipe that steals the show, you’ve come to the right place. This classic baked cheesecake combines a buttery graham cracker crust with a silky-smooth vanilla cream cheese filling, all dressed up with rainbow sprinkles for that unmistakable birthday celebration feel.
The secret to a truly spectacular result lies in a few key techniques: room-temperature cream cheese for a lump-free batter, a water bath to prevent cracking, and a slow cool in the oven to set that perfectly creamy texture. Once you try this recipe, you’ll never want plain birthday cake again.
This recipe is based on the beloved New York-style cheesecake, which means the filling is rich, dense, and wonderfully tangy. The rainbow sprinkles are folded right into the batter so every single slice bursts with color, making it the ultimate dessert for kids’ parties, milestone birthdays, or really any occasion that calls for a little celebration.
The Best Cheesecake Recipe is also worth bookmarking if you want the classic version without the birthday spin.
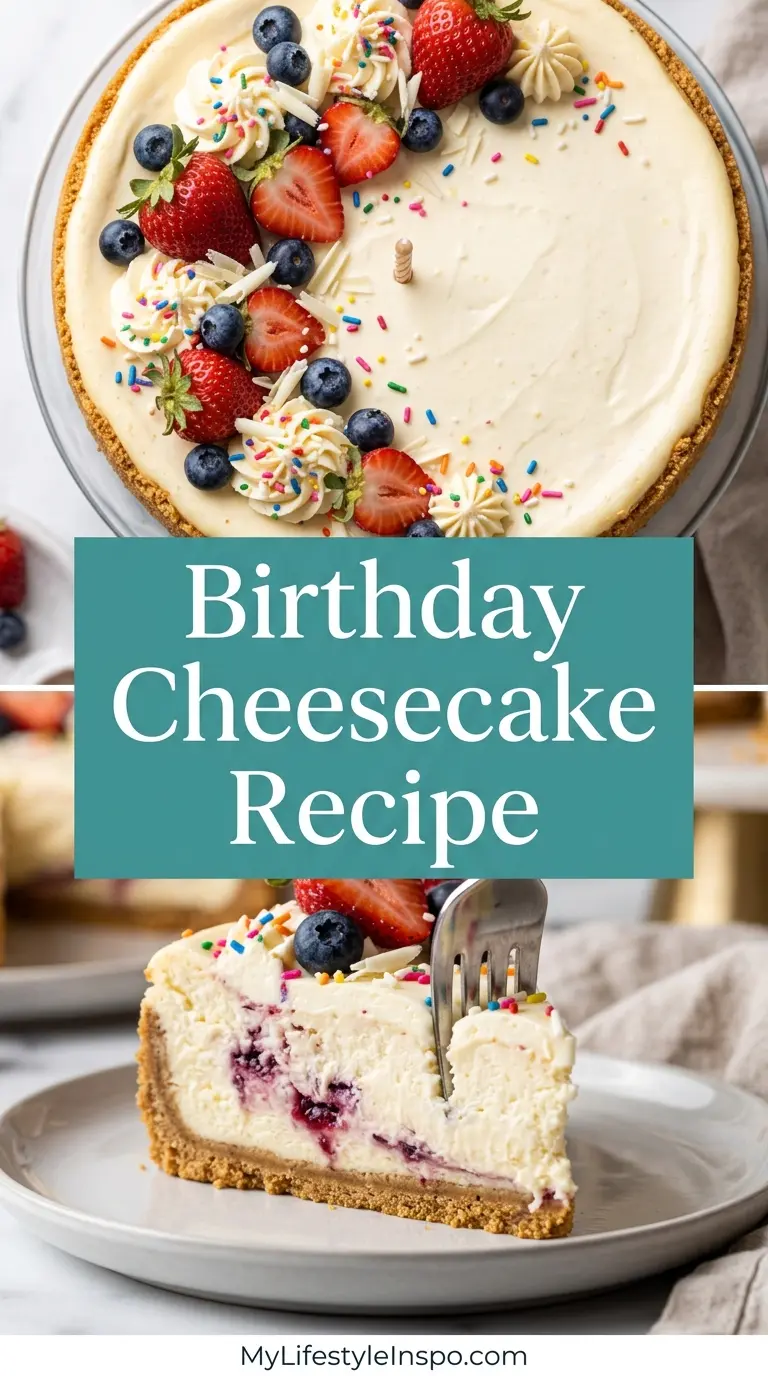
Why You’ll Love This Birthday Cheesecake Recipe
This birthday cheesecake recipe hits every note you want from a celebratory dessert: it looks stunning, tastes incredible, and feeds a crowd with ease.
Unlike a layered birthday cake, this cheesecake requires no leveling, no crumb coating, and no stacking. You press the crust, pour the batter, and let the oven do most of the work.
The sprinkles baked right into the filling create a funfetti effect that’s genuinely whimsical and fun. Every slice looks like a party.
It feeds 12 to 16 people from one 9-inch pan, making it ideal for larger celebrations without any of the stress.
The texture is unbeatable: dense yet creamy, rich yet not cloying, with just enough tang from the cream cheese to balance the sweetness.
You can make it up to two days ahead of time, which takes all the day-of pressure off your shoulders.
It pairs beautifully with fresh fruit, whipped cream, or a simple vanilla glaze, so you can customize the presentation to suit your celebration.
- Rich and creamy texture from full-fat cream cheese and sour cream
- Rainbow sprinkle filling baked right in for a funfetti effect
- Buttery graham cracker crust that holds up perfectly when sliced
- Make-ahead friendly with up to two days of refrigerator life
- Feeds 12-16 people from a single 9-inch cheesecake
- Customizable toppings from fresh berries to whipped cream rosettes
- Classic New York-style baked method for the most authentic texture
- Crowd-pleasing flavor that adults and kids alike adore
You might also enjoy: New York Cheesecake Recipe
Ingredients
You only need a handful of simple, quality ingredients to pull this birthday cheesecake together. The most important tip is to make sure your cream cheese, eggs, and sour cream are all fully at room temperature before you begin, since cold dairy creates lumps and an uneven texture.
For the Graham Cracker Crust:
- 2 cups (200g) graham cracker crumbs (about 14 full graham cracker sheets)
- 3 tablespoons (38g) granulated sugar
- 1/2 cup (113g) unsalted butter, melted
For the Cheesecake Filling:
- 4 packages (32 oz / 907g total) full-fat cream cheese, softened to room temperature
- 1 1/4 cups (250g) granulated sugar
- 1 cup (240g) full-fat sour cream, at room temperature
- 4 large eggs, at room temperature
- 1 tablespoon pure vanilla extract
- 1 teaspoon almond extract (optional but highly recommended for that birthday cake flavor)
- 1/4 cup (30g) all-purpose flour
- 1/2 cup (80g) rainbow jimmies sprinkles (avoid nonpareils as they bleed color)
For the Topping:
- 1 cup (240ml) heavy whipping cream
- 2 tablespoons powdered sugar
- 1 teaspoon vanilla extract
- Additional rainbow sprinkles for decoration
Read Also: No Bake Cheesecake Recipe
Kitchen Equipment Needed
Having the right equipment makes all the difference when baking cheesecake. A springform pan in particular is non-negotiable since it allows you to release the sides cleanly without disturbing the delicate filling.
- 9-inch springform pan (non-negotiable for easy release)
- Stand mixer or hand mixer with paddle attachment
- Large mixing bowl
- Medium mixing bowl
- Roasting pan (for the water bath)
- Heavy-duty aluminum foil
- Parchment paper
- Rubber spatula
- Measuring cups and spoons
- Instant-read thermometer (optional but helpful)
- Cooling rack
This pairs beautifully with a Baked Cheesecake Recipe guide if you want a deeper dive into the baking technique.
Recommended Products for This Recipe
These are products I genuinely recommend based on quality and performance. They make a real difference in achieving professional-level results at home.
1. Philadelphia Cream Cheese (Full-Fat Block)
Philadelphia cream cheese is the gold standard for cheesecake, and using the full-fat block form (not the spreadable tub) is essential. The block form has a lower water content, which gives you a denser, more luxurious texture that won’t sink or crack. It’s the brand professional bakers reach for most consistently.
2. Fat Daddio’s 9-Inch Springform Pan
Fat Daddio’s springform pans are made from anodized aluminum, which distributes heat far more evenly than cheaper stainless options. The latch mechanism is secure enough to survive a water bath without leaking, which is the single most common problem home bakers run into. A quality pan is a one-time purchase that pays dividends in every cheesecake you ever make.
3. Rainbow Jimmies (No-Bleed Sprinkles)
Not all sprinkles are created equal for baking. Nonpareils (the tiny round ones) bleed their color into the batter and turn it a muddy purple-grey. Jimmies (the elongated ones) hold their color beautifully both inside the batter and on top of the finished cheesecake. Look for a brand specifically labeled “no-bleed” or “bake-stable” for the best results.
4. KitchenAid Stand Mixer
A stand mixer with the paddle attachment is the ideal tool for cheesecake batter because it lets you mix on low speed without incorporating too much air. Too much air creates bubbles that expand during baking and cause cracks. The KitchenAid’s bowl scraper attachment is particularly useful for ensuring every bit of cream cheese is fully incorporated.
5. Wilton Decorating Tip Set
If you want to pipe those beautiful whipped cream rosettes on top, a basic piping tip set is all you need. A 1M star tip creates the classic swirls you see on professional cakes and cheesecakes. It takes seconds to use and elevates the presentation dramatically.
Another delicious option for celebrations: Mini Cheesecake Recipe
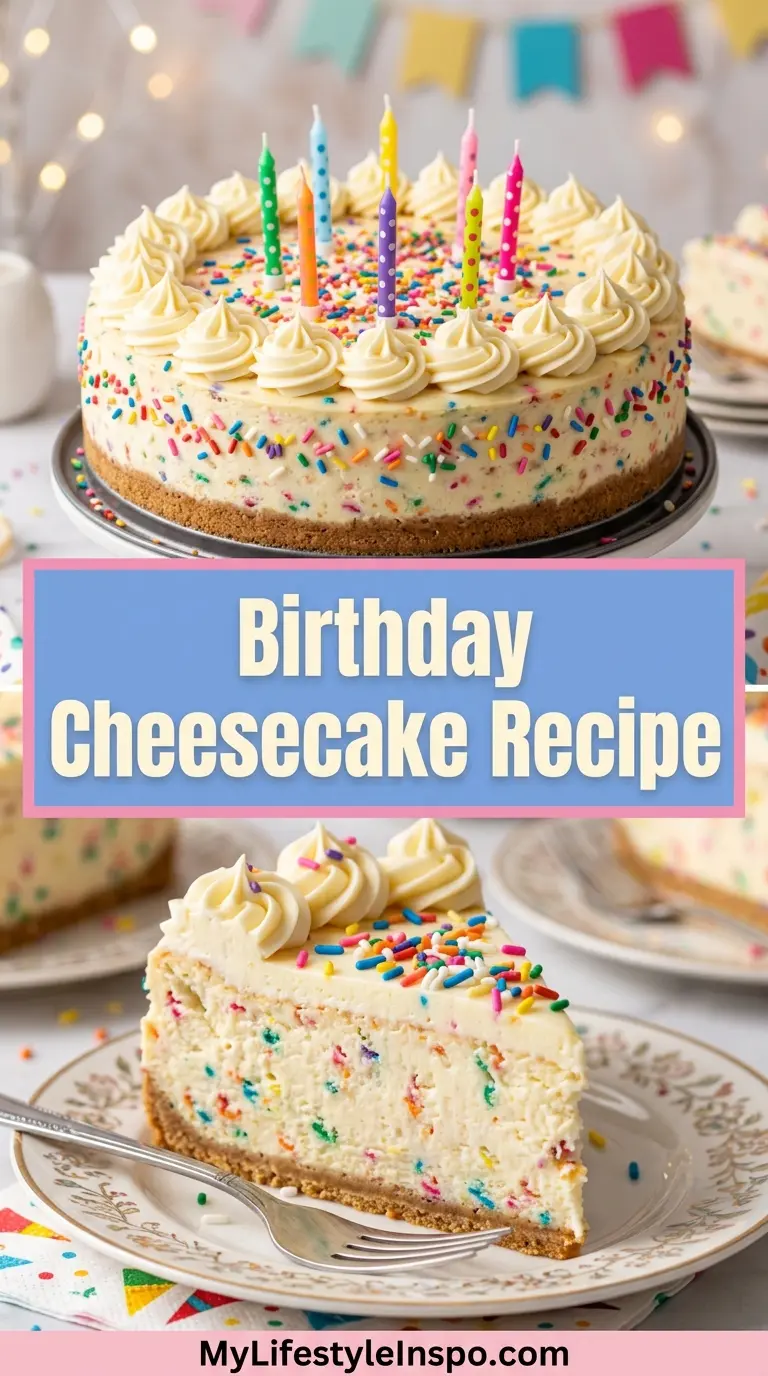
Step-by-Step Instructions
Step 1: Prepare Your Pan and Preheat the Oven
- Preheat your oven to 325°F (163°C) and position a rack in the lower-middle of the oven.
- Cut a circle of parchment paper to fit the bottom of your 9-inch springform pan and press it inside. This prevents the crust from sticking and makes serving much easier.
- Lightly grease the sides of the pan with non-stick cooking spray or a thin coat of softened butter.
- Wrap the outside of the springform pan tightly with two overlapping layers of heavy-duty aluminum foil. Make sure the foil comes up at least 2 inches on the sides. This protects the crust from the water bath later.
- Set the wrapped pan aside and begin making the crust.
Step 2: Make the Graham Cracker Crust
- In a medium mixing bowl, combine 2 cups (200g) of graham cracker crumbs with 3 tablespoons (38g) of granulated sugar. Stir with a fork to distribute the sugar evenly.
- Pour in 1/2 cup (113g) of melted unsalted butter. Stir until every crumb is coated and the mixture looks like wet sand. If you press a handful together and it holds its shape, the consistency is perfect. If it’s dry and crumbly, add another tablespoon of melted butter.
- Transfer the crumb mixture into your prepared springform pan. Use the flat bottom of a measuring cup or a drinking glass to press the crumbs firmly into an even layer across the bottom of the pan. Press the crumbs about 1 inch up the sides for extra stability.
- Bake the crust in the preheated oven for 10 minutes, until it smells nutty and feels just slightly firm to the touch. Remove from the oven and set on a cooling rack while you prepare the filling. Do not turn the oven off.
Step 3: Bring Ingredients to Room Temperature
- If you haven’t already, unwrap your 4 blocks of cream cheese and cut them into rough cubes. Spread them out on a plate and let them sit at room temperature for at least 1 hour (up to 2 hours). Cold cream cheese is the number one cause of lumpy cheesecake.
- Set your 4 eggs and 1 cup of sour cream on the counter at the same time so everything reaches the same temperature together. Room-temperature ingredients mix together seamlessly and create a much silkier batter.
Step 4: Mix the Cream Cheese Filling
- Place the softened cream cheese in the bowl of a stand mixer fitted with the paddle attachment. Beat on medium speed for about 2 minutes until the cream cheese is completely smooth with no lumps visible. Scrape down the sides and bottom of the bowl with a rubber spatula at least once during this process.
- Add 1 1/4 cups (250g) of granulated sugar to the cream cheese. Beat on medium-low speed for about 1 minute until well combined. Avoid beating on high speed at any point, since the goal is a smooth batter, not an aerated one. Too much air creates bubbles that cause cracking.
- Add 1/4 cup (30g) of all-purpose flour to the bowl. Mix on low speed for about 30 seconds until just incorporated. The flour adds a small amount of structure that helps prevent the filling from cracking in the oven.
- Add 1 cup (240g) of room-temperature sour cream, 1 tablespoon of vanilla extract, and 1 teaspoon of almond extract. Mix on low speed until smooth and fully combined. The almond extract is subtle but gives the filling that unmistakable birthday cake undertone.
- With the mixer on its lowest speed, add the 4 room-temperature eggs one at a time. After adding each egg, mix only until the yellow disappears into the batter, then stop and scrape down the sides before adding the next. Over-mixing after adding eggs is the second-most common cause of cracks. The batter should be silky and smooth but not frothy.
- Remove the bowl from the mixer. Gently fold in 1/2 cup (80g) of rainbow jimmies sprinkles using a rubber spatula. Fold just 3 or 4 times to distribute the sprinkles without overmixing.
Step 5: Assemble and Set Up the Water Bath
- Pour the completed cheesecake filling over the pre-baked graham cracker crust. Use a rubber spatula to spread it into an even layer, then give the pan a couple of gentle taps on the counter to release any air bubbles hiding near the surface.
- Set the foil-wrapped springform pan inside a large roasting pan. Place the roasting pan in the oven on the lower-middle rack, then carefully pour hot (not boiling) water into the roasting pan until it reaches about 1 inch (2.5cm) up the sides of the springform pan.
- The water bath (also called a bain-marie) does two critical things: it keeps the oven humidity high so the surface of the cheesecake doesn’t dry out and crack, and it regulates the baking temperature around the pan so the filling cooks slowly and evenly from edge to center.
Step 6: Bake the Cheesecake
- Bake at 325°F (163°C) for 70 to 80 minutes. The cheesecake is done when the edges are set and puffed slightly but the center 2 to 3 inches still jiggles like firm Jell-O when you gently shake the pan. It will look slightly underdone in the center, and that is exactly what you want.
- Do not open the oven door during the first 60 minutes of baking. Temperature fluctuations during baking are a common cause of cracking.
- If you have an instant-read thermometer, the internal temperature at the center should register between 150°F and 155°F (65°C to 68°C) when done.
Step 7: Cool the Cheesecake Slowly
- Turn off the oven but leave the cheesecake inside with the oven door propped open about 1 inch (use a wooden spoon as a wedge). Let the cheesecake cool in the oven this way for 1 full hour. This gradual temperature drop is one of the most important tricks for preventing cracks: rapid cooling causes the filling to contract too fast and split.
- After 1 hour in the oven, carefully remove the roasting pan from the oven. Lift the springform pan out of the water bath, peel off the foil, and set the cheesecake on a wire cooling rack.
- Let it cool at room temperature for another 1 to 2 hours until the pan is no longer warm to the touch.
- Cover the top of the pan loosely with plastic wrap (do not press it onto the surface) and refrigerate for at least 6 hours, or overnight for the best results. The cheesecake needs this chilling time to fully set its texture. Slicing too early gives you a soft, mousse-like result rather than the dense, sliceable texture you’re going for.
Step 8: Make the Whipped Cream Topping
- Once the cheesecake is fully chilled, make your whipped cream topping. Pour 1 cup (240ml) of cold heavy whipping cream into a clean, cold mixing bowl.
- Add 2 tablespoons of powdered sugar and 1 teaspoon of vanilla extract. Beat on medium-high speed until stiff peaks form, about 3 to 4 minutes. Stiff peaks hold their shape without drooping when you lift the beaters. Be careful not to over-beat or the cream will turn grainy and butter-like.
- Transfer the whipped cream to a piping bag fitted with a 1M star tip if you’d like rosettes, or simply dollop it on using a spoon for a more casual look.
Step 9: Decorate and Serve
- Run a thin knife or an offset spatula around the inside edge of the springform pan to loosen the cheesecake, then release and remove the ring.
- Pipe or spoon your whipped cream onto the surface of the cheesecake in whatever pattern you like. Add a generous shower of extra rainbow sprinkles on top for that celebration finish.
- To cut clean slices, use a sharp chef’s knife run under hot water and wiped dry between each cut. This is the professional trick to getting those beautiful, photograph-worthy slices.
For even more celebration inspiration, this Cheesecake Ice Cream Cake is another showstopper to try.
Tips for Success
These practical tips will help you nail this birthday cheesecake recipe on the very first attempt. Most cheesecake problems stem from a few avoidable mistakes, and knowing what they are in advance makes the whole process far less intimidating.
- Always use full-fat, block-style cream cheese. Low-fat or spreadable cream cheese has a higher water content that makes the filling loose and less flavorful. Philadelphia in block form is the standard recommendation.
- Room temperature really matters. Pull your cream cheese, eggs, and sour cream out of the refrigerator at least an hour before you start. If you’re short on time, submerge the sealed cream cheese packages in warm (not hot) water for 20 minutes.
- Mix on low speed after adding eggs. High-speed mixing after eggs are added incorporates too much air, which expands in the oven and then collapses, causing cracks.
- Use jimmies, not nonpareils. The round, hard nonpareils bleed color in batter. Soft rainbow jimmies stay bright and beautiful after baking.
- Don’t skip the water bath. It’s the single most effective technique for avoiding both cracks and an overbaked, grainy texture.
- Let it chill fully before slicing. Six hours is the minimum, overnight is ideal. The texture improves significantly with a full chill.
- Use a hot, dry knife for slicing. Run the blade under hot water, wipe it dry, and then cut. Repeat between each slice.
Read Also: Philadelphia Cheesecake Recipe
Serving Suggestions
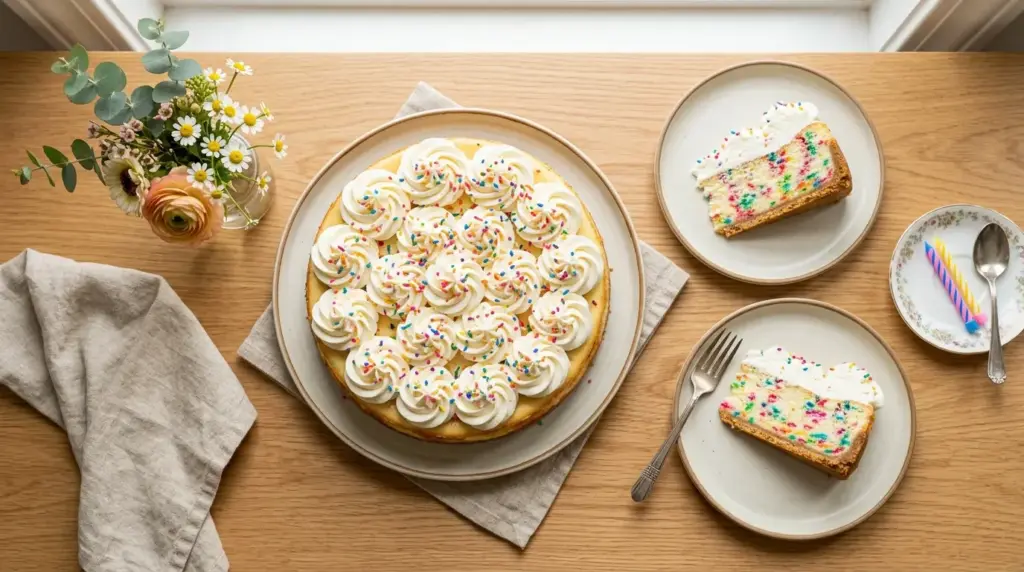
This birthday cheesecake is celebratory on its own, but a few thoughtful accompaniments can take it from wonderful to genuinely unforgettable.
Fresh berries add a bright, tart contrast to the richness of the filling, and their natural color makes for a stunning presentation alongside the rainbow sprinkles. A simple warm berry compote works beautifully drizzled on individual slices right before serving.
- Fresh mixed berries (strawberries, blueberries, raspberries) scattered across the top or served on the side
- Cream Cheese Frosting piped in dollops around the edge for an extra-decadent finish
- Caramel Sauce drizzled over individual slices just before serving
- Fresh Strawberry Sauce spooned over the top for a classic strawberry cheesecake vibe
- Vanilla Bean Ice Cream served alongside for the ultimate birthday dessert plate
- Chocolate Ganache drizzled on top for a chocolate-covered birthday spin
- Lighted birthday candles pushed into the whipped cream rosettes for the full celebration moment
Variations to Try
Once you master the base birthday cheesecake recipe, there are so many fun directions you can take it. Each variation keeps the same fundamental technique, so your new skills transfer perfectly.
The most popular customization is swapping the plain graham cracker crust for something with more personality. Golden Oreos, Biscoff cookies, or even sugar cone crumbs all create delicious and visually interesting bases.
- Golden Oreo Crust: Replace graham cracker crumbs with crushed Golden Oreos for a sweeter, more cookie-like base
- Chocolate Birthday Cheesecake: Add 1/4 cup of unsweetened cocoa powder to the filling for a chocolate-vanilla swirl effect
- Confetti Cheesecake Bars: Press the batter into a parchment-lined 9×13-inch pan for easy-to-serve sliceable bars
- Funfetti Cheesecake Dip: Reduce the recipe by half and bake in a shallow dish for 30 minutes for a soft, scoopable dessert
- Mini Birthday Cheesecakes: Divide the crust and filling across a 12-cup muffin tin lined with cupcake papers for individual servings (bake at 325°F for 22 to 25 minutes, no water bath needed)
- White Chocolate Birthday Cheesecake: Fold 4 oz of melted and cooled white chocolate into the filling before adding sprinkles for a subtle richness
- Lemon Birthday Cheesecake: Add 2 tablespoons of fresh lemon zest and 1 tablespoon of lemon juice to the filling for a bright citrus note
For a classic celebration cake pairing, the Funfetti Cake Recipe makes a perfect twin dessert table companion.
Storage and Reheating
This birthday cheesecake stores beautifully, making it one of the most practical party desserts you can choose. Proper storage keeps the texture creamy and the sprinkles vibrant.
- Refrigerator: Cover the cheesecake loosely with plastic wrap or store individual slices in an airtight container. It keeps well in the refrigerator for up to 5 days. The flavor actually deepens and improves after the first day.
- Freezer: For longer storage, wrap individual slices tightly in plastic wrap, then in aluminum foil. Freeze for up to 3 months. Thaw overnight in the refrigerator before serving. Do not freeze with the whipped cream topping already applied; add it fresh after thawing.
- Make-Ahead: You can make the entire cheesecake (without toppings) up to 2 days in advance. Store covered in the refrigerator and add the whipped cream and sprinkle decorations within 1 to 2 hours of serving.
- Serving from cold: Cheesecake tastes best cold or at cool room temperature. Pull slices from the refrigerator about 15 to 20 minutes before serving for the creamiest texture.
- Avoid reheating: Cheesecake should not be reheated, as this changes the texture. Serve it chilled, straight from the refrigerator.
Another beautiful berry option for your dessert table: Strawberry Cheesecake Recipe
Nutritional Facts
The following values are approximate and based on one slice when the cheesecake is cut into 14 equal servings. These figures include the graham cracker crust, cheesecake filling, and a single dollop of whipped cream topping but do not include additional sauces or berry toppings.
| Nutrient | Per Serving (1/14 of cheesecake) |
|---|---|
| Calories | ~480 kcal |
| Total Fat | 34g |
| Saturated Fat | 19g |
| Cholesterol | 145mg |
| Sodium | 310mg |
| Total Carbohydrates | 37g |
| Dietary Fiber | 0.5g |
| Sugars | 28g |
| Protein | 7g |
| Calcium | 90mg |
Nutritional values vary depending on specific brands used and exact portion sizes.
For a lighter option, you might enjoy: Protein Cheesecake Recipe
Health Benefits of Key Ingredients
While birthday cheesecake is undeniably an indulgent treat, a few of its key ingredients do carry some genuine nutritional merit worth acknowledging.
Enjoying it in moderation as part of a balanced diet is the realistic approach, and knowing a bit more about what’s inside can help you feel good about every celebratory slice.
- Cream cheese (high in fat-soluble vitamins): Full-fat cream cheese provides vitamins A and D, both of which support immune function, eye health, and calcium absorption. It also contains conjugated linoleic acid (CLA), a fatty acid associated with some metabolic benefits.
- Eggs (complete protein source): Eggs are one of the most nutrient-dense foods available. They supply all nine essential amino acids, along with vitamins B12 and D, selenium, and choline, which is important for brain and liver function.
- Sour cream (contains probiotics): While the baking process neutralizes live cultures, sour cream is still a source of calcium, phosphorus, and B vitamins.
- Graham crackers (whole grain component): Graham crackers are made with graham flour (a type of whole wheat), which contributes a small amount of dietary fiber compared to white flour-based crusts.
- Vanilla extract (antioxidant compounds): Pure vanilla extract contains small amounts of vanillin, which has demonstrated antioxidant and anti-inflammatory properties in research.
Read Also: Keto Cheesecake Recipe
Frequently Asked Questions
1. Why did my birthday cheesecake crack on top?
Cracking usually comes down to one of three causes: over-mixing the batter (especially after the eggs are added), baking at too high a temperature, or cooling too quickly.
Always use a water bath, mix on low speed after adding eggs, and leave the cheesecake in the turned-off oven for a full hour after baking. If you do get a small crack, whipped cream and sprinkles will cover it completely.
2. Can I make this birthday cheesecake without a water bath?
You can, but the risk of cracking increases significantly without one. If you’d rather skip the water bath, place a separate oven-safe pan filled with 1 inch of hot water on the rack below the cheesecake.
This creates indirect steam and works reasonably well, though the full water bath gives more consistent results.
3. How do I know when the cheesecake is done baking?
The cheesecake is done when the outer 2 inches are set and puffed, but the center 2 to 3 inches still jiggle gently when you shake the pan. It will look underdone, and that’s correct.
The residual heat will finish cooking the center during the cooling process, and it will firm up further in the refrigerator. If you wait until the center looks fully set in the oven, you’ve already overbaked it.
4. What type of sprinkles should I use in the batter?
Always use jimmies (the elongated, soft rod-shaped sprinkles) rather than nonpareils (the tiny round balls). Nonpareils bleed their color aggressively into the batter during mixing and baking, turning the filling grey or purple.
Jimmies hold their shape and color beautifully both inside the baked filling and on the finished surface. Look for labels that say “bake-stable” or “no-bleed” if you want the most vibrant results.
5. Can I freeze the whole birthday cheesecake in advance?
Yes, this cheesecake freezes very well. Bake and chill it completely, then wrap the whole cheesecake (without toppings) in two layers of plastic wrap and one layer of aluminum foil.
Freeze for up to 3 months. To serve, unwrap and thaw overnight in the refrigerator, then decorate with fresh whipped cream and sprinkles. The texture holds up remarkably well after freezing.
For more cheesecake inspiration: Oreo Cheesecake Recipe
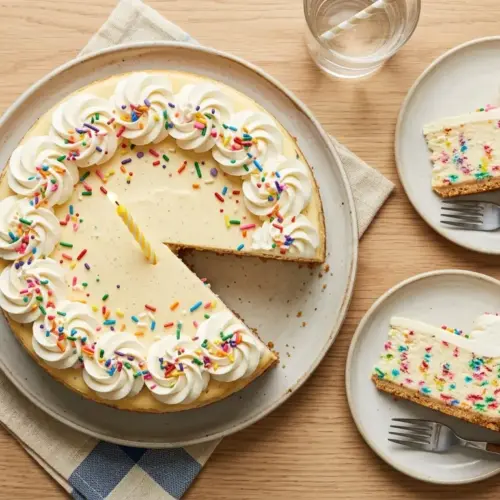
Birthday Cheesecake

Equipment
- 9-inch springform pan - Non-negotiable for easy release
- Stand mixer with paddle attachment - Or hand mixer
- Large mixing bowl
- Medium mixing bowl
- Roasting pan - For the water bath
- Heavy-duty aluminum foil
- Parchment paper
- Rubber spatula
- Measuring cups and spoons
- Instant-read thermometer - (optional) but helpful
- Cooling rack
- Piping bag with 1M star tip - (optional) for whipped cream rosettes
Ingredients
- 2 cups graham cracker crumbs - 200g, about 14 full graham cracker sheets
- 3 tablespoons granulated sugar - 38g
- 0.5 cup unsalted butter - 113g, melted
For the Cheesecake Filling
- 4 packages full-fat cream cheese - 32 oz / 907g total, softened to room temperature
- 1.25 cups granulated sugar - 250g
- 1 cup full-fat sour cream - 240g, at room temperature
- 4 large eggs - at room temperature
- 1 tablespoon pure vanilla extract
- 1 teaspoon almond extract - (optional but highly recommended)
- 0.25 cup all-purpose flour - 30g
- 0.5 cup rainbow jimmies sprinkles - 80g, avoid nonpareils as they bleed color
For the Topping
- 1 cup heavy whipping cream - 240ml, cold
- 2 tablespoons powdered sugar
- 1 teaspoon vanilla extract
- rainbow sprinkles - Additional for decoration
Instructions
- Preheat oven to 325°F. Line the bottom of a 9-inch springform pan with parchment paper, lightly grease the sides, and wrap the outside tightly with two layers of heavy-duty foil.
- In a medium bowl, combine graham cracker crumbs and sugar. Pour in melted butter and stir until the mixture resembles wet sand. Press firmly into the bottom and about 1 inch up the sides of the prepared pan. Bake for 10 minutes, then set aside to cool.
- In a stand mixer fitted with the paddle attachment, beat softened cream cheese on medium speed for about 2 minutes until completely smooth. Scrape down the bowl as needed.
- Add sugar and flour to the cream cheese, mixing on medium-low speed until combined. Add sour cream, vanilla extract, and almond extract, and mix until smooth.
- With the mixer on the lowest speed, add eggs one at a time, mixing only until the yellow disappears after each addition. Do not overmix. Fold in rainbow jimmies sprinkles with a rubber spatula.
- Pour the filling over the pre-baked crust and tap the pan gently on the counter to release air bubbles. Place the pan in a roasting pan and pour hot water into the roasting pan to reach 1 inch up the sides of the springform pan.
- Bake for 70-80 minutes until the edges are set and the center 2-3 inches jiggles like firm Jell-O. Do not open the oven door during the first 60 minutes.
- Turn off the oven and leave the cheesecake inside with the door propped open 1 inch for 1 hour. Then remove from the water bath, peel off the foil, and let cool completely on a wire rack for another 1-2 hours.
- Cover loosely with plastic wrap and refrigerate for at least 6 hours or overnight to fully set.
- Beat cold heavy cream with powdered sugar and vanilla extract until stiff peaks form. Pipe or spoon onto the chilled cheesecake and top with additional rainbow sprinkles.
- Run a thin knife around the inside edge of the pan, release the ring, and slice with a hot, dry knife between each cut.
Notes
- Room temperature is essential: Pull your cream cheese, eggs, and sour cream from the refrigerator at least an hour before you start to ensure a lump-free batter.
- Use full-fat cream cheese: Always use full-fat, block-style cream cheese for the creamiest texture and best flavor. Avoid low-fat or spreadable varieties.
- Mix on low speed: Over-mixing, especially after adding eggs, incorporates too much air which can cause cracking during baking.
- Choose the right sprinkles: Always use rainbow jimmies (soft, rod-shaped) rather than nonpareils (tiny round balls) as nonpareils bleed color into the batter.
- Don’t skip the water bath: The water bath is the single most effective technique for preventing cracks and achieving a perfectly creamy texture.
- Cool gradually: The slow cooling process in the turned-off oven is just as important as the baking itself for preventing cracks.
- Chill fully before slicing: The cheesecake needs at least 6 hours (overnight is ideal) in the refrigerator to fully set its texture.
- Clean slices: Run your knife under hot water and wipe it dry between each slice for picture-perfect results.
- Make-ahead friendly: This cheesecake can be made up to 2 days in advance and stored in the refrigerator before adding the whipped cream topping.
- Freezes beautifully: Freeze the fully baked and chilled cheesecake (without toppings) for up to 3 months. Thaw overnight in the refrigerator before decorating and serving.
Final Thoughts
This birthday cheesecake recipe is one of those desserts that earns a permanent spot in your rotation. It’s festive without being fussy, and the combination of classic New York-style creaminess with rainbow sprinkles makes it feel special every single time you make it.
Whether it’s a landmark birthday, a casual weekend celebration, or a Tuesday when you just feel like baking something wonderful, this cheesecake delivers.
Give it a try, and when those first slices hit the table and everyone’s faces light up, you’ll understand why so many people have traded in their birthday cake for this instead. Drop a comment below and let me know how it turned out, or share a photo of your beautiful creation!
Recommended:
- Chocolate Cheesecake Recipe
- Lemon Cheesecake Recipe
- Blueberry Cheesecake Recipe
- Pumpkin Cheesecake Recipe
- Salted Caramel Cheesecake Recipe
- Red Velvet Cheesecake Recipe
- Turtle Cheesecake Recipe
- Creme Brulee Cheesecake Recipe
- Cotton Candy Cheesecake Recipe
- Birthday Gift Ideas for Women



