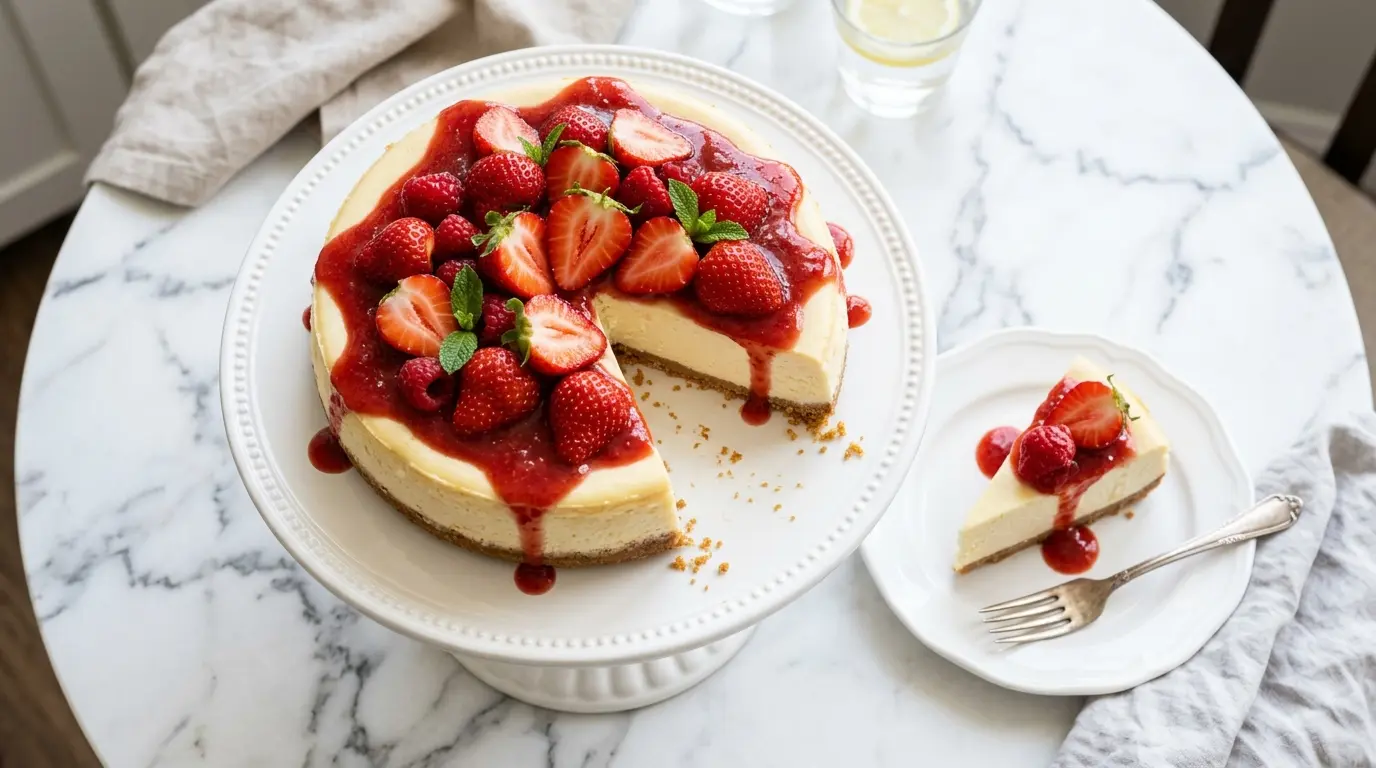
If you’ve ever bitten into a perfectly smooth, rich slice of cheesecake and thought, “I want to make this at home,” this Philadelphia Cheesecake Recipe is exactly what you need. Made with Philadelphia cream cheese as the star ingredient, this classic baked cheesecake delivers that iconic dense, velvety texture with just the right balance of sweetness and tang.
The key to this recipe’s success lies in three simple details: room-temperature cream cheese, gentle low-and-slow mixing, and a proper cooling method to prevent cracking. Unlike no-bake versions, this one uses a water bath technique to create a silky, crack-free top that looks just as beautiful as it tastes.
It’s a showstopper for holidays, birthdays, or any time you want to bring something truly special to the table. And once you make it, you’ll understand why this recipe has stood the test of time.
You might also enjoy: New York Cheesecake Recipe
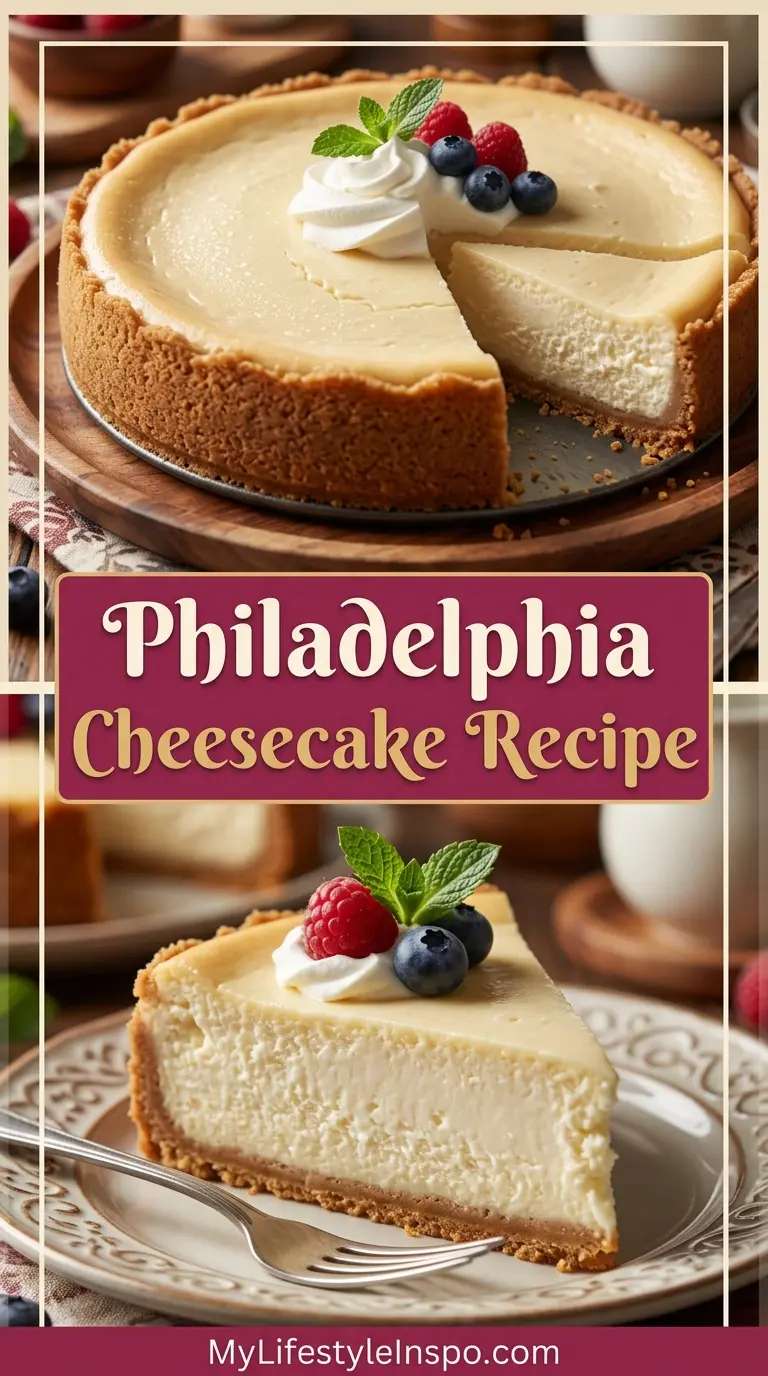
Why You’ll Love This Philadelphia Cheesecake Recipe
This recipe is the definition of reliable. It uses simple, accessible ingredients and produces a bakery-quality result every single time.
The graham cracker crust adds a buttery crunch that perfectly offsets the creamy filling. That contrast in texture is one of the things that makes this cheesecake so satisfying.
Philadelphia cream cheese gives the filling its signature smooth, slightly tangy richness. No other cream cheese quite replicates that particular texture and flavor.
The baking method is designed to minimize common pitfalls like cracks and rubbery texture. Even first-time cheesecake bakers consistently get great results with this approach.
It’s also endlessly versatile. Top it with fresh fruit, a drizzle of caramel, or a homemade berry sauce for a completely different experience each time.
Here’s why bakers keep coming back to this recipe:
- Foolproof technique: Simple steps produce professional-level results
- Classic flavor: Clean, creamy, vanilla-kissed filling with just enough tang
- Stunning presentation: Smooth top, golden edges, and a perfect golden-brown crust
- Make-ahead friendly: Tastes even better after chilling overnight
- Crowd pleaser: Universally loved by kids and adults alike
- Versatile base: Works beautifully with virtually any topping you choose
Read Also: Best Cheesecake Recipe
Ingredients
The ingredient list for this Philadelphia cheesecake is refreshingly short. The quality of the cream cheese matters most here, so stick with full-fat Philadelphia blocks for the best results.
- Graham cracker crumbs: 1½ cups (150g)
- Granulated sugar: 1 cup + 3 tablespoons (215g total), divided
- Unsalted butter: ⅓ cup (75g), melted
- Philadelphia cream cheese: 4 packages (8 oz / 226g each), softened to room temperature
- Pure vanilla extract: 1 teaspoon (5ml)
- Large eggs: 4, at room temperature
- Sour cream: ½ cup (120g), at room temperature (optional, for extra creaminess)
This pairs beautifully with a fresh strawberry sauce for topping.
Kitchen Equipment Needed
You don’t need a lot of specialty tools for this recipe, but a few key pieces make a big difference. A proper springform pan is non-negotiable; it’s the only way to cleanly release the cheesecake without damaging it.
- 9-inch springform pan: Essential for this recipe; don’t substitute a regular cake pan
- Stand mixer or hand mixer: For smooth, lump-free filling
- Large roasting pan: For the water bath; must be large enough to hold the springform pan
- Heavy-duty aluminum foil: To wrap the springform pan and prevent water seeping in
- Mixing bowls: One large, one medium
- Rubber spatula: For scraping down the bowl during mixing
- Measuring cups and spoons: Standard kitchen measuring tools
- Wire cooling rack: Allows even airflow during cooling
- Offset spatula: Optional, but helpful for smoothing the top of the filling
Read Also: No Bake Cheesecake Recipe
Recommended Products for This Recipe
These are hand-picked products that can genuinely improve your cheesecake-making experience based on quality and performance.
1. Philadelphia Original Cream Cheese Blocks
The name says it all. Using the genuine block-style Philadelphia cream cheese (not the tub spread) is the single most important decision you’ll make in this recipe. The block version has a firmer texture that whips up into the smoothest, most stable cheesecake filling. It also contains the right moisture level to prevent a watery or runny result.
2. USA Pan 9-Inch Springform Pan
A quality springform pan ensures your crust bakes evenly and that the cheesecake releases cleanly after chilling. The USA Pan brand features a non-stick coating and a reliable latch system that won’t warp or leak during the water bath. It’s a pan you’ll use for years.
3. KitchenAid Hand Mixer
A good electric mixer is key to achieving a smooth, lump-free cheesecake filling. The KitchenAid hand mixer offers variable speeds and enough power to beat cold cream cheese smooth without overworking the batter. The lower speeds are especially useful for adding eggs without incorporating too much air.
4. Reynolds Heavy Duty Aluminum Foil
Standard foil tears easily and allows water to seep into the pan during the water bath, ruining the crust. Heavy-duty foil wraps securely and stays intact through the full bake time, keeping the crust perfectly dry and crisp. It’s a small upgrade that makes a real difference.
5. Wilton Offset Spatula
Smoothing the cheesecake batter into an even, level layer before baking results in a more uniform, professional-looking top. An offset spatula gives you much better control than a regular spoon or rubber spatula. It also works beautifully for transferring the chilled cheesecake to a serving plate.
This technique is also key in making a Lemon Cheesecake with equal success.
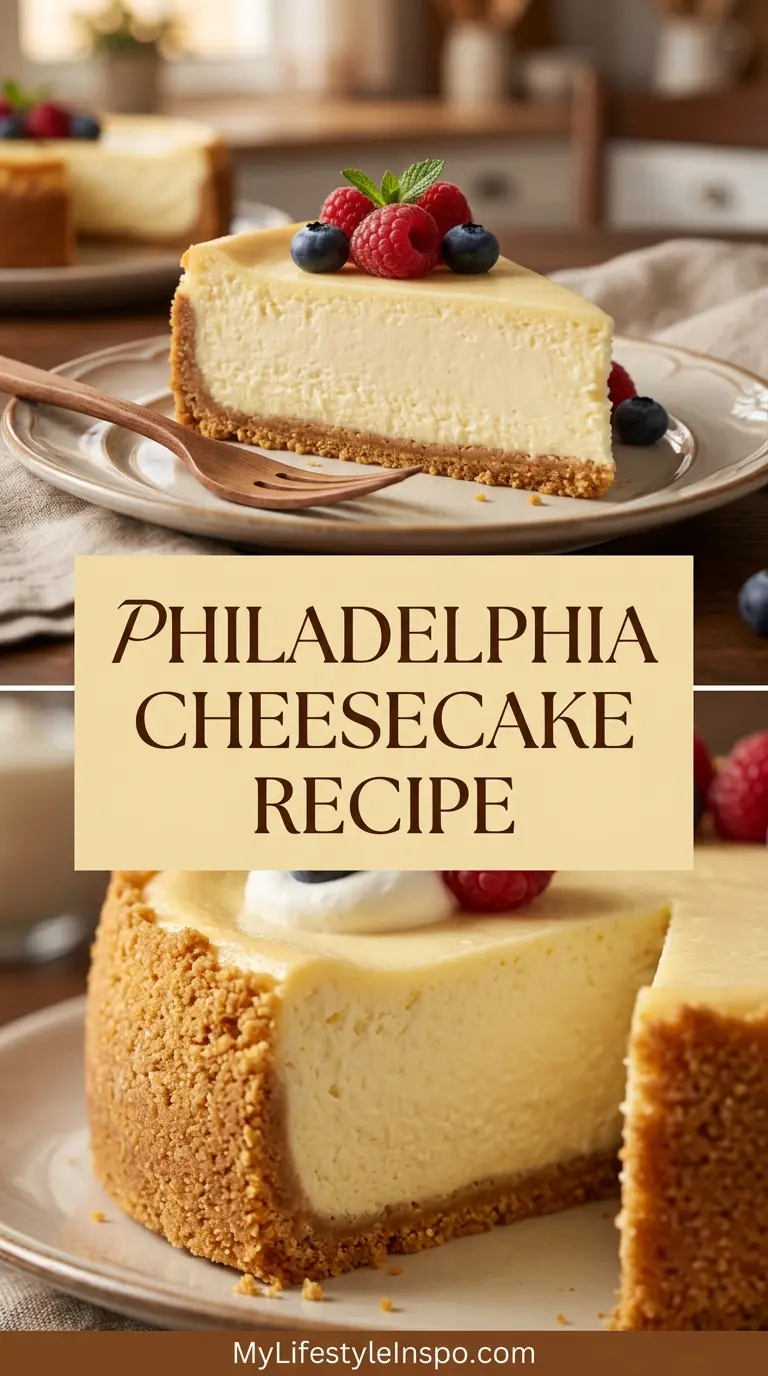
Step-by-Step Instructions
1. Prepare Your Ingredients
- Remove all 4 packages of cream cheese, the 4 eggs, and the sour cream from the refrigerator at least 1 hour before baking. Room-temperature ingredients blend together much more smoothly and reduce the risk of lumps or overmixing.
- Measure out 1½ cups (150g) of graham cracker crumbs. You can buy pre-crushed crumbs or pulse whole graham crackers in a food processor until fine.
- Melt the ⅓ cup (75g) of butter and set aside to cool slightly.
- Preheat your oven to 325°F (163°C). Position the rack in the center of the oven.
2. Make the Graham Cracker Crust
- In a medium bowl, combine the 1½ cups (150g) graham cracker crumbs, 3 tablespoons (36g) of the granulated sugar, and the melted butter. Stir until the mixture resembles damp sand and every crumb is evenly coated.
- Tip the mixture into a 9-inch springform pan. Using the bottom of a measuring cup or glass, press the crumbs firmly and evenly across the bottom of the pan. Press just slightly up the sides to create a small lip.
- The crust should feel compact and hold together when you press it. If it feels too dry, add a small amount of extra melted butter (one teaspoon at a time).
- Place the crust in the refrigerator to chill while you make the filling, at least 10 minutes. This helps it set and prevents it from crumbling when the filling is added.
3. Prepare the Water Bath Setup
- Tear off two large sheets of heavy-duty aluminum foil, each about 18 inches long.
- Remove the springform pan from the refrigerator. Wrap the outside of the pan tightly with the foil, overlapping the sheets and pressing up the sides. The goal is to create a watertight seal so no water from the bath can seep in during baking.
- Set the wrapped pan aside and place a large roasting pan (large enough to hold the springform pan with room to spare) on your counter. You’ll fill this with hot water just before baking.
4. Make the Cheesecake Filling
- In a large bowl, beat all 4 packages (32 oz / 907g total) of softened Philadelphia cream cheese on medium speed for about 2 minutes, until completely smooth with no lumps. Stop and scrape down the sides and bottom of the bowl at least twice during this step. Any lumps at this stage will remain in the final product.
- Add the remaining 1 cup (200g) of granulated sugar to the bowl. Beat on low speed until fully incorporated, about 1 to 2 minutes. Don’t rush this step; low speed prevents excess air from being whipped in.
- Add the 1 teaspoon (5ml) of vanilla extract and beat briefly on low just to combine.
- If using sour cream, add the ½ cup (120g) now and mix on low speed until smooth.
- Add the 4 eggs, one at a time. After each egg, mix on the lowest speed setting just until the yellow disappears into the batter. Overmixing after adding the eggs is one of the most common causes of a cracked cheesecake, as it introduces too much air into the batter. Stop mixing the moment each egg is incorporated.
- Using a rubber spatula, give the batter a final hand-stir to make sure everything is evenly combined, paying attention to the bottom of the bowl where cream cheese can sometimes hide.
5. Assemble and Begin Baking
- Remove the crust from the refrigerator. Pour the filling over the crust slowly and evenly, pouring from the center and letting it spread naturally toward the edges.
- Use an offset spatula or the back of a spoon to gently smooth the top into an even layer.
- Place the foil-wrapped springform pan inside the large roasting pan. Transfer both to the oven on the center rack.
- Carefully pour very hot (almost boiling) water into the roasting pan until it reaches about 1 inch (2.5cm) up the sides of the springform pan. Take care not to splash water onto the cheesecake filling.
6. Bake the Cheesecake
- Bake at 325°F (163°C) for 55 to 60 minutes. The cheesecake is done when the outer 2 to 3 inches are set and the center still has a slight wobble, like gelatin. It should not look liquid or soupy in the center, but it should not look completely firm either.
- Do not open the oven door during the first 45 minutes of baking. Sudden temperature fluctuations cause the cheesecake to puff and crack.
- When the baking time is up, turn the oven off. Crack the oven door open about 1 inch using a wooden spoon or folded towel. Leave the cheesecake in the oven for 1 full hour. This gradual temperature drop is the key to preventing surface cracks.
7. Cool and Chill
- After the oven rest, carefully remove the roasting pan from the oven. Lift the springform pan out of the water bath and set it on a wire rack.
- Remove the foil from the outside of the pan. Run a thin knife or small offset spatula around the inner edge of the springform pan to loosen the sides. This prevents the cheesecake from pulling and cracking as it cools and contracts.
- Allow the cheesecake to cool completely at room temperature, about 1 to 2 hours.
- Once cooled, cover the pan loosely with plastic wrap and refrigerate for at least 4 hours. Overnight is strongly preferred, as the cheesecake firms up significantly and the flavor deepens considerably.
8. Unmold and Serve
- When ready to serve, remove the cheesecake from the refrigerator. Carefully unclasp the springform ring and gently lift it away from the cheesecake.
- If the sides look uneven or you see any condensation on the surface, gently pat dry with a paper towel.
- Use a large, sharp knife to slice. Run the knife under hot water and wipe dry between each cut for the cleanest slices.
- Add your desired toppings just before serving.
Another favorite for gatherings: Strawberry Cheesecake Recipe
Tips for Success
Getting a flawless cheesecake comes down to a few consistent habits. The most important one is patience, both in your mixing and in your cooling.
- Always use room-temperature ingredients. Cold cream cheese lumps will not beat out, and cold eggs can stiffen the batter. Pull everything from the fridge at least 1 hour ahead.
- Mix on low speed after adding eggs. This is non-negotiable. High speed overworks the batter and causes excess air bubbles, which leads to cracking and puffing.
- Don’t skip the water bath. It creates a humid baking environment that protects the delicate filling from the dry oven heat, resulting in a silky top and creamy texture throughout.
- Use heavy-duty foil. Thin foil tears and lets water seep into the crust. Always use heavy-duty and wrap in at least two layers.
- Check doneness by jiggle, not color. The surface should not brown; judge doneness by the slight wobble in the center.
- Cool slowly and gradually. The oven rest followed by the room-temperature cool prevents the rapid temperature shock that causes cracking.
- Refrigerate overnight when possible. A fully chilled cheesecake slices far more cleanly and tastes noticeably richer.
- Use a hot knife for slicing. Run your knife under hot water and wipe it clean between every single slice for perfect, photo-worthy portions.
This same patience technique works wonders in a Blueberry Cheesecake Recipe too.
Serving Suggestions
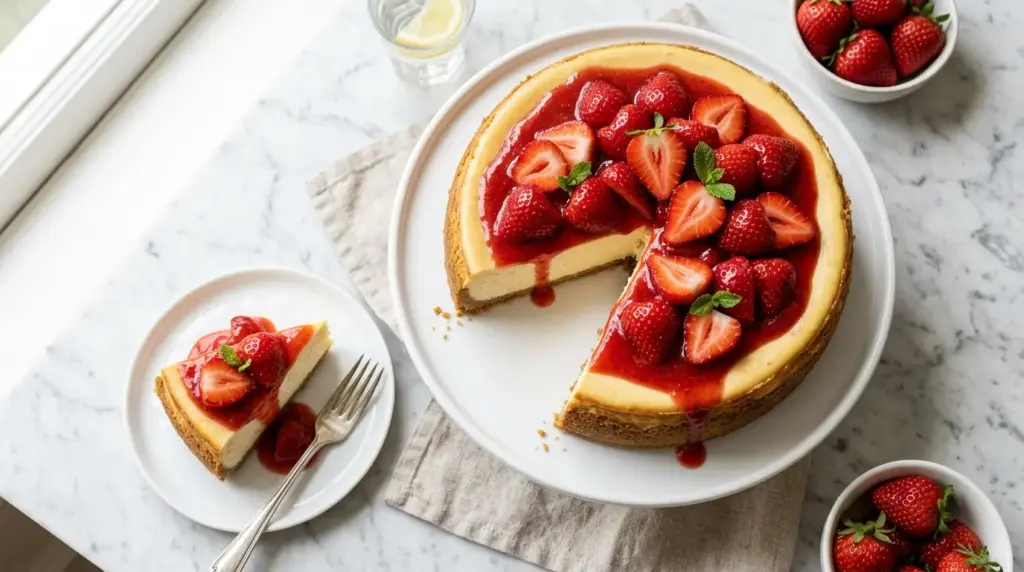
This cheesecake is stunning on its own, but the right topping takes it to another level entirely. The plain vanilla base pairs with almost anything, from bright fruit to rich chocolate.
Try these serving ideas to make it your own:
- Fresh strawberries or mixed berries: Arrange whole strawberries or a mix of fresh berries on top for a classic, beautiful presentation that lets the cheesecake shine.
- Strawberry Sauce: A warm, glossy fruit sauce poured over the top is the most traditional pairing and always a crowd-pleaser.
- Caramel Sauce: Drizzle generously over the top for a buttery, indulgent twist.
- Whipped cream: A simple dollop of freshly whipped cream alongside each slice adds lightness and a touch of elegance.
- Lemon curd: Spread a thin layer over the top of the chilled cheesecake before slicing for a bright, citrusy contrast.
- Chocolate Ganache: Pour a thin layer over the top and let it set for a chocolate-covered cheesecake that feels totally luxurious.
- Sliced peaches or mangoes: Fresh tropical fruit adds color and a fruity brightness that balances the richness perfectly.
- Crushed Oreos or graham crumbles: Sprinkle on top just before serving for extra crunch and texture.
Variations to Try
Once you’ve mastered the classic base, the possibilities for customization are nearly endless. Most variations simply involve swapping a topping or swirling something into the batter.
Here are some popular ways to change things up:
- Oreo Cheesecake: Replace the graham cracker crust with a crushed Oreo crust and fold crushed Oreo pieces into the filling for a cookies-and-cream version.
- Lemon cheesecake: Add 2 tablespoons of fresh lemon juice and 1 tablespoon of lemon zest to the filling for a bright, tangy variation.
- Pumpkin Cheesecake: Swirl in ½ cup of pure pumpkin puree with a teaspoon of pumpkin pie spice for a cozy fall version.
- Chocolate marble: Melt 4 oz (113g) of dark chocolate, drizzle over the filling, and swirl with a toothpick before baking for a gorgeous marbled effect.
- Mini Cheesecakes: Use a muffin tin lined with paper cups and reduce baking time to 18 to 20 minutes for perfect individual portions.
- Churro Cheesecake: Mix 1 teaspoon of cinnamon into the graham cracker crust and sprinkle the top of the filling with a cinnamon-sugar blend before baking.
- Salted caramel: Swirl 3 tablespoons of salted caramel sauce through the filling just before baking and top with flaky sea salt after chilling.
- Espresso cheesecake: Dissolve 1 tablespoon of instant espresso powder in the vanilla and add to the filling for a coffee-forward variation.
Storage and Reheating
Cheesecake stores beautifully, making it a fantastic make-ahead dessert for parties and holidays. Proper storage keeps it tasting fresh for several days.
Follow these storage guidelines:
- Refrigerator: Cover the cheesecake tightly with plastic wrap or place slices in an airtight container. It keeps well for up to 5 days in the refrigerator. The flavor and texture are actually best on days 2 and 3.
- Freezer (whole): Chill the cheesecake completely, then wrap the entire thing (without toppings) tightly in two layers of plastic wrap followed by one layer of aluminum foil. Freeze for up to 2 months.
- Freezer (slices): For more flexible portions, freeze individual slices on a parchment-lined baking sheet until solid, then wrap each one in plastic wrap and place in a zip-top freezer bag.
- Thawing from frozen: Transfer frozen cheesecake or slices to the refrigerator the night before serving. Allow at least 8 hours to thaw slowly in the fridge. Never thaw at room temperature, as this affects the texture and is a food safety concern.
- Add toppings after thawing: Fresh fruit and sauces should always be added after thawing, never before freezing, to maintain the best texture and appearance.
- Reheating: Cheesecake is meant to be served cold or at room temperature. It does not need reheating. If you prefer it slightly warmer, allow a slice to sit at room temperature for 20 to 30 minutes before serving.
Read Also: Cheesecake Ice Cream Cake Recipe
Nutritional Facts
These figures are per slice, based on 12 servings and do not include optional toppings.
| Nutrient | Per Slice |
|---|---|
| Calories | Approx. 450 |
| Total Fat | 31g |
| Saturated Fat | 18g |
| Cholesterol | 145mg |
| Sodium | 340mg |
| Total Carbohydrates | 36g |
| Dietary Fiber | 0.5g |
| Sugars | 27g |
| Protein | 8g |
| Calcium | 90mg |
Note: Nutritional values are estimates and will vary based on specific ingredient brands and any toppings added.
Another indulgent treat to bookmark: Basque Cheesecake Recipe
Health Benefits of Key Ingredients
This is a treat, not a health food, but a few of its core ingredients do offer some genuine nutritional value. Enjoying it in moderation as part of a balanced diet is absolutely fine.
Here’s a look at what some of the key ingredients bring to the table:
- Cream cheese (calcium and protein): Cream cheese is a source of calcium, which supports bone density and muscle function. It also provides a modest amount of protein per serving, which contributes to satiety.
- Eggs (complete protein and vitamins): Eggs are one of the most nutrient-dense foods available. They provide all nine essential amino acids, along with vitamins B12, D, and choline, which supports brain and liver health.
- Butter (fat-soluble vitamins): Butter contains vitamins A, D, E, and K2. These are fat-soluble nutrients that are absorbed more efficiently when consumed alongside dietary fat, which this recipe naturally provides.
- Graham crackers (quick energy): The carbohydrate content of the crust provides an accessible source of energy. Whole-wheat graham crackers can be substituted for slightly more fiber.
- Sour cream (probiotics): Sour cream contains live cultures that support gut health. While the baking process reduces the probiotic count, the cultured milk base still offers some digestive benefits.
- Vanilla extract (antioxidants): Pure vanilla extract contains vanillin, a compound with mild antioxidant properties that also reduces the need for added sugar in recipes due to its strong, sweet aroma.
This recipe also pairs wonderfully with the Carrot Cake With Cream Cheese Frosting Recipe at your next celebration spread.
Frequently Asked Questions
1. Why did my cheesecake crack on top?
Cracking is usually caused by one of three things: overmixing the batter (especially after adding eggs), baking at too high a temperature, or cooling the cheesecake too quickly. Make sure you’re mixing on low speed once the eggs go in, using the water bath, and leaving the cheesecake in the turned-off oven for a full hour before removing it.
If your cheesecake does crack, don’t worry. It still tastes exactly the same, and a generous layer of fruit, whipped cream, or caramel sauce covers it beautifully.
2. Can I make this cheesecake without a water bath?
Technically yes, but the results are noticeably different. Without a water bath, the cheesecake is more prone to cracking, uneven baking, and a slightly rubbery texture on the edges. The water bath creates a gentler, more humid baking environment that protects the delicate filling and gives you that signature silky, creamy texture all the way through.
If you absolutely cannot use a water bath, place a pan of hot water on the oven rack below the cheesecake and cool it very slowly.
3. How do I know when the cheesecake is done?
The most reliable method is the jiggle test. Gently nudge the pan from side to side. The outer 2 to 3 inches should be set and barely move, while the center should have a distinct wobble, similar to Jell-O. If the entire surface is liquid, it needs more time. If the center is completely firm with no wobble, it may be slightly overbaked.
An instant-read thermometer inserted in the center should read between 150°F and 155°F (65°C to 68°C) when done.
4. Can I use reduced-fat cream cheese?
You can, but the result will be noticeably different. Full-fat cream cheese produces a richer, denser, and creamier cheesecake. Reduced-fat versions tend to create a softer, slightly less stable filling with a less luxurious texture. For the best possible result, use full-fat Philadelphia cream cheese blocks as the recipe specifies.
If you’re looking for a lighter option, a No Bake Cheesecake made with Greek yogurt might suit your needs better.
5. How far in advance can I make this cheesecake?
This cheesecake can be made up to 3 days in advance and stored covered in the refrigerator. In fact, making it a day ahead is actually recommended, as it firms up considerably overnight and the flavor deepens noticeably. Add any fresh toppings just before serving for the freshest presentation.
For longer storage, freeze it tightly wrapped for up to 2 months and thaw in the refrigerator overnight.
Read Also: Japanese Cheesecake Recipe
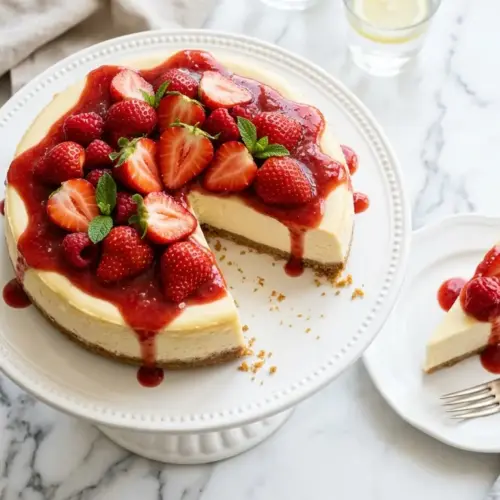
Philadelphia Cheesecake

Equipment
- 9-inch springform pan - Essential for this recipe; do not substitute a regular cake pan
- Stand mixer or hand mixer - For smooth, lump-free filling
- Large roasting pan - Must be large enough to hold the springform pan for the water bath
- Heavy-duty aluminum foil - For wrapping the springform pan to prevent water from seeping in
- Mixing bowls - One large, one medium
- Rubber spatula - For scraping down the bowl during mixing
- Measuring cups and spoons - Standard kitchen measuring tools
- Wire cooling rack - Allows even airflow during cooling
- Offset spatula - Optional, but helpful for smoothing the top of the filling
Ingredients
- 1.5 cups graham cracker crumbs - 150g
- 1 cup granulated sugar - 200g, plus 3 tablespoons (36g) for crust, divided
- 0.33 cup unsalted butter - 75g, melted
- 4 packages Philadelphia cream cheese - 8 oz / 226g each, softened to room temperature
- 1 teaspoon pure vanilla extract - 5ml
- 4 large eggs - at room temperature
- 0.5 cup sour cream - 120g, at room temperature, optional for extra creaminess
- fresh strawberries or mixed berries - for topping
- strawberry sauce - for topping
- caramel sauce - for topping
- whipped cream - for topping
- lemon curd - for topping
- chocolate ganache - for topping
- sliced peaches or mangoes - for topping
- crushed Oreos or graham crumbles - for topping
Instructions
- Remove cream cheese, eggs, and sour cream from refrigerator at least 1 hour before baking. Preheat oven to 325°F (163°C) and position rack in center.
- Combine graham cracker crumbs, 3 tablespoons sugar, and melted butter in a medium bowl. Press firmly into bottom and slightly up sides of a 9-inch springform pan. Chill for at least 10 minutes.
- Wrap the outside of the springform pan with two layers of heavy-duty foil to create a watertight seal. Place a large roasting pan on counter to fill with hot water before baking.
- Beat all 4 packages of softened cream cheese on medium speed for 2 minutes until smooth, scraping down the bowl. Add remaining 1 cup sugar and beat on low until combined. Mix in vanilla and sour cream, if using. Add eggs one at a time on lowest speed, mixing just until each yolk disappears.
- Pour filling over chilled crust and smooth the top. Place springform pan in roasting pan, then transfer to oven. Pour very hot water into roasting pan until it reaches 1 inch up the sides of springform pan.
- Bake at 325°F for 55-60 minutes until outer 2-3 inches are set and center has a slight wobble. Do not open oven door during first 45 minutes. Turn oven off and leave cheesecake inside with door cracked 1 inch for 1 full hour.
- Remove pan from water bath, remove foil, and run a thin knife around inner edge to loosen. Cool completely at room temperature for 1-2 hours, then refrigerate for at least 4 hours or overnight.
- Unclasp springform ring and lift away. Slice with a hot, clean knife, wiping between cuts. Add desired toppings just before serving.
Notes
- Always use room-temperature ingredients. Cold cream cheese will not beat smooth, and cold eggs can stiffen the batter. Pull everything from the fridge at least 1 hour ahead.
- Mix on low speed after adding eggs. High speed overworks the batter and causes excess air bubbles, which leads to cracking and puffing.
- Don’t skip the water bath. It creates a humid baking environment that protects the delicate filling from dry oven heat, resulting in a silky top and creamy texture throughout.
- Use heavy-duty foil. Thin foil tears and lets water seep into the crust. Always wrap in at least two layers for a watertight seal.
- Check doneness by jiggle, not color. The surface should not brown; judge doneness by the slight wobble in the center like gelatin.
- Cool slowly and gradually. The oven rest followed by the room-temperature cool prevents rapid temperature shock that causes cracking.
- Refrigerate overnight when possible. A fully chilled cheesecake slices far more cleanly and tastes noticeably richer and more developed.
- Use a hot knife for slicing. Run your knife under hot water and wipe it clean between every single slice for perfect, photo-worthy portions.
- If your cheesecake cracks, don’t worry. It still tastes delicious, and a generous layer of fruit, whipped cream, or caramel sauce covers it beautifully.
- Store covered in refrigerator for up to 5 days or freeze for up to 2 months. For best flavor and texture, enjoy on days 2-3 after baking.
Final Thoughts
This Philadelphia Cheesecake Recipe is one of those classics that never gets old. Every time you slice into it and see that smooth, creamy interior nestled into a buttery golden crust, it feels like a small victory worth celebrating.
The technique is straightforward, the ingredients are accessible, and the results are consistently stunning. Once you make it once, you’ll wonder why you ever bought cheesecake from a store.
Give it a try for your next celebration, and don’t forget to share a photo or leave a comment below. We’d love to hear how yours turned out!
Recommended:
- Blueberry Cheesecake Recipe
- Lemon Cheesecake Recipe
- Oreo Cheesecake Recipe
- Mini Cheesecake Recipe
- Pumpkin Cheesecake Recipe
- Churro Cheesecake Recipe
- Japanese Cheesecake Recipe
- Cream Cheese Frosting Recipe
- Pound Cake Recipe
- Caramel Sauce Recipe



