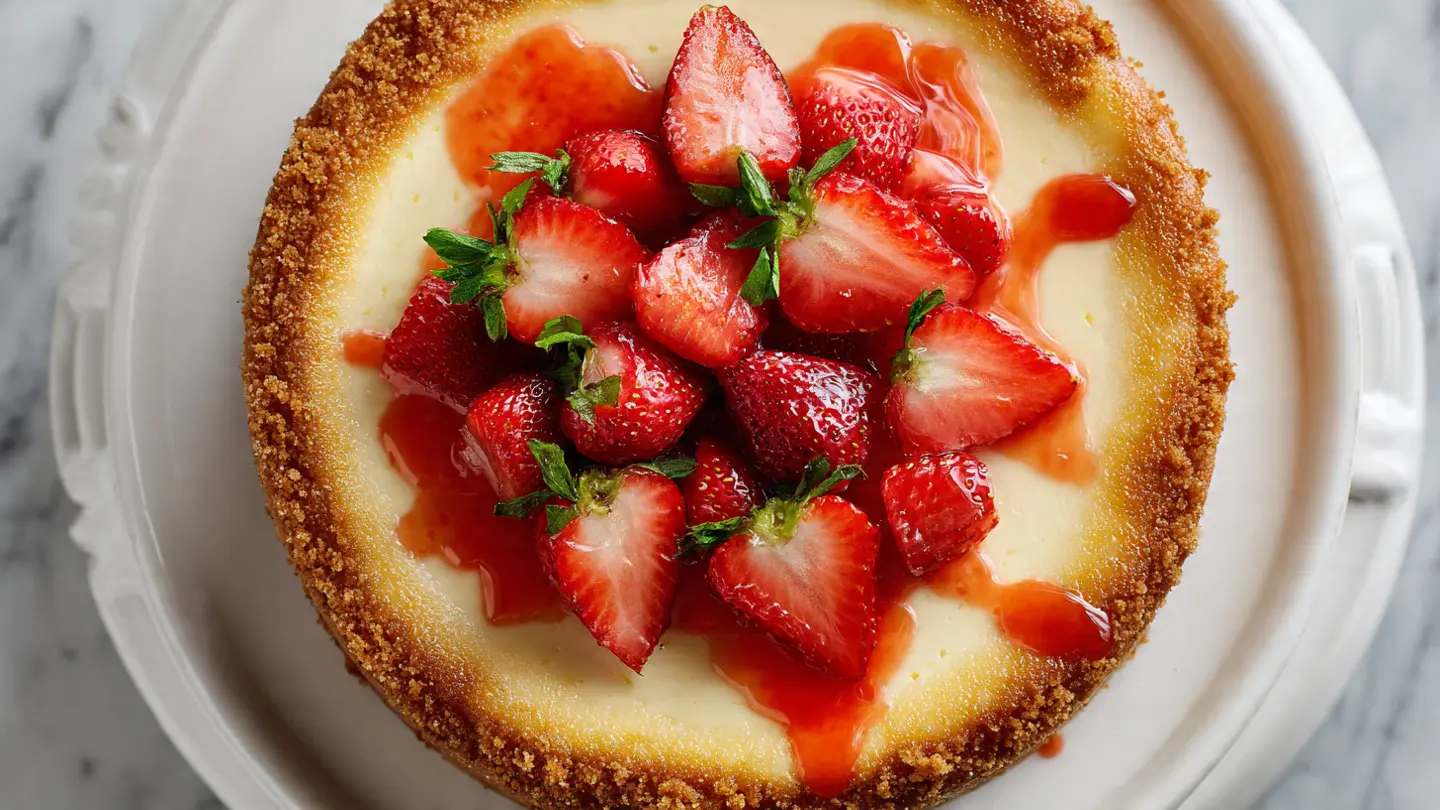
If you have ever wanted to make the best cheesecake recipe from scratch at home, you are about to fall head over heels for this one. This is a classic New York-style cheesecake: dense, rich, ultra-creamy, and built on a thick buttery graham cracker crust that holds everything together beautifully.
What makes this version stand out is the attention to technique. Every step, from using room-temperature cream cheese to baking in a water bath, exists for a reason.
The sour cream in the filling adds the signature tangy depth that makes a great New York cheesecake taste like more than just “sweet and creamy.” A touch of lemon zest brightens the whole thing without making it taste like lemon cheesecake. Trust the process, follow each step carefully, and you will end up with a silky, crack-free cheesecake that looks and tastes like it came straight from a deli counter in Manhattan.
This is the kind of dessert that gets quiet at the dinner table. The good kind of quiet.
If you love creamy, dreamy desserts, you might also enjoy this No Bake Cheesecake for a fuss-free option that skips the oven entirely.
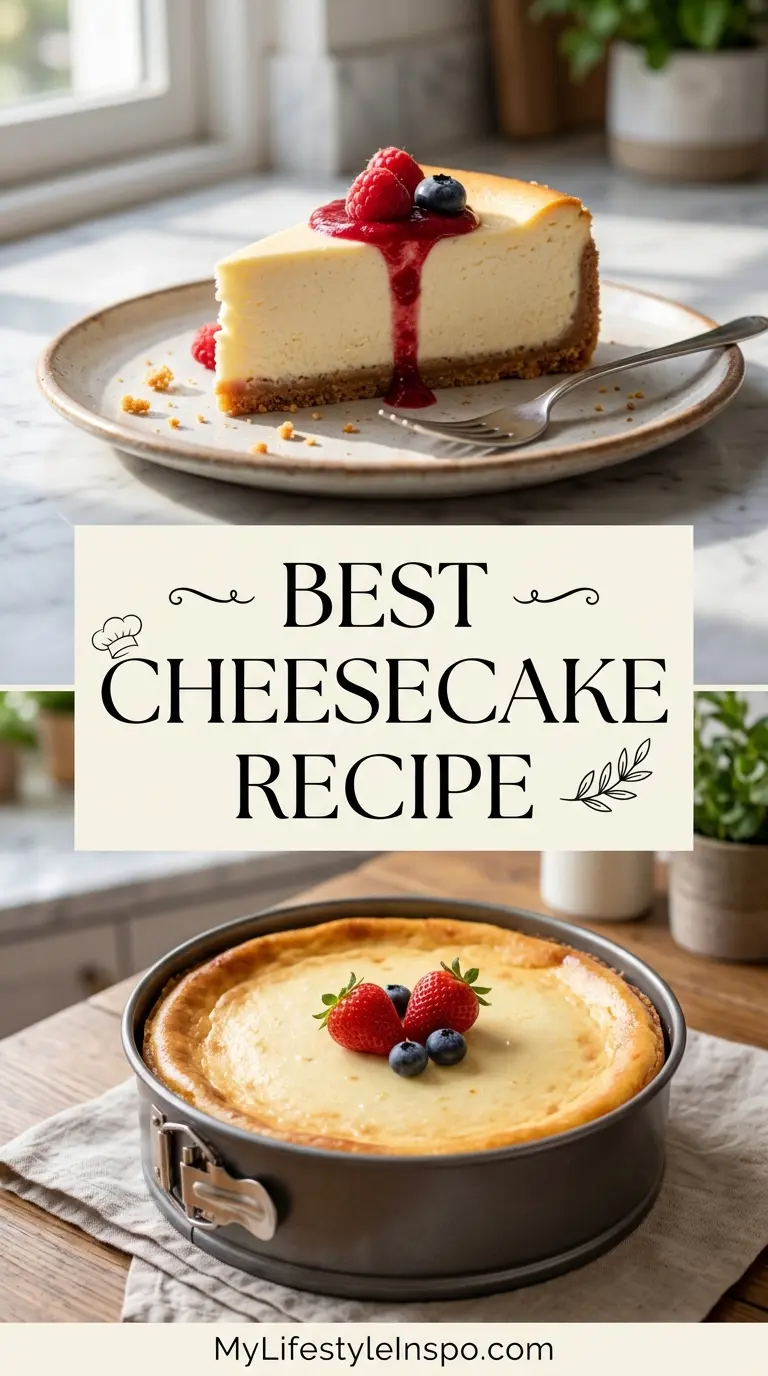
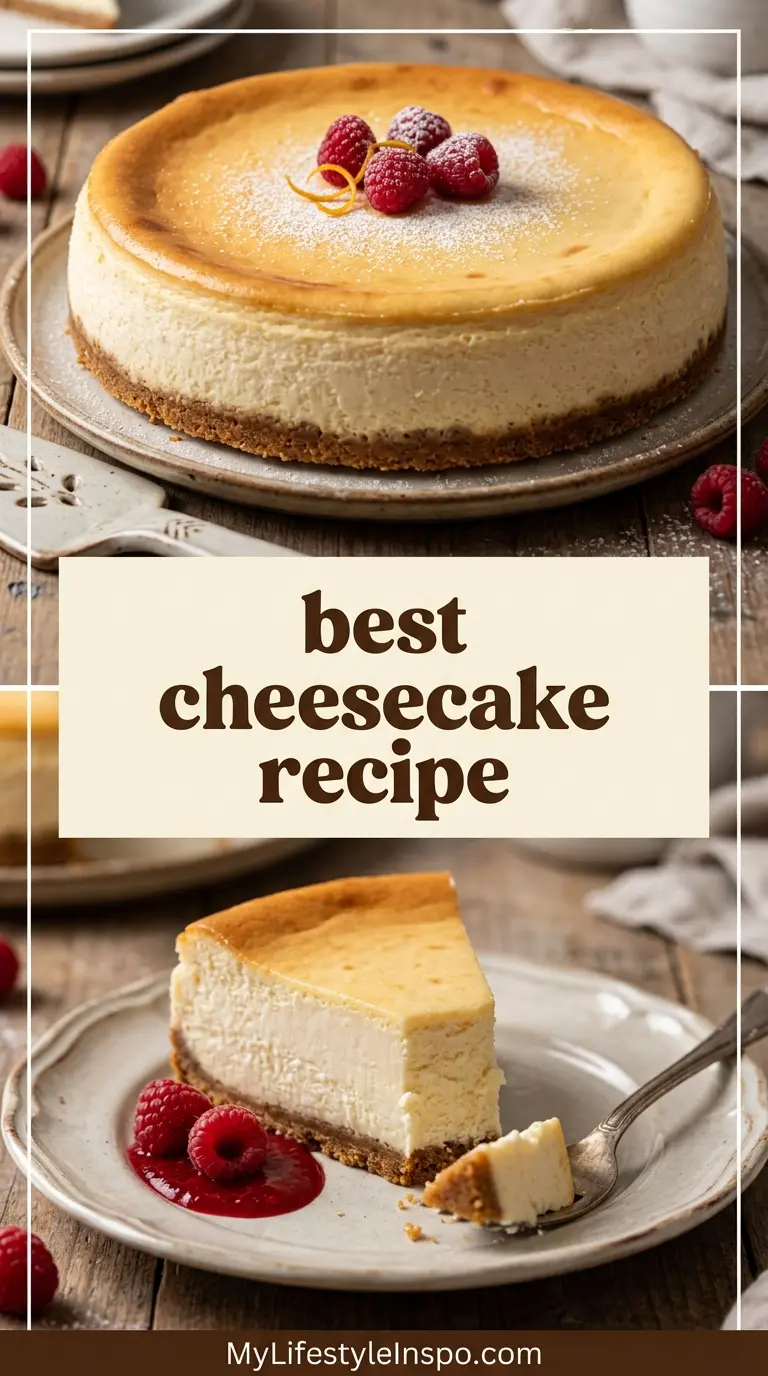
Why You’ll Love This Best Cheesecake Recipe
This cheesecake delivers everything you want in a classic dessert. It is the kind of recipe you make once and immediately want to make again.
Here is why it is going to become your go-to:
- Foolproof texture: The combination of full-fat cream cheese, sour cream, and eggs creates a filling that is dense yet creamy, never dry or rubbery.
- Crack-free results: The water bath method keeps the oven temperature gentle and even, dramatically reducing the chance of cracks forming on the surface.
- Rich, balanced flavor: It is not overwhelmingly sweet. The tang from the cream cheese and sour cream cuts through the richness perfectly.
- Thick, buttery crust: Graham crackers mixed with melted butter and a little sugar create a crust that stays crisp and flavorful under all that creamy filling.
- Make-ahead friendly: This cheesecake actually gets better after a night in the fridge, making it ideal for entertaining or holiday planning.
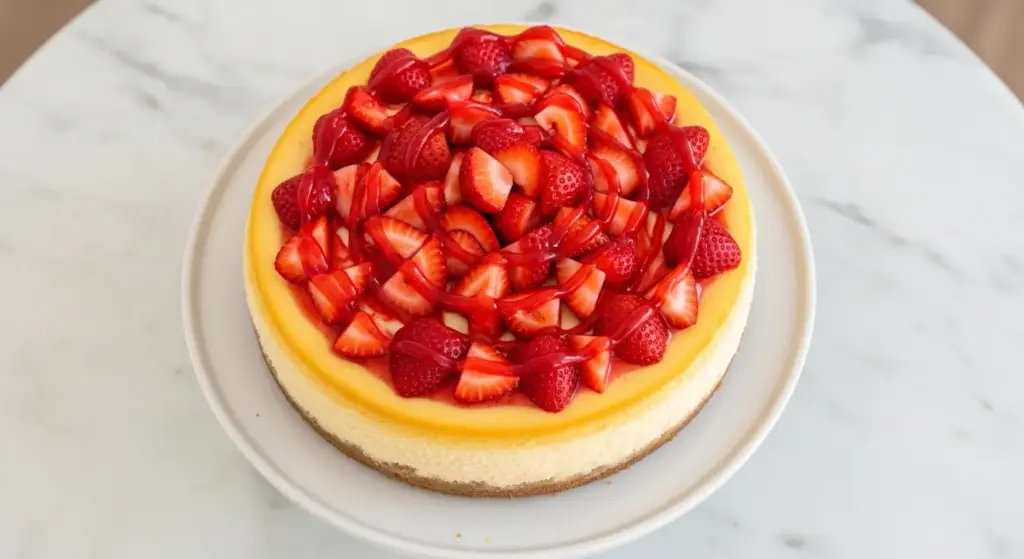
- Crowd-pleaser every single time: Plain, topped with fresh strawberries, or drizzled with caramel, this cheesecake fits every occasion.
You might also love this Strawberry Cheesecake if you want a fruity twist on the classic.
Ingredients
This recipe uses straightforward, easy-to-find ingredients. The key is in the quality, so do not cut corners on the cream cheese, and make sure everything is at room temperature before you start.
Here is everything you will need:
For the Graham Cracker Crust:
- 2 cups (200 g) graham cracker crumbs (about 14 full graham cracker sheets)
- 3 tablespoons (38 g) granulated sugar
- 6 tablespoons (85 g) unsalted butter, melted
For the Cheesecake Filling:
- 32 oz (900 g) full-fat block-style cream cheese, softened to room temperature (4 x 8 oz blocks)
- 1 cup (200 g) granulated sugar
- 1 cup (240 g) full-fat sour cream, at room temperature
- 3 large eggs, at room temperature
- 2 egg yolks, at room temperature
- 1 tablespoon (15 ml) pure vanilla extract
- 1 teaspoon (5 ml) fresh lemon juice
- 1 teaspoon lemon zest
- 2 tablespoons (16 g) all-purpose flour
- Pinch of salt
Read Also: Lemon Cheesecake Recipe
Kitchen Equipment Needed
You do not need a professional kitchen to pull this off, but a few key tools will make the process much smoother.
Here is what to gather before you start:
- 9-inch springform pan
- Large roasting pan (for the water bath)
- Stand mixer or hand electric mixer
- Large mixing bowl
- Medium mixing bowl
- Measuring cups and spoons
- Rubber spatula
- Parchment paper
- Heavy-duty aluminum foil
- Kettle or pot for boiling water
- Cooling rack
- Sharp knife for slicing
Read Also: Oreo Cheesecake Recipe
Recommended Products for This Recipe
These are a few specific products worth picking up if you want the smoothest, most reliable results from this cheesecake.
1. Philadelphia Full-Fat Cream Cheese Blocks
Philadelphia cream cheese is the gold standard for New York-style cheesecake. The block-style (not spreadable tub) gives you a firmer, richer filling without excess moisture. It whips up smooth and lump-free when softened properly, which is everything in a cheesecake.
2. 9-Inch Springform Pan with Non-Stick Coating
A quality springform pan is non-negotiable for cheesecake. The removable sides let you release the cheesecake cleanly without damaging the crust. Look for a heavy-gauge pan with a tight seal so water from the bath cannot leak in.
3. Large Roasting Pan for Water Bath
A sturdy roasting pan that fits comfortably around your springform pan is essential for the water bath. The water bath keeps the oven temperature gentle and prevents the edges of the cheesecake from baking too fast, which is the main cause of cracking.
4. Nielsen-Massey Pure Vanilla Extract
Nielsen-Massey vanilla extract is a baking staple that makes a noticeable difference in delicate desserts like cheesecake. Real vanilla rounds out the flavor of the cream cheese filling and adds warmth that imitation vanilla simply cannot replicate.
5. Oven Thermometer
Many home ovens run hotter or cooler than the dial says, and even a 25-degree difference can affect cheesecake dramatically. An oven thermometer takes the guesswork out of baking and is one of the most inexpensive tools that makes the biggest difference.
Another favorite on this blog: Mini Cheesecake Recipe
Step-by-Step Instructions
Read through the full recipe before you start. All cold ingredients need to come to room temperature first, which takes about one to two hours. Do not rush this step; it is the single most important thing you can do for a smooth, lump-free filling.
1. Bring Ingredients to Room Temperature
- Remove the cream cheese, sour cream, and eggs from the refrigerator at least 1 to 2 hours before baking.
- Cold cream cheese will not mix smoothly and will leave lumps in the batter, which can cause uneven baking and cracking.
- Set them on the counter and allow them to warm naturally. Do not microwave them to speed up the process.
2. Prepare the Springform Pan
- Preheat your oven to 325°F (163°C).
- Cut a circle of parchment paper to fit the bottom of your 9-inch springform pan and press it into place.
- Lightly grease the sides of the pan with softened butter or non-stick spray.
- Tear off two large sheets of heavy-duty aluminum foil and wrap them around the outside bottom and sides of the springform pan to create a waterproof seal for the water bath. Make sure no gaps exist where water could sneak in.
3. Make the Graham Cracker Crust
- Place 2 cups (200 g) of graham cracker crumbs into a medium mixing bowl.
- Add 3 tablespoons (38 g) of granulated sugar and stir to combine.
- Pour in 6 tablespoons (85 g) of melted unsalted butter and mix until the crumbs are evenly moistened and the mixture resembles wet sand.
- Tip the crumb mixture into the prepared springform pan.
- Use the flat bottom of a measuring cup or a drinking glass to press the crumbs firmly and evenly across the bottom and about 1 inch (2.5 cm) up the sides of the pan. Pressing firmly is important so the crust holds together when sliced.
- Place the pan in the preheated oven and bake the crust for 10 minutes, until it is just lightly golden and set.
- Remove from the oven and set aside to cool while you prepare the filling.
- Reduce the oven temperature to 300°F (148°C).
4. Prepare the Water Bath
- Place your large roasting pan on the oven rack you plan to use.
- Bring a full kettle of water to a boil and set it aside. You will add this to the roasting pan just before the cheesecake goes in.
- This step ensures you have hot water ready so you are not fumbling with it while holding a pan of liquid cheesecake batter.
5. Make the Cheesecake Filling
- In the bowl of a stand mixer fitted with the paddle attachment (or a large mixing bowl using a hand mixer), beat the 32 oz (900 g) of room-temperature cream cheese on low speed for about 2 to 3 minutes, until it is completely smooth and free of any lumps.
- Using low speed throughout is critical. High speed whips air into the batter, and air is what causes the cheesecake to puff up in the oven and then sink and crack as it cools.
- Add the 1 cup (200 g) of granulated sugar and the 2 tablespoons (16 g) of all-purpose flour. Beat on low speed until fully incorporated, about 1 minute. Scrape down the sides of the bowl with a rubber spatula.
- Add the pinch of salt, 1 teaspoon of lemon zest, and 1 teaspoon of fresh lemon juice. Mix on low speed until just combined.
- Add the 1 cup (240 g) of room-temperature sour cream and 1 tablespoon (15 ml) of pure vanilla extract. Mix on low speed until smooth, about 1 minute. Scrape the bowl again.
- Now add the eggs and egg yolks one at a time, mixing on the lowest speed after each addition just until incorporated. Do not over-mix once the eggs go in. Over-mixing at this stage introduces too much air and is one of the most common reasons cheesecakes crack.
- Give the batter a final gentle stir with the rubber spatula to make sure everything is evenly combined.
6. Assemble and Bake
- Pour the finished cheesecake batter over the cooled crust in the springform pan.
- Use the rubber spatula to smooth the top evenly.
- Place the foil-wrapped springform pan inside the roasting pan on the oven rack.
- Carefully pour the hot boiling water into the roasting pan around the springform pan until it reaches about 1 inch (2.5 cm) up the sides. Pour slowly and avoid splashing water onto the cheesecake batter.
- Carefully slide the rack into the oven and close the door gently. Avoid slamming the oven door, as sudden vibrations can affect the set.
- Bake at 300°F (148°C) for 1 hour and 30 minutes. The cheesecake is done when the edges are set and the center still has a slight wobble, about 2 inches (5 cm) in diameter. The center will continue to cook from residual heat as it cools.
7. Cool the Cheesecake Slowly
- Turn the oven off and leave the cheesecake inside with the door cracked open about 1 inch for 1 hour. This slow cool-down prevents the sudden temperature change that causes cracking.
- After 1 hour, carefully remove the roasting pan from the oven and lift the springform pan out of the water. Remove the foil wrapping.
- Run a thin knife or offset spatula gently around the inside edge of the pan to loosen the cheesecake from the sides. This prevents the cheesecake from pulling and cracking as it contracts while cooling.
- Transfer the cheesecake to a cooling rack and allow it to come to room temperature completely, about 2 to 3 hours.
- Once it reaches room temperature, cover the top loosely with plastic wrap and refrigerate for a minimum of 6 hours, though overnight is ideal. Cold chilling is what firms up the filling and gives it that signature dense, velvety texture.
8. Slice and Serve
- Remove the cheesecake from the refrigerator about 20 minutes before slicing to take the chill off slightly, which makes for cleaner cuts.
- Run a sharp knife under hot water, wipe it dry, and make each cut in one smooth downward motion. Wipe the blade clean between each slice for restaurant-perfect pieces.
- Remove the springform ring and transfer the cheesecake to a serving platter.
- Serve plain or with your favorite toppings and enjoy.
This cheesecake uses the same low-and-slow baking philosophy as a great Basque Cheesecake, which takes a completely different (and delicious) approach to the same creamy goal.
Tips for Success
A little extra care goes a long way when baking cheesecake. These tips address the most common pitfalls so you can avoid them before they happen.
Keep these in mind every time:
- Room temperature is non-negotiable: Cold cream cheese leads to a lumpy batter. Give your ingredients a full 1 to 2 hours on the counter before mixing.
- Mix on low speed: Always use the lowest speed setting on your mixer. Faster speeds whip air into the batter, which leads to puffing and cracking.
- Do not over-mix after the eggs: Once you add the eggs, mix only until each one disappears into the batter. That is all that is needed.
- Use a water bath: The steam created by the water bath keeps the oven humid and the cheesecake baking evenly. It is the most reliable way to prevent cracking and get a smooth surface.
- Do not open the oven door during baking: Temperature fluctuations from opening the oven mid-bake can cause the cheesecake to sink or crack.
- Cool slowly: The gradual cooling process, first in the oven, then at room temperature, then in the fridge, is what gives you a perfectly set, crack-free cheesecake.
- Refrigerate overnight if possible: The longer this cheesecake chills, the better the texture becomes. A full overnight rest produces the most luscious results.
You might also enjoy: Blueberry Cheesecake Recipe
Serving Suggestions
This cheesecake is absolutely wonderful on its own, but the right topping can take it to another level entirely.
Here are some delicious ways to serve it:
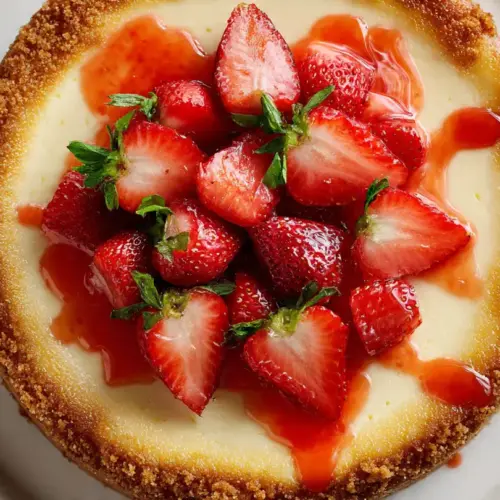
- Fresh strawberry sauce: Simmer sliced strawberries with a little sugar and lemon juice until jammy and spoonable. It is the most classic cheesecake pairing for a reason.
- Fresh berries: Pile blueberries, raspberries, or sliced strawberries directly on top of each slice for a simple, elegant presentation.
- Caramel drizzle: A slow drizzle of homemade or store-bought caramel sauce adds a buttery sweetness that plays beautifully against the tangy filling.
- Whipped cream: A generous dollop of freshly whipped heavy cream alongside each slice is always a crowd-pleaser.
- Lemon curd: Spoon a thin layer of bright, tart lemon curd over the top for a citrus-forward finish.
- Hot fudge: Rich chocolate and creamy cheesecake is a match that never goes out of style.
- Sour cream topping: Mix 1 cup of sour cream with 2 tablespoons of powdered sugar and spread it over the cooled cheesecake for a traditional New York-deli-style finish.
This cheesecake is a natural companion to a slice of Classic Apple Pie at holiday gatherings when you want to offer two legendary desserts in one spread.
Variations to Try
Once you have mastered the classic, experimenting with variations is a lot of fun. The base recipe is incredibly versatile and can support a wide range of flavors and styles.
Here are some popular ways to switch things up:
- Oreo crust: Swap the graham cracker crust for a crushed Oreo and melted butter crust. The chocolate and cream cheese combination is absolutely addictive.
- Lemon cheesecake: Increase the lemon zest to 2 tablespoons and add 2 tablespoons of fresh lemon juice for a bright, citrus-forward filling.
- Pumpkin cheesecake: Fold in 1 cup (240 g) of canned pumpkin puree and 1 teaspoon of pumpkin pie spice for a gorgeous fall variation.
- Strawberry swirl: Drop spoonfuls of strawberry jam or fruit sauce over the batter before baking and swirl with a toothpick for a marbled effect.
- No-bake version: Use a no-bake cheesecake filling made with whipped cream, cream cheese, and powdered sugar set in the fridge overnight. Great for warmer months when you want to skip the oven.
- Churro cheesecake: Press a layer of crescent roll dough into the pan instead of graham crackers and top the finished cheesecake with cinnamon sugar for a fun, creative twist.
- Japanese cheesecake: A fluffier, lighter style made with whipped egg whites folded into the batter. Completely different in texture but equally delightful.
For a fun spin on the classic, try this Churro Cheesecake Recipe.
Storage and Reheating
Cheesecake stores beautifully, which is one of the many reasons it is such a great make-ahead dessert.
Here is how to keep it fresh:
- Refrigerator: Store leftover cheesecake covered tightly with plastic wrap or in an airtight container in the fridge for up to 5 days. It tastes even better on day two or three.
- Freezer (whole): Let the cheesecake cool completely, then remove it from the pan. Wrap it in a layer of plastic wrap followed by a layer of aluminum foil and freeze for up to 3 months.
- Freezer (sliced): Place individual slices on a parchment-lined baking sheet and freeze uncovered until firm, about 2 hours. Then wrap each slice in plastic wrap and store in a zip-top freezer bag. This makes it easy to pull out just one slice at a time.
- Thawing: Transfer frozen cheesecake to the refrigerator and let it thaw overnight. Avoid thawing at room temperature, as condensation can make the surface wet and affect the texture.
- No reheating needed: Cheesecake is served cold or at a cool room temperature. It does not need to be reheated.
Read Also: Pumpkin Cheesecake Recipe
Nutritional Facts
Per slice, based on 12 servings:
| Nutrient | Amount |
|---|---|
| Calories | ~480 kcal |
| Total Fat | 34 g |
| Saturated Fat | 19 g |
| Cholesterol | 175 mg |
| Sodium | 310 mg |
| Total Carbohydrates | 36 g |
| Dietary Fiber | 0.5 g |
| Total Sugars | 27 g |
| Protein | 9 g |
| Calcium | 120 mg |
These values are estimates and will vary depending on specific brands and portion sizes used.
Another indulgent classic worth exploring: Easy Tiramisu Recipe
Health Benefits of Key Ingredients
While cheesecake is clearly an indulgent treat, a few of its key ingredients do bring some real nutritional value to the table.
Here is a closer look at what is inside:
- Cream cheese: A source of fat-soluble vitamins A and D, and provides small amounts of calcium and phosphorus. Full-fat versions also contain conjugated linoleic acid (CLA), which some research links to improved body composition.
- Eggs: Among the most nutrient-dense foods available, eggs deliver high-quality complete protein, choline for brain health, vitamins D, B12, and selenium.
- Sour cream: Contains probiotics in some varieties, which support gut health. It also provides calcium, phosphorus, and fat-soluble vitamins.
- Lemon zest and juice: Rich in vitamin C and antioxidant compounds called flavonoids. Lemon also supports iron absorption and adds a bright flavor that reduces the need for extra sugar.
- Graham crackers: Contribute a modest amount of dietary fiber and whole grain depending on the brand used.
The protein and fat content of this cheesecake means it is quite satiating, which is why a single slice tends to be genuinely satisfying without the urge for more.
This cheesecake pairs wonderfully with Easy Crepe Recipe as a brunch or dessert spread combination.
Frequently Asked Questions
1. Why did my cheesecake crack?
Cracking usually happens for one of three reasons: over-mixing the batter (which introduces too much air), baking at too high a temperature, or cooling too quickly.
Make sure you mix on low speed, use the water bath method, and cool the cheesecake slowly in the oven with the door cracked before bringing it to room temperature. Even if you do get a crack, it can always be covered with sour cream topping, fresh fruit, or whipped cream.
2. Do I really need a water bath?
The water bath is highly recommended but not absolutely required. It creates a humid, gentle baking environment that dramatically reduces the risk of cracking and ensures the filling bakes evenly from edge to center.
If you choose to skip it, your cheesecake will still taste delicious, but there is a higher chance of cracks on the surface.
3. How do I know when the cheesecake is done baking?
The cheesecake is done when the edges are set and firm but the center still has a noticeable jiggle, similar to a loose pudding.
The center will continue to firm up as the cheesecake cools and chills in the refrigerator. If the entire surface is set and firm in the oven, the cheesecake is overbaked, which leads to a dense, dry texture.
4. Can I make this cheesecake ahead of time?
Absolutely, and it is actually encouraged. This cheesecake needs at least 6 hours of refrigerator time to fully set, and the flavor and texture improve significantly after a full overnight chill.
It can be made up to 2 days in advance and stored covered in the refrigerator. If needed, it freezes well for up to 3 months.
5. Can I use low-fat cream cheese?
Full-fat block cream cheese is strongly recommended for this recipe. Low-fat versions have a higher water content, which can result in a looser, less stable filling that does not set as firmly.
The fat in full-fat cream cheese is also what gives New York cheesecake its signature rich, velvety texture. Using reduced-fat cream cheese tends to produce a noticeably inferior result.
Read Also: New York Cheesecake Recipe
Classic New York-Style Cheesecake
Equipment
- 9-inch springform pan
- Large roasting pan - for water bath, fits around springform pan
- Stand mixer - or hand electric mixer
- Large mixing bowl
- Medium mixing bowl
- Measuring cups
- Measuring spoons
- Rubber spatula
- Parchment paper
- Heavy-duty aluminum foil
- Kettle or Pot - for boiling water
- Cooling rack
- Sharp knife - for slicing
- Oven thermometer - (optional) ensures accurate temperature
Ingredients
- 2 cups graham cracker crumbs - 200g, about 14 full graham cracker sheets
- 3 tablespoons granulated sugar - 38g
- 6 tablespoons unsalted butter - 85g, melted
For the Cheesecake Filling
- 32 oz cream cheese - 900g, full-fat block-style, softened to room temperature
- 1 cup granulated sugar - 200g
- 1 cup sour cream - 240g, full-fat, at room temperature
- 3 large eggs - at room temperature
- 2 egg yolks - at room temperature
- 1 tablespoon pure vanilla extract - 15ml
- 1 teaspoon fresh lemon juice - 5ml
- 1 teaspoon lemon zest
- 2 tablespoons all-purpose flour - 16g
- salt - pinch
Instructions
- Bring cream cheese, sour cream, and eggs to room temperature for 1-2 hours before baking.
- Preheat oven to 325°F. Line springform pan bottom with parchment, grease sides, and wrap exterior with heavy-duty foil to waterproof for water bath.
- Mix graham cracker crumbs with sugar and melted butter until evenly moistened. Press firmly into bottom and 1 inch up sides of prepared pan. Bake at 325°F for 10 minutes, then cool. Reduce oven temperature to 300°F.
- Place roasting pan on oven rack and bring water to a boil for the water bath.
- Beat room-temperature cream cheese on low speed until smooth, about 2-3 minutes. Add sugar and flour and mix on low until incorporated. Add salt, lemon zest, and lemon juice. Mix in sour cream and vanilla until smooth.
- Add eggs and egg yolks one at a time on lowest speed, mixing just until each is incorporated. Do not over-mix. Fold gently with spatula.
- Pour filling over cooled crust and smooth top. Place springform pan in roasting pan, pour boiling water around it, and bake at 300°F for 1 hour 30 minutes until edges are set and center has a slight wobble.
- Turn off oven and leave cheesecake inside with door cracked for 1 hour. Remove from water bath, loosen edges with knife, and cool completely on rack. Refrigerate at least 6 hours or overnight.
- Remove from fridge 20 minutes before slicing. Run knife under hot water, wipe dry, and cut in smooth downward motion. Wipe blade between slices and serve.
Notes
- Room temperature is essential: Cold cream cheese creates lumps. Give ingredients 1-2 hours on the counter before mixing.
- Mix on low speed: Always use the lowest speed to avoid whipping air into the batter, which causes puffing and cracking.
- Don’t over-mix after adding eggs: Mix only until each egg disappears into the batter.
- Water bath is key: The steam ensures even baking and is the most reliable way to prevent cracks.
- Do not open the oven door during baking: Temperature fluctuations can cause sinking or cracking.
- Cool slowly: Gradual cooling in the oven, then at room temperature, then in the fridge ensures perfect texture.
- Refrigerate overnight if possible: The texture improves significantly with a full overnight chill.
- Storage: Store covered in the refrigerator for up to 5 days. Freeze whole or sliced for up to 3 months.
- Topping ideas: Serve with fresh berry sauce, caramel drizzle, lemon curd, or whipped cream.
- Variation: Swap crust for crushed Oreos, add pumpkin puree, or swirl in fruit jam for different flavors.
Final Thoughts
This best cheesecake recipe is one of those bakes that looks impressive but is completely within reach for home bakers of any skill level.
Take your time, trust the process, and do not skip the refrigerator rest. The reward is a cheesecake that is genuinely restaurant-worthy, with a silky filling, a crisp buttery crust, and that perfect balance of sweet and tangy that keeps people coming back for a second slice.
Give it a try for your next birthday, holiday dinner, or any occasion that calls for something special. Leave a comment below to let us know how it turned out, and share a photo if you make it!
Recommended:
- Blueberry Cheesecake Recipe
- Japanese Cheesecake Recipe
- Cheesecake Ice Cream Cake Recipe
- Classic Tiramisu Recipe
- Best Chocolate Chip Cookies Recipe
- Easy Creme Brulee Recipe
- Classic Pumpkin Pie Recipe
- Fruit Tart Recipe
- Best Carrot Cake Recipe
- Banana Pudding Recipe


