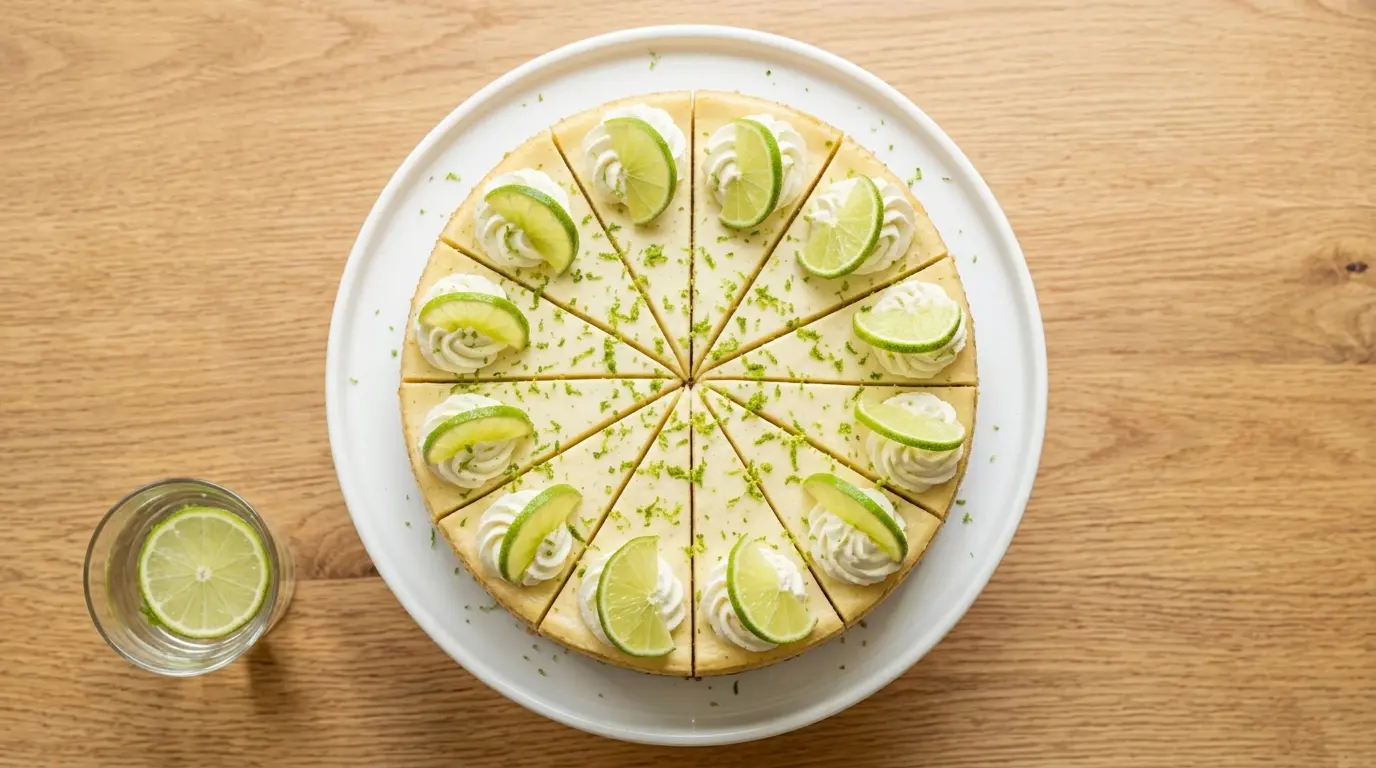
This key lime cheesecake recipe delivers everything you love about a classic key lime pie, wrapped inside a rich, velvety cheesecake filling and pressed into a buttery graham cracker crust.
The combination of fresh key lime juice, lime zest, and cream cheese creates a dessert that is bright and tangy on the surface, yet deeply creamy underneath. Key limes are smaller and more aromatic than regular Persian limes, and their juice has a floral sharpness that cuts beautifully through the richness of the cream cheese.
Whether you are making this for a summer gathering, a holiday table, or simply because you crave something special on a weekend, this recipe delivers a bakery-quality result from your own kitchen.
The secret to a smooth, crack-free cheesecake lies in a few simple techniques: room-temperature cream cheese, a gentle water bath, and the patience to let it chill overnight. Follow each step carefully and you will be rewarded with a dessert that slices cleanly, looks stunning on a plate, and tastes even better than it looks.
If you love citrus-forward desserts, this one belongs at the top of your list. It also pairs wonderfully with the Lemon Meringue Cheesecake for a citrus dessert spread that will impress any crowd.
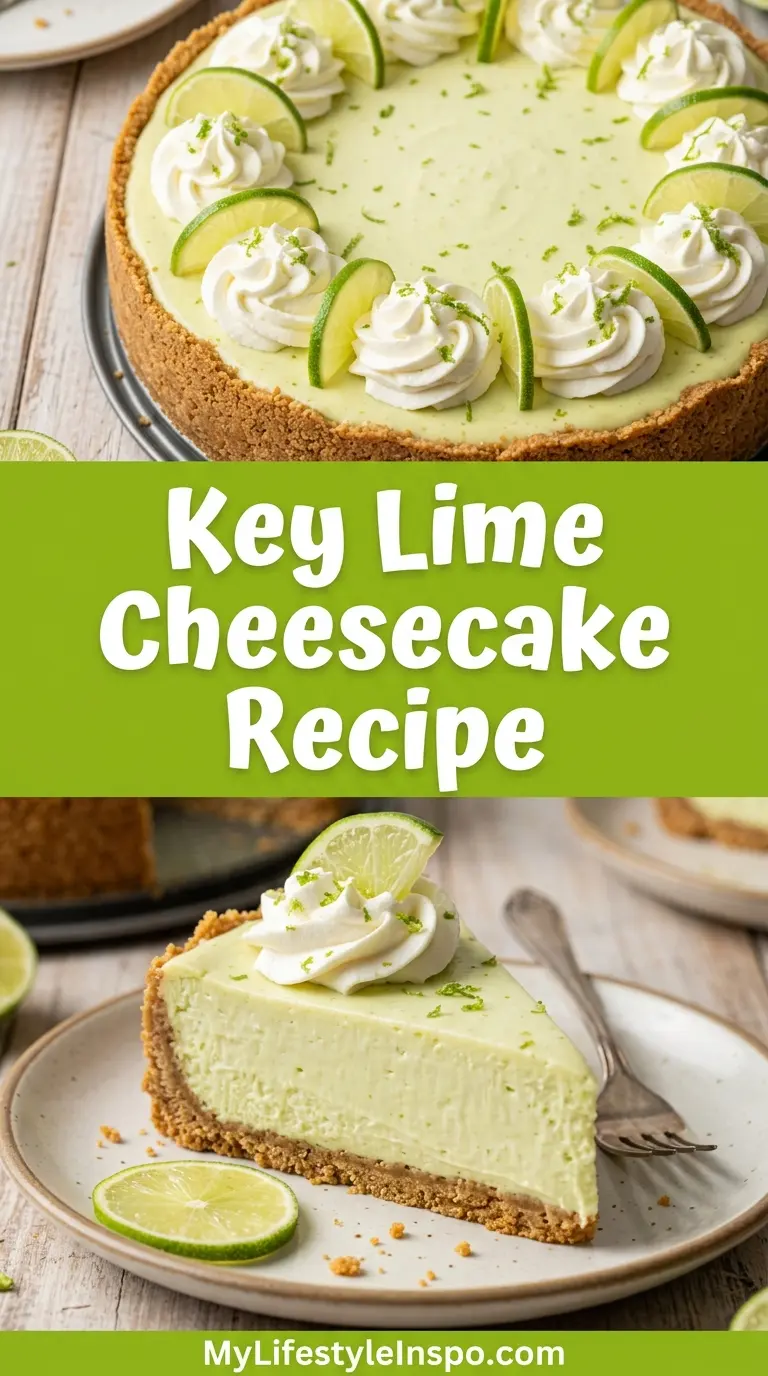
Why You’ll Love This Key Lime Cheesecake Recipe
This recipe strikes the perfect balance between tart and sweet.
The key lime filling is zippy and refreshing, but the cream cheese base keeps it grounded and indulgent in every single bite.
It uses a classic baked method with a water bath, which produces an ultra-creamy, silky texture that no-bake versions simply cannot replicate.
The crust is buttery, slightly crunchy, and provides the ideal contrast to the smooth filling on top.
This is a make-ahead dessert, meaning you can prepare it a day in advance and it only gets better as it chills.
It is also endlessly customizable, with easy swaps for dietary needs and fun topping ideas to suit any occasion.
- A buttery graham cracker crust that holds every slice together perfectly
- A smooth, dense, and tangy cream cheese filling packed with real key lime flavor
- A simple topping of fresh whipped cream and lime zest that makes it look professionally finished
- Excellent for entertaining since it needs to be made ahead
- A recipe that uses accessible, everyday ingredients
You might also enjoy: Raspberry Cheesecake
Ingredients
For the best results, use full-fat cream cheese and room-temperature dairy throughout. Full-fat cream cheese provides the dense, rich texture that is the hallmark of a great baked cheesecake, while room-temperature ingredients blend together without lumps.
For the Graham Cracker Crust:
- 1 ¾ cups (175g) graham cracker crumbs (about 14 full crackers)
- ¼ cup (50g) granulated sugar
- ½ cup (115g / 1 stick) unsalted butter, melted
For the Key Lime Cheesecake Filling:
- 32 oz (907g / 4 blocks) full-fat cream cheese, softened to room temperature
- 1 ¼ cups (250g) granulated sugar
- 4 large eggs, at room temperature
- ½ cup (120ml) sour cream, at room temperature
- ½ cup (120ml) fresh key lime juice (from about 15-20 key limes, or bottled key lime juice)
- 1 tablespoon key lime zest (from about 6 key limes)
- 1 teaspoon pure vanilla extract
For the Whipped Cream Topping:
- 1 cup (240ml) heavy whipping cream, cold
- 3 tablespoons (37g) powdered sugar
- ½ teaspoon vanilla extract
- Extra lime zest and lime slices for garnish
Read Also: No Bake Cheesecake Recipe
Kitchen Equipment Needed
Having the right tools makes a huge difference with cheesecake. A springform pan is non-negotiable because it allows you to release the cheesecake cleanly without flipping it, which would ruin the presentation.
- 9-inch springform pan (essential for releasing the cheesecake without damage)
- Stand mixer or hand mixer (for beating the cream cheese smooth and lump-free)
- Large roasting pan (for the water bath; the pan must be large enough to hold the springform pan)
- Citrus zester / microplane (for getting fine, fragrant lime zest without the bitter pith)
- Citrus juicer (makes juicing small key limes much easier)
- Large mixing bowl
- Rubber spatula
- Measuring cups and spoons
- Aluminum foil (heavy-duty, for wrapping the springform pan)
- Cooling rack
- Kitchen scale (optional but recommended for precise measurements)
Read Also: Baked Cheesecake Recipe
Recommended Products for This Recipe
These are products I recommend based on quality and performance. They can genuinely improve your results when making this key lime cheesecake.
1. Fat Daddio’s 9-Inch Springform Pan
A quality springform pan with a tight-fitting base prevents leaks during the water bath, which is one of the most common problems home bakers face. Fat Daddio’s anodized aluminum pans distribute heat evenly and release cleanly every time. This is an investment that will serve you for hundreds of cheesecakes to come.
2. Nellie & Joe’s Famous Key West Lime Juice
Fresh key limes are tiny and labor-intensive to juice. Nellie & Joe’s bottled key lime juice is widely considered the gold standard bottled option, with a bright, true key lime flavor that bakers trust. It is the preferred shortcut used by professional pastry chefs and home bakers alike. One bottle gives you plenty for this recipe with some left over.
3. OXO Good Grips Citrus Zester
Lime zest carries essential oils that deliver the most intense lime fragrance in the entire dessert. The OXO microplane-style zester creates ultra-fine zest that dissolves beautifully into the batter rather than sitting in clumps. It also works brilliantly for lemon, orange, and grapefruit.
4. KitchenAid Hand Mixer
A powerful hand mixer ensures your cream cheese is beaten completely smooth before any other ingredients are added. Lumpy cream cheese is nearly impossible to fix once eggs go in, so starting with the right equipment matters. The KitchenAid hand mixer is lightweight, powerful, and one of the most reliable tools in any baker’s kitchen.
5. Pyrex 3-Quart Baking Dish
A sturdy 3-quart roasting or baking dish works perfectly as the outer pan for a water bath. Pyrex glass conducts heat gently and lets you see the water level clearly during baking. It is also oven-safe at high temperatures and cleans up easily.
This pairs beautifully with the New York Cheesecake if you want to compare two iconic baked cheesecake styles side by side.
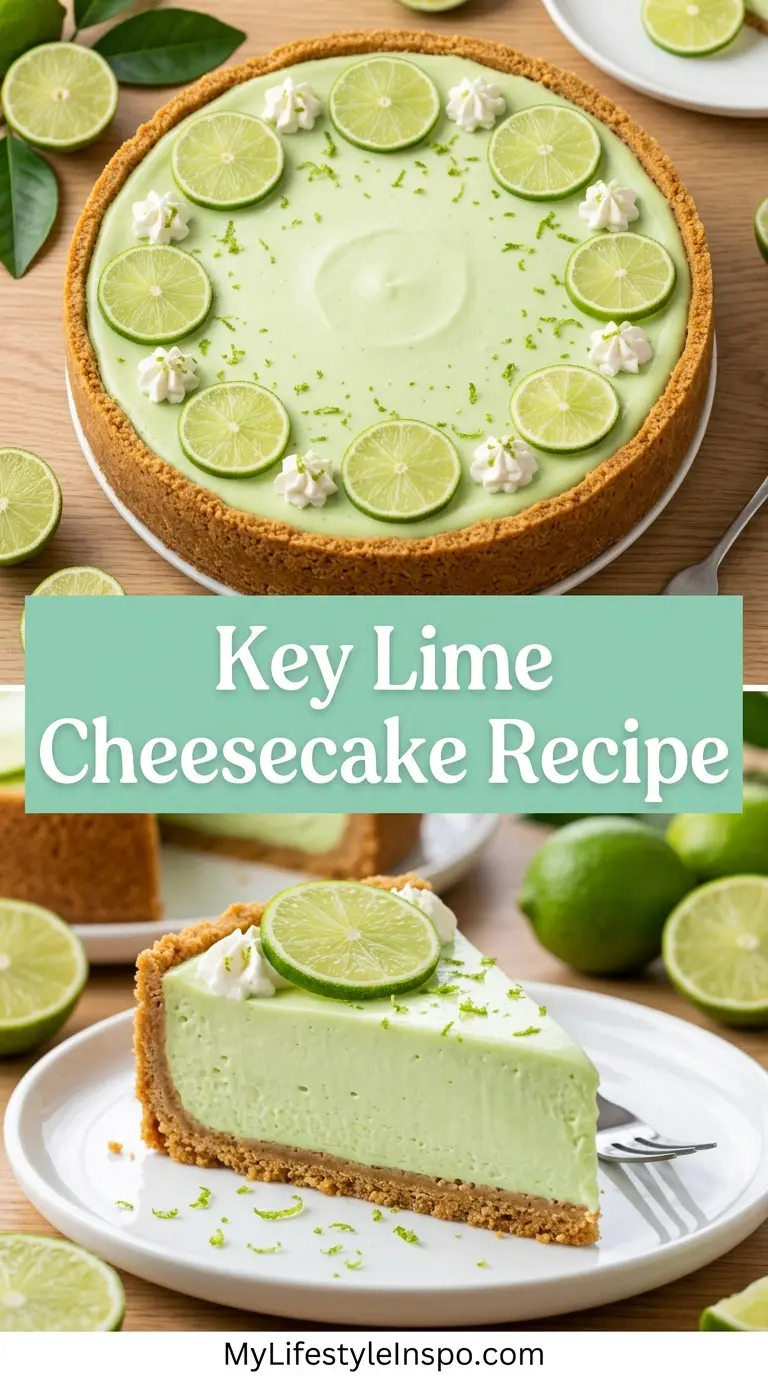
Step-by-Step Instructions
Step 1: Prepare Your Equipment and Ingredients
- Remove the cream cheese, eggs, and sour cream from the refrigerator at least 1 to 2 hours before you begin. Room-temperature dairy blends smoothly and reduces the risk of overmixing or lumps.
- Preheat your oven to 325°F (165°C). Place a rack in the center of the oven.
- Grease the inside of your 9-inch springform pan with softened butter or non-stick spray. This helps the crust release cleanly when unmolding.
- Wrap the outside of the springform pan tightly in two to three layers of heavy-duty aluminum foil. The foil must go all the way up the sides to prevent water from seeping into the crust during the water bath. Use wide, heavy-duty foil for the best seal.
- Boil a kettle or large pot of water. You will need enough to fill the roasting pan about 1 inch (2.5 cm) deep. Set it aside.
Step 2: Make the Graham Cracker Crust
- Place 14 full graham cracker sheets in a zip-lock bag and crush them with a rolling pin until they form fine, even crumbs. Alternatively, pulse them in a food processor until sandy. You need 1 ¾ cups (175g) of crumbs.
- Transfer the crumbs to a medium bowl. Add ¼ cup (50g) of granulated sugar and stir to combine.
- Pour in ½ cup (115g) of melted butter. Mix with a fork or spatula until every crumb is evenly moistened and the mixture resembles wet sand. If you squeeze a handful and it holds together, the ratio is correct.
- Tip the crumb mixture into the prepared springform pan. Using the flat bottom of a measuring cup or glass, press the crumbs firmly and evenly across the bottom of the pan and about 1 inch (2.5 cm) up the sides. Compact pressure is key here so the crust does not crumble when sliced.
- Bake the crust in the preheated oven for 8 to 10 minutes, or until it smells toasty and feels set. Remove from the oven and set aside to cool slightly while you make the filling. Do not turn off the oven.
Step 3: Make the Key Lime Cheesecake Filling
- In the bowl of a stand mixer fitted with the paddle attachment, or in a large bowl with a hand mixer, beat the 4 blocks of softened cream cheese on medium-high speed for 2 to 3 minutes until completely smooth and fluffy. Stop and scrape down the sides and bottom of the bowl at least twice. There should be no lumps at this stage.
- Reduce the speed to medium. Add the 1 ¼ cups (250g) of granulated sugar and beat for another 2 minutes until the mixture is light and smooth.
- Add the ½ cup (120ml) of sour cream, ½ cup (120ml) of key lime juice, 1 tablespoon of lime zest, and 1 teaspoon of vanilla extract. Beat on medium speed until fully combined, about 1 minute. The batter should smell bright and citrusy at this point.
- Reduce the mixer speed to low. Add the 4 large eggs one at a time, beating after each addition just until blended. Do not overmix once the eggs go in. Overmixing incorporates too much air, which causes the cheesecake to puff up during baking and crack as it cools.
- Use a rubber spatula to gently fold the batter a few times and check that everything is evenly combined. The finished batter should be smooth, pourable, and pale yellow.
Step 4: Assemble and Bake Using a Water Bath
- Pour the cheesecake filling over the warm, pre-baked crust. Smooth the top with a rubber spatula or offset spatula to create an even, flat surface.
- Tap the pan gently on the counter two or three times to release any large air bubbles trapped in the batter.
- Place the foil-wrapped springform pan inside a large roasting pan. Set the roasting pan on the center oven rack.
- Carefully pour the hot boiled water into the roasting pan until it reaches about 1 inch (2.5 cm) up the sides of the springform pan. Do not get water on the cheesecake filling. The water bath creates gentle, humid heat that prevents the surface from drying out and cracking.
- Carefully slide the rack into the oven and bake at 325°F (165°C) for 65 to 75 minutes. The cheesecake is done when the edges are set and slightly puffed, and the center still has a gentle jiggle (about a 2-inch / 5 cm circle in the very middle). It will firm up as it cools.
Step 5: Cool Gradually to Prevent Cracking
- Turn off the oven. Leave the cheesecake inside the oven with the door cracked open about 1 inch (2.5 cm). Let it sit in the oven for 1 hour. This gradual cooling prevents the sudden temperature drop that causes cheesecakes to crack.
- After 1 hour, remove the cheesecake from the water bath. Peel away the aluminum foil from the outside of the pan. Run a thin knife or offset spatula gently around the edge of the cheesecake to loosen it from the pan walls, which also helps prevent cracking as it contracts.
- Transfer the cheesecake to a wire rack and allow it to cool completely at room temperature, about another 1 to 2 hours.
- Once fully cooled, cover the pan loosely with plastic wrap and refrigerate for at least 6 hours, but ideally overnight. The overnight chill is where the texture truly transforms into something dense and perfectly sliceable.
Step 6: Make the Whipped Cream and Garnish
- Just before serving, pour 1 cup (240ml) of cold heavy whipping cream into a chilled bowl. Beat with a hand mixer on medium-high speed for about 2 minutes until soft peaks form.
- Add 3 tablespoons of powdered sugar and ½ teaspoon of vanilla extract. Continue beating until stiff peaks form. Be careful not to overbeat, or the cream will turn grainy.
- Remove the cheesecake from the refrigerator. Carefully release the springform ring. Run a thin spatula under the crust if needed to transfer the cheesecake to a serving plate.
- Pipe or spoon the whipped cream over the top of the cheesecake. Garnish with extra lime zest and thin slices of key lime or regular lime. Serve immediately, or return to the refrigerator until ready to slice.
Another favorite from the same citrus family: Lemon Cheesecake
Tips for Success
Small details make the difference between a good cheesecake and a great one. Taking these extra steps will give you a crack-free, silky result that looks and tastes professional.
- Always use room-temperature cream cheese. Cold cream cheese will not beat smooth and leaves behind lumps that cannot be fixed. If you forgot to take it out ahead of time, cut it into small cubes and let it sit for 30 minutes.
- Do not skip the water bath. The moist, even heat of a water bath is the key to a smooth, jiggly center and a crack-free top. If water leakage is a concern, place the springform pan in a large oven-safe bag before wrapping it in foil.
- Do not overmix after adding eggs. Once the eggs go in, mix only until each one is just combined. Overmixing adds air, which leads to puffing and cracking.
- Use fresh key lime juice when possible. Freshly squeezed key lime juice has a floral, complex flavor that bottled juice approximates but does not fully match. If using bottled, choose a high-quality brand like Nellie & Joe’s.
- Let it chill overnight. A cheesecake that has chilled for only 4 to 6 hours is good. One that has chilled for 12 hours or more is exceptional. The texture becomes noticeably denser and more sliceable.
- Use a hot, clean knife for slicing. Run your knife under hot water, dry it, and make each cut in one smooth downward motion. Wipe the blade clean between slices for picture-perfect pieces.
Read Also: Strawberry Cheesecake Recipe
Serving Suggestions
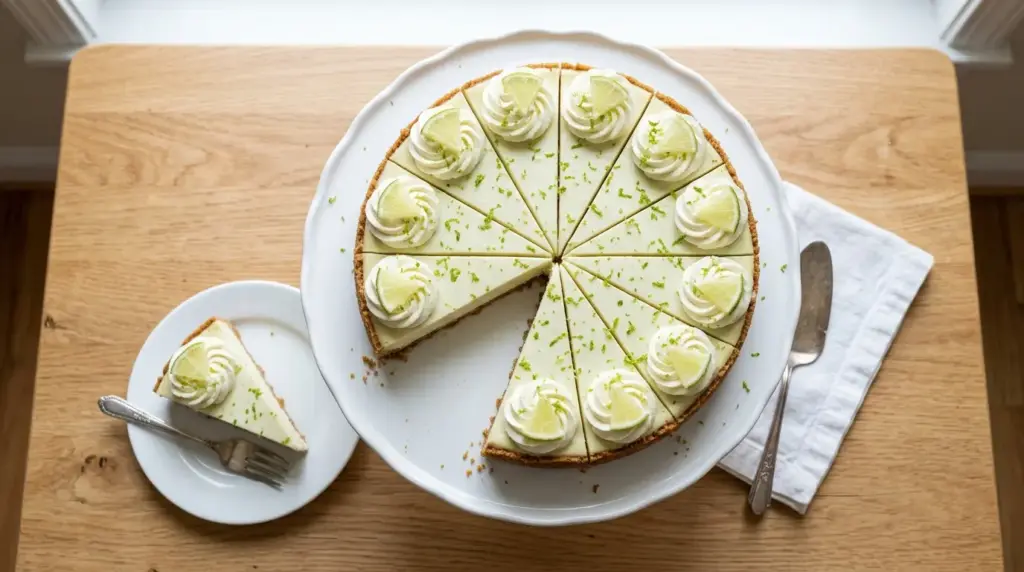
This cheesecake is rich and satisfying on its own, but a few thoughtful additions can make it even more memorable.
A dollop of fresh whipped cream is the classic pairing. It adds lightness and a neutral creaminess that balances the tang of the key lime filling. For a more polished presentation, pipe the whipped cream in decorative swirls around the perimeter of the cheesecake.
A drizzle of fruit tart glaze or a few fresh berries on top adds color and a fresh contrast that makes the dessert feel extra special.
- Fresh whipped cream piped around the edges for a classic, elegant look
- Thin slices of key lime or regular lime as a garnish
- A light sprinkle of lime zest for color and extra aroma
- Fresh raspberries or blueberries scattered on top for a pop of color
- A drizzle of raspberry or strawberry sauce alongside each slice
- Vanilla Bean Ice Cream served on the side for a truly indulgent dessert experience
Variations to Try
Once you have mastered the base recipe, it is easy to put your own spin on it. These variations use the same technique with different flavor accents or dietary adjustments.
- No-Bake Key Lime Cheesecake: Skip the eggs and water bath entirely. Beat the cream cheese with condensed milk, lime juice, and whipped cream, then pour into the crust and refrigerate for 6 to 8 hours until firm.
- Key Lime and Coconut Cheesecake: Add ½ cup of toasted shredded coconut to the graham cracker crust and ¼ cup of coconut cream to the filling for a tropical twist.
- Mini Key Lime Cheesecakes: Divide the filling into a lined muffin tin and bake for 20 to 25 minutes. They require no water bath and are perfect for individual servings at a party.
- Gluten-Free Key Lime Cheesecake: Replace the graham crackers with gluten-free graham crackers or almond flour mixed with butter and a touch of honey for the crust.
- White Chocolate Key Lime Cheesecake: Melt 4 oz (115g) of white chocolate and fold it into the cheesecake batter just before pouring. The white chocolate adds richness and rounds out the tartness beautifully.
- Key Lime and Mango Cheesecake: Swirl ¼ cup of mango puree into the top of the batter before baking for a fruity, tropical variation.
For another gorgeous citrus variation, check out the Blueberry Cheesecake.
Storage and Reheating
Key lime cheesecake stores exceptionally well and actually improves in flavor and texture after a day in the refrigerator.
- Refrigerator: Store the cheesecake covered with plastic wrap or in an airtight container in the refrigerator for up to 5 days. The crust may soften slightly by day 4 or 5, but the flavor will remain excellent.
- Freezer: Key lime cheesecake freezes beautifully. Wrap individual slices tightly in plastic wrap, then in aluminum foil, and freeze for up to 2 months. Thaw slices overnight in the refrigerator. Do not refreeze after thawing.
- Make-ahead tip: This cheesecake can be made up to 2 days in advance of serving. Store it without the whipped cream topping and add that just before serving for the best presentation.
- Serving from cold: Cheesecake tastes best when served slightly cooled but not ice-cold. Remove it from the refrigerator 15 to 20 minutes before slicing for the best texture and flavor.
- Do not reheat: Cheesecake is always served chilled. Reheating it will cause the texture to break down.
Read Also: Pumpkin Cheesecake Recipe
Nutritional Facts
Per serving, based on 12 slices. Values are approximate.
| Nutrient | Amount |
|---|---|
| Calories | 490 kcal |
| Total Fat | 35g |
| Saturated Fat | 20g |
| Cholesterol | 155mg |
| Sodium | 330mg |
| Total Carbohydrates | 38g |
| Dietary Fiber | 0.5g |
| Total Sugar | 30g |
| Protein | 8g |
| Calcium | 90mg |
| Vitamin C | 4mg |
Note: Nutritional values will vary depending on specific brands and any modifications made to the recipe.
Another citrus delight worth trying: Lemon Meringue Cheesecake
Health Benefits of Key Ingredients
While this is certainly an indulgent dessert, several of its core ingredients carry genuine nutritional benefits worth noting.
Key limes are small but powerful. They are an excellent source of vitamin C, a potent antioxidant that supports immune function and helps the body absorb iron from plant-based foods. One tablespoon of key lime juice provides a meaningful dose of this essential vitamin.
Cream cheese is a source of calcium and fat-soluble vitamins A and D. While it is calorie-dense, it also provides a small amount of protein per serving. Using full-fat cream cheese provides more satiety per slice, which means you are less likely to go back for seconds.
- Key limes: High in vitamin C, flavonoids (antioxidants), and citric acid, which supports digestion
- Eggs: An excellent complete protein source containing all essential amino acids, plus vitamins B12 and D
- Cream cheese: Provides calcium for bone health and fat-soluble vitamins A and K
- Sour cream: Contains probiotics when made with live cultures, supporting gut health
- Graham crackers: Provide a small amount of whole grain fiber and complex carbohydrates for energy
Read Also: Best Cheesecake Recipe
Frequently Asked Questions
1. Can I use regular limes instead of key limes?
Yes, regular Persian limes work perfectly as a substitute. They are less floral and slightly less tart than key limes, but the flavor difference is subtle once the cheesecake is baked and chilled. Use the same quantity of juice and zest as called for in the recipe. Alternatively, bottled key lime juice is widely available and produces excellent results.
2. Why did my cheesecake crack on top?
Cracks in cheesecake are usually caused by one of three things: overmixing after the eggs were added (which incorporates excess air), skipping the water bath (which allows the surface to dry out and shrink unevenly), or cooling the cheesecake too quickly. The good news is that a few cracks are purely cosmetic and the flavor is completely unaffected. Cover any cracks generously with whipped cream and no one will ever know.
3. How do I know when the cheesecake is fully baked?
The edges should look set and slightly puffed, while the center, roughly a 2-inch (5 cm) circle, should still have a gentle wobble when the pan is nudged. It should look underdone in the middle because it will continue to set as it cools. If the entire surface jiggles like liquid, it needs more time. If it looks firm throughout, it may have been slightly overbaked, though it will still taste delicious.
4. Can I make this cheesecake without a springform pan?
A springform pan is strongly recommended because the removable sides allow you to unmold the cheesecake cleanly. If you do not have one, you can use a deep 9-inch cake pan lined with a long strip of parchment paper that extends above the rim on two sides. This creates a sling that allows you to lift the cheesecake out carefully after chilling. However, the presentation will not be as clean as with a springform pan.
5. Can this cheesecake be made ahead of time?
Absolutely, and in fact it is strongly recommended. Key lime cheesecake needs at least 6 hours to set fully in the refrigerator, but chilling it overnight or for a full 24 hours produces a significantly better texture and more developed flavor. You can make it up to 2 days before serving. Hold off on adding the whipped cream topping until right before serving for the best visual impact.
Read Also: Mini Cheesecake Recipe
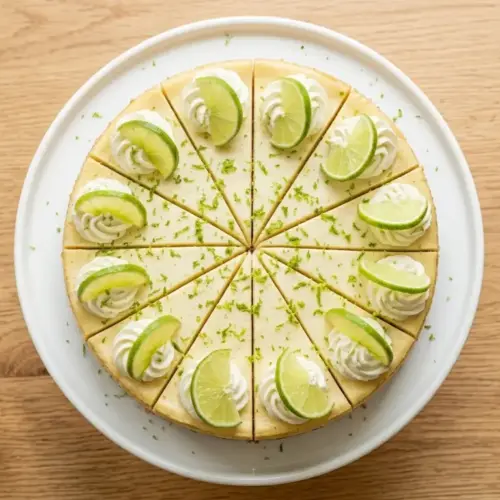
Key Lime Cheesecake

Equipment
- 9-inch springform pan - essential for releasing the cheesecake cleanly without damage
- Stand mixer or hand mixer - for beating the cream cheese smooth and lump-free
- Large roasting pan - for the water bath; must be large enough to hold the springform pan
- Citrus zester / microplane - for getting fine, fragrant lime zest without the bitter pith
- Citrus juicer - makes juicing small key limes much easier
- Large mixing bowl
- Rubber spatula
- Measuring cups and spoons
- Aluminum foil - heavy-duty, for wrapping the springform pan
- Cooling rack
- Kitchen scale - optional but recommended for precise measurements
Ingredients
- 1 ¾ cups graham cracker crumbs - 175g, about 14 full crackers
- ¼ cup granulated sugar - 50g
- ½ cup unsalted butter - 115g / 1 stick, melted
For the Key Lime Cheesecake Filling
- 32 oz full-fat cream cheese - 907g / 4 blocks, softened to room temperature
- 1 ¼ cups granulated sugar - 250g
- 4 large eggs - at room temperature
- ½ cup sour cream - 120ml, at room temperature
- ½ cup fresh key lime juice - 120ml, from about 15-20 key limes, or bottled key lime juice
- 1 tablespoon key lime zest - from about 6 key limes
- 1 teaspoon pure vanilla extract
For the Whipped Cream Topping
- 1 cup heavy whipping cream - 240ml, cold
- 3 tablespoons powdered sugar - 37g
- ½ teaspoon vanilla extract
- Extra lime zest - for garnish
- Lime slices - for garnish
Instructions
- Remove cream cheese, eggs, and sour cream from refrigerator 1-2 hours before starting. Preheat oven to 325°F (165°C) with rack in center. Grease 9-inch springform pan, wrap outside tightly in 2-3 layers of heavy-duty foil, and boil water for water bath.
- Crush graham crackers into fine crumbs. Mix crumbs with ¼ cup sugar, then stir in melted butter until mixture resembles wet sand. Press firmly into bottom and about 1 inch up sides of pan. Bake at 325°F for 8-10 minutes until toasty and set. Cool slightly.
- Beat softened cream cheese on medium-high for 2-3 minutes until smooth. Add sugar and beat 2 more minutes. Add sour cream, lime juice, lime zest, and vanilla; beat 1 minute. Add eggs one at a time on low speed, mixing just until blended. Fold gently with spatula.
- Pour filling over warm crust and smooth top. Tap pan on counter to release air bubbles. Place foil-wrapped pan in roasting pan on oven rack. Pour hot water into roasting pan until 1 inch up sides of springform pan. Bake at 325°F for 65-75 minutes until edges are set and center has gentle jiggle.
- Turn off oven, crack door open 1 inch, and leave cheesecake inside for 1 hour. Remove from water bath and peel off foil. Run thin knife around edge to loosen. Cool completely on wire rack for 1-2 hours. Cover and refrigerate at least 6 hours, preferably overnight.
- Just before serving, beat cold heavy cream until soft peaks form. Add powdered sugar and vanilla, beat until stiff peaks form. Release springform ring, transfer cheesecake to serving plate. Top with whipped cream, extra lime zest, and lime slices. Serve immediately.
Notes
- Always use room-temperature cream cheese. If you forgot to take it out ahead of time, cut it into small cubes and let it sit for 30 minutes.
- Do not skip the water bath. The moist, even heat is the key to a smooth, crack-free top. If water leakage is a concern, place the springform pan in a large oven-safe bag before wrapping in foil.
- Do not overmix after adding eggs. Mix only until each egg is just combined to prevent puffing and cracking.
- Use fresh key lime juice when possible for a floral, complex flavor. If using bottled, choose a high-quality brand like Nellie & Joe’s.
- Let it chill overnight for the best texture. A cheesecake that has chilled for 12 hours or more is exceptionally dense and sliceable.
- Use a hot, clean knife for slicing. Run your knife under hot water, dry it, and make each cut in one smooth downward motion. Wipe the blade clean between slices.
- Regular Persian limes work perfectly as a substitute. They are less floral and slightly less tart, but the flavor difference is subtle once baked and chilled.
- Store the cheesecake covered in the refrigerator for up to 5 days. Freeze individual slices wrapped tightly for up to 2 months.
- This cheesecake can be made up to 2 days in advance. Hold off on adding the whipped cream topping until right before serving.
- Cheesecake tastes best when served slightly cooled but not ice-cold. Remove from the refrigerator 15-20 minutes before slicing.
Final Thoughts
Key lime cheesecake is one of those desserts that earns compliments every single time it appears on a table.
The combination of a crisp, buttery crust, a silky cream cheese filling packed with bright citrus flavor, and a cloud of freshly whipped cream is simply hard to beat.
Once you try this baked version, you will understand why it has such devoted fans. The water bath might seem like an extra step, but the payoff is a texture so smooth and creamy it practically melts on your tongue.
Give this recipe a try the next time you want to make something that feels genuinely special. If you make it, leave a comment below and share how it turned out. Your photos and tips are always welcome!
Recommended:
- Philadelphia Cheesecake
- Oreo Cheesecake Recipe
- Churro Cheesecake Recipe
- Cheesecake Ice Cream Cake Recipe
- Gluten Free Cheesecake Recipe
- Sugar Free Cheesecake Recipe
- Key Lime Pie Recipe
- Lemon Curd Recipe
- Cream Cheese Frosting Recipe
- Basque Cheesecake Recipe



