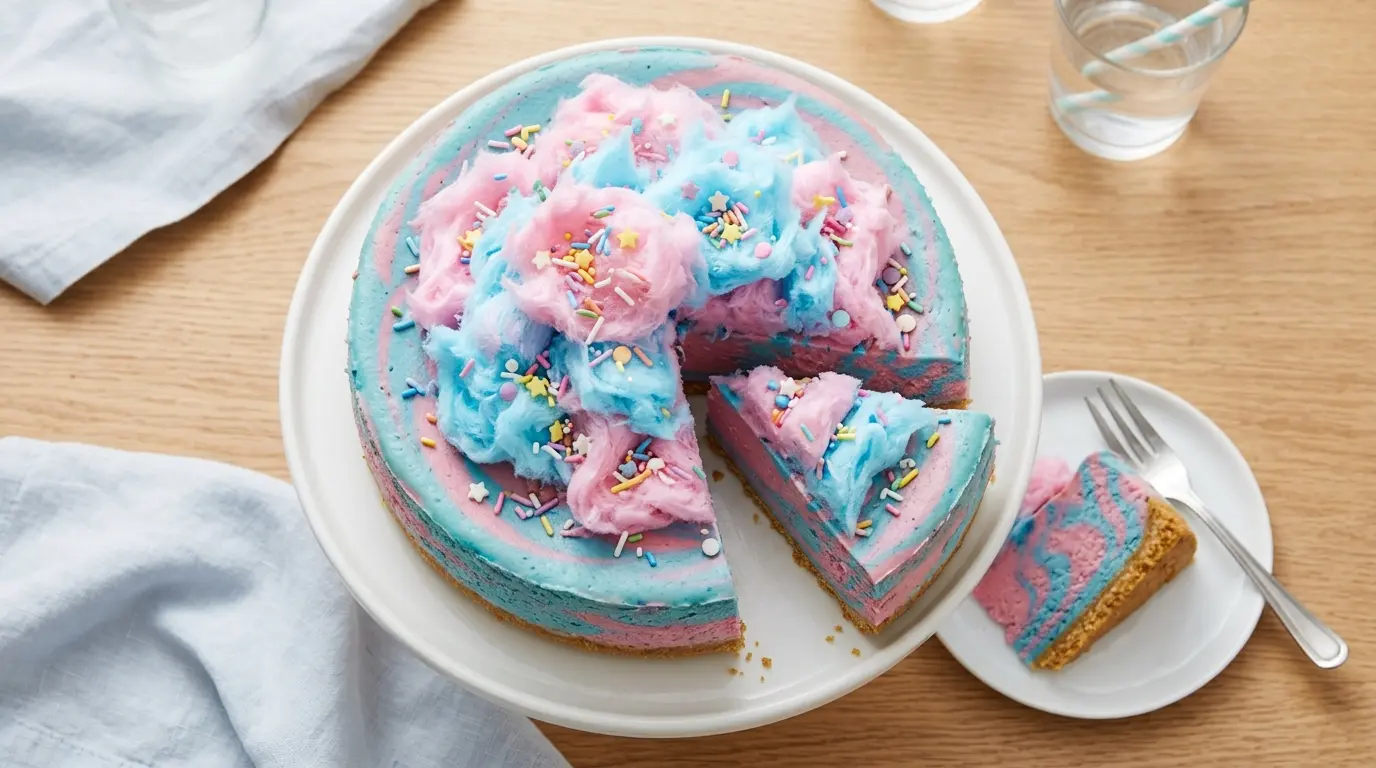
If you’ve ever dreamed of turning a carnival favorite into a show-stopping dessert, this cotton candy cheesecake recipe is exactly what you need.
It captures that nostalgic, sweet spun-sugar flavor inside a rich, creamy baked cheesecake, all sitting on top of a buttery graham cracker crust. The result is as magical to eat as it looks, with pastel swirls, dreamy texture, and a flavor that makes everyone at the table stop and ask, “Wait, is that actually cotton candy?”
This isn’t a one-note dessert. The cotton candy extract gives the filling a subtle, sweet floral quality that pairs perfectly with the tanginess of cream cheese and sour cream.
It’s whimsical enough for a birthday party, a baby shower, or a fun weekend bake, yet impressive enough to serve at any gathering where you want to wow a crowd.
You might also love the Peppermint Cheesecake Recipe if you enjoy fun, festive flavors in a classic cheesecake format.
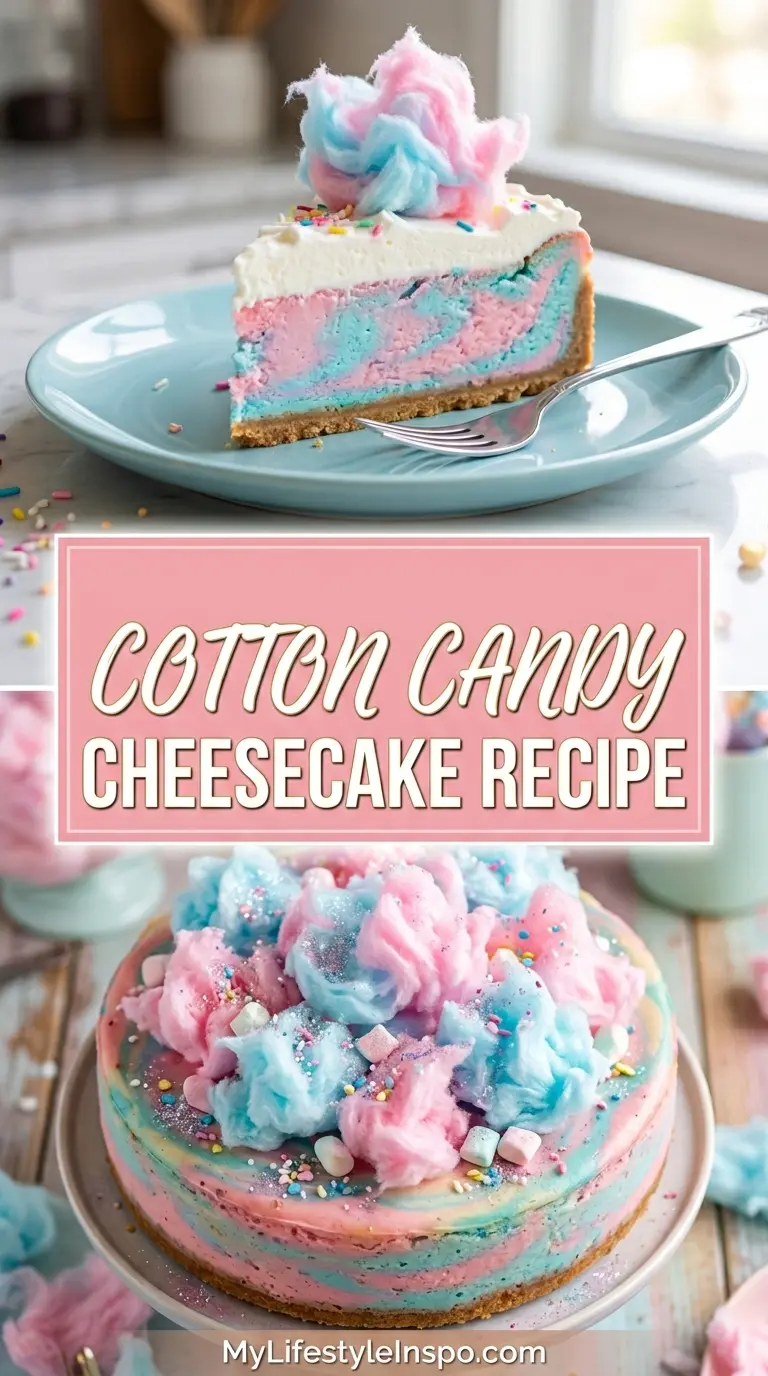
Why You’ll Love This Cotton Candy Cheesecake Recipe
This cheesecake checks every box for a memorable dessert.
It’s visually stunning, with its pastel pink and blue swirled filling and a generous cloud of cotton candy piled on top just before serving.
The texture is incredibly smooth and creamy. Using room-temperature cream cheese and adding a bit of sour cream ensures a silky, lump-free filling every time.
The cotton candy flavor comes through without being overpowering. It’s sweet and nostalgic, but still balanced by the classic tang of a traditional cheesecake.
It’s a baked cheesecake, which means you get that dense, velvety, New York-style texture that holds its shape beautifully when sliced.
You don’t need any fancy skills or equipment. If you can beat cream cheese and bake in a water bath, you can absolutely nail this recipe.
- Perfect for birthdays, parties, and special celebrations
- Crowd-pleasing for both kids and adults
- Makes a stunning centerpiece dessert
- Can be made a day ahead, which actually improves the texture
- Customizable with different colors and candy flavors
- Uses simple, easy-to-find ingredients
Read Also: Creme Brulee Cheesecake Recipe
Ingredients
For this cotton candy cheesecake, you’ll need a handful of straightforward ingredients. The key player is the cotton candy flavoring extract, which is widely available online and in specialty baking shops. A small amount goes a long way. Using gel food coloring instead of liquid gives you bolder pastel shades without thinning the batter.
For the Graham Cracker Crust:
- 2 cups (200g) graham cracker crumbs
- 3 tablespoons (37g) granulated sugar
- 6 tablespoons (85g) unsalted butter, melted
For the Cheesecake Filling:
- 32 oz (900g) full-fat block cream cheese, softened to room temperature
- 1 cup (200g) granulated sugar
- 1/4 cup (60g) sour cream, room temperature
- 2 tablespoons (16g) all-purpose flour
- 4 large eggs, room temperature
- 1 teaspoon vanilla extract
- 1.5 teaspoons cotton candy flavoring extract
- Pink gel food coloring
- Blue gel food coloring
For the Topping:
- 1 cup (240ml) heavy whipping cream
- 2 tablespoons (15g) powdered sugar
- Cotton candy (spun sugar), for garnish just before serving
- Pastel sprinkles (optional)
Another fan favorite in the same flavor family: Strawberry Cheesecake Recipe
Kitchen Equipment Needed
Having the right tools makes this recipe much easier to execute. The most important piece is a 9-inch springform pan, which is the standard for cheesecakes and allows you to release the sides cleanly without disturbing the delicate filling. A stand mixer or hand mixer is also essential for getting the filling properly smooth.
- 9-inch springform pan
- Stand mixer or electric hand mixer
- Large mixing bowls
- Rubber spatula
- Measuring cups and spoons
- Large roasting pan (for the water bath)
- Aluminum foil (heavy-duty, for wrapping the pan)
- Offset spatula or butter knife (for swirling the colors)
- Whisk
- Cooling rack
- Plastic wrap
Read Also: Oreo Cheesecake Recipe
Recommended Products for This Recipe
These are products recommended based on quality and performance, chosen specifically to make this cotton candy cheesecake easier and even more delicious.
1. Cotton Candy Flavoring Extract
A high-quality cotton candy extract is the backbone of this recipe. A good extract delivers that authentic spun-sugar flavor without any artificial aftertaste, and a small bottle goes a long way since you only need about 1.5 teaspoons per cheesecake.
2. 9-Inch Springform Pan with Leak-Proof Base
A quality springform pan with a reinforced, leak-proof base is critical for baking in a water bath. Cheaper pans can let water seep in and ruin the crust. A solid pan with a tight-locking mechanism will protect your cheesecake from start to finish.
3. Gel Food Coloring Set (Pastel)
Gel food coloring gives you vibrant, true pastel pinks and blues without thinning the batter the way liquid food dye can. A good gel set also gives you much more control over the intensity of the color in each portion of batter.
4. Heavy-Duty Aluminum Foil
When baking in a water bath, standard foil can tear and let steam and water leak into your pan. Heavy-duty, wide aluminum foil wraps the springform pan more securely, keeping the crust dry and perfectly crisp.
5. Offset Spatula Set
An offset spatula is incredibly useful for smoothing the top of the cheesecake batter and for creating clean, beautiful swirls between the pink and blue layers. It gives you precision that a regular spoon or rubber spatula simply can’t.
For another beautifully layered cheesecake idea, check out the Blueberry Cheesecake Recipe.
Step-by-Step Instructions
1. Prepare Your Pan and Preheat the Oven
- Preheat your oven to 325°F (163°C). Allow at least 20 minutes for it to fully come to temperature before placing the cheesecake inside.
- Grease the inside of your 9-inch springform pan lightly with cooking spray or softened butter, including up the sides.
- Tear off two large sheets of heavy-duty aluminum foil and wrap them tightly around the outside bottom and sides of the springform pan. This creates a watertight seal that prevents the water bath from seeping in during baking. Press the foil firmly up around the edges with no gaps.
- Set the wrapped pan aside and place a large roasting pan on your counter, ready for the water bath step later.
2. Make the Graham Cracker Crust
- Pour 2 cups (200g) of graham cracker crumbs into a medium bowl. If you’re starting with whole crackers, pulse them in a food processor until you have fine, even crumbs, similar in texture to coarse sand.
- Add 3 tablespoons (37g) of granulated sugar to the crumbs and stir to combine.
- Pour in 6 tablespoons (85g) of melted unsalted butter and stir everything together until the mixture looks like wet sand and holds together when you press a small amount between your fingers.
- Transfer the crumb mixture to your prepared springform pan.
- Using the flat bottom of a measuring cup or a straight-sided glass, press the crumbs firmly and evenly across the base of the pan. Work from the center outward, pressing hard to compact the crust. You want a solid, even layer about 1/4 inch (6mm) thick.
- Place the crust in the preheated oven and bake for 10 minutes, until just lightly golden and set. This pre-baking step prevents a soggy bottom.
- Remove from the oven and allow the crust to cool completely at room temperature before adding the filling. About 20-30 minutes is sufficient.
3. Make the Cheesecake Filling
- Add all 32 oz (900g) of room-temperature, full-fat block cream cheese to the bowl of your stand mixer fitted with the paddle attachment, or into a large bowl if using a hand mixer.
- Beat the cream cheese on medium speed for about 2-3 minutes, scraping down the sides of the bowl frequently, until it is completely smooth and free of lumps. Starting with truly softened cream cheese is the most important step for a lump-free filling.
- Add 1 cup (200g) of granulated sugar and beat on medium speed for another 2 minutes until fully combined and fluffy. Scrape down the bowl again.
- Add 1/4 cup (60g) of room-temperature sour cream and 2 tablespoons (16g) of all-purpose flour. The flour acts as a stabilizer that helps the cheesecake set firmly without cracking. Mix on low speed just until incorporated.
- Add the 4 room-temperature eggs one at a time, mixing on low speed after each addition just until the yolk disappears into the batter. Overmixing after adding the eggs incorporates too much air, which causes cracks. Be patient and keep the speed low.
- Add 1 teaspoon of vanilla extract and 1.5 teaspoons of cotton candy flavoring extract. Mix on low until just combined.
- Stop the mixer and scrape down the bowl one final time to make sure everything is evenly mixed.
4. Color and Layer the Batter
- Divide the cheesecake batter evenly into three separate bowls, approximately one-third of the batter in each.
- To the first bowl, add a small amount of pink gel food coloring. Start with just a toothpick’s worth and fold it in gently. Add more until you reach a soft, pastel pink shade. Gel coloring is very concentrated, so add slowly.
- To the second bowl, add a small amount of blue gel food coloring in the same manner, folding gently until you reach a soft pastel blue.
- Leave the third bowl as plain white batter.
- Spoon large dollops of each color of batter over the cooled crust in the pan, alternating the three colors randomly. Don’t worry about being precise. The goal is a natural-looking mosaic of pink, white, and blue pools of batter.
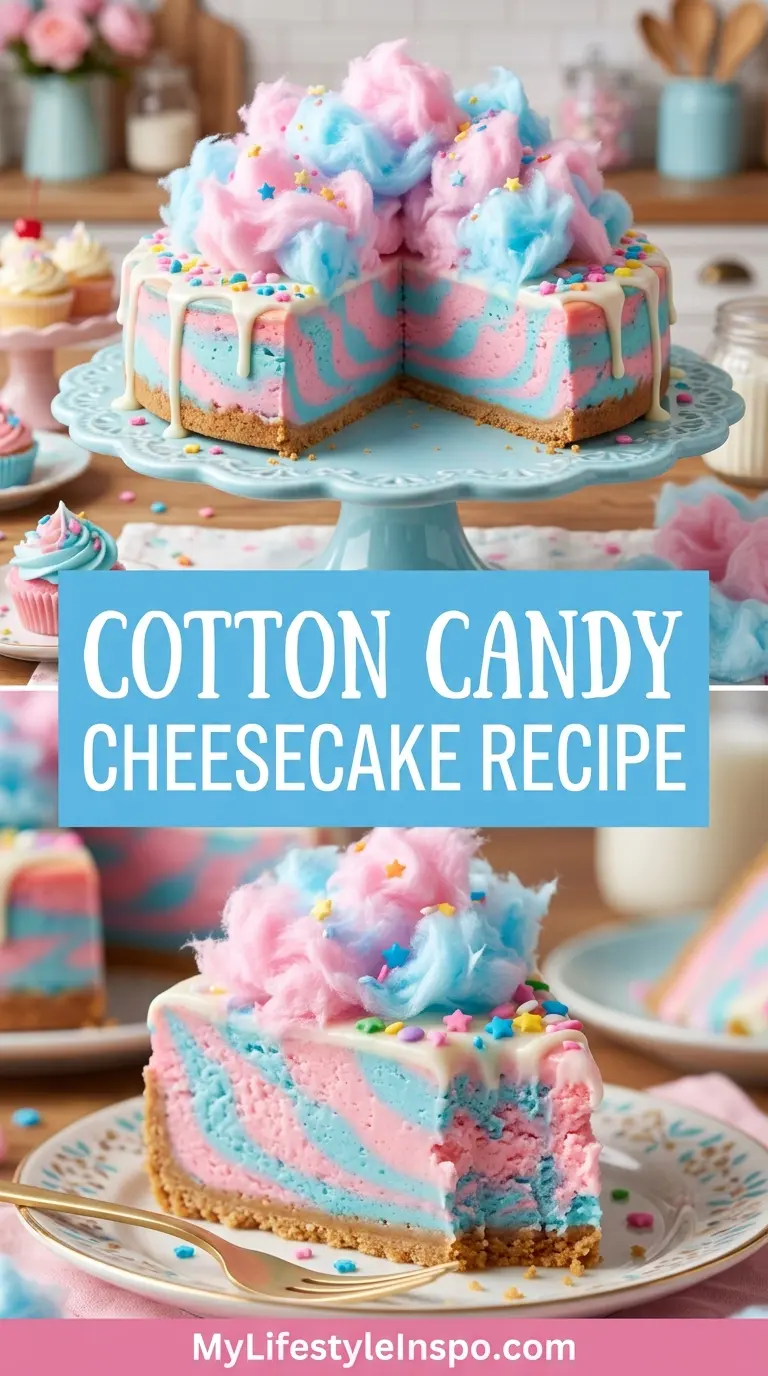
- Once all the batter is in the pan, take an offset spatula or a butter knife and draw a few gentle figure-eight or S-shaped swirls through the top to marble the colors together slightly. Do not over-swirl or the colors will muddy into each other. Three to five gentle passes is plenty.
- Use the offset spatula to smooth the very top of the batter into an even, level layer.
5. Bake in a Water Bath
- Boil a kettle or a large pot of water.
- Place the foil-wrapped springform pan inside your large roasting pan.
- Carefully pour the boiling water into the roasting pan around the outside of the springform pan until it reaches about 1 inch (2.5cm) up the sides of the springform pan. Do not let any water splash into the cheesecake.
- Carefully transfer the entire roasting pan to the preheated 325°F (163°C) oven. Use oven mitts and move slowly to avoid sloshing the water.
- Bake for 65-75 minutes. The cheesecake is done when the outer 2 inches (5cm) are completely set but the very center still has a gentle, wobbly jiggle when you carefully nudge the pan. It should look similar to barely-set Jell-O in the middle. This jiggle is normal and correct. The residual heat will finish cooking the center during cooling.
- Turn off the oven, prop the oven door open about 1-2 inches (using a wooden spoon), and allow the cheesecake to cool inside the oven for 1 full hour. This gradual cooling is critical to prevent the top from cracking.
6. Cool and Refrigerate
- After the oven-cooling hour, remove the cheesecake from the water bath and carefully peel away the aluminum foil.
- Set the cheesecake on a wire cooling rack and allow it to come to room temperature completely. This will take at least 1-2 hours. Do not rush this step by placing a warm cheesecake directly into the refrigerator, as the rapid temperature change can cause cracking.
- Once fully cooled to room temperature, cover the top of the springform pan loosely with plastic wrap and refrigerate for a minimum of 4 hours, but overnight (8-12 hours) is strongly recommended for the best texture and flavor.
7. Make the Whipped Cream Topping
- Pour 1 cup (240ml) of cold heavy whipping cream into a clean, chilled mixing bowl.
- Beat on medium-high speed until the cream begins to thicken, about 1-2 minutes.
- Add 2 tablespoons (15g) of powdered sugar and continue beating until stiff peaks form. The cream should hold its shape firmly when you lift the beaters.
- Transfer the whipped cream to a piping bag fitted with a star tip, or simply dollop it onto the cheesecake using a spoon for a more casual look.
8. Garnish and Serve
- Once the cheesecake has fully chilled, run a thin knife carefully around the inside edge of the springform pan to release the cheesecake, then unclasp and remove the outer ring.
- Pipe or spoon the whipped cream over the top of the cheesecake, either around the edge or across the whole surface.
- Add a generous handful of cotton candy piled in the center or across the top of the cheesecake just before serving. Cotton candy dissolves quickly when it contacts moisture, so always add it at the last moment. Do not add it in advance.
- Scatter a pinch of pastel sprinkles over the top if desired.
- Slice with a sharp knife dipped in warm water, wiping the blade clean between each cut for perfect, neat slices.
You might also enjoy the Lemon Cheesecake Recipe for another beautifully flavored baked cheesecake to add to your rotation.
Tips for Success
Getting a cheesecake right the first time comes down to a few key habits. The water bath, room-temperature ingredients, and slow cooling are the three pillars of a crack-free, creamy result. Don’t skip any of them.
- Use full-fat block cream cheese. Spreadable cream cheese in a tub has added water content and will not set properly.
- All ingredients must be at room temperature. Cold eggs or cream cheese cause lumps and uneven texture. Take everything out of the fridge 2 hours before you begin.
- Do not overmix after adding the eggs. Mix on low and stop as soon as each egg is incorporated to avoid excess air and cracking.
- Double wrap the pan in foil. Two layers of heavy-duty foil significantly reduces the risk of water seeping in.
- Start with a small amount of food coloring. Gel coloring is very concentrated. Add gradually and fold gently to avoid overworking the batter.
- Add cotton candy only right before serving. It will dissolve and deflate within minutes on a refrigerated cheesecake.
- Use a warm knife for slicing. Dip a sharp chef’s knife in hot water and wipe it dry before each cut for picture-perfect, clean slices.
- Do not skip the overnight chill. The flavor and texture improve dramatically after a full night in the refrigerator.
For another no-fail baked cheesecake to practice on, try the Philadelphia Cheesecake Recipe.
Serving Suggestions
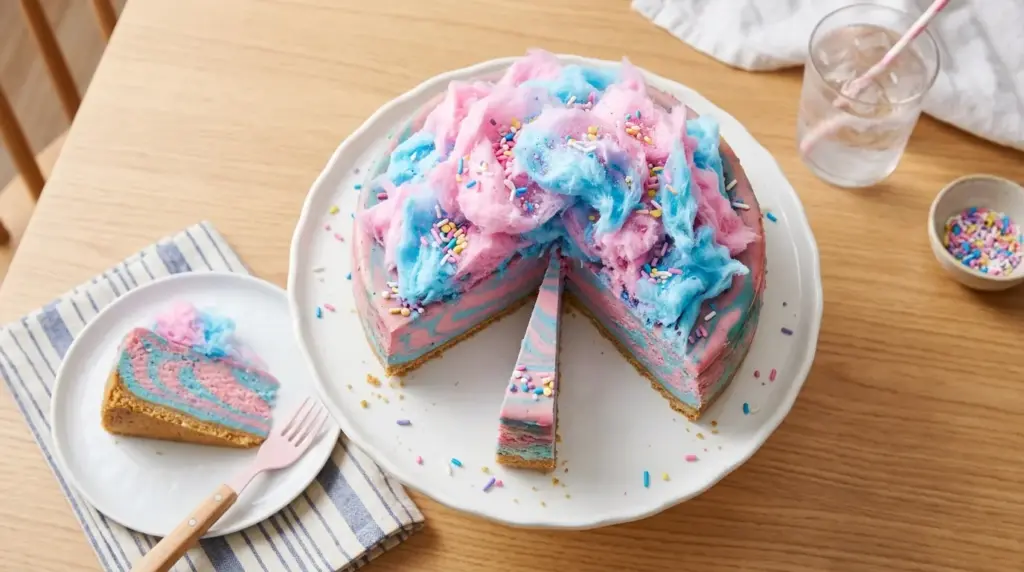
This cotton candy cheesecake is already a dessert table star all on its own, but a few thoughtful accompaniments can make it even more of an experience.
Serve it alongside a light Fruit Salad, which provides a refreshing, tart contrast to the sweetness of the cheesecake. A bowl of sliced strawberries or raspberries on the side adds a pop of brightness.
For parties, set up a cotton candy garnish station where guests can add their own cloud of spun sugar right before eating. It adds an interactive, fun element that kids absolutely love.
- Pair with sparkling lemonade or a fruity punch for a kids’ party
- Serve with a scoop of vanilla ice cream alongside each slice at adult gatherings
- Add fresh strawberry slices as a colorful garnish alongside the cotton candy
- Set out a jar of Caramel Sauce for drizzling over individual slices
- Top with extra pastel sprinkles for birthdays or themed events
- Serve chilled straight from the refrigerator for the cleanest, firmest slices
Variations to Try
Once you’ve mastered the base recipe, there are so many fun directions you can take this cheesecake. The core technique stays the same, and the changes are mostly cosmetic or flavor-based.
- No-Bake Version: Skip the eggs and water bath. Replace eggs with 1 cup of whipped heavy cream folded into the cream cheese mixture, and set in the refrigerator for a minimum of 6 hours. The texture will be lighter and mousse-like.
- Mini Cheesecakes: Divide the batter into a lined standard muffin tin. Bake at 325°F (163°C) for about 20-22 minutes. Perfect for parties and portion control.
- Unicorn Cheesecake Variation: Add a third color, purple, alongside the pink and blue for a full rainbow swirl effect with pastel sprinkles on top.
- Cotton Candy Cheesecake Bars: Press the crust into a lined 9×13 inch baking pan and pour the filling over. Bake at 325°F for 50-55 minutes and cut into bars after chilling.
- No-Color Version: Skip the gel coloring entirely for a pristine white cheesecake with pure cotton candy flavor. Simple and elegant.
- Strawberry Cotton Candy Swirl: Swirl 3 tablespoons of strawberry jam gently through the pink portion of the batter before baking for a fruity layered effect.
Read Also: No Bake Cheesecake Recipe
Storage and Reheating
This cheesecake stores beautifully and is one of those desserts that actually tastes better the next day after the flavors have had more time to develop and meld together in the refrigerator.
- Refrigerator: Store the cheesecake (without the cotton candy garnish) covered tightly with plastic wrap or in an airtight container for up to 5 days. Add the cotton candy fresh each time you serve it.
- Freezer: Cheesecake freezes very well. Slice into individual portions, wrap each slice tightly in plastic wrap, then in aluminum foil, and freeze for up to 2 months. Thaw overnight in the refrigerator before serving.
- Do not refreeze: Once a frozen slice has been thawed, do not refreeze it. The texture will become grainy and watery.
- Do not store with cotton candy garnish: The cotton candy will dissolve into a sticky sugar syrup on the surface. Always add it fresh right before eating.
- Reheating is not needed. Cheesecake is best served cold or at room temperature. Simply remove from the refrigerator about 20 minutes before serving for the creamiest texture.
For another make-ahead cheesecake perfect for parties, take a look at the Salted Caramel Cheesecake Recipe.
Nutritional Facts
The following nutritional information is an estimate per slice, based on the recipe divided into 12 servings. Actual values may vary depending on specific brands and measurements used.
| Nutrient | Per Slice (1/12 of cake) |
|---|---|
| Calories | ~480 kcal |
| Total Fat | 34g |
| Saturated Fat | 19g |
| Cholesterol | 150mg |
| Sodium | 310mg |
| Total Carbohydrates | 37g |
| Sugars | 28g |
| Protein | 8g |
These values are approximate and are intended for general informational purposes only. If you have specific dietary needs, consult a registered dietitian for precise guidance.
Another cheesecake option with a lighter nutritional profile: Low Calorie Cheesecake Recipe
Health Benefits of Key Ingredients
While this is certainly an indulgent treat, a few of its core ingredients do bring genuine nutritional value to the table.
Enjoy this dessert in moderation as part of a balanced diet, and appreciate that not everything on the plate needs to be a superfood to be worthwhile.
Cream Cheese (from dairy): Cream cheese provides calcium, which supports bone density and muscle function. Full-fat dairy also contributes fat-soluble vitamins A and D, which are important for immune health and vision.
Eggs: Eggs are one of the most nutrient-dense foods available, providing high-quality complete protein, B vitamins including B12 and choline, and healthy fats that support brain function.
Sour Cream: Sour cream contains beneficial fats and provides small amounts of calcium, phosphorus, and potassium, contributing to overall mineral intake.
- Eggs supply all nine essential amino acids, making them a complete protein source
- Cream cheese provides calcium, supporting strong bones and teeth
- Dairy-based fats aid in the absorption of fat-soluble vitamins A, D, E, and K
- Sour cream contributes probiotics in live-culture versions, supporting gut health
- Vanilla extract contains trace antioxidants from vanillin compounds
- Butter provides conjugated linoleic acid (CLA), which some research links to metabolic support
Read Also: Protein Cheesecake Recipe
Frequently Asked Questions
1. Can I make this cotton candy cheesecake without a water bath?
You can, but the results won’t be as reliable. The water bath creates gentle, even heat and steam that prevents the top of the cheesecake from drying out and cracking. Without it, cracks are much more likely. If you skip the water bath, reduce the oven temperature to 300°F (150°C) and place a separate pan of hot water on the rack below the cheesecake to add some moisture to the oven environment.
2. Where can I buy cotton candy flavoring extract?
Cotton candy extract is available from specialty baking suppliers, craft stores with a baking section, and online through Amazon or similar retailers. Look for brands specifically designed for baking rather than flavored oils meant for candy-making, as they blend more smoothly into cream cheese batter.
3. Why did my cheesecake crack on top?
Cracking usually happens for one of three reasons. The batter was overmixed after adding the eggs, introducing too much air. The oven temperature was too high, causing the cheesecake to expand and then deflate rapidly. Or the cheesecake was cooled too quickly, contracting faster than it could settle. Following the gradual oven-door cooling method described in the steps above addresses all of these issues.
4. Can I use a no-bake approach for this recipe?
Yes, and it works beautifully. Replace the eggs with 1 cup (240ml) of heavy whipping cream beaten to stiff peaks and gently folded into the cream cheese mixture. Skip the water bath and oven entirely. Pour into a prepared crust in a springform pan and refrigerate for at least 6 hours, or overnight. The flavor will be just as fun, with a lighter, mousse-like texture.
5. Can I make this cheesecake ahead of time for a party?
Absolutely, and it’s actually recommended. This cheesecake is best when made 24 hours before serving, as the flavor and texture improve significantly after a full overnight chill. Make the cheesecake up to 2 days in advance, store it covered in the refrigerator, and add the whipped cream and cotton candy garnish only right before you’re ready to serve.
For more party-perfect dessert inspiration, try the Mini Cheesecake Recipe for individual portions that are ideal for events.
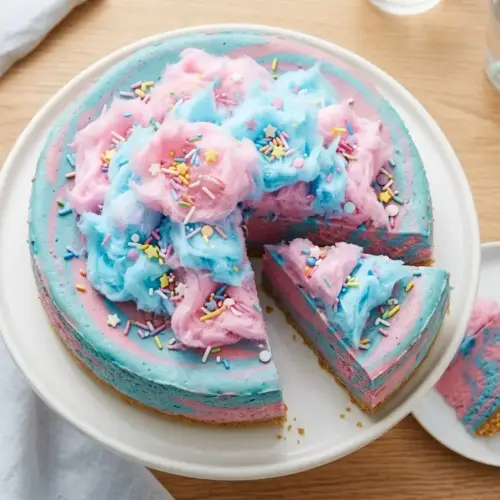
Cotton Candy Cheesecake

Equipment
- 9-inch springform pan - with leak-proof base
- Stand mixer or electric hand mixer
- Large mixing bowls
- Rubber spatula
- Measuring cups and spoons
- Large roasting pan - for water bath
- Heavy-duty aluminum foil
- Offset spatula or butter knife - for swirling
- Whisk
- Cooling rack
- Plastic wrap
- Piping bag with star tip - (optional)
- Food processor - (optional, for graham crackers)
Ingredients
- 2 cups graham cracker crumbs - 200g
- 3 tablespoons granulated sugar - 37g
- 6 tablespoons unsalted butter - 85g, melted
For the Cheesecake Filling
- 32 oz full-fat block cream cheese - 900g, softened to room temperature
- 1 cup granulated sugar - 200g
- 1/4 cup sour cream - 60g, room temperature
- 2 tablespoons all-purpose flour - 16g
- 4 large eggs - room temperature
- 1 teaspoon vanilla extract
- 1.5 teaspoons cotton candy flavoring extract
- pink gel food coloring - small amount
- blue gel food coloring - small amount
For the Topping
- 1 cup heavy whipping cream - 240ml, cold
- 2 tablespoons powdered sugar - 15g
- cotton candy - spun sugar, for garnish just before serving
- pastel sprinkles - (optional)
Instructions
- Preheat oven to 325°F (163°C). Grease a 9-inch springform pan and wrap the outside tightly with heavy-duty foil to create a watertight seal.
- Combine graham cracker crumbs and sugar in a bowl. Add melted butter and stir until mixture resembles wet sand. Press firmly into the bottom of the prepared pan and bake for 10 minutes. Cool completely.
- Beat softened cream cheese on medium speed until smooth. Add sugar and beat for 2 minutes. Mix in sour cream and flour. Add eggs one at a time, mixing on low just until incorporated.
- Add vanilla and cotton candy extract, mixing until just combined. Divide batter into three bowls and color two with pink and blue gel food coloring to your desired pastel shades.
- Alternate spoonfuls of pink, white, and blue batter over the cooled crust. Gently swirl with an offset spatula to create a marbled effect. Smooth the top.
- Place the springform pan in a large roasting pan. Carefully pour boiling water into the roasting pan until it reaches 1 inch up the sides of the springform pan. Bake for 65-75 minutes.
- Turn off the oven, prop the door open, and allow the cheesecake to cool in the oven for 1 hour. Remove, cool completely to room temperature, then refrigerate for at least 4 hours or overnight.
- Beat cold heavy cream with powdered sugar until stiff peaks form. Pipe or dollop onto the chilled cheesecake.
- Release the springform pan and garnish with fresh cotton candy and pastel sprinkles just before serving. Slice with a warm, clean knife for perfect slices.
Notes
- Use full-fat block cream cheese, not the spreadable tub variety, for the proper set and texture.
- All ingredients for the cheesecake filling must be at room temperature—take them out of the fridge 2 hours before beginning.
- Do not overmix the batter after adding the eggs; mix on low just until each yolk disappears to prevent cracking.
- Double-wrap the springform pan with heavy-duty foil to prevent water from seeping in during the water bath.
- Add gel food coloring gradually—a little goes a long way and overmixing can deflate the batter.
- The cheesecake is perfectly done when the outer 2 inches are set but the center still has a gentle wobble—residual heat will finish cooking it.
- Cool the cheesecake gradually in the oven with the door propped open to prevent cracking from temperature shock.
- Add cotton candy garnish only at the very last moment before serving as it dissolves quickly when exposed to moisture.
- For clean slices, run a thin knife around the pan edge, then dip a sharp knife in hot water and wipe it dry between each cut.
- Store the cheesecake without cotton candy garnish in the refrigerator for up to 5 days, or freeze individual slices for up to 2 months.
- For a no-bake version, replace the eggs with 1 cup of whipped heavy cream folded into the filling and chill for 6+ hours.
- Make this cheesecake up to 2 days ahead and add fresh cotton candy and whipped cream right before serving for the best presentation.
Final Thoughts
This cotton candy cheesecake recipe is one of those rare desserts that manages to be both visually stunning and genuinely delicious.
It brings together the creamy, tangy richness of a classic baked cheesecake with a flavor that instantly transports you back to warm summer fairs and carnival midways.
The swirled pastels, the cloud of cotton candy on top, and that unmistakable sweet aroma when you slice into it, it’s a genuinely joyful dessert to make and to share.
Give it a try the next time you want to make something that will have everyone reaching for their phones to photograph before they take a bite.
Drop a comment below and let me know how yours turned out, what colors you used, and whether your crowd could guess the secret flavor before you told them!
Recommended:
- Pumpkin Cheesecake Recipe
- Turtle Cheesecake Recipe
- Key Lime Cheesecake Recipe
- Biscoff Cheesecake Recipe
- Raspberry Cheesecake Recipe
- Red Velvet Cheesecake Recipe
- Chocolate Cheesecake Recipe
- New York Cheesecake Recipe
- Churro Cheesecake Recipe
- Cheesecake Ice Cream Cake Recipe



