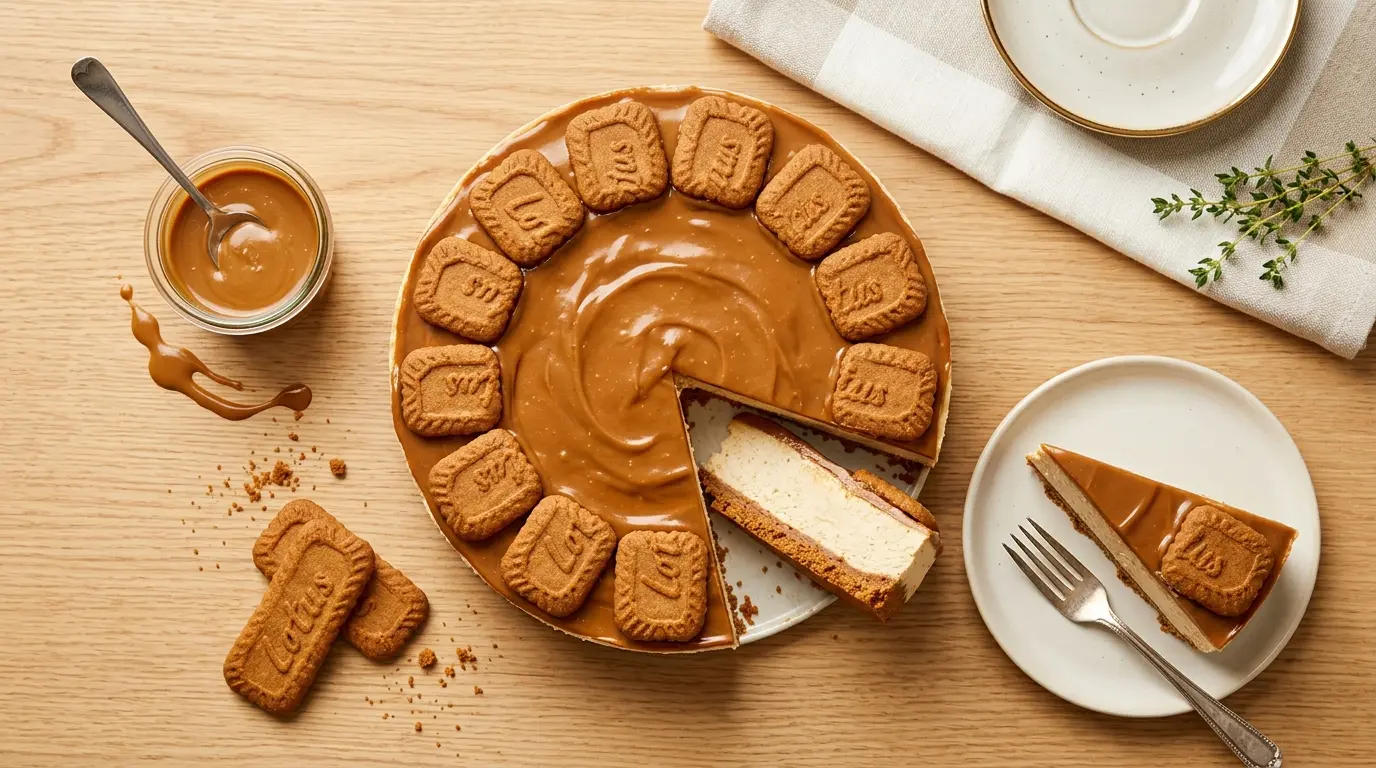
This Biscoff cheesecake recipe is everything a dessert should be: rich, silky, and packed with that unmistakable caramelized, spiced cookie butter flavor that fans of Lotus Biscoff go absolutely wild for.
If you’ve never made a no-bake cheesecake before, this is the perfect place to start. No oven, no water bath, no complicated techniques.
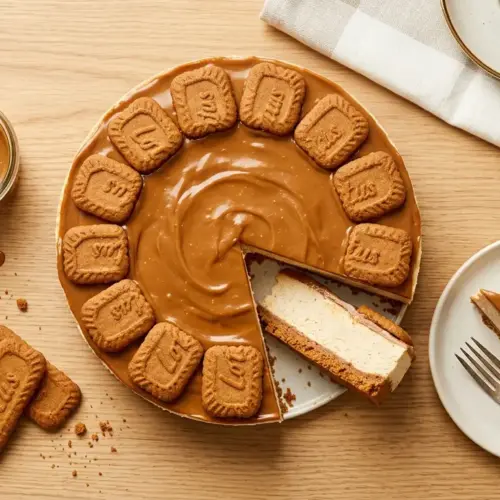
All you need is a handful of ingredients, a springform pan, and a few hours of patience while it chills in the fridge. The result is a stunningly creamy cheesecake with a buttery Biscoff cookie crust, a luscious cream cheese filling swirled with Biscoff spread, and a glossy cookie butter topping that makes every slice look (and taste) like it came from a professional bakery.
Biscoff, sold under the Lotus brand in many countries, is a Belgian speculoos cookie with a warm, caramelized cinnamon flavor. The spread version is essentially ground-up cookies blended into a smooth, creamy butter, similar in texture to peanut butter but with a uniquely rich, spiced sweetness. That flavor infuses every layer of this cheesecake, making it one of the most addictive desserts you’ll ever make.
This recipe is also make-ahead friendly, which makes it perfect for birthdays, dinner parties, or any occasion where you want to impress without the stress of last-minute baking.
For more no-bake inspiration, check out this No Bake Cheesecake Recipe that walks you through the foundational technique in detail.
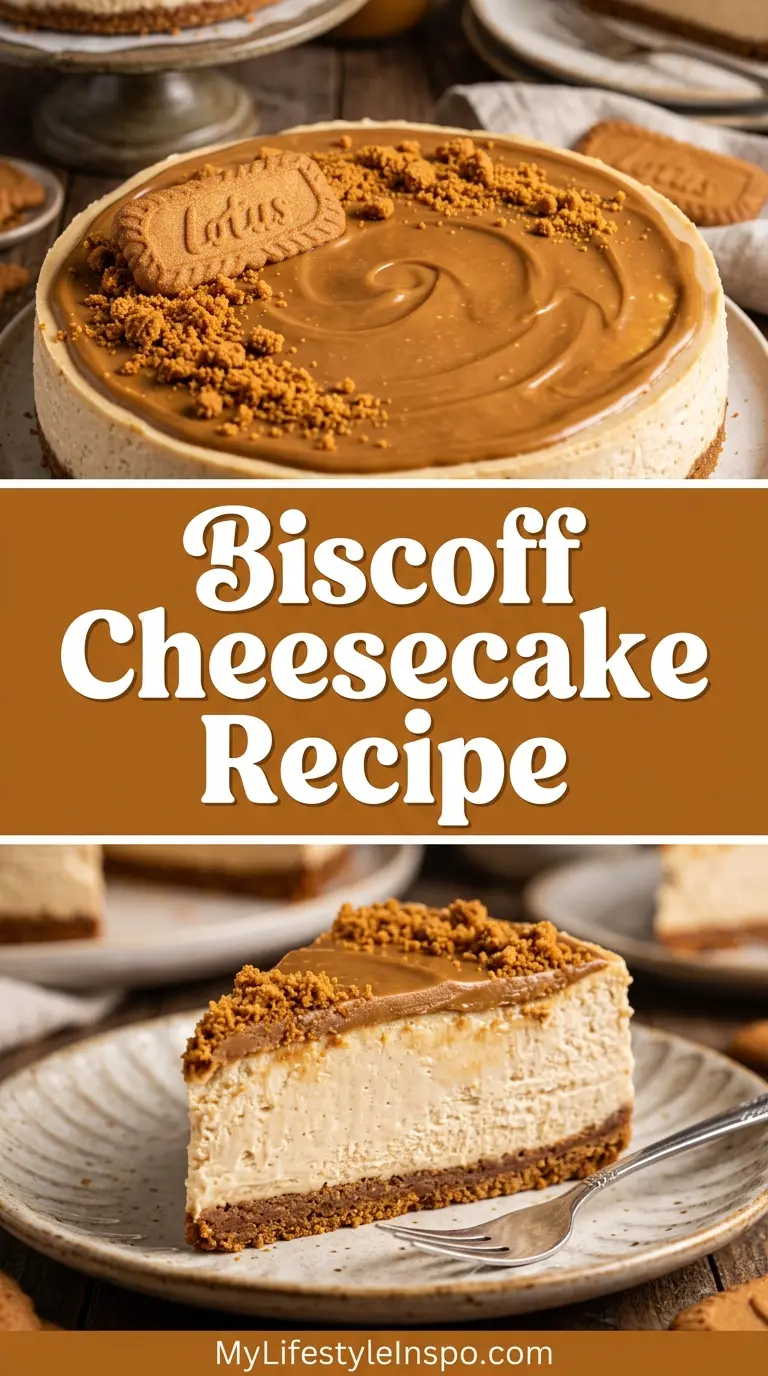
Why You’ll Love This Biscoff Cheesecake Recipe
This cheesecake has quickly become one of those recipes that people make once and then make again and again.
Here’s why it’s such a crowd-pleaser:
- No oven required. The filling sets in the fridge, which means no cracking, no water baths, and no stress about overbaking.
- Deeply flavorful. The Biscoff spread is worked into both the filling and the topping, giving you that warm, caramelized cookie butter taste in every single bite.
- Beginner-friendly. If you can whip cream and beat cream cheese, you can make this cheesecake. The steps are straightforward and forgiving.
- Naturally impressive. The glossy cookie butter drizzle on top, paired with whole Biscoff cookies as garnish, makes this look like a professional creation with minimal effort.
- Completely make-ahead. This cheesecake needs at least 6 hours to set, which means you can make it the night before and have one less thing to worry about on the day of your event.
- Customizable. The base recipe is perfect as-is, but it’s also a great canvas for variations like a chocolate ganache topping or a swirl of caramel sauce.
If you love cookie-based cheesecakes, you might also enjoy this Philadelphia No Bake Cheesecake Recipe for another ultra-creamy, no-fuss option.
Ingredients
You’ll only need a short list of ingredients to pull this cheesecake together. The key is using full-fat versions of the dairy components, as they give the cheesecake its signature richness and help it set properly without gelatin.
For the Biscoff Cookie Crust:
- 2 cups (200g) Lotus Biscoff cookies, finely crushed (about 24 cookies)
- 5 tablespoons (70g) unsalted butter, melted
For the Cheesecake Filling:
- 24 oz (680g) full-fat cream cheese, at room temperature
- 1 cup (240g) Lotus Biscoff spread (smooth), at room temperature
- 1 cup (120g) powdered sugar, sifted
- 1 teaspoon vanilla extract
- 1 ½ cups (360ml) heavy whipping cream, very cold
For the Topping:
- ½ cup (120g) Lotus Biscoff spread, gently warmed until pourable
- 6-8 whole Biscoff cookies, for garnish
- 2 tablespoons crushed Biscoff cookies, for garnish (optional)
For a similarly indulgent cookie-based cheesecake experience, this Oreo Cheesecake Recipe is another must-try.
Kitchen Equipment Needed
You don’t need any specialty baking tools for this recipe. Here’s what to have ready before you start:
- 9-inch (23cm) springform pan
- Parchment paper
- Food processor or zip-lock bag and rolling pin (for crushing cookies)
- Large mixing bowl
- Stand mixer or hand electric mixer
- Rubber spatula
- Small saucepan or microwave-safe bowl (for warming the Biscoff topping)
- Measuring cups and spoons
- Offset spatula or back of a spoon (for smoothing the filling)
- Plastic wrap
Read Also: Baked Cheesecake Recipe
Recommended Products for This Recipe
These are products I genuinely recommend based on quality and how much they improve the final result of this cheesecake.
1. Lotus Biscoff Spread (Smooth, Large Jar)
Having a larger jar of Biscoff spread on hand means you’ll have plenty for the filling, the topping, and a little extra to sneak off the spoon. The smooth version blends into the cream cheese filling seamlessly, creating a silky texture without any lumps.
2. Lotus Biscoff Cookies (Family Pack)
Using a family-size pack gives you enough for the crust, the garnish, and a few to snack on while you wait for the cheesecake to set. Crushing them yourself (rather than using pre-made crumbs) gives you better control over the texture of the crust.
3. 9-Inch Springform Pan with Non-Stick Coating
A quality springform pan is essential for clean, beautiful slices. Look for one with a tight-fitting latch, as a leaky pan can let the filling seep through the base. A non-stick surface also makes releasing the cheesecake effortless.
4. Stand Mixer or Hand Mixer with Whisk Attachment
Whipping the heavy cream to stiff peaks is much easier with a good electric mixer. A stand mixer frees up your hands, while a quality hand mixer gives you flexibility. Either way, cold cream and a clean bowl are the keys to success.
5. Offset Spatula
An offset spatula lets you spread the cheesecake filling smoothly and evenly into the pan, giving you that professional, flat-topped finish before the Biscoff topping goes on. It’s an inexpensive tool that makes a noticeable difference.
Another favorite: Chocolate Cheesecake Recipe
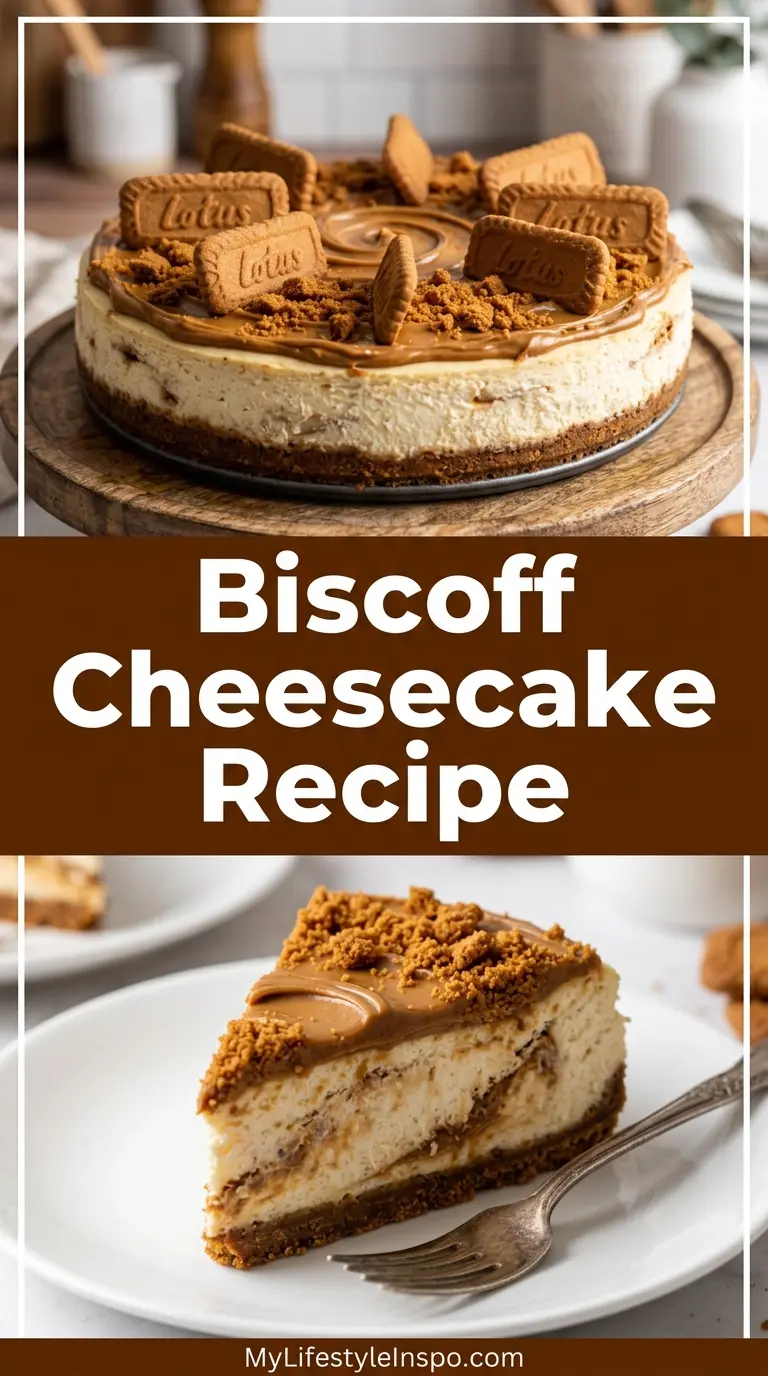
Step-by-Step Instructions
Step 1: Prepare Your Pan
- Line the bottom of a 9-inch springform pan with a circle of parchment paper. To do this, place the pan base on the parchment, trace around it, and cut it out. Snap the base back into the pan ring and lay the parchment circle flat on the bottom.
- Lightly grease the sides of the pan with a small amount of butter or cooking spray. This helps the cheesecake release cleanly once it has set.
- Set the prepared pan aside.
Step 2: Make the Biscoff Cookie Crust
- Place your Biscoff cookies into a food processor and pulse until they form fine, even crumbs. If you don’t have a food processor, place the cookies in a sealed zip-lock bag and crush them with a rolling pin. You want the crumbs to be as fine as possible, with no large chunks remaining.
- Transfer the cookie crumbs to a medium bowl. Pour in the melted butter and stir until every crumb is coated and the mixture looks like damp sand. When you press a small amount between your fingers, it should hold together easily.
- Pour the crumb mixture into the prepared springform pan. Use the bottom of a measuring cup or a flat glass to press the crumbs firmly and evenly across the bottom. Press up the sides slightly if you’d like a thicker edge crust.
- Place the pan in the refrigerator and chill the crust for a minimum of 30 minutes. This allows the butter to firm up, which prevents the crust from crumbling when you add the filling.
Step 3: Whip the Heavy Cream
- Pour the very cold heavy whipping cream into a large, clean mixing bowl. The cream must be cold for it to whip properly. If your kitchen is warm, chill the bowl and whisk in the freezer for 10 minutes beforehand.
- Using an electric hand mixer or a stand mixer fitted with the whisk attachment, beat the cream on medium speed for 1 minute, then increase to high speed.
- Continue beating until stiff peaks form. This means when you lift the beaters out of the cream, the peaks stand up straight and hold their shape without drooping.
- Transfer the whipped cream to a separate bowl and place it in the refrigerator while you prepare the rest of the filling.
Step 4: Beat the Cream Cheese and Biscoff Filling
- In the same large mixing bowl (no need to wash it), add the room-temperature cream cheese. Beat it on medium speed for about 2-3 minutes until it is completely smooth, fluffy, and free of any lumps. Room-temperature cream cheese is essential here. Cold cream cheese will leave lumps that are nearly impossible to smooth out.
- Add the sifted powdered sugar and vanilla extract to the cream cheese. Beat on medium-low speed until fully combined, scraping down the sides of the bowl as needed.
- Add the Biscoff spread (also at room temperature) to the cream cheese mixture. Beat on medium speed for another 1-2 minutes until the spread is fully incorporated and the filling is smooth, creamy, and uniform in color.
Step 5: Fold in the Whipped Cream
- Remove the whipped cream from the refrigerator.
- Using a rubber spatula, add one-third of the whipped cream to the Biscoff cream cheese mixture. Gently fold it in using large, sweeping motions to lighten the mixture without deflating the cream.
- Add the remaining two-thirds of the whipped cream in two more additions, continuing to fold gently each time. Stop folding as soon as the mixture is fully combined and no white streaks remain.
- The finished filling should be thick, airy, and smooth, with a light mousse-like texture.
Step 6: Fill the Pan
- Remove the chilled crust from the refrigerator.
- Spoon the Biscoff cheesecake filling into the prepared crust. Use an offset spatula or the back of a large spoon to spread the filling evenly and smooth out the top as much as possible.
- Tap the pan gently on the counter a few times to release any air bubbles that may be trapped in the filling.
- Cover the pan tightly with plastic wrap, making sure the wrap doesn’t touch the surface of the cheesecake. Alternatively, place the springform pan inside a larger container with a lid.
Step 7: Chill the Cheesecake
- Place the cheesecake in the refrigerator and chill for a minimum of 6 hours. For best results, chill overnight (8-12 hours). The longer it chills, the firmer and more sliceable it becomes.
- Do not rush this step. The cheesecake needs sufficient time for the filling to fully set before adding the topping or slicing.
Step 8: Add the Biscoff Topping
- Once the cheesecake has fully set, prepare the Biscoff topping. Gently warm the ½ cup of Biscoff spread in a microwave-safe bowl in 15-second increments, stirring between each, until it is smooth and just barely pourable. Do not overheat it.
- Remove the cheesecake from the refrigerator. Carefully pour the warmed Biscoff spread over the top of the cheesecake and use the back of a spoon or a small offset spatula to spread it evenly to the edges.
- Work relatively quickly, as the spread will begin to firm up as it cools against the chilled cheesecake.
Step 9: Garnish and Serve
- Arrange 6-8 whole Biscoff cookies decoratively around the top edge of the cheesecake.
- Sprinkle crushed Biscoff cookie crumbs over the surface if desired, for added texture and visual contrast.
- Return the cheesecake to the refrigerator for at least 15-20 minutes to allow the topping to fully set before slicing.
- To release the cheesecake, run a thin knife around the inside edge of the pan, then carefully unclasp and lift away the springform ring. Slide the cheesecake onto a serving plate.
- For clean slices, dip a sharp knife in hot water and wipe it dry before each cut.
Read Also: Raspberry Cheesecake Recipe
Tips for Success
A few small details make the difference between a good cheesecake and a spectacular one. Keep these in mind as you work through the recipe:
- Use room-temperature ingredients. Both the cream cheese and the Biscoff spread should be fully at room temperature before you begin. Cold cream cheese will result in a lumpy filling that you cannot smooth out, no matter how long you beat it.
- Use full-fat cream cheese. Low-fat or reduced-fat versions have a higher water content and will produce a softer, less stable cheesecake that may not set properly.
- Keep the cream cold. In contrast to the cream cheese, the heavy whipping cream must be cold to whip correctly. Warm cream simply won’t whip.
- Fold gently. Once you add the whipped cream to the filling, switch to folding rather than beating. Overmixing at this stage will deflate the air you’ve worked to incorporate, resulting in a denser texture.
- Don’t skip the chill time. Six hours is the minimum, but overnight is best. The cheesecake won’t slice cleanly if it hasn’t set fully.
- Warm the Biscoff spread gradually. Overheating it can change the texture and make it grainy. Aim for just warm enough to pour, not hot.
- Freeze briefly before slicing. If you want perfectly clean, photogenic slices, pop the finished cheesecake in the freezer for 15-20 minutes before cutting. This firms it up just enough without freezing it solid.
You might also enjoy: Churro Cheesecake Recipe
Serving Suggestions
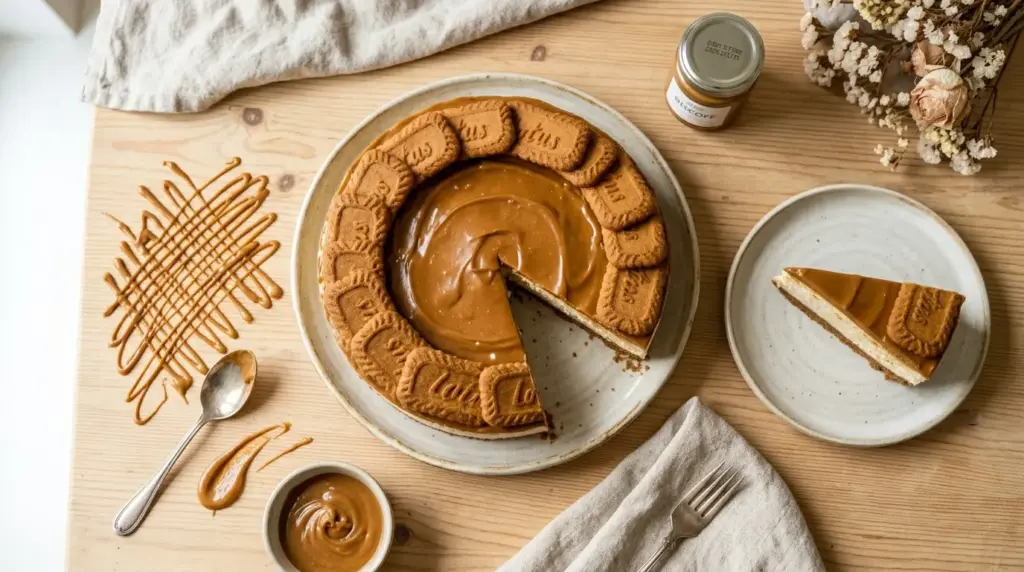
This Biscoff cheesecake is a showstopper on its own, but a few thoughtful accompaniments can take it to the next level.
A small scoop of Vanilla Bean Ice Cream alongside a slice is an indulgent combination, with the cold, neutral cream perfectly balancing the rich, spiced cheesecake. A drizzle of homemade Caramel Sauce over the top adds a buttery sweetness that plays beautifully against the cookie butter flavor. If you’re serving this at a dessert table, consider offering a small bowl of Fresh Strawberry Sauce on the side, as the bright fruitiness cuts through the richness of the cheesecake in a refreshing way. For a fully indulgent dessert spread, pair a slice of this cheesecake with a cup of Homemade Iced Coffee or a classic Espresso Martini for grown-up gatherings.
- Serve chilled, straight from the refrigerator, for the best texture.
- Use a knife wiped clean between slices for neat presentation.
- A light dusting of cinnamon over each plated slice adds a subtle visual touch that nods to the spiced cookie flavor.
- For a dinner party, slice the cheesecake ahead of time, plate individually, and return to the fridge until ready to serve.
This pairs beautifully with the creamy elegance of a classic Strawberry Cheesecake if you want to offer two cheesecake varieties side by side.
Variations to Try
Once you’ve mastered the base recipe, there are plenty of fun directions to take this cheesecake. Here are some tested and delicious ideas:
- Chocolate Biscoff Cheesecake: Melt 4 oz (113g) of good-quality dark chocolate and fold it into the cream cheese filling for a mocha-meets-cookie-butter flavor combination. You can also drizzle Chocolate Ganache over the top instead of the Biscoff spread.
- Mini Biscoff Cheesecakes: Divide the crust and filling evenly among a 12-cup muffin tin lined with cupcake liners. Chill for 4 hours. These individual portions are perfect for parties and easy to serve without slicing.
- Biscoff Swirl Cheesecake: Reserve ½ cup of plain cream cheese filling before folding in the Biscoff spread. Dollop both mixtures alternately into the pan and use a skewer to create a beautiful swirl pattern on the surface.
- Biscoff and Banana Cheesecake: Add 2 ripe mashed bananas to the cream cheese mixture for a flavor combination reminiscent of a banoffee pie. The banana adds natural sweetness and a creamy texture.
- Salted Caramel Biscoff Cheesecake: Fold 3 tablespoons of thick caramel sauce into the filling and drizzle salted caramel over the top alongside the Biscoff spread for a sweet and salty contrast.
- Gluten-Free Version: Substitute the Biscoff cookies with certified gluten-free speculoos-style cookies. The Biscoff spread itself is gluten-free, so only the crust needs adjusting.
For another elegant, creamy variation, try this Lemon Cheesecake Recipe for a bright, citrusy contrast to this rich cookie butter version.
Storage and Reheating
Proper storage keeps this cheesecake tasting fresh for days. Here’s what you need to know:
- Refrigerator storage is the standard method. Cover the cheesecake loosely with plastic wrap or place it in an airtight container. Store in the refrigerator for up to 5 days.
- Freezing works extremely well with this recipe. To freeze, place the fully set and topped cheesecake (without the cookie garnishes) in the freezer uncovered for about 2 hours until firm, then wrap tightly in plastic wrap followed by a layer of aluminum foil. Freeze for up to 2 months. Thaw overnight in the refrigerator before serving.
- Individual slices can also be wrapped individually in plastic wrap and frozen, making it easy to pull out a single portion whenever the craving strikes.
- Avoid leaving the cheesecake at room temperature for more than 2 hours, as the dairy filling can spoil.
Storage tips at a glance:
- Refrigerator: up to 5 days, covered tightly
- Freezer: up to 2 months, wrapped well
- Always thaw frozen cheesecake in the fridge, not at room temperature
- Add fresh cookie garnishes after thawing for best presentation
Read Also: Gluten Free Cheesecake Recipe
Nutritional Facts
The values below are approximate and based on one serving, assuming the cheesecake is cut into 12 equal slices.
| Nutrient | Per Serving (1 slice) |
|---|---|
| Calories | 520 kcal |
| Total Fat | 36g |
| Saturated Fat | 20g |
| Cholesterol | 95mg |
| Sodium | 210mg |
| Total Carbohydrates | 43g |
| Dietary Fiber | 1g |
| Sugars | 30g |
| Protein | 6g |
| Calcium | 90mg |
Note: Nutritional values are estimates and will vary based on specific brands and portion sizes used.
For a lighter version of a classic dessert, check out this Low Calorie Cheesecake Recipe for a slimmed-down option that still delivers on flavor.
Health Benefits of Key Ingredients
While this cheesecake is absolutely a treat, a few of its key ingredients do bring some genuine nutritional value to the table.
It’s always nice to know a little more about what you’re eating, even when indulging.
- Cream cheese is a source of fat-soluble vitamins A and D, as well as a small amount of calcium and phosphorus, which contribute to bone health. It also provides a quick source of dietary fat and calories for sustained energy.
- Heavy cream is rich in fat-soluble vitamins, particularly vitamin A and vitamin K2, which plays a role in cardiovascular and bone health. It provides CLA (conjugated linoleic acid), a type of fatty acid associated with a range of health benefits in research studies.
- Biscoff spread is made from speculoos cookies, which contain warming spices like cinnamon. Cinnamon has been studied for its potential role in supporting healthy blood sugar levels and its antioxidant properties, though the amounts present in cookie butter are relatively small.
- Butter provides fat-soluble vitamins including A, E, and K2, and butyrate, a short-chain fatty acid that supports gut health.
- Powdered sugar adds sweetness and structure to the filling. While it offers no significant micronutrients, it plays an essential functional role in stabilizing the cheesecake texture.
For a higher-protein dessert option that still satisfies, this Protein Cheesecake Recipe is worth bookmarking.
Frequently Asked Questions
1. Can I make this Biscoff cheesecake without a springform pan?
You can use a deep 9-inch round cake tin instead, lined generously with plastic wrap that overhangs the sides. This allows you to lift the cheesecake out after setting. The result won’t have the same clean sides as a springform pan, but it will still taste delicious.
2. Why is my cheesecake filling too soft or runny?
The most common causes are cream cheese that wasn’t at room temperature (causing lumps rather than a smooth blend), cream that wasn’t whipped to stiff peaks before folding, or insufficient chilling time. Make sure the cheesecake has had at least 6 hours (ideally overnight) in the fridge before you attempt to unmold or slice it.
3. Can I use crunchy Biscoff spread instead of smooth?
Yes, you can. The filling will have a slightly more textured consistency, as the crunchy spread contains small cookie pieces throughout. Many people love this for the extra bite it adds to the cheesecake. You can also mix half smooth and half crunchy for a middle-ground texture.
4. Does this cheesecake contain gelatin?
No, this recipe uses no gelatin, agar, or any other setting agent. The structure comes entirely from whipped cream and the natural firmness of cream cheese and Biscoff spread. This makes it naturally suitable for vegetarians.
5. How do I keep the Biscoff topping from cracking?
The topping can crack if it sets too quickly or if the cheesecake is moved while the topping is still setting. Allow the warmed Biscoff spread to cool for just a minute before pouring, and spread it gently. Refrigerate undisturbed for at least 20-30 minutes after adding the topping before slicing or storing.
For a dairy-free take on a creamy cheesecake, this Vegan Cheesecake Recipe is a great resource.
Biscoff Cheesecake

Equipment
- 9-inch (23cm) springform pan
- Parchment paper
- Food processor - or zip-lock bag and rolling pin
- Large mixing bowl
- Stand mixer - or hand electric mixer with whisk attachment
- Rubber spatula
- Small saucepan - or microwave-safe bowl
- Measuring cups and spoons
- Offset spatula - or back of a spoon
- Plastic wrap
Ingredients
- 2 cups Lotus Biscoff cookies - 200g, about 24 cookies, finely crushed
- 5 tablespoons unsalted butter - 70g, melted
For the Cheesecake Filling
- 24 oz full-fat cream cheese - 680g, at room temperature
- 1 cup Lotus Biscoff spread - 240g, smooth, at room temperature
- 1 cup powdered sugar - 120g, sifted
- 1 teaspoon vanilla extract
- 1 ½ cups heavy whipping cream - 360ml, very cold
For the Topping and Garnish
- ½ cup Lotus Biscoff spread - 120g, gently warmed until pourable
- 6-8 whole Biscoff cookies - for garnish
- 2 tablespoons crushed Biscoff cookies - optional, for garnish
Instructions
- Line the bottom of a 9-inch springform pan with parchment paper and lightly grease the sides.
- Pulse Biscoff cookies in a food processor until finely ground, then stir in melted butter until it resembles damp sand. Press into the pan base and chill for 30 minutes.
- Beat cold heavy whipping cream with an electric mixer until stiff peaks form, then refrigerate until needed.
- In a separate bowl, beat room-temperature cream cheese until smooth. Add sifted powdered sugar, vanilla extract, and Biscoff spread, beating until fully combined and creamy.
- Gently fold the chilled whipped cream into the Biscoff cream cheese mixture in three additions, using a rubber spatula until no white streaks remain.
- Spoon the filling over the chilled crust, smooth the top, tap the pan to release air bubbles, and cover with plastic wrap.
- Refrigerate for a minimum of 6 hours, or preferably overnight, until completely firm and set.
- Gently warm the Biscoff spread until pourable, then pour over the set cheesecake and spread evenly.
- Garnish with whole Biscoff cookies and crushed crumbs, refrigerate for 15-20 minutes to set the topping, then release from the pan and serve with clean knife slices.
Notes
- Use room-temperature cream cheese and Biscoff spread to ensure a smooth, lump-free filling. Cold cream cheese will result in lumps that are impossible to smooth out.
- Keep the heavy whipping cream very cold — chill the bowl and whisk in the freezer for 10 minutes before whipping if your kitchen is warm.
- Fold the whipped cream gently into the filling; overmixing will deflate the air and result in a denser cheesecake.
- Don’t rush the chill time — 6 hours is the absolute minimum, but overnight is best for a perfectly set, sliceable cheesecake.
- Warm the Biscoff topping gently in 15-second increments to avoid overheating, which can make it grainy.
- For clean slices, dip a sharp knife in hot water and wipe it dry between each cut. You can also freeze the finished cheesecake for 15-20 minutes before slicing.
- This cheesecake is make-ahead friendly — prepare it the night before your event and refrigerate until serving.
- Store leftovers covered in the refrigerator for up to 5 days, or freeze without garnishes for up to 2 months.
- For variations, try folding in melted dark chocolate, adding mashed bananas, or swirling in caramel sauce for a salted caramel version.
Final Thoughts
This Biscoff cheesecake recipe is one of those desserts that earns its place in your permanent rotation after just one try.
The combination of the crisp, buttery cookie crust, the silky cream cheese filling rich with cookie butter, and the glossy Biscoff topping is simply hard to beat. Whether you’re making it for a special celebration or just because you deserve something extraordinary this week, it consistently delivers.
Give this recipe a try and let the results speak for themselves. If you make it, drop a comment below to share how it went, what variation you tried, or who you made it for. Sharing photos and feedback genuinely makes this community what it is, and your experience might be exactly what another reader needs to take the leap.
Recommended:
- Red Velvet Cheesecake Recipe
- Pumpkin Pie Cheesecake Recipe
- Key Lime Cheesecake Recipe
- Lemon Meringue Cheesecake Recipe
- Blueberry Cheesecake Recipe
- Mini Cheesecake Recipe
- Basque Cheesecake Recipe
- New York Cheesecake Recipe
- Keto Cheesecake Recipe
- Sugar Free Cheesecake Recipe



