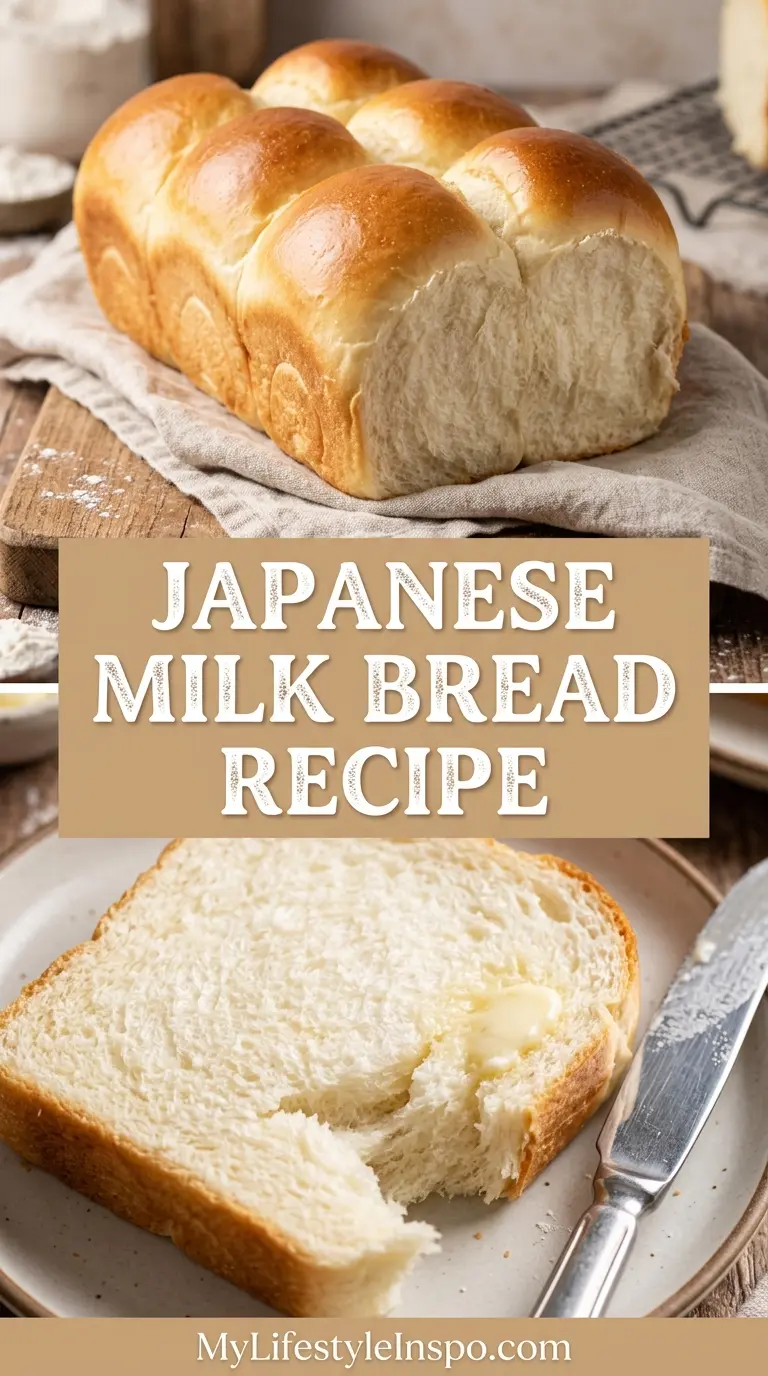
Japanese milk bread has earned a loyal following among home bakers, and once you try this Japanese Milk Bread Recipe, you’ll understand exactly why.
This loaf is pillowy soft, faintly sweet, and stays fresh for days thanks to a simple Japanese baking technique called tangzhong.
If you’ve ever pressed your thumb into a slice of bakery style white bread and wondered how it stays so cloud like, this is the method behind it.
The tangzhong is just a cooked flour and milk paste, and it does the heavy lifting here. It pre gelatinizes the starch in the flour, which means the dough can hold onto far more liquid than a regular bread dough.
More liquid trapped in the structure translates directly into a softer crumb and a loaf that doesn’t dry out the next day. I’ve made this bread more times than I can count, and I’m walking you through every detail so your first attempt turns out just as good as a bakery loaf.
Why You’ll Love This Japanese Milk Bread Recipe
This bread checks every box for a homemade loaf that actually gets eaten, not just admired.
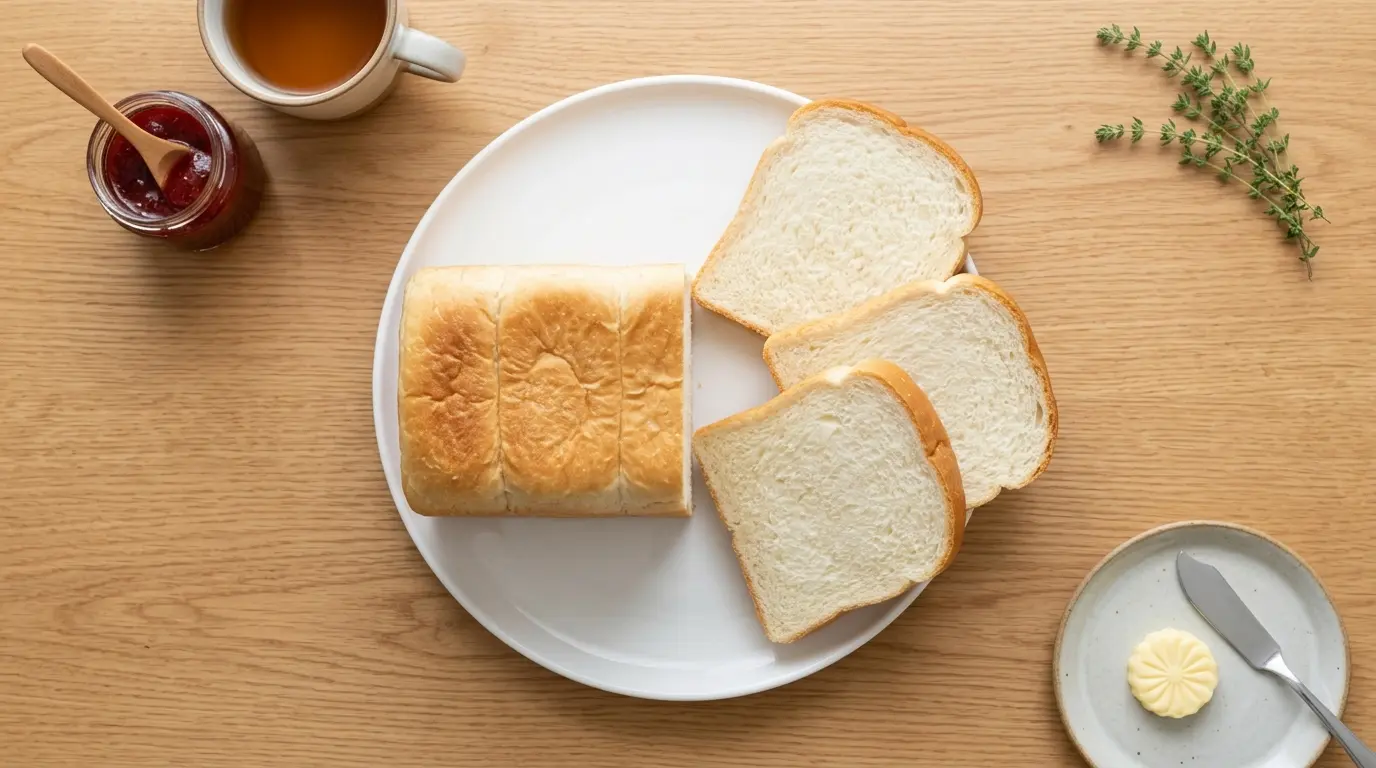
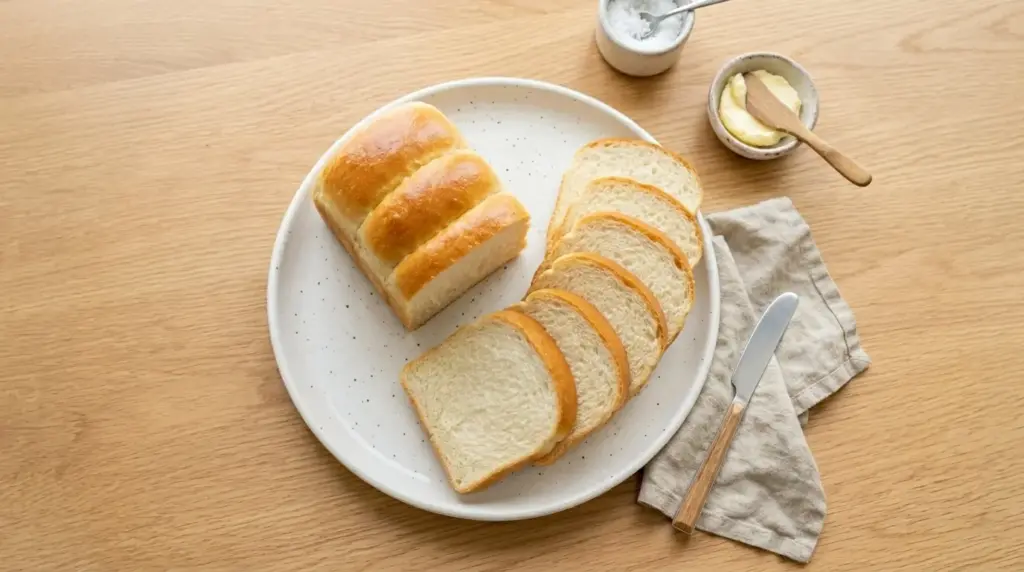
It’s soft enough to pull apart with your fingers, rich enough to eat plain, and sturdy enough to hold up to sandwich fillings or a thick layer of jam.
- The tangzhong method keeps the crumb tender and moist for several days, longer than most homemade breads.
- It has just the right amount of sweetness, so it works for both breakfast toast and savory sandwiches.
- The recipe uses simple pantry staples, no specialty Japanese ingredients required.
- It’s a fun introduction to enriched dough baking if you’ve only made basic sandwich bread before.
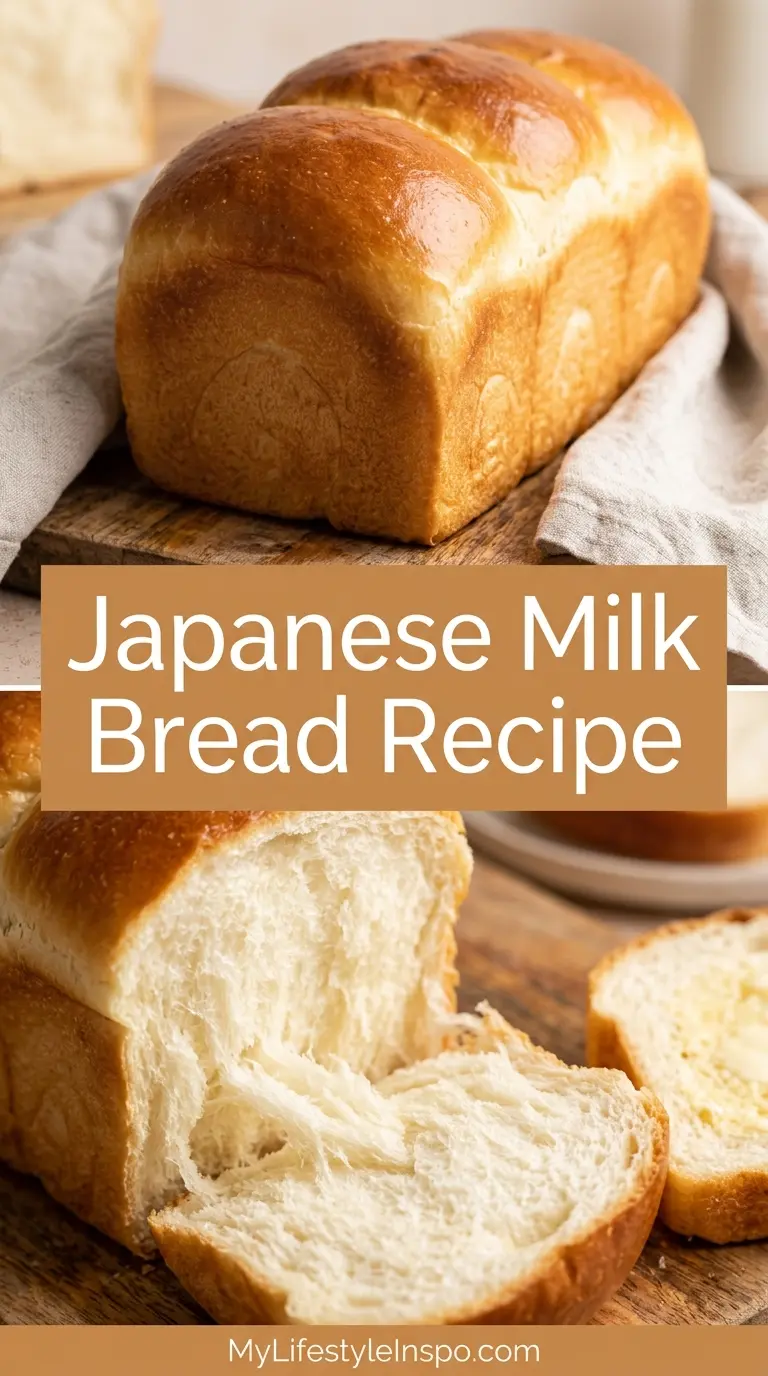
- The finished loaf looks impressive, with that signature tall, rounded top and golden crust.
If you enjoy the texture of Brioche Recipe, you’ll notice some similarities here, since both rely on enriched dough, though milk bread leans lighter and less buttery.
Ingredients
Most of these ingredients are likely already in your kitchen, with the exception of instant yeast if you don’t bake often.
The recipe is split into two parts: the tangzhong paste and the main dough, so measure carefully and keep them organized as you work.
- 1/3 cup (43g) bread flour, for the tangzhong
- 1/2 cup (120ml) whole milk, for the tangzhong
- 1/4 cup (60ml) water, for the tangzhong
- 2 3/4 cups (350g) bread flour, for the dough
- 1/4 cup (50g) granulated sugar
- 1 teaspoon (6g) fine sea salt
- 2 1/4 teaspoons (7g) Instant Yeast
- 1 large egg, room temperature
- 1/3 cup (80ml) whole milk, room temperature
- 4 tablespoons (56g) unsalted butter, softened and cubed
- 1 egg yolk, for the egg wash
- 1 tablespoon whole milk, for the egg wash
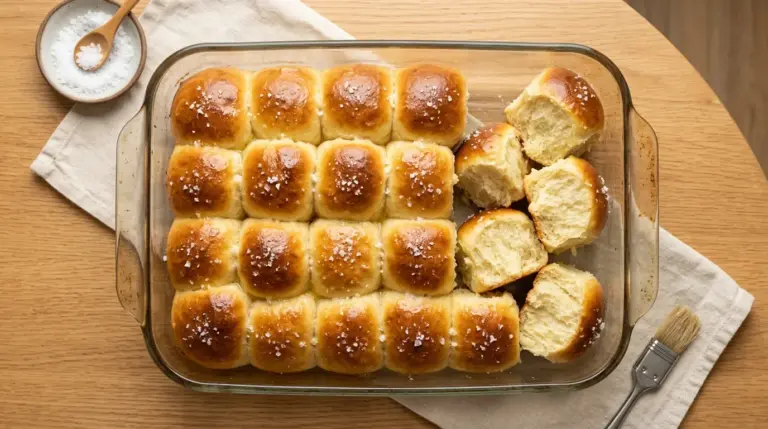
You might also enjoy: Sweet Dinner Rolls Recipe
Kitchen Equipment Needed
A stand mixer makes this recipe far easier, since enriched dough takes a long, steady knead to develop properly.
You don’t need anything fancy beyond that, just a few basics that most home bakers already own.
- Stand mixer with a dough hook attachment
- 9×5 inch loaf pan
- Small saucepan, for cooking the tangzhong
- Digital kitchen scale
- Instant read thermometer
- Mixing bowls
- Plastic wrap or a damp kitchen towel
- Pastry brush, for the egg wash
Read Also: Sandwich Bread Recipe
Recommended Products for This Recipe
These are products I genuinely recommend based on how much easier and more consistent they make this particular bake.
None of them are required, but each one solves a real pain point that comes up when making enriched, tangzhong based dough at home.
1. Stand Mixer with Dough Hook
Kneading enriched dough by hand is doable, but it takes a long time and a lot of arm strength to fully develop the gluten. A stand mixer with a dough hook does this consistently, which matters a lot when you’re trying to hit that stretchy, windowpane texture. It also frees you up to prep other ingredients while it works.
2. 9×5 Inch Loaf Pan
A sturdy, evenly conducting loaf pan helps the bread bake with a consistent shape and golden crust on all sides. Cheaper, thinner pans can warp over time or bake unevenly, which shows up as a lopsided loaf. A good quality pan is a one time purchase that pays off in every future bake.
3. Digital Kitchen Scale
Bread baking is one of the few kitchen tasks where precision really matters, since even small flour measurement differences change the hydration of the dough. A digital scale removes the guesswork that comes with scooping flour into cups. It’s a small investment that consistently improves results across every bread recipe you make.
4. Instant Read Thermometer
Checking the internal temperature of the loaf is the most reliable way to know it’s fully baked without drying it out. Visual cues like crust color can be misleading depending on your oven. A thermometer takes the guesswork out and helps you nail the bake every time.
If you don’t have a stand mixer yet, the No Knead Bread Recipe is a good hands off alternative to try in the meantime.
Step-by-Step Instructions
1. Make the Tangzhong
- In a small saucepan, whisk together the 1/3 cup (43g) bread flour, 1/2 cup (120ml) whole milk, and 1/4 cup (60ml) water until completely smooth with no lumps.
- Place the saucepan over medium low heat and whisk constantly so it doesn’t scorch on the bottom.
- Cook for 2 to 3 minutes, until the mixture thickens into a smooth, pudding like paste that holds a visible line when you drag the whisk through it.
- Remove the pan from the heat right away and scrape the tangzhong into a small bowl.
- Press a piece of plastic wrap directly onto the surface to prevent a skin from forming, then let it cool to room temperature, about 20 minutes.
2. Mix and Knead the Dough
- In the bowl of a stand mixer fitted with the dough hook, combine the 2 3/4 cups (350g) bread flour, 1/4 cup (50g) sugar, 1 teaspoon (6g) salt, and 2 1/4 teaspoons (7g) instant yeast.
- Add the cooled tangzhong, the large egg, and the 1/3 cup (80ml) milk to the bowl.
- Mix on low speed for about 1 minute, just until a rough, shaggy dough comes together.
- Increase the speed to medium and knead for 8 to 10 minutes, until the dough is smooth and starts pulling cleanly away from the sides of the bowl.
3. Knead in the Butter
- With the mixer still running on medium low, add the softened butter cubes one at a time.
- Wait until each piece is fully absorbed into the dough before adding the next one, roughly 30 seconds apart.
- Once all the butter is incorporated, continue kneading for another 5 to 7 minutes.
- Check the dough by stretching a small piece between your fingers. It’s ready when it forms a thin, semi translucent membrane without tearing easily, known as the windowpane test.
4. First Rise
- Shape the dough into a smooth, round ball and place it in a lightly oiled bowl.
- Cover the bowl tightly with plastic wrap or a damp kitchen towel.
- Let the dough rise in a warm spot, ideally 75 to 80°F (24 to 27°C), for 60 to 75 minutes, or until it has doubled in size.
- Test it by pressing a floured finger into the dough about half an inch deep. If the indentation springs back slowly and only partially, the dough is ready.
5. Shape the Loaf
- Gently punch down the dough to release the air, then turn it out onto a lightly floured surface.
- Divide the dough into 3 equal pieces, roughly 200g each, using your kitchen scale for accuracy.
- Roll each piece into an oval shape, then fold the long sides inward and roll it up tightly into a log.
- Arrange the 3 logs side by side, seam sides down, inside a greased 9×5 inch loaf pan.
6. Second Rise
- Cover the loaf pan loosely with greased plastic wrap so the dough has room to expand.
- Let it rise again in a warm spot for 45 to 60 minutes, until the dough crests just above the rim of the pan.
- Watch closely toward the end. Over proofed dough will collapse instead of springing back when poked, so it’s better to bake slightly early than to wait too long.
7. Bake the Bread
- Preheat your oven to 350°F (175°C) while the dough finishes its second rise.
- Whisk the egg yolk together with 1 tablespoon of milk, then brush this mixture gently and evenly over the top of the loaf.
- Bake for 30 to 35 minutes, until the top is deep golden brown and the internal temperature reads at least 190°F (88°C) on an instant read thermometer.
- If the top is browning too quickly before the inside is done, loosely tent the loaf with foil for the last 10 minutes of baking.
8. Cool and Slice
- Remove the loaf from the oven and let it rest in the pan for about 5 minutes.
- Carefully turn it out onto a wire rack and let it cool completely, which takes about 1 to 2 hours.
- Resist slicing it warm. The crumb structure is still setting, and cutting too early can make the inside gummy instead of soft.
Another favorite that pairs well with leftover slices: Cinnamon Butter Recipe
Tips for Success
A few small adjustments make a noticeable difference in how this bread turns out, especially if it’s your first time working with tangzhong dough.
Pay close attention to dough temperature and proofing time rather than the clock alone, since kitchen conditions vary a lot.
- Use bread flour rather than all purpose flour, since its higher protein content gives the dough the structure it needs to stay soft without collapsing.
- Make sure the tangzhong has fully cooled before adding it to the dough, or it can kill some of the yeast’s activity.
- Knead the butter in slowly and patiently. Rushing this step is the most common reason the dough turns greasy instead of smooth.
- Keep your kitchen draft free during both rises. A consistent, warm spot helps the dough proof evenly.
- If your kitchen runs cold, turn your oven on for one minute, then turn it off and use it as a proofing box.
This same enriched dough approach is also what makes Challah Recipe so soft, if you want to try a braided version next.
Serving Suggestions
This bread is versatile enough to show up at almost any meal, from a simple breakfast to a dinner table bread basket.
Its slight sweetness means it pairs naturally with both sweet and savory toppings.
- Toasted with salted butter and a drizzle of honey
- Sliced thick for grilled cheese or a ham and cheese sandwich
- Torn into pieces and served alongside soup
- Spread with strawberry or fig jam for breakfast
- Used as the base for a custardy bread pudding
Read Also: Brioche French Toast
Variations to Try
Once you’re comfortable with the basic method, this dough is a great base for experimenting with different shapes and flavors.
The texture stays soft and pillowy no matter which direction you take it.
- Swap the loaf pan for a round cake pan and shape the dough into individual pull apart rolls.
- Add a tablespoon of matcha powder to the dough for a pale green, lightly earthy version.
- Stir in a handful of chocolate chips for a sweeter, dessert leaning loaf.
- Brush the baked bread with extra melted butter right after baking for a glossier, richer crust.
- Use this same dough to make a fun Monkey Bread Recipe instead of a traditional loaf shape.
You might also enjoy: Banana Bread Pudding Recipe
Storage and Reheating
This bread keeps notably well compared to most homemade loaves, which is one of the biggest perks of the tangzhong method.
Proper storage makes a real difference in how long that soft texture lasts.
- Store the cooled loaf in an airtight bag or container at room temperature for up to 4 days.
- Freeze individual slices with parchment paper between them for up to 2 months.
- Reheat frozen slices directly in the toaster, no need to thaw first.
- Refresh a slightly stale loaf by wrapping it in foil and warming it in a 300°F (150°C) oven for 10 minutes.
- Avoid storing the bread in the refrigerator, since cold temperatures actually speed up staling in bread.
Read Also: Japanese Cheesecake Recipe
Nutritional Facts
These values are an estimate for one slice, based on a loaf cut into 12 even slices.
Actual numbers will vary slightly depending on the exact brands and measurements you use.
- Calories: approximately 180 per slice
- Carbohydrates: 28g
- Protein: 5g
- Fat: 6g
- Sugar: 5g
- Sodium: 150mg
- Fiber: 1g
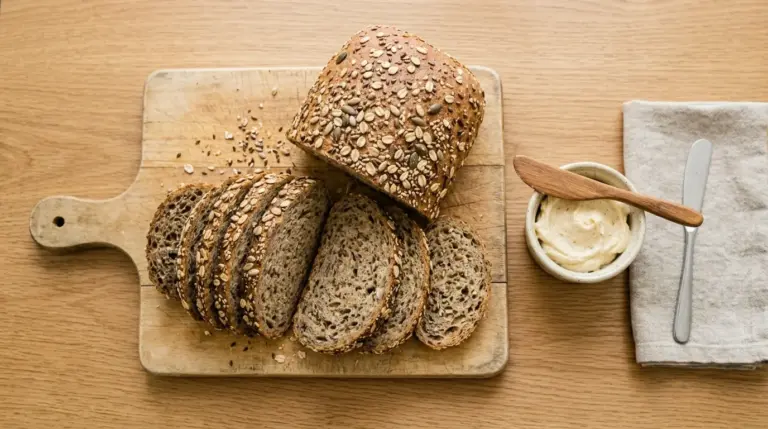
If you want to boost the fiber content, the Whole Wheat Bread Recipe on the site uses a heartier flour blend.
Health Benefits of Key Ingredients
While this is very much a treat bread rather than a health food, a few of the core ingredients do bring some nutritional value to the table.
It’s a good reminder that comfort food and basic nutrition aren’t always mutually exclusive.
- Milk contributes calcium and protein, supporting bone health and muscle repair.
- Eggs provide complete protein along with vitamin B12 and choline, which support energy metabolism.
- Bread flour offers carbohydrates that serve as a primary energy source for daily activity.
- Butter in moderate amounts contains fat soluble vitamins like vitamin A.
- The relatively low sugar content compared to sweet breads keeps this loaf on the lighter end of enriched breads.
Frequently Asked Questions
1. What makes Japanese milk bread so soft and fluffy?
The softness comes primarily from the tangzhong, a cooked flour and liquid paste that pre gelatinizes the starch before it goes into the dough.
This allows the dough to hold significantly more moisture than a standard bread dough, which translates directly into a softer, fluffier crumb.
2. Can I make this bread without a stand mixer?
Yes, though it will take considerably more effort and time by hand.
Plan on kneading for 15 to 20 minutes total, and add the butter gradually in the same way described in the recipe.
3. Why did my milk bread turn out dense instead of fluffy?
Dense bread is usually a sign of under proofing, old yeast, or skipping the windowpane test before moving on to the first rise.
Double check your yeast is fresh and give the dough enough time in a warm environment to fully double in size.
4. Can I substitute all purpose flour for bread flour?
You can, but the texture will be slightly less chewy and the loaf may not rise quite as tall.
Bread flour’s higher protein content gives this specific recipe its signature structure, so it’s worth using if you have access to it.
5. How do I know when the dough has risen enough?
The most reliable method is the finger poke test rather than relying on time alone.
Press a floured finger about half an inch into the dough. If the indentation springs back slowly and only partially fills in, it’s ready for the next step.
Another favorite to try next: Pull Apart Garlic Bread Recipe
Final Thoughts
Homemade Japanese milk bread is one of those recipes that feels a little bit special the first time you pull it out of the oven.
That tall, golden dome and impossibly soft crumb make it worth the extra time the tangzhong method takes.
Give this Japanese Milk Bread Recipe a try this weekend, and don’t be surprised if it becomes a regular in your baking rotation.
If you make it, I’d love to hear how it turns out. Drop a comment below or share a photo, and feel free to pass this recipe along to anyone who loves a good homemade loaf.
Recommended:
- Dinner Rolls Recipe
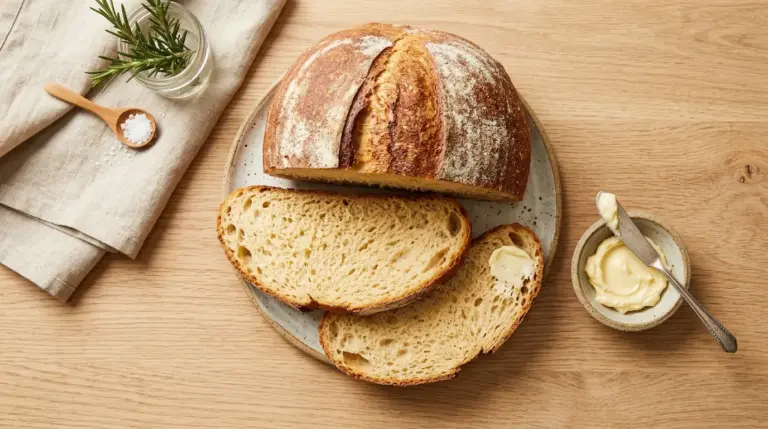
- Artisan Bread Recipe
- White Bread Recipe
- Japanese Pancake Recipe
- Japanese Chicken Curry Recipe
- Easy French Toast Recipe
- Air Fryer Garlic Bread Recipe
- Bread Pudding Recipe
- Keto Dinner Rolls Recipe
- Gluten Free Dinner Rolls Recipe