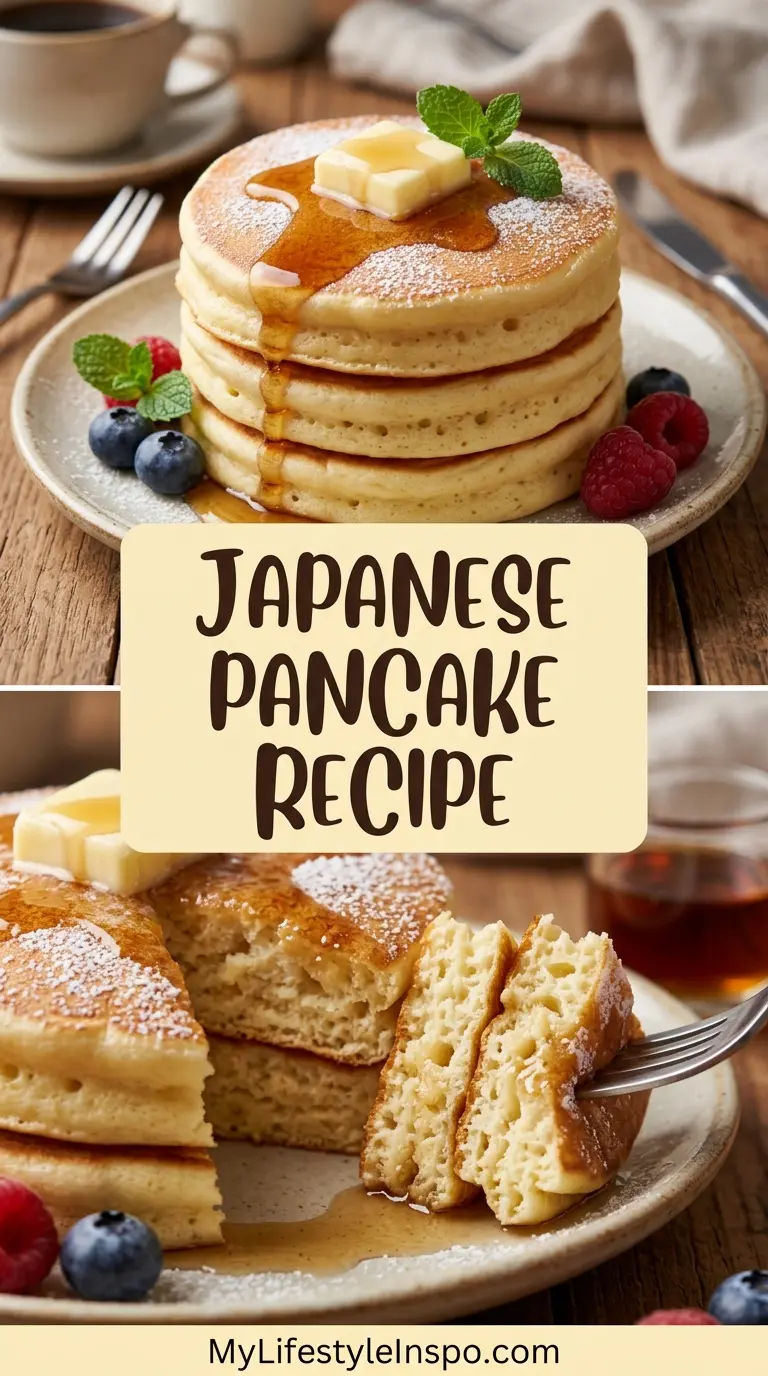
If you’ve ever scrolled past a video of jiggly, cloud-like pancakes and wondered how in the world someone makes those at home, this Japanese pancake recipe is exactly what you’ve been searching for. These are Japanese souffle pancakes, the kind served at specialty cafes in Tokyo and Osaka, stacked tall and impossibly light, with a texture that sits somewhere between a classic pancake and a warm, freshly baked sponge cake.
The secret is all in the technique. You separate the eggs, whip the whites into stiff, glossy peaks, and fold that meringue gently into a simple yolk batter. The result is a pancake that puffs up to almost two inches tall, has a softly golden crust on the outside, and practically melts on your tongue.
These pancakes do require a bit of patience. They cook low and slow, with a splash of water in the pan to create steam, which is what gives them that signature lift without collapsing. Once you nail the process, though, you’ll want to make them every single weekend.
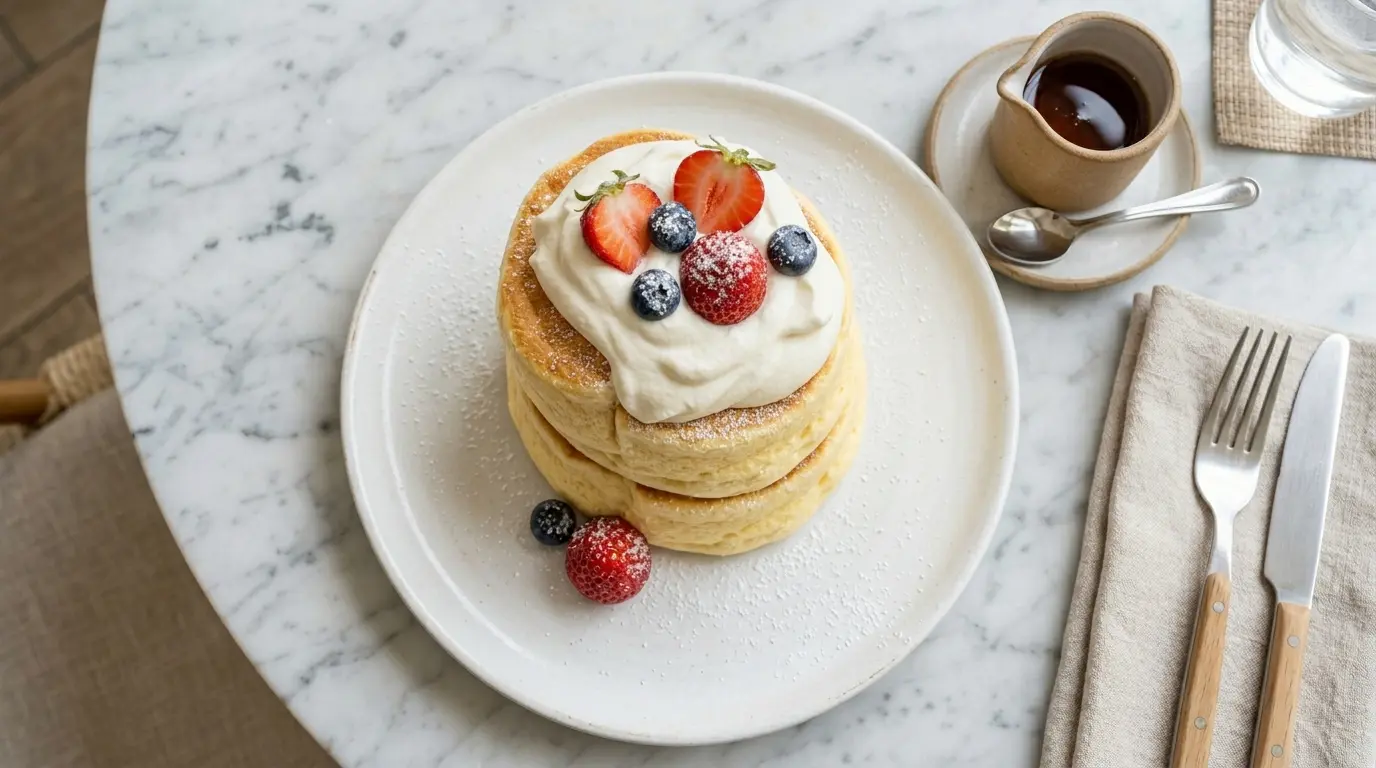
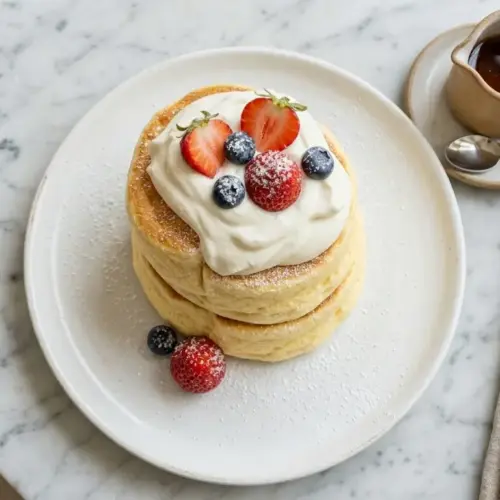
They’re beautiful topped with fresh whipped cream, a dusting of powdered sugar, and a handful of seasonal berries. Serve them for a special brunch, a birthday morning, or honestly just because you deserve something extraordinary on a regular Tuesday.
If you love a tall, fluffy stack, you might also enjoy this Sourdough Pancake Recipe for another pancake with serious depth of flavor.
Why You’ll Love This Japanese Pancake Recipe
These pancakes are in a category of their own. The texture is genuinely unlike any other pancake you’ve tasted, bouncy, custardy, and feather-light all at once.
They’re surprisingly simple when you understand what each step is doing. There are no unusual ingredients here, just eggs, flour, a little sugar, milk, and vanilla.
The visual impact is hard to overstate. When you set a plate of these in front of someone, their reaction is priceless every single time.
They’re incredibly versatile in terms of toppings. Fresh fruit, caramel sauce, matcha cream, lemon curd, or just good maple syrup all work beautifully.
You only need a handful of pantry staples to pull them off. No specialty flours, no exotic additives needed.
The steam-cooking method means you get a pancake that’s fully cooked through without browning too fast on the outside. The result is that signature jiggly, moist center.
For another showstopper breakfast that comes together with pantry staples, check out this Dutch Baby Recipe too.
Ingredients
You only need a few simple ingredients, but each one plays a specific role in achieving that signature souffle texture. Using cake flour instead of all-purpose gives you a finer, more delicate crumb, which is why most Japanese cafe versions use it.
- 2 large eggs, separated (cold egg whites whip more stably)
- 3 tablespoons (45 ml) whole milk, at room temperature
- 1/2 teaspoon pure vanilla extract
- 1/4 cup (30 g / 1 oz) cake flour, sifted (or all-purpose flour if needed)
- 1/2 teaspoon baking powder
- 3 tablespoons (36 g / 1.25 oz) granulated sugar, divided (1 tablespoon for yolk batter, 2 tablespoons for meringue)
- 1 pinch of cream of tartar (stabilizes the egg whites)
- 1 teaspoon neutral oil (such as vegetable or canola), for greasing the pan
- 2 tablespoons (30 ml) water, for steaming
For serving:
- Whipped cream
- Fresh berries (strawberries, blueberries, raspberries)
- Powdered sugar, for dusting
- Maple syrup or lemon curd
Another pancake worth trying for variety is this Cracker Barrel Pancake Recipe, which has a completely different flavor profile that fans of buttermilk classics will love.
Kitchen Equipment Needed
Having the right tools makes a significant difference in the success of these pancakes. The non-stick skillet and metal rings are the most critical, as they give the pancakes their tall, even shape.
- Large mixing bowl (for egg whites)
- Medium mixing bowl (for yolk batter)
- Electric hand mixer or stand mixer (essential for achieving stiff meringue peaks)
- Non-stick skillet or griddle with a tight-fitting lid
- Metal ring molds, 3-inch diameter (to hold the batter tall while cooking)
- Silicone spatula (for folding the meringue)
- Fine mesh sieve or sifter (to sift the flour and baking powder)
- Small ladle or large spoon (for portioning batter)
- Pastry brush or paper towel (for oiling the pan and rings)
- Lid or aluminum foil (for steaming)
- Measuring spoons and cups
Read Also: Easy Waffle Recipe
Recommended Products for This Recipe
These are products that have been chosen based on quality and performance, specifically to help you nail this recipe on your first try.
1. 3-Inch Stainless Steel Ring Molds
Ring molds are non-negotiable for getting that signature tall, round shape. Without them, the batter spreads and you lose all that beautiful height. A set of stainless steel molds is reusable, easy to clean, and gives you consistent results every time.
2. Non-Stick Skillet with Glass Lid
The glass lid is key because you need to trap steam while still being able to monitor the pancakes without lifting the lid. A heavy-bottomed non-stick pan also ensures even, gentle heat, which is essential for low-and-slow cooking.
3. Electric Hand Mixer
Whipping egg whites by hand is possible but exhausting and inconsistent. A reliable hand mixer gets your whites to stiff peaks quickly and evenly, which directly impacts how tall and stable your pancakes turn out.
4. Japanese Cake Flour
Cake flour has a lower protein content than all-purpose flour, which means less gluten development and a more tender, delicate pancake. It’s one small swap that makes a noticeable difference in texture.
5. Cream of Tartar
A small pinch of cream of tartar dramatically stabilizes egg whites, helping them hold their peaks longer without weeping or collapsing. This gives you more time to fold the batter without losing volume.
You might also enjoy: Pumpkin Pancake Recipe
Step-by-Step Instructions
Step 1: Prepare Your Equipment
- Lightly grease the inside of each metal ring mold with a small amount of neutral oil, using a pastry brush or a folded paper towel. This prevents the batter from sticking to the sides as it rises.
- Set a non-stick skillet over the lowest heat setting on your stove. You want the pan barely warm at this stage so the batter doesn’t set too fast when it hits the surface.
- Keep a lid or a sheet of aluminum foil nearby, large enough to cover the pan completely.
Step 2: Make the Egg Yolk Batter
- Crack the 2 eggs and carefully separate the yolks from the whites. Place the yolks in a medium mixing bowl and the whites in a large, completely clean and grease-free mixing bowl. Even a tiny trace of yolk or fat in the whites will prevent them from whipping properly.
- To the egg yolks, add 3 tablespoons (45 ml) of room-temperature whole milk and 1/2 teaspoon vanilla extract. Whisk together until the mixture is uniform and slightly frothy.
- Sift in 1/4 cup (30 g) of cake flour and 1/2 teaspoon of baking powder directly over the yolk mixture.
- Add 1 tablespoon of granulated sugar to the yolk mixture.
- Gently stir everything together until just combined and smooth. Do not overmix. A few tiny lumps are completely fine and preferable to an overworked batter.
- Set the yolk batter aside while you prepare the meringue.
Step 3: Whip the Egg Whites into Meringue
- Add a pinch of cream of tartar to the egg whites in the large bowl. This helps stabilize the proteins in the whites and keeps the meringue from deflating quickly.
- Using an electric hand mixer or stand mixer fitted with the whisk attachment, begin beating the whites on medium speed until they turn foamy and opaque, about 1 minute.
- With the mixer still running, gradually add the remaining 2 tablespoons of granulated sugar, adding it one tablespoon at a time and waiting about 20-30 seconds between additions.
- Increase the speed to medium-high and continue beating until the egg whites reach stiff, glossy peaks. You’ll know they’re ready when you lift the beaters and the peak that forms holds its shape firmly without drooping. The meringue should look thick and shiny, similar to marshmallow fluff.
- Do not overbeat. If the whites start to look dry, grainy, or curdled, they’ve gone too far and the batter will not come together smoothly.
Step 4: Fold the Meringue into the Yolk Batter
- Add roughly one-third of the whipped meringue to the egg yolk batter. Use a silicone spatula and stir this first addition in with more confidence, as it helps loosen the thick batter without worrying too much about deflation.
- Add the remaining meringue in two more additions. For each addition, fold gently using large, sweeping motions from the bottom of the bowl up and over the top, rotating the bowl as you go. The goal is to preserve as much air as possible.
- Stop folding as soon as no white streaks of meringue remain. A few light swirls are fine. The finished batter should look pale, airy, and slightly thick, like a cloud scoop.
Step 5: Cook the Pancakes Low and Slow
- Place the greased ring molds onto the preheated non-stick skillet. Make sure the heat is on the lowest possible setting. These pancakes need a long, gentle cook, not a hot, fast one.
- Using a small ladle or large spoon, carefully scoop the batter into each ring mold, filling each about two-thirds full to allow room for rising. Handle the batter as gently as possible.
- Add the 2 tablespoons (30 ml) of water to the edges of the pan, away from the molds. Immediately place the lid or foil over the pan to trap the steam.
- Cook for 4 to 5 minutes without lifting the lid. The steam is doing essential work here, helping the pancakes puff and cook through without drying out.
- After 4-5 minutes, lift the lid briefly to check. The tops of the pancakes should look set and slightly matte, not wet and shiny.
Step 6: Flip and Finish Cooking
- Carefully slide a thin spatula under each ring mold, supporting the bottom of the pancake. Flip the entire mold and pancake together in one smooth, confident motion.
- Replace the lid and cook for another 3 to 4 minutes. The second side will cook faster than the first.
- To check for doneness, gently press the top of a pancake with your fingertip. It should spring back immediately. You can also insert a toothpick into the center; it should come out clean.
- Once cooked, remove the lid and carefully slide each ring mold off the pancake using the spatula and a pair of tongs or oven mitts. The pancakes should slide out cleanly if the molds were properly greased.
Step 7: Serve Immediately
- Transfer the pancakes to a serving plate right away. These are best eaten fresh, within 5 minutes of cooking, as they will begin to deflate as they cool.
- Top with a generous dollop of freshly whipped cream, a scatter of fresh berries, and a fine dusting of powdered sugar.
- Drizzle with maple syrup or a spoonful of lemon curd. Serve with extra toppings on the side.
Read Also: German Pancake Recipe
Tips for Success
Getting these right on the first try comes down to a few key habits. The most important thing is to treat the meringue with care throughout the whole process.
- Keep everything cold and clean. Cold egg whites whip better, and any grease in your bowl will prevent the whites from reaching stiff peaks. Wipe the bowl with a little white vinegar before starting.
- Do not rush the cook time. The temptation to turn up the heat is real, but a high flame will cause the outside to brown before the inside is cooked. Always use the lowest heat setting.
- Fold gently but decisively. Over-folding knocks out the air you worked hard to build. Under-folding leaves white streaks. Aim for just combined with large sweeping motions.
- Use a lid that fits tightly. A loose lid lets the steam escape and you lose the cooking power that gives the pancakes their height.
- Serve immediately. These pancakes are a live event. They start deflating within minutes, so have your toppings ready before the pancakes hit the pan.
- Don’t skip the cream of tartar. It makes the meringue far more stable and gives you a wider window to work before the whites start to lose structure.
Another fluffy breakfast worth mastering is this Belgian Waffle Recipe, which uses a similar technique of whipped egg whites for lift.
Serving Suggestions
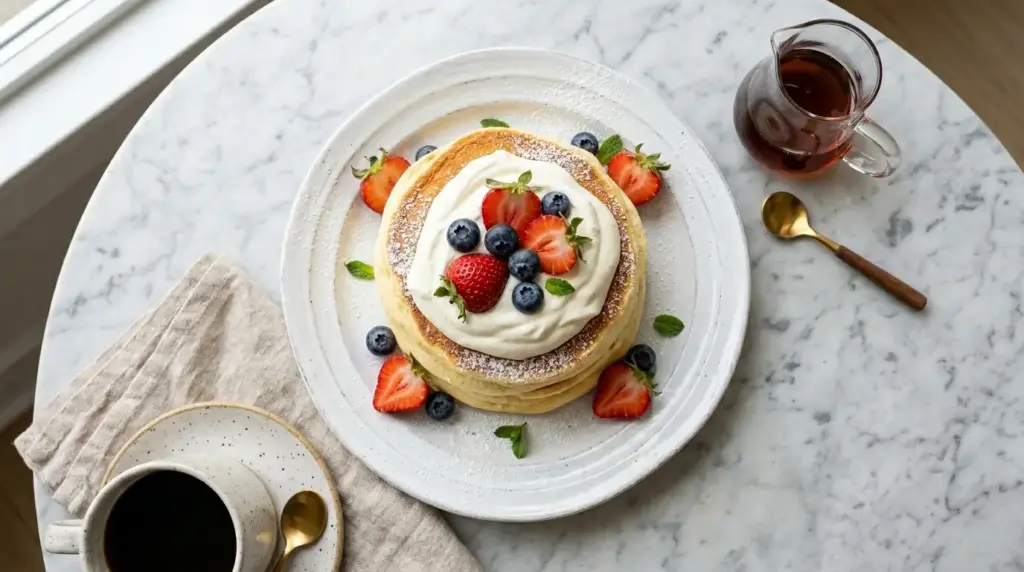
Japanese souffle pancakes are stunning on their own, but the right toppings elevate them into something truly special. A small plate with thoughtfully arranged toppings can make this feel like a restaurant-quality experience at home.
- Fresh whipped cream is the classic, go-to topping that balances the slight sweetness of the pancake without overpowering it
- A drizzle of Fresh Strawberry Sauce adds brightness and a pop of color that photographs beautifully
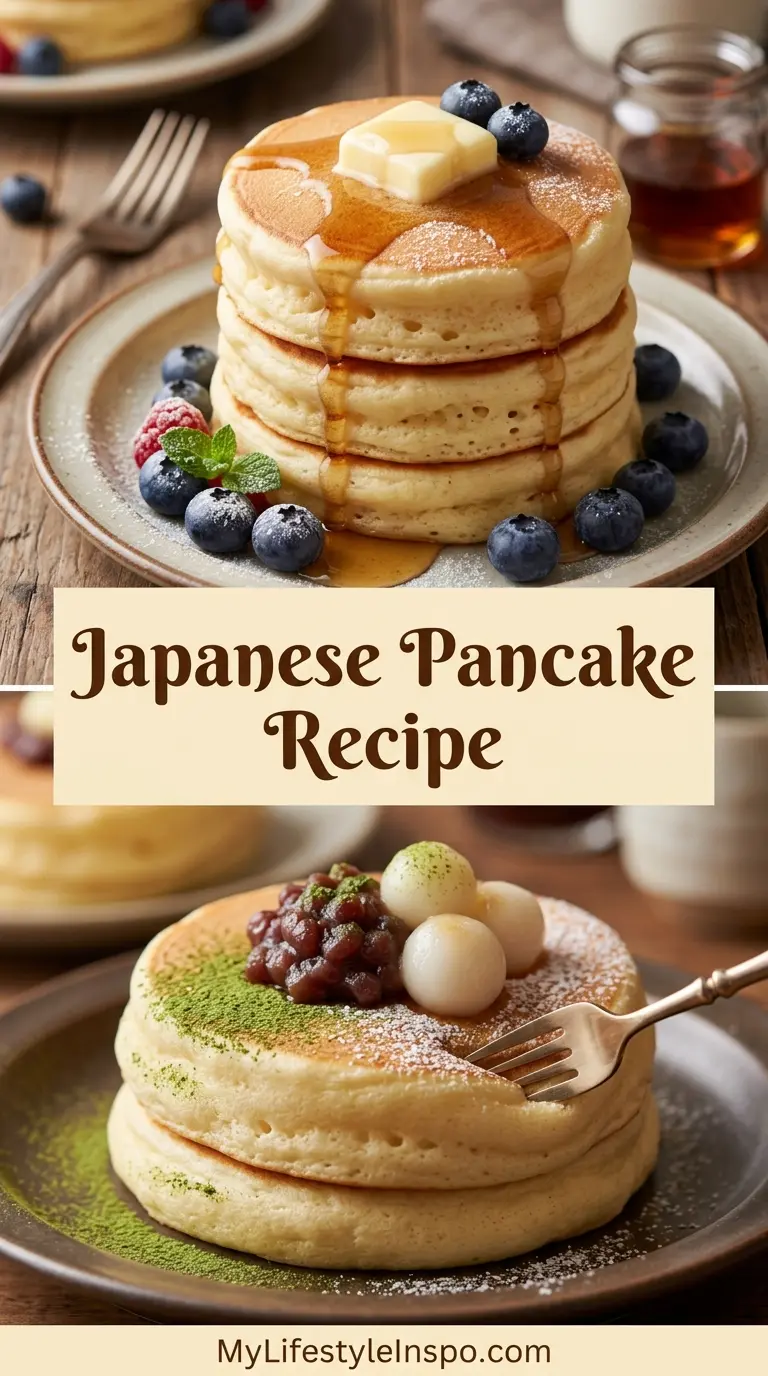
- Matcha whipped cream, made by folding a teaspoon of matcha powder into fresh cream, is a stunning variation
- Sliced strawberries, blueberries, and raspberries add freshness and color contrast
- A dusting of powdered sugar and a drizzle of good maple syrup for the purists
- A spoonful of Caramel Sauce for an indulgent dessert-style presentation
- A side of hot green tea or matcha latte to complete a Japanese cafe experience at home
You might also enjoy: Avocado Toast Recipe
Variations to Try
Once you’ve made the classic version, there are plenty of fun directions to take this recipe. The base is forgiving enough to accommodate flavors and fillings.
- Matcha souffle pancakes: Add 1 teaspoon of sifted matcha powder to the egg yolk batter for an earthy, subtly sweet green tea version that’s absolutely beautiful on the plate.
- Chocolate souffle pancakes: Sift in 1 tablespoon of Dutch-process cocoa powder with the flour. Top with a drizzle of chocolate ganache and a sprinkle of sea salt.
- Lemon ricotta version: Add 1 tablespoon of ricotta and 1/2 teaspoon of lemon zest to the yolk batter for a richer, more custardy interior.
- Black sesame pancakes: Stir 1 tablespoon of black sesame paste into the yolk mixture for a nutty, slightly smoky flavor with a dramatic dark color.
- Mini pancake stacks: Use smaller molds to make bite-sized stacks perfect for brunch spreads or entertaining.
- Savory version: Skip the sugar and vanilla from the batter, add a pinch of salt and white pepper, and serve with crème fraiche and smoked salmon for a savory brunch option.
For a savory Japanese-inspired breakfast option, Miso Soup makes a wonderful pairing alongside these pancakes.
Storage and Reheating
Honest truth: these pancakes are best eaten immediately. That said, if you do have leftovers, here’s how to handle them without completely losing the texture.
- Refrigerating: Place cooled pancakes in a single layer in an airtight container, separated by parchment paper. Store for up to 2 days.
- Freezing: These do not freeze well. The delicate meringue structure breaks down upon thawing, leaving you with a dense, flat result.
- Reheating in a skillet: Place the pancake in a lightly greased non-stick pan over very low heat, cover with a lid, and warm for 2-3 minutes. This brings back a little of the fluffiness.
- Reheating in the microwave: Place on a microwave-safe plate and heat for 20-30 seconds. They will be warm but somewhat denser than freshly made.
- Best approach: Make the batter and have the pan ready, then cook fresh to order if you’re serving a crowd.
Read Also: Easy French Toast Recipe
Nutritional Facts
The following information is based on 2 pancakes (one serving) without toppings, made using the ingredient quantities listed above. Actual values will vary based on specific brands and serving sizes.
| Nutrient | Amount per Serving (2 pancakes) |
|---|---|
| Calories | ~185 kcal |
| Total Fat | 6 g |
| Saturated Fat | 2 g |
| Cholesterol | 190 mg |
| Sodium | 135 mg |
| Total Carbohydrates | 24 g |
| Dietary Fiber | 0.3 g |
| Total Sugars | 13 g |
| Protein | 7 g |
| Calcium | 90 mg |
| Iron | 1.2 mg |
Note: These are estimates only. Toppings like whipped cream, maple syrup, and fresh fruit will add additional calories and nutrients.
For another impressive and lower-calorie Japanese-style baked treat, take a look at this Japanese Cheesecake Recipe, which uses a similar egg white technique.
Health Benefits of Key Ingredients
While this is absolutely a treat, a few of the core ingredients offer real nutritional value that’s worth noting.
These pancakes are made with whole eggs, which are one of the most nutrient-dense foods available and provide high-quality protein, choline for brain health, and fat-soluble vitamins including A, D, E, and K.
Eggs also contain lutein and zeaxanthin, antioxidants that support eye health and are linked to a reduced risk of age-related macular degeneration.
Whole milk adds calcium and phosphorus for bone health, along with vitamin B12 and riboflavin for energy metabolism.
Cake flour is lower in protein than all-purpose flour, which not only creates a more tender pancake but also results in slightly lower gluten content per serving.
Using fresh fruit toppings like berries adds vitamin C, fiber, and polyphenols with anti-inflammatory properties, turning this into a more well-rounded meal.
- Eggs provide complete protein with all essential amino acids, plus brain-supporting choline
- Whole milk contributes calcium, vitamin D, and B vitamins important for bone and nerve health
- Berries (as a topping) are rich in antioxidants, particularly anthocyanins that support heart health
- Vanilla extract contains trace amounts of antioxidants and adds flavor depth without extra sugar
- Cream of tartar is a natural byproduct of winemaking and provides small amounts of potassium
Another nourishing morning option worth bookmarking is this Baked Oatmeal Recipe, which makes a satisfying and prep-ahead breakfast for busy weekday mornings.
Frequently Asked Questions
1. Why did my Japanese pancakes deflate?
Deflation is the most common issue and almost always comes down to one of three things. The egg whites were underbeaten and didn’t have enough structure, the meringue was folded too aggressively and the air was knocked out, or the pancakes were left to sit too long before serving. For best results, serve within 5 minutes of cooking and make sure your meringue reaches firm, stiff peaks before folding.
2. Do I really need ring molds?
Ring molds are strongly recommended for getting the tall, round shape. Without them, the batter will spread into a thin, flat pancake as it hits the pan. If you don’t have ring molds, you can improvise by cutting wide circles from a clean, unused aluminum can, or by purchasing inexpensive rings online. Some people also use egg rings, though these are smaller and will produce more pancakes per batch.
3. Can I make these dairy-free?
Yes, with a small substitution. Replace the whole milk with full-fat oat milk or unsweetened almond milk. The texture will be very slightly less rich, but the pancakes will still puff and hold their shape well. Avoid thin or watery plant milks, as they can affect the batter consistency.
4. Why does the batter call for cake flour specifically?
Cake flour has a lower protein content (around 7-9%) compared to all-purpose flour (around 10-12%). Lower protein means less gluten development when the batter is mixed, which produces a finer, more tender, and more delicate crumb. All-purpose flour will work as a substitute, but the pancakes will have a slightly chewier texture. For the authentic cafe-style result, cake flour is worth seeking out.
5. Can I prep any part of this recipe ahead of time?
You can make the egg yolk batter up to an hour ahead and store it covered in the refrigerator. However, the meringue should always be made fresh right before cooking, as it deflates quickly once whipped. Once the meringue is folded into the batter, cook the pancakes immediately for the best possible rise and texture.
For another classic breakfast you can partially prep ahead, try this Classic French Toast Recipe using thick brioche for an indulgent weekend morning.
Japanese Souffle Pancakes
Equipment
- Large mixing bowl - for egg whites
- Medium mixing bowl - for yolk batter
- Electric hand mixer or stand mixer - essential for achieving stiff meringue peaks
- Non-stick skillet or griddle with a tight-fitting lid - heavy-bottomed for even, gentle heat
- Metal ring molds - 3-inch diameter, to hold the batter tall while cooking
- Silicone spatula - for folding the meringue
- Fine mesh sieve or sifter - to sift the flour and baking powder
- Small ladle or large spoon - for portioning batter
- Pastry brush or paper towel - for oiling the pan and rings
- Lid or aluminum foil - for steaming
- Measuring spoons and cups
Ingredients
- 2 large eggs - separated, cold egg whites whip more stably
- 3 tablespoons whole milk - 45 ml, at room temperature
- 1/2 teaspoon pure vanilla extract
- 1/4 cup cake flour - 30 g / 1 oz, sifted (or all-purpose flour if needed)
- 1/2 teaspoon baking powder
- 3 tablespoons granulated sugar - 36 g / 1.25 oz, divided (1 tablespoon for yolk batter, 2 tablespoons for meringue)
- 1 pinch cream of tartar - stabilizes the egg whites
- 1 teaspoon neutral oil - such as vegetable or canola, for greasing the pan
- 2 tablespoons water - 30 ml, for steaming
For Serving
- whipped cream
- fresh berries - strawberries, blueberries, raspberries
- powdered sugar - for dusting
- maple syrup - or lemon curd
Instructions
- Grease the inside of 3-inch metal ring molds with oil. Place a non-stick skillet over the lowest heat setting.
- Separate the eggs. In a medium bowl, whisk yolks with milk and vanilla. Sift in cake flour and baking powder, add 1 tablespoon sugar, and stir until just combined. Set aside.
- In a large clean bowl, add cream of tartar to egg whites. Beat with a mixer on medium until foamy. Gradually add remaining 2 tablespoons sugar, then increase speed and beat to stiff, glossy peaks.
- Fold one-third of the meringue into the yolk batter to loosen it. Gently fold in the remaining meringue in two additions until just combined, keeping the batter airy.
- Place the greased ring molds in the preheated skillet. Carefully fill each two-thirds full with batter. Add water to the pan edges, cover with a lid, and cook on low for 4-5 minutes.
- Carefully slide a spatula under each mold and flip the pancake and mold together. Cover and cook for another 3-4 minutes until springy and cooked through.
- Remove the ring molds and serve the pancakes immediately with whipped cream, fresh berries, powdered sugar, and maple syrup.
Notes
- Cold eggs: Cold egg whites whip more stably and to a greater volume than room-temperature ones.
- Clean bowl: Ensure your bowl for whipping egg whites is completely grease-free; wipe with a little white vinegar for best results.
- Gentle heat: Always use the lowest heat setting to prevent the outside from browning before the inside is cooked through.
- Don’t peek: Resist lifting the lid during the initial 4-5 minutes of cooking, as the steam is essential for the pancakes to rise.
- Cream of tartar: This is crucial for stabilizing the meringue; don’t skip it for the best texture and height.
- Stiff peaks: Whip the egg whites to stiff, glossy peaks that hold their shape firmly without drooping.
- Fold gently: Use a large, sweeping motion to fold the meringue, preserving as much air as possible for a light, fluffy result.
- Ring mold substitute: If you don’t have ring molds, you can use clean, empty tuna cans with both ends removed, or egg rings.
- Dairy-free option: Substitute the whole milk with full-fat oat milk or unsweetened almond milk for a dairy-free version.
- Serve immediately: These pancakes deflate quickly, so have your toppings ready and serve within 5 minutes of cooking.
Final Thoughts
Making a Japanese pancake recipe at home for the first time feels like a small act of magic. You start with a bowl of simple ingredients, whip some egg whites, do a careful fold, and end up with something that looks like it came straight from a Tokyo cafe window.
These are patient pancakes. They reward you for going slow, using gentle heat, and trusting the process even when it takes longer than a standard stack.
Give them a try this weekend, and don’t be discouraged if your first batch isn’t perfect. The second batch almost always is.
If you make these, leave a comment below and let me know how they turned out. Did you go classic with whipped cream and berries, or try something a little different? Share your photos and tag us, we absolutely love seeing your versions!
Recommended:
- Buttermilk Pancake Recipe
- Old Fashioned Pancake Recipe
- Gluten Free Pancake Recipe
- IHOP Pancake Recipe
- Kodiak Pancake Recipe
- Betty Crocker Pancake Recipe
- Scallion Pancake Recipe
- Basic Crepe Recipe
- Easy Protein Pancakes Recipe
- Pancake Recipe Without Milk


