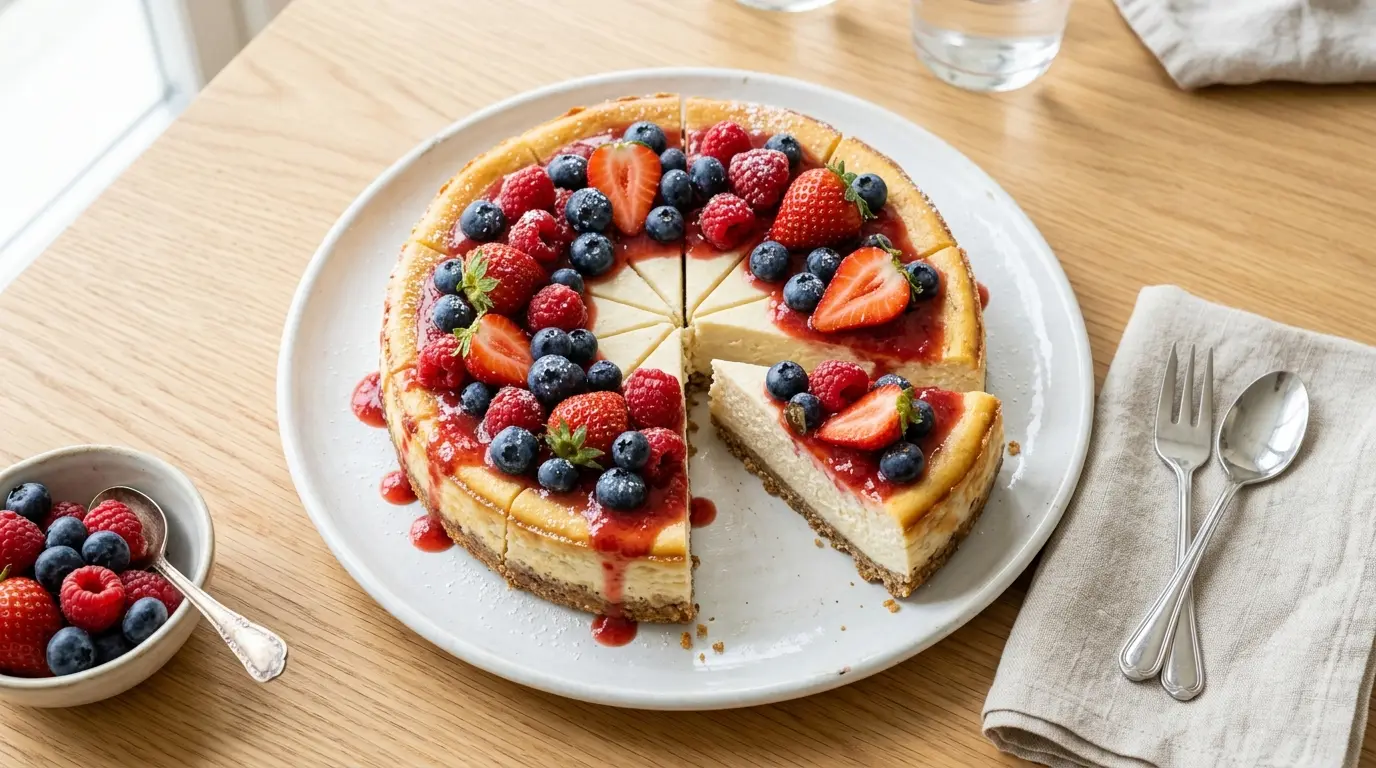
If you love cheesecake but want something that actually works with your fitness goals, this protein cheesecake recipe is about to become your new obsession.
It delivers that same rich, tangy, velvety texture you expect from a classic cheesecake, but each slice packs in a serious amount of protein thanks to a smart trio of cream cheese, Greek yogurt, and cottage cheese.
The filling gets blended completely smooth, so you’d never guess there’s cottage cheese hiding in there.
It bakes up beautifully on an almond flour crust, sets perfectly in the fridge, and tastes indulgent enough to serve at a dinner party.
No water bath. No complicated techniques. Just a straightforward, high-protein dessert that happens to taste like the real thing, because it basically is.
You might also enjoy: Low Calorie Cheesecake Recipe
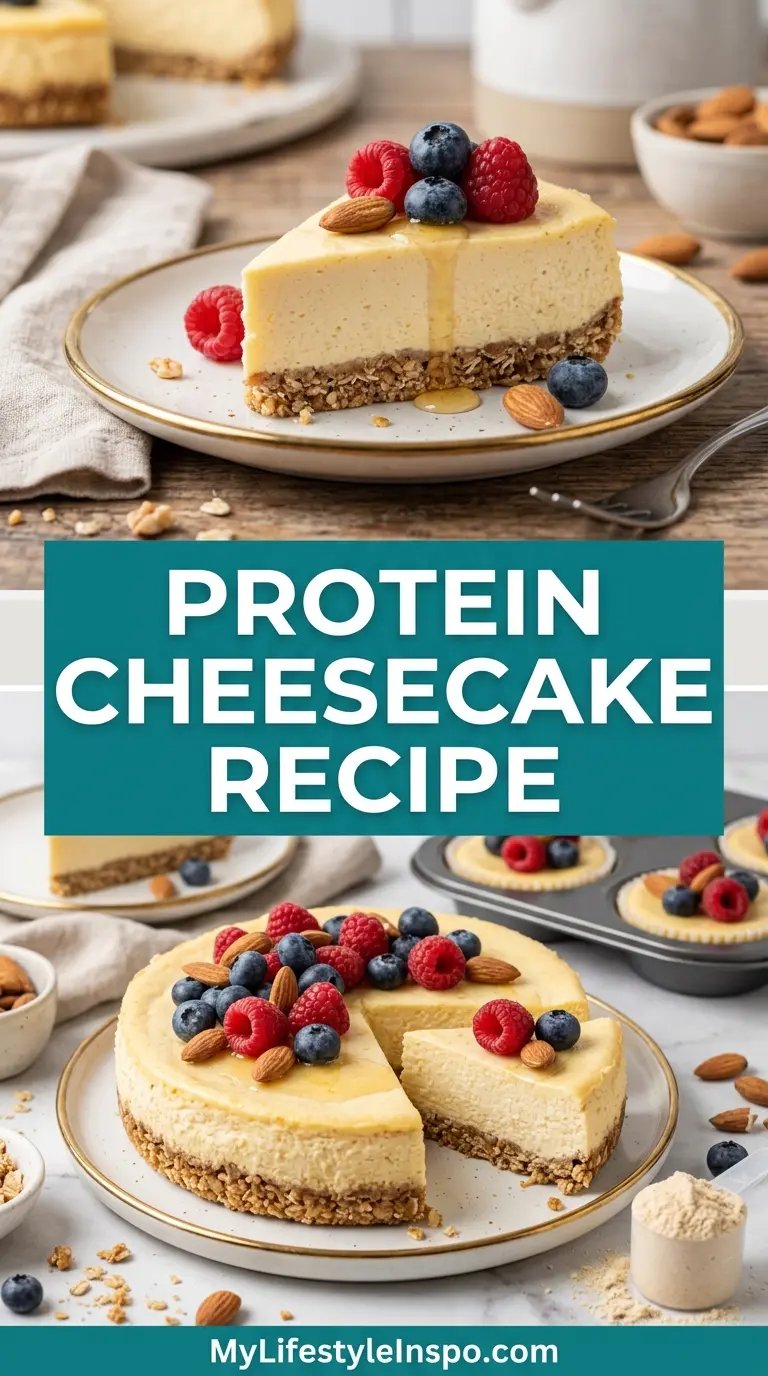
Why You’ll Love This Protein Cheesecake Recipe
This cheesecake checks every box you could possibly want from a high-protein dessert.
It’s rich and creamy without being overly dense, and it has just the right amount of sweetness without tasting like a health food compromise.
The almond flour crust gives you that satisfying buttery crunch, and it’s naturally gluten-free, so it works for a wide range of dietary needs.
Each slice delivers around 20 grams of protein, depending on the brands you use, making it genuinely viable as a post-workout treat or a filling snack.
It’s also incredibly make-ahead friendly. You bake it the day before and let the fridge do the work overnight.
Here’s a quick summary of why this recipe stands out:
- High protein: Cream cheese, Greek yogurt, and cottage cheese combine for a seriously protein-dense filling without any chalky protein powder flavor
- Classic cheesecake taste: The texture and flavor are so close to a traditional New York-style cheesecake that most people can’t tell the difference
- No water bath needed: The blended filling bakes evenly without any fussy steam techniques
- Gluten-free crust: The almond flour base is buttery, crisp, and holds together beautifully
- Customizable: Top it with fresh berries, caramel sauce, lemon curd, or anything you love on regular cheesecake
- Meal prep friendly: Slices keep well in the fridge for up to 5 days, making it easy to enjoy all week
Read Also: No Bake Cheesecake Recipe
Ingredients
Getting the right ingredients here makes a real difference. Full-fat versions of the dairy products give you the best texture. Low-fat cream cheese, in particular, can lead to a slightly looser filling that doesn’t set as firmly.
Here’s everything you need:
- Almond flour crust:
- 1 ½ cups (150g) almond flour
- 3 tablespoons (42g) unsalted butter, melted
- 2 tablespoons (24g) granulated sweetener (sugar, monk fruit, or erythritol)
- Pinch of salt
- Cheesecake filling:
- 16 oz (454g) full-fat cream cheese, softened to room temperature
- 1 cup (240g) full-fat cottage cheese, blended smooth
- ¾ cup (180g) full-fat Greek yogurt, plain
- 3 large eggs, room temperature
- ½ cup (100g) granulated sweetener of choice
- 2 teaspoons pure vanilla extract
- 1 tablespoon fresh lemon juice
- 1 tablespoon cornstarch (optional, for extra firmness)
Keto Cheesecake Recipe is a great option if you want to keep things strictly low-carb and swap the sweetener accordingly.
Kitchen Equipment Needed
You don’t need any specialty equipment for this, though a good blender makes the cottage cheese filling noticeably smoother. A springform pan is essential for clean, professional-looking slices.
Here’s what you’ll need:
- 9-inch springform pan
- High-speed blender or food processor
- Stand mixer or hand mixer
- Large mixing bowl
- Medium mixing bowl
- Rubber spatula
- Measuring cups and spoons
- Parchment paper
- Aluminum foil (for tent covering during baking)
- Offset spatula (optional, for smoothing the top)
- Cooling rack
Read Also: Sugar Free Cheesecake Recipe
Recommended Products for This Recipe
These are products I genuinely recommend based on quality and how much of a difference they make in the final result.
1. Fat Daddio’s 9-Inch Springform Pan
A high-quality springform pan with even heat distribution is the single most important piece of equipment for a clean, crack-free cheesecake. Fat Daddio’s anodized aluminum pan heats evenly, has a secure latch, and releases cleanly every time. It’s a professional-grade option at a very reasonable price.
2. Bob’s Red Mill Super-Fine Almond Flour
The texture of the crust depends almost entirely on how fine your almond flour is. Bob’s Red Mill super-fine blanched almond flour creates a smooth, cohesive crust that doesn’t feel grainy or greasy. It’s widely available and consistently reliable.
3. Lakanto Monkfruit Sweetener
If you want to keep this recipe lower in sugar, Lakanto’s monk fruit blend is the best swap. It measures cup-for-cup like sugar, dissolves well into the filling, and doesn’t leave any aftertaste the way some other sugar-free sweeteners do.
4. Vitamix Personal Blender
Blending the cottage cheese to a completely smooth consistency is what makes this filling undetectable. A powerful personal blender like the Vitamix One gets it silky-smooth in under a minute, with no lumps or graininess left behind.
Another favorite: Baked Cheesecake Recipe
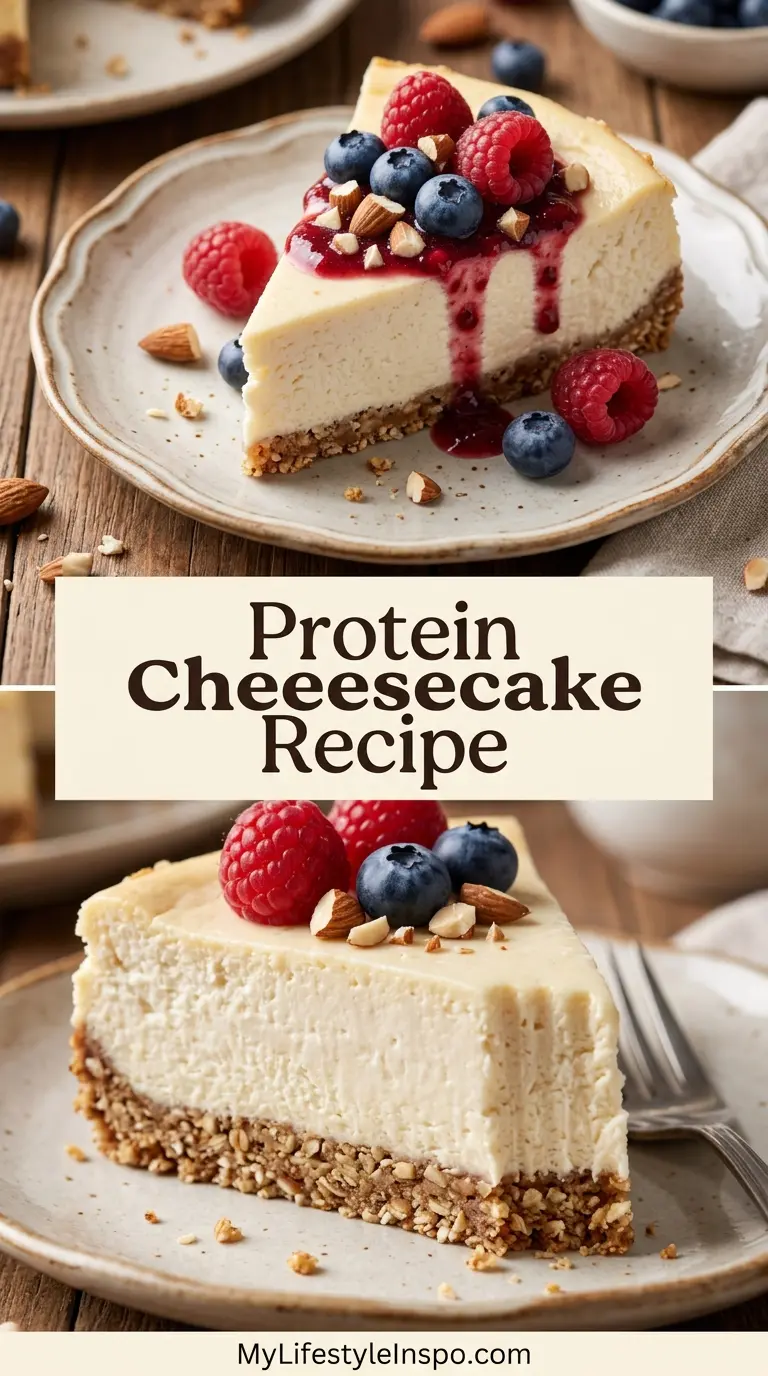
Step-by-Step Instructions
1. Prepare Your Pan and Preheat the Oven
- Preheat your oven to 325°F (163°C). This lower temperature is important for a creamy, crack-free cheesecake. High heat causes the eggs to cook too fast and can cause the center to crack.
- Line the bottom of a 9-inch springform pan with parchment paper. Cut a circle to fit snugly inside the base.
- Lightly grease the sides of the pan with butter or non-stick spray. This prevents the filling from sticking to the edges as it sets.
2. Make the Almond Flour Crust
- In a medium bowl, combine 1 ½ cups (150g) almond flour, 2 tablespoons (24g) granulated sweetener, and a pinch of salt. Stir together until evenly mixed.
- Add 3 tablespoons (42g) melted butter to the dry mixture. Stir with a fork or rubber spatula until the mixture resembles damp, clumpy sand. It should hold together when you press a small amount between your fingers.
- Pour the crust mixture into the prepared springform pan. Use the bottom of a flat measuring cup or glass to press it firmly and evenly across the base. Press it up the sides about half an inch if you prefer a taller crust edge.
- Bake the crust in the preheated oven for 10 minutes, or until it just starts to turn lightly golden. It won’t be fully cooked yet. Remove from the oven and let it cool while you prepare the filling.
3. Blend the Cottage Cheese
- Add 1 cup (240g) full-fat cottage cheese to a high-speed blender or food processor.
- Blend on high for 30 to 60 seconds until completely smooth. There should be no visible curds or lumps at all. If you can still see texture, keep blending. This step is critical because any lumps left behind will show up in the final texture of your cheesecake.
- Set the blended cottage cheese aside.
4. Beat the Cream Cheese
- In a large mixing bowl, beat 16 oz (454g) softened cream cheese with an electric hand mixer or stand mixer on medium speed for about 2 minutes.
- Scrape down the sides of the bowl with a rubber spatula and beat for another minute. The cream cheese should be completely smooth and fluffy with no lumps before you add anything else. Starting with room-temperature cream cheese is key here. Cold cream cheese will leave lumps in the batter that are hard to beat out later.
5. Add the Sweetener and Flavorings
- Add ½ cup (100g) granulated sweetener to the beaten cream cheese. Beat on medium speed for 1 minute until fully incorporated.
- Add 2 teaspoons vanilla extract and 1 tablespoon fresh lemon juice. The lemon juice is subtle but important. It mimics the natural tang of traditional cheesecake without adding a strong citrus flavor.
- If you’re using cornstarch, add 1 tablespoon now and mix it in. The cornstarch gives the filling a little extra stability and helps it set cleanly.
- Beat until everything is fully combined, about 30 seconds more.
6. Add the Greek Yogurt and Cottage Cheese
- Add ¾ cup (180g) plain Greek yogurt to the cream cheese mixture. Mix on low speed until just incorporated. Overmixing from this point on can incorporate too much air into the batter, which can cause cracking.
- Pour in the blended cottage cheese. Mix on low speed for about 30 seconds until smooth and evenly combined. Scrape the sides and bottom of the bowl to make sure everything is mixed through.
7. Add the Eggs
- Add the 3 eggs one at a time, mixing on low speed after each addition. Mix only until the yolk disappears into the batter. Do not overmix once the eggs go in. Overbeating the eggs is one of the main causes of a cracked cheesecake because it traps too much air in the batter.
- After the last egg is incorporated, give the batter a final gentle fold with the rubber spatula to make sure the bottom of the bowl is mixed in.
8. Pour the Filling and Bake
- Pour the completed filling over the pre-baked almond flour crust. Use an offset spatula or the back of a spoon to smooth the top into an even layer.
- Place the springform pan on a baking sheet (this catches any potential drips and also helps regulate the heat from the bottom).
- Create a loose foil tent over the top of the cheesecake without letting it touch the surface. This helps prevent the top from browning too quickly.
- Bake at 325°F (163°C) for 50 to 60 minutes. The edges should be set and slightly puffed while the center still has a gentle jiggle, about a 2-inch wobble in the very middle. It will continue to set as it cools.
9. Cool Gradually
- Turn the oven off but leave the cheesecake inside with the door cracked open for 1 hour. This gradual cooling prevents the sudden temperature change that causes the top to crack.
- After an hour, remove the cheesecake from the oven and run a thin knife or offset spatula around the inside edge of the springform pan. This loosens the cheesecake from the sides so it can contract freely as it cools without pulling and cracking.
- Let the cheesecake cool completely at room temperature for another hour.
10. Chill Overnight and Serve
- Once the cheesecake has fully cooled to room temperature, cover the top loosely with plastic wrap and transfer to the refrigerator.
- Chill for a minimum of 6 hours, though overnight is strongly recommended. The filling needs this time to fully set and develop its creamy, sliceable texture.
- When ready to serve, release the springform latch and carefully remove the outer ring. Slice with a clean, sharp knife, wiping the blade between cuts for neat slices.
- Add your toppings of choice and serve immediately.
This pairs beautifully with a fresh strawberry sauce recipe spooned over the top just before serving.
Tips for Success
Getting a perfect protein cheesecake is all about a few key details. Once you understand the why behind each tip, they’re easy to remember.
- Room temperature dairy is non-negotiable: Cold cream cheese won’t beat smooth, and cold eggs can cause the batter to curdle. Pull everything out of the fridge at least an hour before you start.
- Blend the cottage cheese completely: Any texture left in the cottage cheese will be visible in the finished cheesecake. Blend until it’s fully silky before adding it to the batter.
- Mix on low once eggs are added: Overbeating after the eggs go in is the most common cause of a cracked top. Use the lowest speed setting and only mix until just combined.
- Don’t skip the gradual cooling: The oven-off, door-cracked method might feel unnecessary, but that slow temperature drop is what keeps the surface smooth and intact.
- Use full-fat dairy throughout: Full-fat cream cheese, Greek yogurt, and cottage cheese give you the creamiest, most stable filling. Low-fat substitutes can result in a looser, less satisfying texture.
- Chill fully before slicing: Slicing too early is heartbreaking. Give it the full overnight in the fridge and you’ll get clean, beautiful slices every time.
For more high-protein baking inspiration, the easy protein pancakes recipe uses similar techniques for great results.
Serving Suggestions
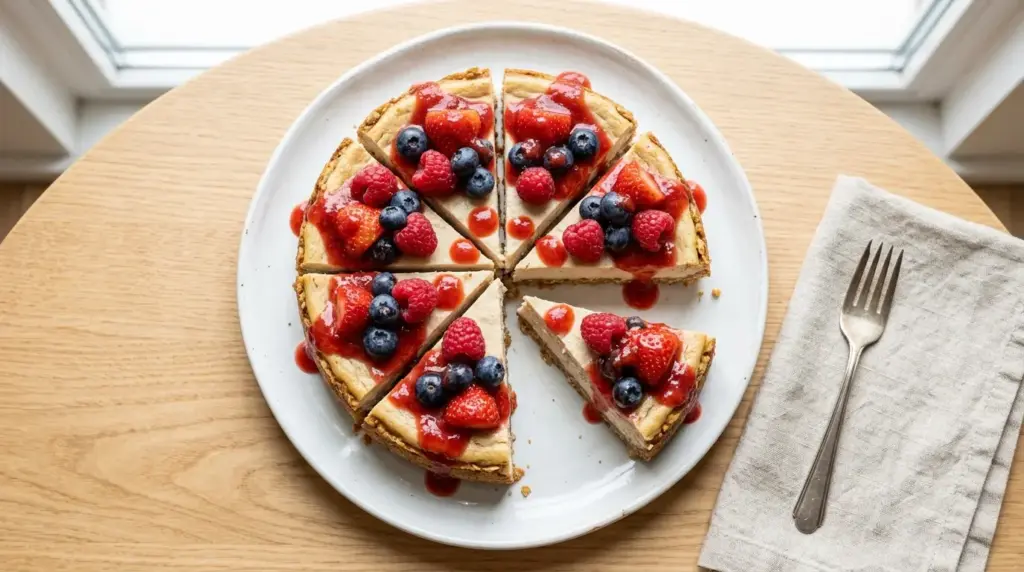
This cheesecake is a beautiful blank canvas. The filling is creamy and lightly tangy with a gentle sweetness, which means it pairs well with both fruity and rich toppings.
Some of the best ways to serve it include topping each slice just before serving rather than ahead of time, keeping the base cheesecake clean and fresh in the fridge until you’re ready.
Here are some great serving ideas:
- Fresh berry compote: Warm a cup of mixed berries with a tablespoon of sweetener and a squeeze of lemon. Spoon it over slices just before serving for a vibrant, naturally sweet topping.
- Sliced fresh fruit: Strawberries, blueberries, raspberries, or mango work beautifully against the tangy filling.
- Caramel drizzle: A light drizzle of caramel sauce adds richness without overpowering the cheesecake flavor.
- Lemon curd: A thin layer of lemon curd over the top adds brightness and a beautiful golden color.
- Whipped cream: A light dollop on each slice keeps things classic and elegant.
- Chocolate ganache: A thin pour of chocolate ganache over the cooled cheesecake creates a stunning finish for special occasions.
- Crushed graham crackers: Sprinkle a tablespoon over each slice for a little extra crunch and texture contrast.
Another favorite for protein-packed treats: Protein Smoothie Recipe
Variations to Try
The base recipe here is intentionally simple and neutral so it works as a starting point for all kinds of flavor directions.
Once you’ve made it once, you’ll find it easy to tweak in all sorts of ways:
- Chocolate protein cheesecake: Add 3 tablespoons of unsweetened cocoa powder and a scoop of chocolate-flavored protein powder to the filling for a rich, chocolatey version.
- Lemon protein cheesecake: Increase the lemon juice to 3 tablespoons and add 1 teaspoon of lemon zest. Top with a spoonful of homemade lemon curd and serve alongside a slice of lemon cheesecake recipe for a lemon lover’s spread.
- Strawberry swirl: Drop tablespoons of strawberry jam or strawberry preserves over the unbaked filling and swirl with a toothpick before baking. For a homemade sauce, try the strawberry sauce recipe as a topping after chilling.
- Pumpkin protein cheesecake: Replace the Greek yogurt with ½ cup canned pumpkin puree and add 1 teaspoon of pumpkin spice. This version is especially good in the fall.
- No-bake version: Skip the baking entirely and use a casein protein powder to help the filling set. Chill for at least 8 hours before serving.
- Mini cheesecakes: Divide the crust and filling between a lined 12-cup muffin tin. Bake at 325°F (163°C) for 20 to 25 minutes and chill before serving.
- Blueberry protein cheesecake: Top the chilled cheesecake with a homemade blueberry compote for a stunning finish, inspired by the classic blueberry cheesecake recipe.
Read Also: Philadelphia No Bake Cheesecake Recipe
Storage and Reheating
Protein cheesecake stores beautifully and actually gets better after an extra day in the fridge, making it perfect for meal prep.
Follow these guidelines for the best results:
- Refrigerator: Store the cheesecake covered (either with plastic wrap or an airtight cake container) in the fridge for up to 5 days. Keep toppings separate and add them just before serving to prevent the base from getting soggy.
- Freezer: Wrap individual slices tightly in plastic wrap, then place them in a zip-lock freezer bag. Freeze for up to 2 months. Thaw overnight in the refrigerator before serving.
- Do not microwave: Cheesecake should always be served cold or at room temperature. Microwaving changes the texture significantly.
- Pre-slicing for meal prep: Slice the whole cheesecake right after chilling, then store slices individually for easy grab-and-go portions throughout the week.
- Toppings: Add fresh fruit, sauces, or whipped cream only when ready to eat. Pre-topped slices can become watery after a day or two.
For more ideas on high-protein make-ahead breakfasts and snacks, the post-workout smoothie recipe is a great companion to this cheesecake.
Nutritional Facts
Nutrition will vary based on specific brands and sweeteners used. The values below are based on the recipe as written using full-fat dairy and a calorie-free granulated sweetener, cut into 10 slices.
Per Slice (approximate):
| Nutrient | Amount |
|---|---|
| Calories | 310 |
| Total Fat | 22g |
| Saturated Fat | 10g |
| Cholesterol | 105mg |
| Sodium | 280mg |
| Total Carbohydrates | 10g |
| Dietary Fiber | 1g |
| Sugars | 5g |
| Protein | 18-22g |
| Calcium | 140mg |
Using regular granulated sugar instead of a calorie-free sweetener adds approximately 40 calories and 10g of carbohydrates per slice.
For a fun celebratory twist, the cheesecake ice cream cake recipe takes cheesecake flavor in a completely different direction.
Health Benefits of Key Ingredients
The ingredients that make this a high-protein dessert also happen to bring a solid nutritional profile to the table.
Each one has a specific job in the recipe, but they also bring real functional benefits beyond just flavor and texture.
Here’s a closer look:
- Cream cheese: Provides a rich source of fat-soluble vitamins A and B12. It also contributes casein protein, which digests slowly and helps keep you feeling full longer.
- Greek yogurt: One of the most protein-dense dairy products available, Greek yogurt also delivers live active cultures (probiotics) that support gut health. Its natural acidity also contributes to the characteristic tangy flavor of cheesecake.
- Cottage cheese: Packed with casein protein and relatively low in calories for its volume, cottage cheese is an excellent ingredient for boosting protein content without adding a strong flavor. It’s also a good source of selenium, phosphorus, and B vitamins.
- Eggs: Beyond the structural role they play in the filling, eggs deliver high-quality complete protein, choline for brain function, and a range of fat-soluble vitamins.
- Almond flour: A natural swap for traditional graham cracker crust, almond flour provides healthy monounsaturated fats, vitamin E, magnesium, and fiber. It keeps the crust gluten-free and lower in refined carbohydrates.
- Lemon juice: Adds vitamin C and brightens the overall flavor. The acidity also helps balance the richness of the filling and supports the creamy texture.
You might also enjoy: Cottage Cheese Protein Pancakes Recipe
Frequently Asked Questions
1. Can I make this protein cheesecake without protein powder?
Yes, absolutely. This recipe doesn’t use protein powder at all. The protein content comes entirely from the cream cheese, Greek yogurt, and cottage cheese. Each slice naturally delivers around 18 to 22 grams of protein depending on the brands you use. If you want to increase the protein even further, you can blend in a scoop of unflavored or vanilla casein protein powder without significantly changing the texture.
2. Why does my cheesecake crack on top?
Cracking is almost always caused by one of three things: overmixing the batter after the eggs are added, baking at too high a temperature, or cooling too quickly. Make sure you mix on low speed once the eggs go in, bake at 325°F (163°C), and use the gradual oven-off cooling method described in the instructions. Running a knife around the edge of the pan right after baking also helps prevent cracks from forming as the cheesecake contracts.
3. Can I use low-fat cream cheese or Greek yogurt?
You can, but the texture will be noticeably different. Low-fat cream cheese tends to produce a slightly softer, less stable filling that may not slice as cleanly. Low-fat Greek yogurt works a bit better, but full-fat versions of both will give you the richest, creamiest result. If macros are a concern, the calorie savings from low-fat options are relatively small compared to the difference in texture and flavor.
4. How do I know when the cheesecake is done baking?
The edges should look set and slightly puffed, while the center should have a gentle wobble, about a 2-inch jiggle in the very middle when you shake the pan. It will look slightly underdone, and that’s exactly right. The filling continues to cook and set during the gradual cooling period. If the entire surface looks firm and there’s no wobble, it may be overbaked and could crack as it cools.
5. Can I make this ahead of time?
Protein cheesecake is actually better the day after it’s made. The flavors deepen and the texture becomes firmer and creamier after a full night in the refrigerator. You can make it up to 3 days ahead of serving. Store it covered in the fridge, add toppings right before serving, and slice with a warm, clean knife for the neatest presentation.
Read Also: Best Cheesecake Recipe
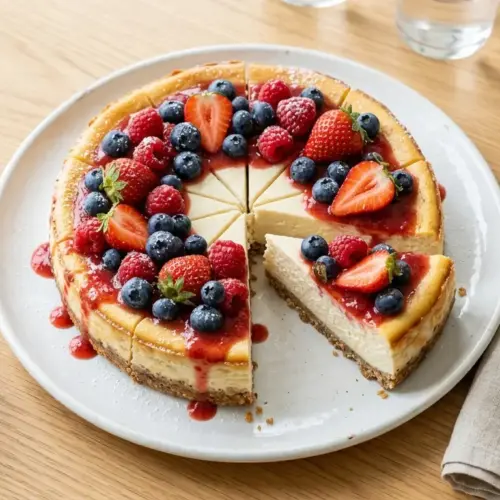
Protein Cheesecake

Equipment
- 9-inch springform pan - Essential for clean, professional-looking slices
- High-Speed Blender or Food Processor - For blending cottage cheese until completely smooth
- Stand mixer or hand mixer - For beating cream cheese and mixing filling
- Large mixing bowl
- Medium mixing bowl - For the crust
- Rubber spatula - For scraping and gentle folding
- Measuring cups and spoons
- Parchment paper - For lining the bottom of the springform pan
- Aluminum foil - For tent covering during baking
- Offset spatula - Optional, for smoothing the top of the filling
- Cooling rack
Ingredients
- 1 ½ cups almond flour - 150g, super-fine blanched for best texture
- 3 tablespoons unsalted butter - 42g, melted
- 2 tablespoons granulated sweetener - 24g, sugar, monk fruit, or erythritol
- salt - a pinch
Cheesecake Filling
- 16 oz cream cheese - 454g, full-fat, softened to room temperature
- 1 cup cottage cheese - 240g, full-fat, blended smooth
- ¾ cup Greek yogurt - 180g, full-fat, plain
- 3 large eggs - room temperature
- ½ cup granulated sweetener - 100g, of choice
- 2 teaspoons pure vanilla extract
- 1 tablespoon fresh lemon juice
- 1 tablespoon cornstarch - optional, for extra firmness
Instructions
- Preheat oven to 325°F (163°C). Line the bottom of a 9-inch springform pan with parchment paper and lightly grease the sides.
- Combine almond flour, sweetener, and salt in a medium bowl. Stir in melted butter until the mixture resembles damp sand. Press firmly into the bottom of the prepared pan, pressing up the sides if desired. Bake for 10 minutes and let cool.
- Blend cottage cheese in a high-speed blender for 30 to 60 seconds until completely smooth with no visible curds. Set aside.
- Beat softened cream cheese in a large bowl with a mixer on medium speed for 2 to 3 minutes until smooth and fluffy with no lumps.
- Add sweetener, vanilla extract, lemon juice, and cornstarch if using. Beat on medium speed until fully combined, about 1 minute.
- Add Greek yogurt and blended cottage cheese. Mix on low speed until just combined. Scrape the sides and bottom of the bowl.
- Add eggs one at a time, mixing on low speed after each addition just until the yolk disappears. Do not overmix.
- Pour filling over the pre-baked crust and smooth the top. Place the pan on a baking sheet and tent loosely with foil. Bake for 50 to 60 minutes until the edges are set and the center has a gentle wobble.
- Turn the oven off and leave the cheesecake inside with the door cracked open for 1 hour. Run a thin knife around the edge of the pan, then cool completely at room temperature for another hour.
- Cover and refrigerate for at least 6 hours or overnight. Release the springform latch, slice with a clean knife, add toppings, and serve.
Notes
- Room temperature dairy is essential for a smooth, lump-free filling. Remove cream cheese, eggs, and yogurt from the fridge at least 1 hour before starting.
- Blend the cottage cheese until completely silky. Any remaining texture will be visible in the finished cheesecake.
- Mix on low speed once the eggs are added. Overbeating traps air and is the most common cause of a cracked top.
- Don’t skip the gradual cooling process. Cooling the cheesecake in the turned-off oven with the door cracked prevents sudden temperature changes that cause cracking.
- Full-fat dairy products yield the creamiest, most stable filling. Low-fat substitutes can result in a looser texture.
- Chill the cheesecake for a minimum of 6 hours, but overnight is strongly recommended for the best texture and clean slices.
- Store covered in the refrigerator for up to 5 days. Keep toppings separate and add them just before serving.
- Freeze individual slices wrapped tightly in plastic wrap for up to 2 months. Thaw overnight in the refrigerator before serving.
- Serve with fresh berry compote, sliced fruit, caramel drizzle, lemon curd, or whipped cream for a delicious finish.
- For a chocolate version, add 3 tablespoons of unsweetened cocoa powder to the filling. For a pumpkin version, replace the Greek yogurt with ½ cup canned pumpkin puree and add 1 teaspoon pumpkin spice.
Final Thoughts
This protein cheesecake recipe delivers everything you love about the classic dessert, without making you feel like you’re settling for a lesser version.
The filling is genuinely creamy, the crust has real crunch, and the flavor is that perfect balance of rich and tangy that makes cheesecake so satisfying.
Give it a try this weekend. Make it the night before, let the fridge do its thing, and serve it with whatever toppings make you happy.
If you try this recipe, leave a comment below and let me know how it turned out! Share your favorite topping combinations too because there are so many great ways to make this one your own.
Recommended:
- Gluten Free Cheesecake Recipe
- Vegan Cheesecake Recipe
- Lactose Free Cheesecake Recipe
- New York Cheesecake Recipe
- Pumpkin Cheesecake Recipe
- Oreo Cheesecake Recipe
- Japanese Cheesecake Recipe
- Strawberry Cheesecake Recipe
- Mini Cheesecake Recipe
- Banana Protein Smoothie Recipe



