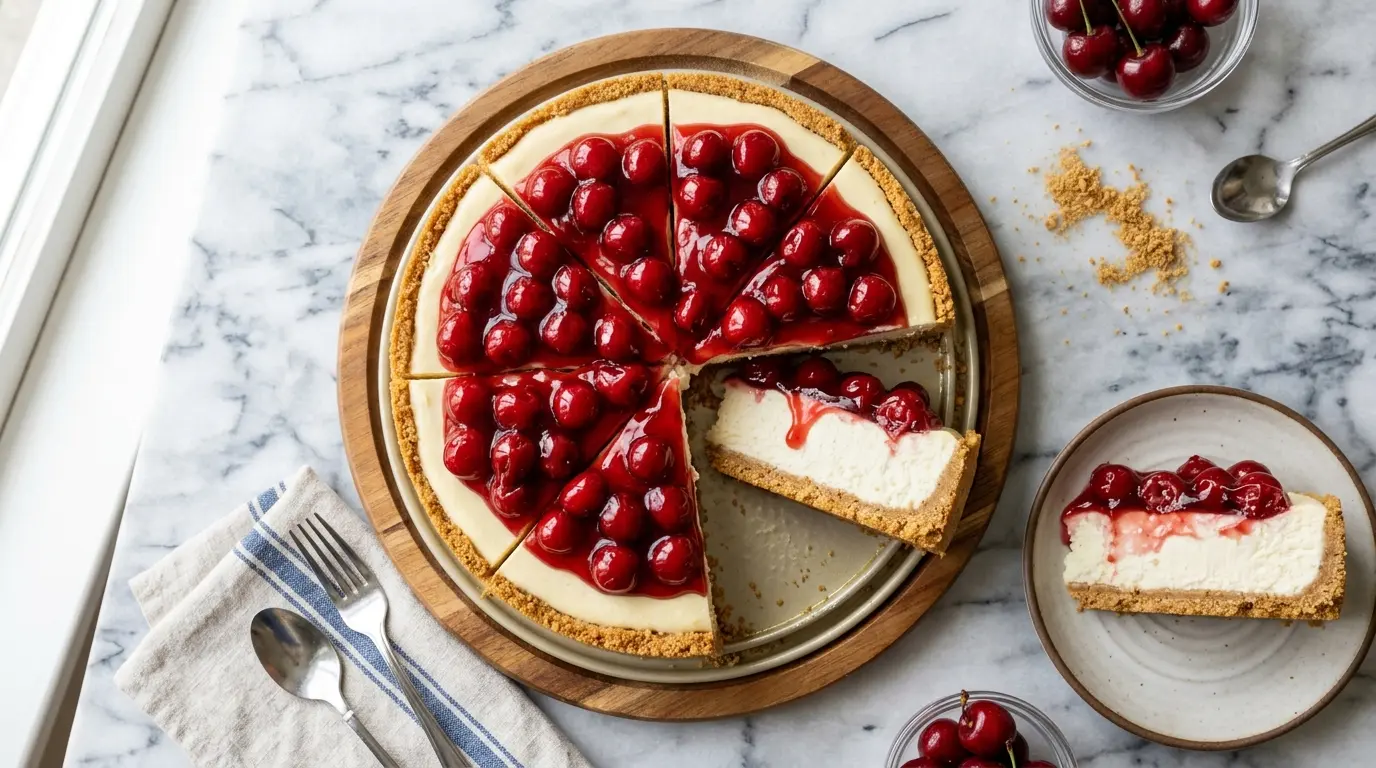
If you have been searching for the perfect Philadelphia No Bake Cheesecake Recipe, you have landed in exactly the right place. This classic dessert delivers everything you love about a traditional cheesecake, from the tangy cream cheese filling to the buttery graham cracker crust, without ever switching the oven on.
It is silky smooth, impossibly creamy, and comes together with just a handful of everyday ingredients.
The secret to making this no bake version work is using full-fat Philadelphia cream cheese, which gives the filling its signature richness and structure. Pair that with heavy whipping cream beaten to stiff peaks and a touch of sour cream for depth, and you get a cheesecake filling that slices beautifully and tastes like a dessert worth celebrating.
This is also the kind of recipe that rewards planning ahead. A long chill time in the refrigerator, ideally overnight, gives the filling time to firm up and set properly, making it the ideal make-ahead dessert for holidays, dinner parties, or summer cookouts.
Whether you are a first-time baker or a seasoned home cook, this recipe is completely foolproof. No water baths, no springform cracks, no mystery. Just a reliably gorgeous cheesecake every single time.
For a classic baked version of this dessert, check out this Philadelphia Cheesecake Recipe for a comparison.
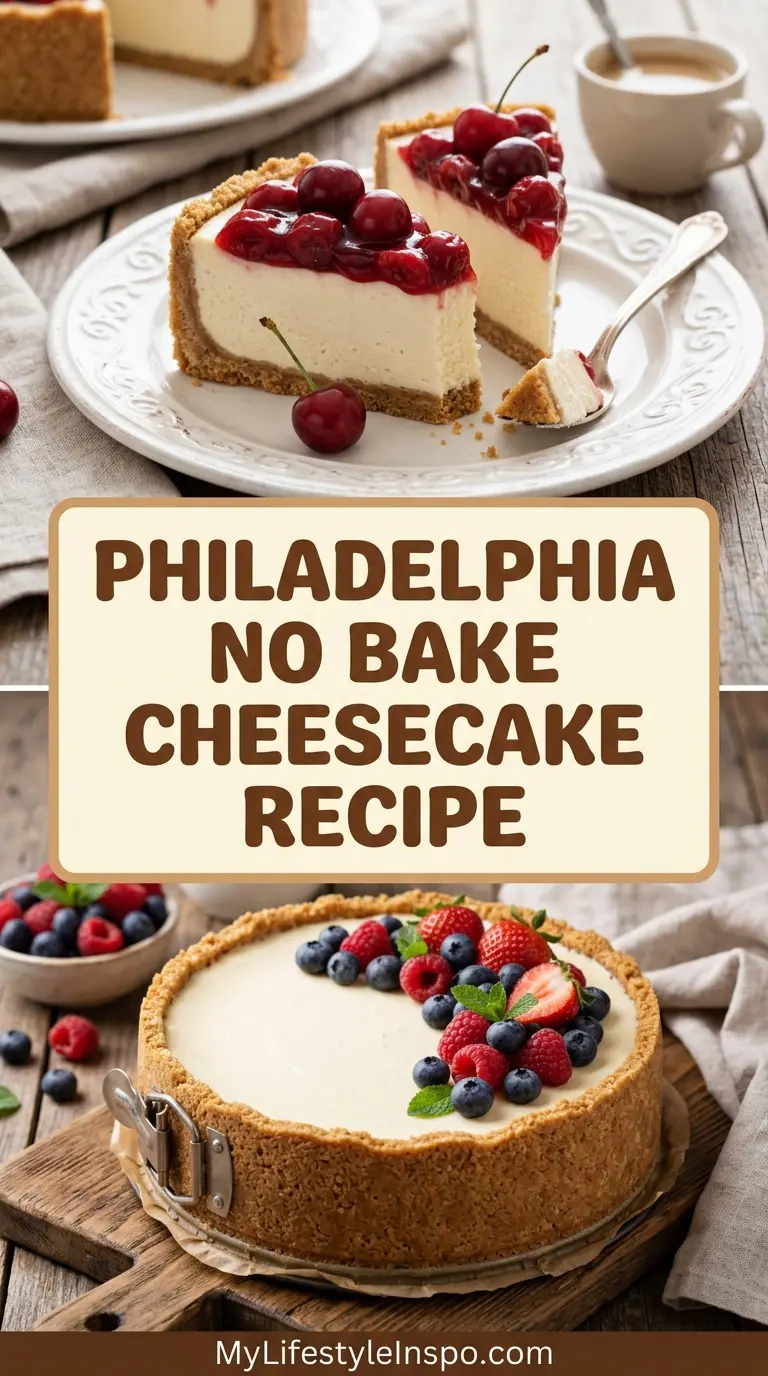
Why You’ll Love This Philadelphia No Bake Cheesecake Recipe
This recipe has become a go-to dessert for good reason.
It skips the oven entirely, which means no cracked tops, no water baths, and no nervous hovering over the stove. The process is simple, and the results are stunning.
The filling is light and mousse-like in texture, which makes it feel slightly less heavy than a traditional baked cheesecake. It is the kind of dessert that disappears fast at any gathering.
It is incredibly versatile. You can dress it up with fresh strawberries, cherry pie filling, blueberry compote, chocolate drizzle, or keep it completely plain and let the creamy vanilla flavor shine.
The make-ahead factor is a genuine advantage. Preparing this the night before an event means zero stress on the day and a perfectly chilled, sliceable cheesecake ready to serve.
- No oven required, which makes it perfect for hot weather or when your oven is occupied
- Ready to slice after just 4-6 hours of chilling, or even better after an overnight rest
- Made with recognizable, widely available ingredients like cream cheese, sour cream, and graham crackers
- Feeds a crowd easily with 8-10 generous slices per cheesecake
- A naturally gluten-free filling that just needs a crust swap for those avoiding gluten
You might also enjoy: No Bake Cheesecake Recipe
Ingredients
This recipe uses straightforward ingredients that work together to create the perfect balance of richness and tang. Full-fat versions of dairy products are highly recommended here since reduced-fat substitutes can result in a runny, unstable filling.
For the Graham Cracker Crust:
- 2 cups (200 g) graham cracker crumbs (about 14-15 full crackers)
- 1/3 cup (75 g) granulated sugar
- 1/2 cup (115 g) unsalted butter, melted
For the Cheesecake Filling:
- 3 packages (24 oz / 680 g) full-fat Philadelphia cream cheese, softened to room temperature
- 1 cup (115 g) powdered sugar, sifted
- 1/2 cup (115 g) full-fat sour cream, at room temperature
- 2 teaspoons pure vanilla extract
- 1 tablespoon fresh lemon juice
- 1 cup (240 ml) heavy whipping cream, cold
For the Topping (Optional):
- 1 can (21 oz / 595 g) cherry pie filling, or fresh berries, caramel sauce, or chocolate ganache as desired
Read Also: Strawberry Cheesecake Recipe
Kitchen Equipment Needed
Having the right tools on hand will make this recipe much smoother from start to finish. A stand mixer is not strictly necessary, but it does make whipping the cream and beating the cream cheese significantly easier.
- 9-inch springform pan (recommended) or a 9-inch pie dish
- Stand mixer or electric hand mixer
- Large mixing bowl and medium mixing bowl
- Rubber spatula for folding and scraping
- Measuring cups and measuring spoons
- Offset spatula for smoothing the filling
- Plastic wrap or aluminum foil for covering during chilling
- Food processor or zip-lock bag with a rolling pin for crushing graham crackers
Another favorite: Blueberry Cheesecake Recipe
Recommended Products for This Recipe
These are products I genuinely recommend based on quality and how much of a difference they make in this specific recipe.
1. Philadelphia Full-Fat Cream Cheese Blocks
The cream cheese you choose is the single most important ingredient in this recipe. Full-fat Philadelphia cream cheese blocks (not the spreadable tub version) give the filling its structure, tang, and that iconic creamy texture. Reduced-fat versions contain more water and can cause a soft, runny filling that will not set properly.
2. 9-Inch Non-Stick Springform Pan
A springform pan with a removable bottom makes releasing and slicing the cheesecake completely stress-free. The sides release cleanly without damaging the crust or the edges of the filling, giving you beautiful, professional-looking slices every time.
3. KitchenAid Stand Mixer
Whipping the heavy cream to stiff peaks is much easier and more consistent with a stand mixer. It also makes beating the cream cheese filling perfectly smooth without any lumps, which is key to that silky no-bake texture.
4. Nielsen-Massey Pure Vanilla Extract
A high-quality vanilla extract makes a noticeable difference in a recipe this simple. Since there are so few flavoring agents in the filling, the vanilla is front and center. Nielsen-Massey is a trusted brand with a deep, warm vanilla flavor that elevates the filling beautifully.
5. Graham Cracker Crumbs (Pre-Crushed)
Using pre-crushed graham cracker crumbs saves time and guarantees a uniformly fine texture for the crust. A coarse crust can crumble and fall apart when slicing, while a finely crushed crust holds together neatly.
Read Also: Lemon Cheesecake Recipe
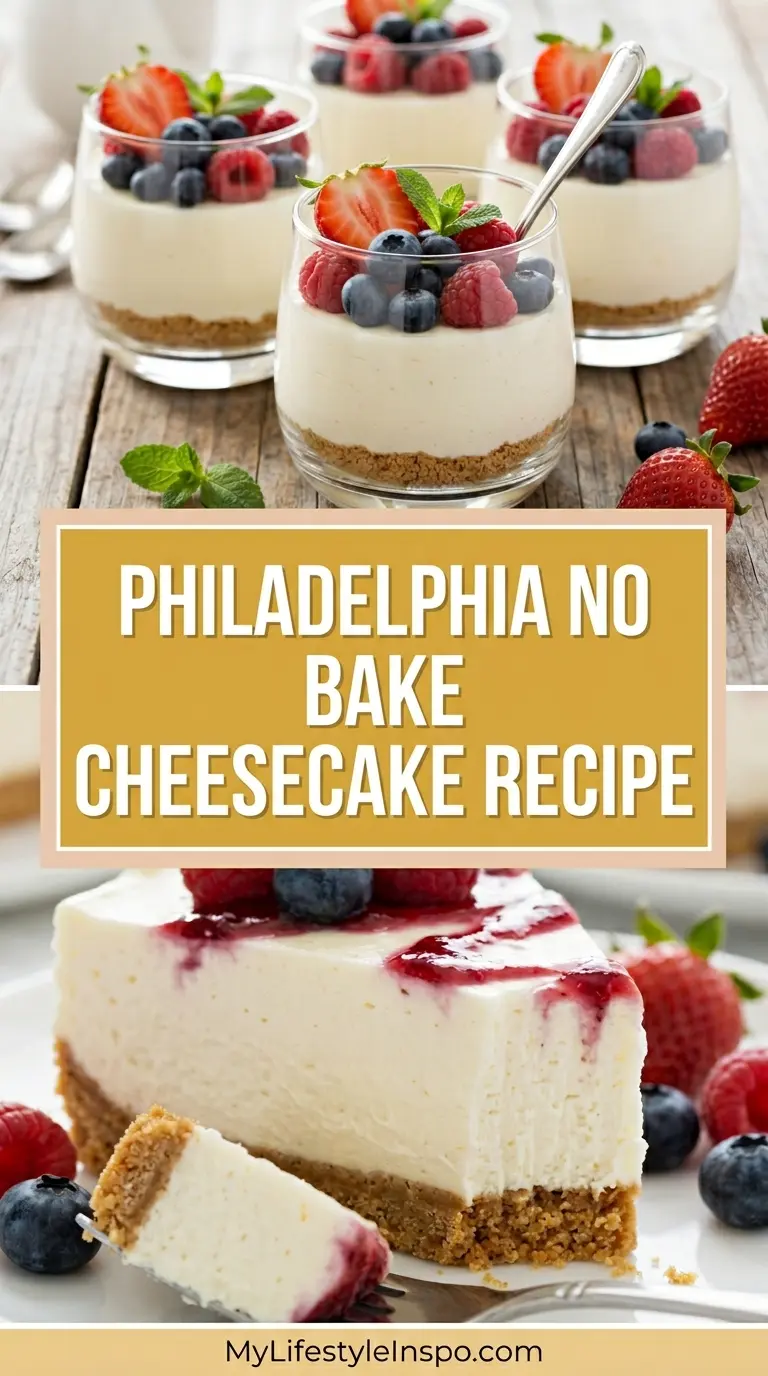
Step-by-Step Instructions
Step 1: Crush the Graham Crackers and Make the Crust
- If using whole graham crackers, place them in a large zip-lock bag and roll firmly with a rolling pin until you have fine, even crumbs. Alternatively, pulse them in a food processor for 30-45 seconds until the texture resembles coarse sand.
- Pour the 2 cups (200 g) of graham cracker crumbs into a large mixing bowl.
- Add the 1/3 cup (75 g) of granulated sugar to the crumbs and stir to combine evenly.
- Pour in the 1/2 cup (115 g) of melted unsalted butter and mix thoroughly until every crumb is coated. The mixture should hold together when you press a small amount between your fingers. If it feels too dry, add an extra tablespoon of melted butter.
Step 2: Press the Crust Into the Pan
- Lightly grease the bottom and sides of your 9-inch springform pan with a very thin layer of softened butter or non-stick cooking spray.
- Transfer the crumb mixture into the prepared pan.
- Use the flat bottom of a measuring cup to press the crumbs firmly and evenly across the bottom of the pan. Work the crumbs about 1 inch up the sides of the pan to form a slight edge, which will help contain the filling.
- Press with firm, even pressure to compact the crust. A well-packed crust will hold together cleanly when sliced.
- Place the crust in the refrigerator and chill for at least 30 minutes. This allows the butter to solidify and the crust to set before you add the wet filling.
Step 3: Soften the Cream Cheese
- Remove the 3 packages (24 oz / 680 g) of Philadelphia cream cheese from the refrigerator at least 45 minutes to 1 hour before mixing. Properly softened cream cheese is critical for a lump-free filling.
- To check if it is soft enough, press the block gently with your finger. It should leave an indent easily without resistance.
- Do not attempt to soften cream cheese in the microwave. Uneven heating can partially melt it, which changes the texture of the final filling.
Step 4: Whip the Heavy Cream
- Pour the 1 cup (240 ml) of cold heavy whipping cream into a clean, chilled mixing bowl. The bowl must be cold and completely free of grease to achieve proper stiff peaks.
- Beat the cream using a stand mixer or hand mixer on medium-high speed for 2-4 minutes.
- Watch the cream carefully as it transforms. It will first turn frothy, then thicker, then finally reach stiff peaks, which means the cream holds a firm, upright peak when you lift the beaters.
- Stop as soon as you reach stiff peaks. Overbeating will begin to turn the cream grainy or buttery.
- Set the whipped cream aside in the refrigerator while you prepare the cream cheese filling.
Step 5: Beat the Cream Cheese Filling
- In a separate large mixing bowl, beat the softened cream cheese on medium speed for 2-3 minutes until completely smooth and creamy. Scrape down the sides of the bowl frequently with a rubber spatula to ensure no lumps remain.
- Add the 1 cup (115 g) of sifted powdered sugar to the cream cheese. Beat on medium speed for 1-2 minutes until fully combined and fluffy. Sifting the powdered sugar prevents clumps from forming in the filling.
- Add the 1/2 cup (115 g) of full-fat sour cream to the bowl. Beat on medium speed until the sour cream is fully incorporated and the mixture is silky smooth. The sour cream adds a subtle tang and helps give the filling its body and creaminess.
- Add the 2 teaspoons of pure vanilla extract and the 1 tablespoon of fresh lemon juice. Mix on low speed until just combined. The lemon juice brightens the flavors and adds to the structural integrity of the filling.
Step 6: Fold in the Whipped Cream
- Remove the whipped cream from the refrigerator.
- Add approximately one-third of the whipped cream to the cream cheese mixture and gently fold it in using a rubber spatula. This first addition lightens the cream cheese base and makes it easier to fold in the rest without deflating the whipped cream.
- Add the remaining whipped cream in two more additions, folding gently each time with a light, sweeping motion from the bottom of the bowl to the top. Do not stir or beat. The goal is to keep as much air in the mixture as possible, which is what gives the filling its light, mousse-like texture.
- Stop folding when the mixture is just combined and uniform in color with no white streaks remaining.
Step 7: Fill the Cheesecake Pan
- Remove the chilled crust from the refrigerator.
- Pour the cheesecake filling over the crust, using a rubber spatula to guide it evenly across the surface.
- Use an offset spatula to smooth the top of the filling into a flat, even layer. Start from the center and work outward in gentle circular motions.
- Tap the pan gently on the counter a few times to release any air bubbles trapped near the surface.
Step 8: Chill the Cheesecake
- Cover the pan tightly with plastic wrap, making sure the plastic does not touch the surface of the filling.
- Place the cheesecake in the refrigerator for a minimum of 4-6 hours. For the best results and the firmest, cleanest slices, refrigerate overnight (8-12 hours).
- Resist the urge to open the refrigerator door frequently during chilling. Consistent cold temperature is what allows the filling to firm up properly.
Step 9: Add Toppings and Serve
- When you are ready to serve, carefully remove the springform ring by running a thin knife or offset spatula around the edge of the cheesecake between the filling and the pan side before unlatching.
- Spoon your desired topping over the surface. Cherry pie filling is the classic choice and looks stunning against the white filling. Fresh strawberries, blueberry compote, lemon curd, caramel sauce, or chocolate ganache all work beautifully.
- Slice with a sharp, clean knife. Wiping the blade with a damp cloth between cuts will give you clean, professional-looking slices.
- Serve immediately or return to the refrigerator until ready to serve.
The same folding technique used in this recipe works beautifully in Mini Cheesecake Recipe as well.
Tips for Success
Small adjustments during the process can make a big difference in the final result. Keep these in mind before you start.
- Use full-fat, block-style cream cheese. The spreadable tub version contains stabilizers and extra moisture that prevent the filling from setting up properly. Blocks of full-fat Philadelphia cream cheese are non-negotiable for the best texture.
- Soften the cream cheese completely. Cold cream cheese will not beat smoothly and will leave lumps in the filling. Set it out at room temperature for a full hour before beginning.
- Chill the heavy cream and bowl before whipping. Cold equipment and cold cream are essential for achieving stiff peaks. If your kitchen is warm, even chill the bowl in the freezer for 10 minutes beforehand.
- Fold, do not stir, when combining the whipped cream. Folding preserves the air whipped into the cream, which creates the light texture. Stirring will collapse the cream and result in a denser filling.
- Press the crust firmly. A loosely packed crust will crumble when sliced. Press it with the flat bottom of a measuring cup using real pressure until it is compacted and even.
- Always chill overnight if possible. While the cheesecake is technically ready in 4-6 hours, the overnight chill produces a noticeably firmer, more sliceable result with a cleaner flavor.
- Add toppings just before serving. Fruit toppings can release liquid over time, which can make the surface of the cheesecake slightly wet if left overnight. Spoon them on right before serving for the best presentation.
Read Also: Oreo Cheesecake Recipe
Serving Suggestions
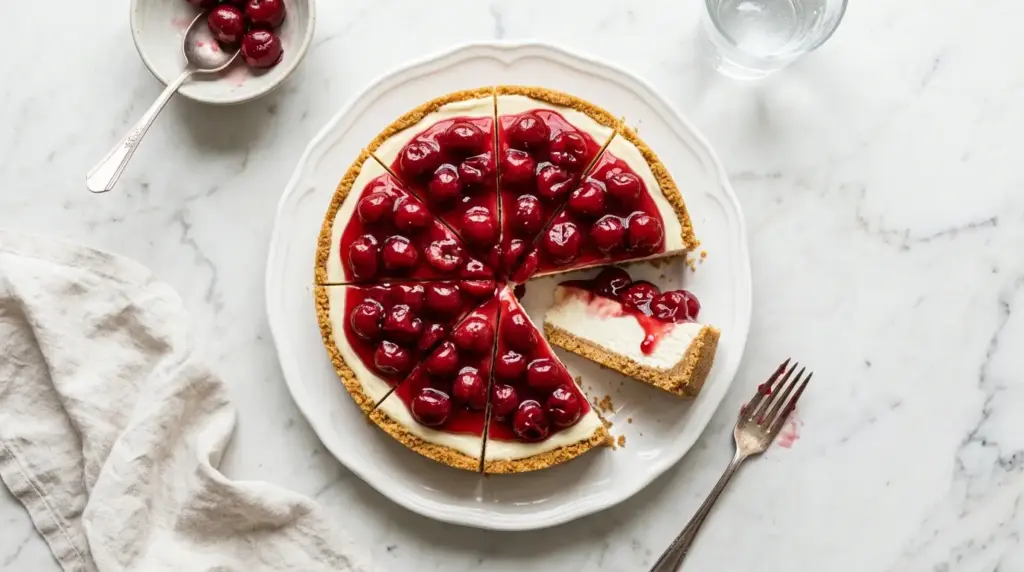
This cheesecake is stunning on its own, but the right toppings and pairings take it from simple to genuinely spectacular.
Top each slice with a generous spoonful of cherry pie filling for the classic look that Philadelphia cream cheese made famous. The tartness of the cherries cuts beautifully through the richness of the filling.
A drizzle of homemade caramel sauce over each slice adds a warm, buttery depth that complements the vanilla-laced filling.
- Spoon a bright Fresh Strawberry Sauce over the top for a naturally sweet finish
- Scatter fresh blueberries and a dusting of powdered sugar over the cheesecake for a simple but elegant presentation
- Top with lightly sweetened whipped cream rosettes piped around the border, then fill the center with your favorite fruit
- Serve alongside strong black coffee or a rich espresso, as the bitterness of the coffee pairs wonderfully with the sweetness of the filling
- Plate individual slices with a small scoop of vanilla bean ice cream on the side for an extra indulgent dessert plate
Read Also: Churro Cheesecake Recipe
Variations to Try
Once you have mastered the base recipe, the variations are almost endless. The classic cream cheese filling acts as a perfect canvas for all kinds of flavors.
- Lemon No Bake Cheesecake: Increase the lemon juice to 3 tablespoons and add 2 teaspoons of fresh lemon zest to the filling. The citrus cuts through the richness and brightens the whole flavor profile. Top with lemon curd for a gorgeous, tangy finish.
- Chocolate No Bake Cheesecake: Melt 4 oz (113 g) of good-quality dark chocolate and let it cool completely before folding it into the cream cheese base. A dusting of cocoa powder on top makes for a dramatic presentation.
- Strawberry No Bake Cheesecake: Blend 1/2 cup of fresh strawberries into a smooth puree and fold it into the filling before adding the whipped cream. Top with sliced fresh strawberries.
- Oreo No Bake Cheesecake: Replace the graham cracker crust with crushed Oreo cookies mixed with melted butter. Fold 1/2 cup of crushed Oreos into the filling as well for a cookies-and-cream version.
- Pumpkin Spice No Bake Cheesecake: Fold 1/2 cup of canned pumpkin puree and 1 1/2 teaspoons of pumpkin pie spice into the cream cheese base for a beautiful fall dessert.
- Key Lime No Bake Cheesecake: Replace the lemon juice with 4 tablespoons of fresh key lime juice and add 2 teaspoons of lime zest. The result is bright, tangy, and refreshing.
Another favorite: Pumpkin Cheesecake Recipe
Storage and Reheating
This cheesecake stores beautifully and actually improves in flavor over the first day or two as the filling continues to set and the flavors meld together.
- Refrigerator: Cover the cheesecake tightly with plastic wrap or store individual slices in an airtight container. It will keep well in the refrigerator for up to 5 days. Add toppings just before serving each portion rather than storing with fruit toppings on top.
- Freezer: No bake cheesecake freezes exceptionally well. Wrap the whole cheesecake (without toppings) tightly in plastic wrap, then in a layer of aluminum foil. Freeze for up to 2 months.
- Thawing from frozen: Transfer the cheesecake from the freezer to the refrigerator the night before you plan to serve it. Let it thaw slowly in the fridge for 6-8 hours. Never thaw at room temperature, as this causes condensation and can make the filling soggy.
- Reheating: This is a no bake, cold dessert and should never be reheated. Serve it chilled straight from the refrigerator for the best texture and cleanest slices.
Read Also: Best Cheesecake Recipe
Nutritional Facts
The following values are approximate and based on one slice, assuming the cheesecake is cut into 10 equal portions, without any additional toppings.
| Nutrient | Per Serving (1 slice) |
|---|---|
| Calories | 445 kcal |
| Total Fat | 34 g |
| Saturated Fat | 20 g |
| Cholesterol | 100 mg |
| Sodium | 290 mg |
| Total Carbohydrates | 31 g |
| Dietary Fiber | 0.5 g |
| Total Sugars | 22 g |
| Protein | 6 g |
| Calcium | 100 mg |
These values will vary depending on specific brands used, the thickness of your crust, and any toppings added.
You might also enjoy: New York Cheesecake Recipe
Health Benefits of Key Ingredients
This is an indulgent dessert, but a few of its core ingredients bring some genuine nutritional value to the table.
Cream cheese is a good source of fat-soluble vitamins, particularly Vitamin A, which supports eye health and immune function. Full-fat dairy also contains conjugated linoleic acid (CLA), which research suggests may have beneficial properties.
- Cream cheese provides calcium, phosphorus, and Vitamin A. Full-fat versions are also a source of choline, a nutrient that supports brain health and liver function.
- Sour cream contains probiotics in live-culture versions, which can support gut health. It also adds calcium and small amounts of B vitamins, particularly B12.
- Heavy whipping cream is rich in fat-soluble vitamins including Vitamins A, D, E, and K2. Vitamin K2 in particular plays an important role in bone health and cardiovascular function.
- Lemon juice is an excellent source of Vitamin C and citric acid, which helps with iron absorption and provides a bright, antioxidant-rich addition to the filling.
- Graham crackers provide a small amount of dietary fiber and complex carbohydrates, giving the crust its texture and a mild whole-grain flavor.
This recipe is also naturally gluten-free if you swap the graham cracker crust for a certified gluten-free equivalent.
This recipe pairs beautifully with a Fruit Tart for a dessert spread at your next gathering.
Frequently Asked Questions
1. Can I make this Philadelphia No Bake Cheesecake without Cool Whip?
Yes, and this recipe already does exactly that. Using freshly whipped heavy cream in place of Cool Whip gives you more control over the sweetness and creates a cleaner, more natural flavor. Simply beat cold heavy whipping cream to stiff peaks as described in the instructions and fold it into the filling as directed.
2. Why is my no bake cheesecake not setting up firmly?
The most common reasons are insufficient chilling time, cream cheese that was not at room temperature before mixing (leading to an improperly beaten filling), or using reduced-fat dairy products that contain more water. Always use full-fat block cream cheese, soften it completely before beating, and allow the cheesecake to chill for at least 6 hours, preferably overnight.
3. Can I use a store-bought graham cracker crust?
Absolutely. A pre-made 9-inch graham cracker crust from the store works perfectly well and saves time. Just spoon the filling directly into the pre-made crust and chill as directed. If using a store-bought crust, there may be a small amount of filling left over depending on the crust depth, which can be enjoyed on its own as a mousse.
4. How far in advance can I make this cheesecake?
This cheesecake can be made up to 2 days in advance and stored covered in the refrigerator. The flavor and texture actually improve slightly after 24 hours as everything firms up and the filling continues to develop. Just add your toppings right before serving for the freshest presentation.
5. Can I freeze the leftover cheesecake?
Yes, this cheesecake freezes very well. Wrap individual slices or the whole cheesecake tightly in plastic wrap and then in aluminum foil. Freeze for up to 2 months. To serve, move the frozen cheesecake to the refrigerator and allow it to thaw slowly for 6-8 hours. The texture remains excellent after freezing, though it is best enjoyed within the first month.
The same no-bake technique used here works brilliantly for making a Cheesecake Ice Cream Cake if you are feeling adventurous.
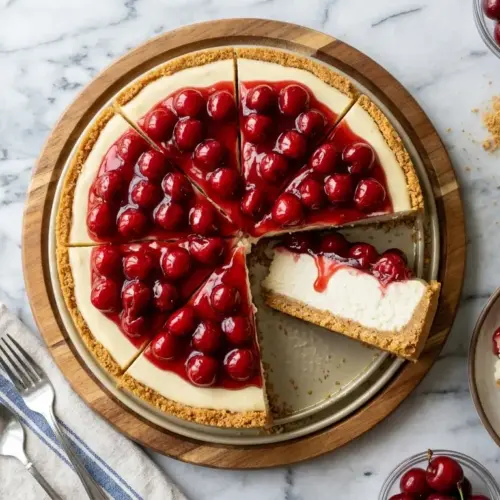
Philadelphia No Bake Cheesecake

Equipment
- 9-inch springform pan - recommended for easy removal; a 9-inch pie dish also works
- Stand mixer or electric hand mixer - stand mixer makes whipping cream and beating cream cheese significantly easier
- Large mixing bowl
- Medium mixing bowl
- Rubber spatula - for folding and scraping
- Measuring cups
- Measuring spoons
- Offset spatula - for smoothing the filling
- Plastic wrap or aluminum foil - for covering during chilling
- Food processor or zip-lock bag with rolling pin - for crushing graham crackers
Ingredients
- 2 cups graham cracker crumbs - 200g, about 14-15 full crackers
- 1/3 cup granulated sugar - 75g
- 1/2 cup unsalted butter - 115g, melted
For the Cheesecake Filling
- 24 oz Philadelphia cream cheese - 680g, full-fat block style, softened to room temperature
- 1 cup powdered sugar - 115g, sifted
- 1/2 cup sour cream - 115g, full-fat, at room temperature
- 2 teaspoons pure vanilla extract
- 1 tablespoon fresh lemon juice
- 1 cup heavy whipping cream - 240ml, cold
For the Topping (Optional)
- 21 oz cherry pie filling - 595g, 1 can; or use fresh berries, caramel sauce, or chocolate ganache as desired
Instructions
- In a medium bowl, combine 2 cups graham cracker crumbs and 1/3 cup granulated sugar. Pour in 1/2 cup melted unsalted butter and mix until all crumbs are moistened and the mixture holds together when pressed.
- Transfer the crumb mixture to a lightly greased 9-inch springform pan. Press firmly and evenly into the bottom and about 1 inch up the sides using the flat bottom of a measuring cup. Refrigerate for at least 30 minutes.
- In a chilled mixing bowl, beat 1 cup of cold heavy whipping cream on medium-high speed for 2-4 minutes until stiff peaks form. Set aside in the refrigerator.
- In a large mixing bowl, beat 24 oz of softened full-fat cream cheese on medium speed for 2-3 minutes until completely smooth and creamy, scraping down the sides frequently.
- Add 1 cup sifted powdered sugar and beat for 1-2 minutes until fluffy. Mix in 1/2 cup sour cream until fully incorporated. Add 2 teaspoons vanilla extract and 1 tablespoon lemon juice, mixing on low speed until just combined.
- Gently fold one-third of the whipped cream into the cream cheese mixture to lighten it. Fold in the remaining whipped cream in two additions using a light, sweeping motion from the bottom to the top until no white streaks remain.
- Pour the filling over the chilled crust and smooth the top with an offset spatula. Tap the pan gently on the counter to release any air bubbles.
- Cover the pan tightly with plastic wrap and refrigerate for a minimum of 4-6 hours, or preferably overnight (8-12 hours), until the filling is completely firm and set.
- Before serving, run a thin knife around the edge of the pan to release the cheesecake from the springform ring. Top with your desired topping such as cherry pie filling, fresh berries, or caramel sauce. Slice with a sharp knife, wiping the blade clean between cuts.
Notes
- Use full-fat block cream cheese: This is non-negotiable for the proper texture. Spreadable tub cream cheese contains stabilizers and extra moisture that will prevent the filling from setting up correctly.
- Properly soften your cream cheese: Leave it out at room temperature for at least 45 minutes to an hour. Do not microwave, as uneven heating can melt it and ruin the filling texture.
- Chill your bowl and cream: For the stiffest peaks, place your mixing bowl and beaters in the freezer for 10 minutes before whipping the heavy cream, especially in a warm kitchen.
- Fold, don’t stir: Be gentle when combining the whipped cream into the cream cheese base. Stirring will deflate the air and result in a dense filling, while folding preserves the mousse-like texture.
- Chill overnight for best results: While the cheesecake is technically ready in 4-6 hours, an overnight rest yields a noticeably firmer, cleaner slice with a more developed flavor.
- Add toppings just before serving: Wet toppings like fruit compotes can release liquid over time and make the cheesecake surface soggy. Add them right before you plan to serve.
- Making it gluten-free: This filling is naturally gluten-free. Simply swap the graham cracker crust for a certified gluten-free alternative or crushed gluten-free cookies.
- Storage: Keep the cheesecake covered in the refrigerator for up to 5 days. For longer storage, freeze the whole cheesecake (without toppings) wrapped tightly in plastic wrap and foil for up to 2 months. Thaw overnight in the fridge.
- Flavor variations: This base recipe is incredibly versatile. Try adding lemon zest, melted chocolate, pumpkin puree, or crushed Oreos to the filling for a quick and delicious twist.
Final Thoughts
This Philadelphia No Bake Cheesecake Recipe is everything a great dessert should be: simple to make, reliable every time, and genuinely delicious.
The creamy, vanilla-kissed filling balanced against the buttery graham cracker crust is a combination that never gets old.
Once you make it, you will understand why this dessert has been a household favorite for decades.
Give it a try this weekend and let the refrigerator do all the work for you.
If you make this recipe, please leave a comment below and let me know how it turned out. Tag your photos on social media so the whole community can see your gorgeous creation!
Recommended:
- No Bake Cheesecake Recipe
- Basque Cheesecake Recipe
- Japanese Cheesecake Recipe
- Cream Cheese Frosting Recipe
- Chocolate Ganache Recipe
- Fresh Strawberry Sauce Recipe
- Lemon Curd Recipe
- Banana Pudding Recipe
- Vanilla Bean Ice Cream Recipe
- Fruit Salad Recipe



