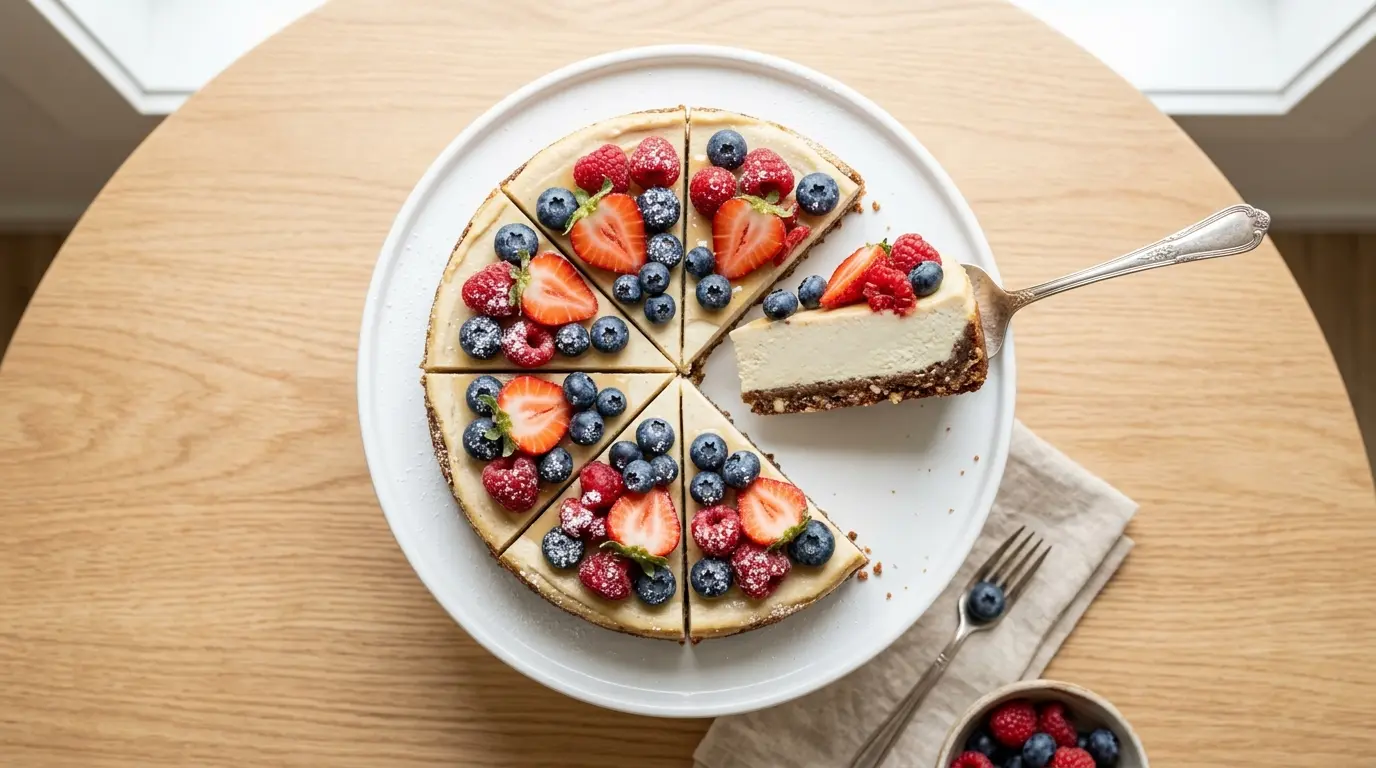
If you’ve been searching for the perfect vegan cheesecake recipe, your search ends here. This cashew-based cheesecake is everything you love about the classic dessert, rich, velvety, and just the right amount of tangy, without a single drop of dairy. It sets beautifully in the fridge, slices like a dream, and honestly fools even the most devoted non-vegans at the table.
The secret is in the soaked cashews. When blended until completely smooth with coconut cream, lemon juice, and a touch of vanilla, they create a filling so lusciously creamy it’s almost impossible to believe there’s no cream cheese involved.
This recipe uses a no-bake method, which means no oven required, no water bath, and far less room for things to go wrong. You press together a simple date-and-nut crust, pour in the silky filling, and let your freezer do all the hard work.
It’s the kind of dessert that genuinely impresses a crowd, and it’s surprisingly simple to pull off even if you’ve never made a vegan dessert before.
If you love classic cheesecake in all its forms, you will also want to save this Best Cheesecake Recipe for the next time you want the traditional version.
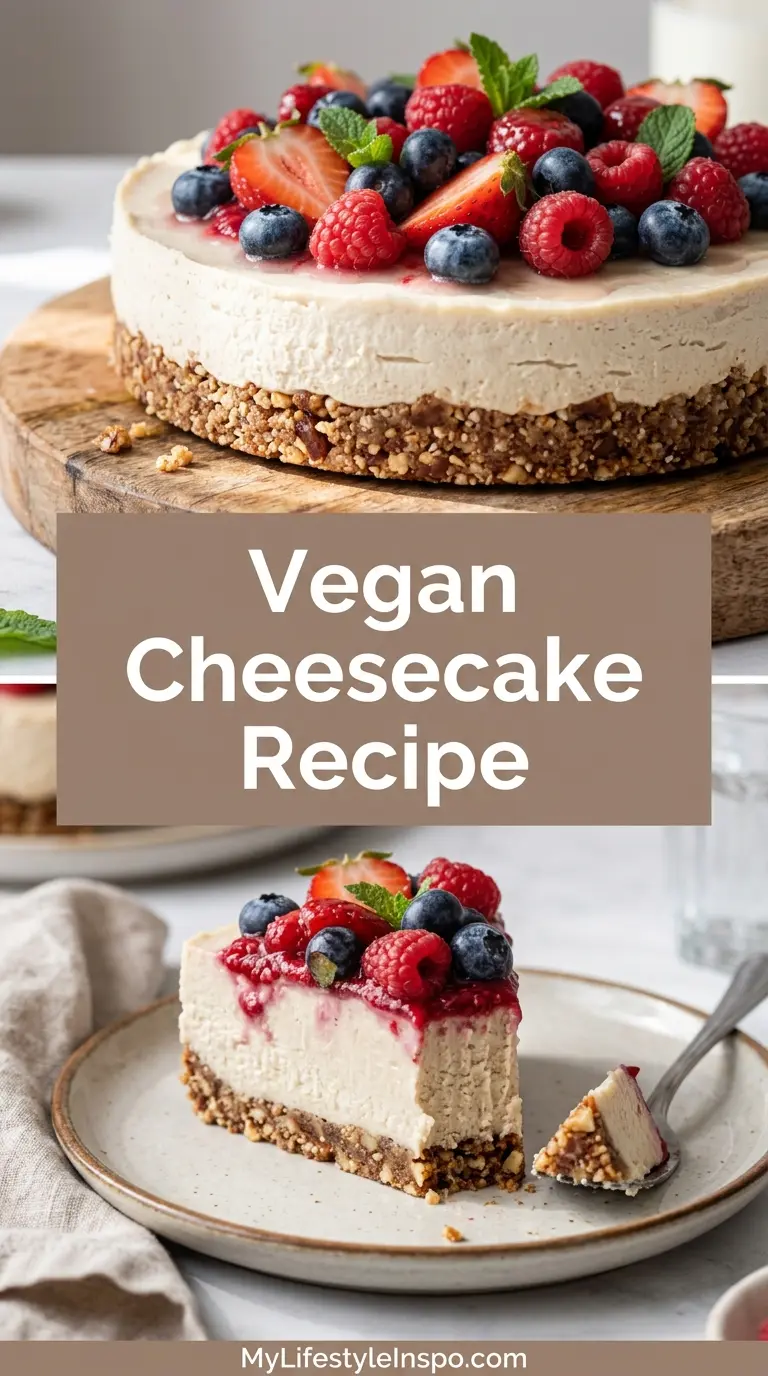
Why You’ll Love This Vegan Cheesecake Recipe
This vegan cheesecake recipe checks every box you’d want in a showstopper dessert.
It’s completely dairy-free and egg-free, making it suitable for vegans, people with lactose intolerance, and anyone who just wants a lighter take on a classic treat.
The texture is the real star here. Soaked cashews blend into an impossibly smooth, thick filling that sets firm enough to slice cleanly.
You don’t need a mixer, an oven, or any special baking skills. A high-powered blender and a springform pan are the main tools.
The flavor is perfectly balanced: sweet from the maple syrup, tangy from the lemon juice, rich from the coconut cream. It tastes like real cheesecake, not a sad substitute.
It’s also endlessly flexible. You can top it with fresh berries, a drizzle of caramel sauce, or a swirl of chocolate ganache.
Here’s why readers keep coming back to this recipe:
- No baking required, just blend, press, and freeze
- Made with whole-food, plant-based ingredients
- Naturally gluten-free when made with certified oats or almond-based crust
- Can be made up to 3 days ahead, ideal for entertaining
- Tastes genuinely indulgent, not like a compromise
Read Also: No Bake Cheesecake Recipe
Ingredients
The ingredient list for this vegan cheesecake is clean and straightforward. Raw cashews are the MVP here: raw (not roasted) is essential, as roasted cashews will give the filling a nutty, overpowering flavor. Soak them in advance for the smoothest possible result.
For the Crust:
- 1 cup (100g) raw walnuts or almonds
- 1 cup (180g) packed Medjool dates, pitted
- 1/4 teaspoon fine sea salt
For the Filling:
- 2 cups (280g) raw cashews, soaked for at least 4 hours (or overnight)
- 3/4 cup (180ml) full-fat coconut cream
- 1/3 cup (80ml) pure maple syrup
- 3 tablespoons (45ml) fresh lemon juice (about 1.5 large lemons)
- 1 teaspoon lemon zest
- 3 tablespoons (45ml) refined coconut oil, melted
- 1 teaspoon pure vanilla extract
- 1/4 teaspoon fine sea salt
For the Topping (optional but recommended):
- Fresh mixed berries (blueberries, raspberries, strawberries)
- 1-2 tablespoons maple syrup to macerate the berries (optional)
Another favorite way to top this: Fresh Strawberry Sauce
Kitchen Equipment Needed
Having the right tools on hand makes this recipe much more straightforward. The most critical piece of equipment is a high-powered blender: a standard blender may leave the filling slightly grainy, which affects both the texture and appearance of the finished cake.
- High-powered blender (Vitamix or Blendtec ideal)
- 9-inch springform pan
- Food processor (for the crust)
- Measuring cups and spoons
- Rubber spatula
- Parchment paper (to line the pan)
- Zester or microplane
- Citrus juicer
- Small saucepan or microwave-safe bowl (to melt coconut oil)
- Offset spatula (for smoothing the top)
Read Also: Gluten Free Cheesecake Recipe
Recommended Products for This Recipe
These are products I genuinely recommend based on quality and performance. Each one makes a real difference in how this vegan cheesecake turns out.
1. Vitamix 5200 Blender
The Vitamix 5200 is the gold standard for blending soaked cashews into a silky-smooth filling. Cheaper blenders often leave tiny cashew bits behind, which can make the texture slightly gritty. With the Vitamix, the filling comes out completely lump-free and ultra-creamy every single time. It’s an investment that pays off across hundreds of recipes.
2. USA Pan 9-Inch Springform Pan
A quality springform pan is essential for a clean release. The USA Pan version has a tight seal that prevents leaks, and the non-stick surface means the crust lifts away without crumbling. It’s the kind of pan that makes your cheesecake look professionally made right out of the gate.
3. Raw Organic Cashews (Bulk)
For this recipe, the quality of your cashews matters enormously. Buying a bulk bag of raw organic cashews means you’ll always have them on hand, and you won’t be paying a premium for pre-packaged small bags. Look for cashew pieces or halves, which blend just as well as whole cashews but are typically less expensive.
4. Microplane Premium Classic Zester
Fresh lemon zest makes a noticeable difference in the flavor of this cheesecake. A Microplane zester extracts the bright, fragrant zest without digging into the bitter white pith underneath. It’s a small tool that elevates the final flavor in a big way.
This recipe also pairs beautifully with a drizzle of Chocolate Ganache if you want to go the extra mile on the topping.
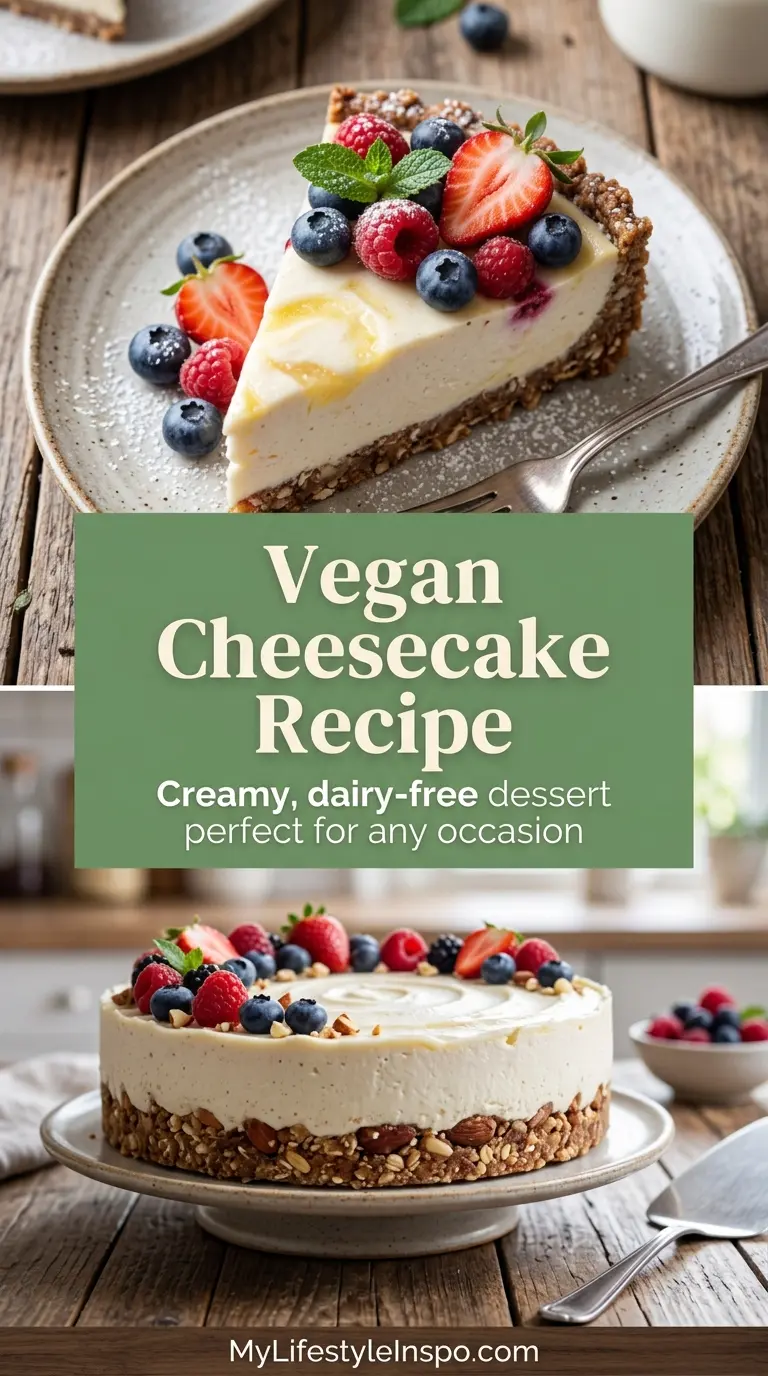
Step-by-Step Instructions
1. Soak the Cashews
- Place 2 cups (280g) of raw cashews in a medium bowl.
- Cover completely with cold water, making sure the cashews are fully submerged by at least an inch.
- Cover the bowl with a clean kitchen towel or plastic wrap and let the cashews soak at room temperature for a minimum of 4 hours, or ideally overnight (8-12 hours) in the refrigerator.
- The cashews are ready when they feel soft and slightly swollen. They should crush easily between your fingers.
- Once soaked, drain the cashews in a colander and rinse thoroughly under cold running water. Set aside.
- If you’re short on time, you can quick-soak the cashews by covering them with boiling water and letting them sit for 1 hour. The texture won’t be quite as smooth as the overnight soak, but it works in a pinch.
2. Prepare the Springform Pan
- Cut a circle of parchment paper to fit the bottom of your 9-inch (23cm) springform pan.
- Place it inside the pan and clip the sides securely so the parchment sits flat against the bottom.
- Lightly spray or brush the inside walls of the pan with a thin layer of refined coconut oil. This makes unmolding much easier and cleaner.
- Set the prepared pan aside.
3. Make the Date and Nut Crust
- Add 1 cup (100g) of raw walnuts or almonds to your food processor and pulse 8-10 times until the nuts are coarsely chopped into a rough, crumbly texture. Avoid over-processing into a powder; you want some texture.
- Add 1 cup (180g) of pitted Medjool dates and 1/4 teaspoon of fine sea salt to the food processor with the nuts.
- Process continuously for about 45-60 seconds, pausing to scrape down the sides once or twice, until the mixture sticks together when you press it between your fingers. It should look like a coarse, sticky dough.
- If the mixture is too dry or crumbly and won’t stick together, add 1-2 pitted dates at a time and process again until the consistency is right. The natural oils from the nuts and the stickiness of the dates are what hold this crust together.
- Transfer the crust mixture into the prepared springform pan.
- Using the back of a spoon, a flat-bottomed measuring cup, or your hands (slightly dampened to prevent sticking), press the mixture firmly and evenly across the bottom of the pan. Aim for an even layer about 1/4 inch (6mm) thick.
- Place the pan in the freezer while you prepare the filling. Chilling the crust before adding the filling helps it hold its shape and creates a cleaner separation between layers.
4. Blend the Cashew Filling
- Add the drained, soaked cashews to your high-powered blender.
- Pour in 3/4 cup (180ml) of full-fat coconut cream. Make sure you’re using coconut cream (not coconut milk), as the higher fat content is what gives the filling its thick, rich texture.
- Add 1/3 cup (80ml) of pure maple syrup, 3 tablespoons (45ml) of freshly squeezed lemon juice, 1 teaspoon of lemon zest, 3 tablespoons (45ml) of melted refined coconut oil, 1 teaspoon of pure vanilla extract, and 1/4 teaspoon of fine sea salt.
- Blend on high speed for 3-5 minutes, stopping to scrape down the sides with a rubber spatula every 60 seconds. This step requires patience. The longer you blend, the smoother the filling becomes.
- The filling is ready when it looks completely smooth, pourable, and looks almost like thick cream. Rub a small amount between your fingers: there should be no graininess at all. If you still feel texture, keep blending.
- Taste the filling and adjust as needed. If you’d like it sweeter, add an extra tablespoon of maple syrup. If you want more tang, add a few extra drops of lemon juice. Blend again briefly after any adjustments.
5. Pour and Smooth the Filling
- Remove the springform pan with the chilled crust from the freezer.
- Pour the blended cashew filling slowly over the crust, using a rubber spatula to scrape every last drop from the blender.
- Tap the pan gently on the counter 3-4 times to help the filling settle and release any air bubbles trapped in the surface.
- Use an offset spatula or the back of a large spoon to smooth the top of the filling into an even, flat layer.
- Give the pan one final gentle tap to help the surface level out.
6. Freeze to Set
- Place the filled springform pan on a flat surface in your freezer.
- Freeze for a minimum of 4-6 hours. For the cleanest, firmest slices, freeze overnight (8-10 hours) or for up to 24 hours.
- Do not skip or shorten this step. The filling sets entirely through freezing, and cutting into an under-set cheesecake will result in a messy, soft filling that won’t hold its shape.
7. Thaw and Serve
- Remove the cheesecake from the freezer 20-30 minutes before you plan to serve it. This is the key to the ideal texture: straight from the freezer it will be very firm and almost icy, but after 20-30 minutes at room temperature the filling softens into that perfect creamy, cheesecake-like consistency.
- Run a thin knife or offset spatula around the inside edge of the springform pan before releasing the clasp. This prevents the crust from cracking at the edges as the pan opens.
- Carefully release and remove the springform ring. Gently peel away the parchment paper from the bottom.
- Transfer to a serving plate or cake stand.
8. Add Toppings and Slice
- If using fresh berries, toss them with 1-2 tablespoons of maple syrup and let them sit for 5 minutes to macerate before spooning over the top of the cheesecake. The juices will seep into the top layer beautifully.
- Use a sharp knife dipped in warm water and wiped dry between each cut for the cleanest slices.
- Slice into 10-12 pieces and serve immediately.
You might also enjoy: Strawberry Cheesecake Recipe
Tips for Success
Getting the best result from this vegan cheesecake recipe comes down to a few key techniques. The most common mistake is not soaking the cashews long enough. Under-soaked cashews never fully break down, no matter how powerful your blender, and will leave the filling with a slightly grainy texture instead of that smooth, creamy consistency you’re after.
Key tips to keep in mind:
- Always use raw cashews, not roasted. Roasted cashews introduce a nutty, overpowering flavor that clashes with the delicate cheesecake taste. Raw cashews have a much more neutral flavor that takes on the lemon and vanilla beautifully.
- Use full-fat coconut cream, not coconut milk. Coconut milk is too thin and will result in a filling that doesn’t set properly. Refrigerate your can of coconut cream overnight for even thicker cream that scoops easily.
- Use refined coconut oil, not virgin coconut oil. Refined coconut oil is flavorless and won’t introduce any coconut flavor to the filling. Virgin coconut oil, while great for other things, would make the cheesecake taste noticeably of coconut.
- Don’t rush the freeze time. Four hours is the absolute minimum. Overnight is strongly preferred for clean, firm slices.
- Thaw before serving. Skipping the 20-30 minute thaw before slicing is one of the most common mistakes. The texture straight from the freezer is too dense and icy.
- Medjool dates work best for the crust. They’re naturally sticky and sweet, which helps the crust hold together without any added binders. If using regular dried dates, soak them in warm water for 10 minutes first to soften them.
- Warm your knife between slices. Dip the blade in a glass of hot water, wipe dry, and then slice. This gives you clean, professional-looking cuts.
Read Also: Keto Cheesecake Recipe
Serving Suggestions
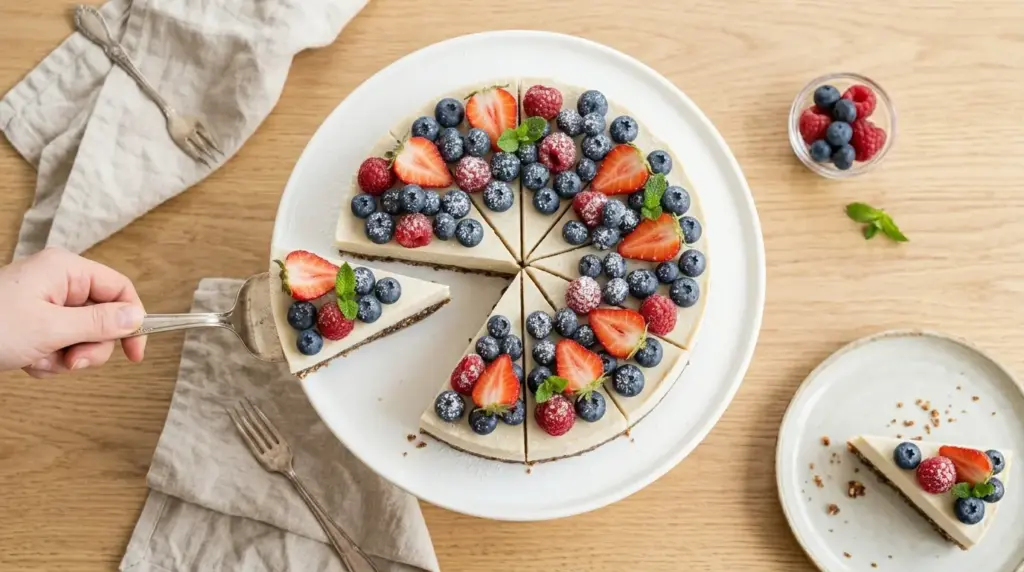
This vegan cheesecake is stunning on its own, but the right toppings and accompaniments take it to the next level. It’s rich and creamy enough to serve as the dessert centerpiece at a dinner party, and the clean presentation makes it look far more impressive than the effort involved.
A simple topping of fresh seasonal berries is the classic choice. The tartness of raspberries or the bright sweetness of strawberries balances the richness of the cashew filling perfectly.
Ideas for serving:
- Spoon a generous handful of mixed fresh berries (blueberries, raspberries, sliced strawberries) over the top just before serving. For added depth, try a homemade fresh strawberry sauce drizzled over each slice.
- Serve with a scoop of Vanilla Bean Ice Cream alongside for a decadent dessert plating.
- Drizzle individual slices with Caramel Sauce and a pinch of flaky sea salt for a salted caramel version that guests will absolutely rave about.
- Serve alongside a Chocolate Smoothie for a dessert-style pairing that’s fun and indulgent.
- A small dollop of lightly whipped coconut cream on each slice adds a beautiful finishing touch for dinner party presentations.
Variations to Try
One of the best things about this base vegan cheesecake recipe is how easy it is to customize. The cashew filling is essentially a blank canvas. Once you nail the technique, the flavor possibilities are nearly endless.
- Chocolate Vegan Cheesecake: Add 3-4 tablespoons of unsweetened cocoa powder and 2 tablespoons of extra maple syrup to the filling before blending. Top with a smooth chocolate ganache for an elegant finish.
- Lemon Vegan Cheesecake: Double the lemon juice (to 6 tablespoons) and increase the lemon zest to 2 teaspoons for a bright, zingy variation that tastes like lemon curd in cheesecake form.
- Mango Vegan Cheesecake: Blend 1 cup of frozen mango chunks into the filling along with the cashews. The result is a tropical, vibrant yellow cheesecake that needs no topping at all.
- Matcha Vegan Cheesecake: Add 1.5 tablespoons of culinary-grade matcha powder to the filling for an earthy, slightly bitter counterpoint to the sweet cashew base.
- Blueberry Swirl: Pour the plain filling over the crust, then dollop 3-4 tablespoons of blueberry jam over the top and use a toothpick to swirl it through the surface before freezing.
- Mini Individual Cheesecakes: Divide the crust and filling among a 12-cup muffin tin lined with paper cases. Freeze for 3-4 hours. Perfect for parties where guests want their own individual portion.
Read Also: Blueberry Cheesecake Recipe
Storage and Reheating
This vegan cheesecake stores exceptionally well, which makes it a brilliant make-ahead dessert. Because it sets in the freezer, it naturally keeps for a long time when stored properly.
How to store this recipe:
- In the freezer (whole cake): Keep the cheesecake in the springform pan, covered tightly with plastic wrap and then a layer of foil. It will keep for up to 4 weeks in the freezer with no quality loss.
- In the freezer (sliced): Arrange individual slices on a parchment-lined tray and freeze until solid, about 2 hours. Then transfer to an airtight container or zip-lock bag, placing small squares of parchment paper between slices to prevent sticking. Keeps for up to 4 weeks.
- In the refrigerator: Once thawed, the cheesecake can be stored covered in the refrigerator for up to 5 days. Note that the texture will be softer and creamier (rather than firm) when kept in the fridge.
- Thawing: Move the cheesecake (whole or sliced) to the refrigerator for 4-6 hours, or leave at room temperature for 20-30 minutes before serving.
- Do not microwave to thaw. The coconut oil in the filling will separate if heated, ruining the texture.
Another make-ahead dessert worth bookmarking: Sugar Free Cheesecake Recipe
Nutritional Facts
The following values are estimates per slice, based on the recipe being divided into 12 slices and using the toppings listed in the ingredients above.
| Nutrient | Per Slice (approx.) |
|---|---|
| Calories | 320 kcal |
| Total Fat | 22g |
| Saturated Fat | 9g |
| Carbohydrates | 27g |
| Sugar | 18g |
| Dietary Fiber | 2g |
| Protein | 7g |
| Sodium | 75mg |
| Calcium | 30mg |
| Iron | 2.5mg |
Please note: These values are estimates and will vary based on specific brands, the exact size of your dates, and any additional toppings. For precise nutritional data, use a nutrition calculator with the exact ingredients and brands you use.
For another naturally sweetened treat, check out this Pumpkin Cheesecake Recipe.
Health Benefits of Key Ingredients
This vegan cheesecake recipe isn’t just delicious, it’s made entirely from whole-food plant-based ingredients that each bring something nutritious to the table. You can enjoy a generous slice knowing there’s no processed dairy, refined oil, or artificial anything involved.
Here’s a closer look at what makes the key ingredients genuinely good for you:
- Raw cashews are one of the richest plant-based sources of healthy monounsaturated fats, the same type found in olive oil. They also provide magnesium, which supports muscle function and sleep quality, plus a meaningful amount of plant-based protein per serving.
- Medjool dates are packed with natural fiber and deliver a slow-release energy that doesn’t cause the same blood sugar spike as refined sugar. They’re also a good source of potassium, which supports heart health.
- Coconut cream contains medium-chain triglycerides (MCTs), a type of fat that the body processes differently from long-chain fatty acids, often converting them more readily into energy rather than storing them.
- Lemon juice is an excellent source of vitamin C, which supports immune function and acts as an antioxidant. It also helps brighten and balance the overall flavor of the filling, reducing the need for additional sweetener.
- Maple syrup is a lower-glycemic alternative to refined sugar and contains trace minerals including zinc and manganese. Using it as the sweetener in this recipe keeps the ingredient list clean and whole-food based.
- Walnuts (in the crust) are one of the best plant-based sources of omega-3 fatty acids, which support brain health and help reduce inflammation.
For another nourishing dessert idea, try this Fruit Tart Recipe.
Frequently Asked Questions
1. Do I really need to soak the cashews?
Yes, soaking is non-negotiable for the best texture. Raw cashews contain natural starches that make them firm and dense. Soaking them for 4-8 hours softens those starches and breaks down the cell walls, which allows a high-powered blender to turn them into a completely smooth, creamy filling. Skipping or shortening the soak will result in a slightly grainy or chunky texture, no matter how long you blend.
2. Can I use a regular blender instead of a high-powered one?
You can try, but results will vary. A standard blender may struggle with the volume of cashews and could overheat. If a high-powered blender isn’t available, blend in smaller batches, take breaks to let the motor cool, and expect to blend for significantly longer (up to 10 minutes total) to achieve a smooth result. Straining the blended filling through a fine-mesh sieve afterward can help remove any remaining lumps.
3. Why is my filling not setting firm in the freezer?
The most likely culprit is the coconut cream. Make sure you’re using full-fat coconut cream, not light coconut milk or a cream that contains added thickeners or stabilizers. If your canned coconut cream is very liquid, refrigerate the can overnight before using it and scoop out the thick solids from the top. Also check that you’re using refined coconut oil, which solidifies when chilled and is key to the filling setting properly.
4. Can I make this recipe nut-free?
The cashew filling is central to the recipe, so a direct nut-free swap is tricky without significantly changing the method. For a nut-free version, you could try blending silken tofu with coconut cream, maple syrup, lemon juice, and vanilla, though the flavor and texture will be noticeably different. For the crust, sunflower seeds can be substituted for the walnuts, and oat-based crusts work well too.
5. Can I make this cheesecake ahead of time for a party?
Absolutely, and it’s actually ideal as a make-ahead dessert. The cheesecake can be made up to 4 weeks in advance and kept in the freezer. Simply transfer it to the fridge 4-6 hours before your party, or pull it out 20-30 minutes before serving for that perfect soft-yet-firm texture. Add your fresh fruit toppings right before serving rather than in advance.
Read Also: Lemon Cheesecake Recipe
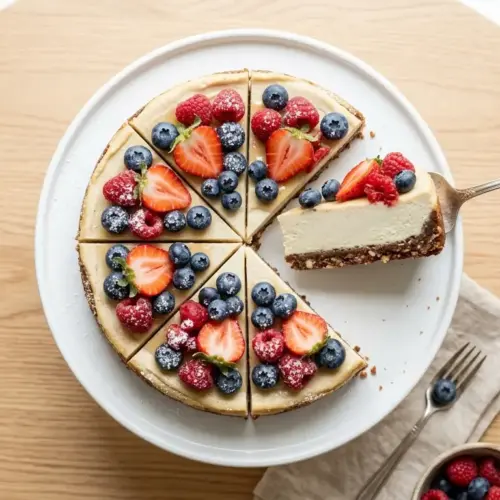
Vegan Cheesecake

Equipment
- High-powered blender - Vitamix or Blendtec ideal
- 9-inch springform pan
- Food processor
- Measuring cups and spoons
- Rubber spatula
- Parchment paper
- Zester or microplane
- Citrus juicer
- Small saucepan or microwave-safe bowl - to melt coconut oil
- Offset spatula - for smoothing the top
Ingredients
- 1 cup raw walnuts or almonds - 100g
- 1 cup Medjool dates - 180g, packed, pitted
- ¼ teaspoon fine sea salt
For the Filling
- 2 cups raw cashews - 280g, soaked for at least 4 hours
- ¾ cup full-fat coconut cream - 180ml
- ⅓ cup pure maple syrup - 80ml
- 3 tablespoons fresh lemon juice - 45ml, about 1.5 large lemons
- 1 teaspoon lemon zest
- 3 tablespoons refined coconut oil - 45ml, melted
- 1 teaspoon pure vanilla extract
- ¼ teaspoon fine sea salt
For the Topping
- fresh mixed berries - blueberries, raspberries, sliced strawberries
- 1-2 tablespoons maple syrup - to macerate the berries, optional
Instructions
- Soak the raw cashews in cold water for 4 hours or overnight until soft. Drain and rinse well.
- Line the bottom of a 9-inch springform pan with parchment paper and lightly grease the sides with refined coconut oil.
- Pulse walnuts in a food processor until coarsely chopped. Add dates and salt and process until a sticky dough forms.
- Press the crust mixture firmly and evenly into the bottom of the prepared pan. Freeze while preparing the filling.
- Combine drained cashews, coconut cream, maple syrup, lemon juice, lemon zest, melted coconut oil, vanilla, and salt in a high-powered blender.
- Blend on high for 3-5 minutes until completely smooth and creamy, scraping down sides as needed.
- Pour the cashew filling over the chilled crust and smooth the top with an offset spatula. Tap the pan to remove air bubbles.
- Freeze for a minimum of 4-6 hours, preferably overnight, until completely firm.
- Thaw at room temperature for 20-30 minutes before serving. Remove from springform pan and top with macerated berries if desired.
Notes
- Use raw cashews, not roasted, for a neutral flavor that lets the lemon and vanilla shine.
- Full-fat coconut cream is essential for a firm set. Refrigerate the can overnight to easily separate the cream from the water.
- Refined coconut oil is flavorless and won’t add a coconut taste to the filling.
- Soak the cashews for at least 4 hours. For a quicker option, use boiling water and soak for 1 hour.
- If your date-nut crust feels too dry, add 1-2 extra pitted dates and process again.
- For the cleanest slices, dip your knife in hot water and wipe dry between each cut.
- Store leftovers in the freezer for up to 4 weeks, wrapped tightly, or in the refrigerator for up to 5 days after thawing.
- This cheesecake can be made up to 3 days ahead when stored in the refrigerator, making it ideal for entertaining.
- For a chocolate variation, add 3-4 tablespoons of unsweetened cocoa powder and 2 extra tablespoons of maple syrup to the filling.
- Don’t skip the 20-30 minute thaw before slicing — the texture straight from the freezer is too firm and icy.
Final Thoughts
This vegan cheesecake recipe is proof that plant-based desserts don’t have to be a compromise. When you use the right ingredients and the right technique, the result is something genuinely special: rich, smooth, and deeply satisfying in all the ways a great cheesecake should be.
It’s become one of those recipes that people ask for again and again, whether they follow a vegan diet or not. The combination of a chewy, nutty crust with that ultra-creamy cashew filling is simply hard to resist.
Give this recipe a try for your next gathering, holiday celebration, or just because you deserve a seriously good dessert. If you make it, leave a comment below and let me know how it turned out. And if you top yours with something creative, sharing your photos would make my day!
Recommended:
- Philadelphia No Bake Cheesecake Recipe
- Baked Cheesecake Recipe
- New York Cheesecake Recipe
- Oreo Cheesecake Recipe
- Mini Cheesecake Recipe
- Churro Cheesecake Recipe
- Basque Cheesecake Recipe
- Philadelphia Cheesecake Recipe
- Japanese Cheesecake Recipe
- Cheesecake Ice Cream Cake Recipe



