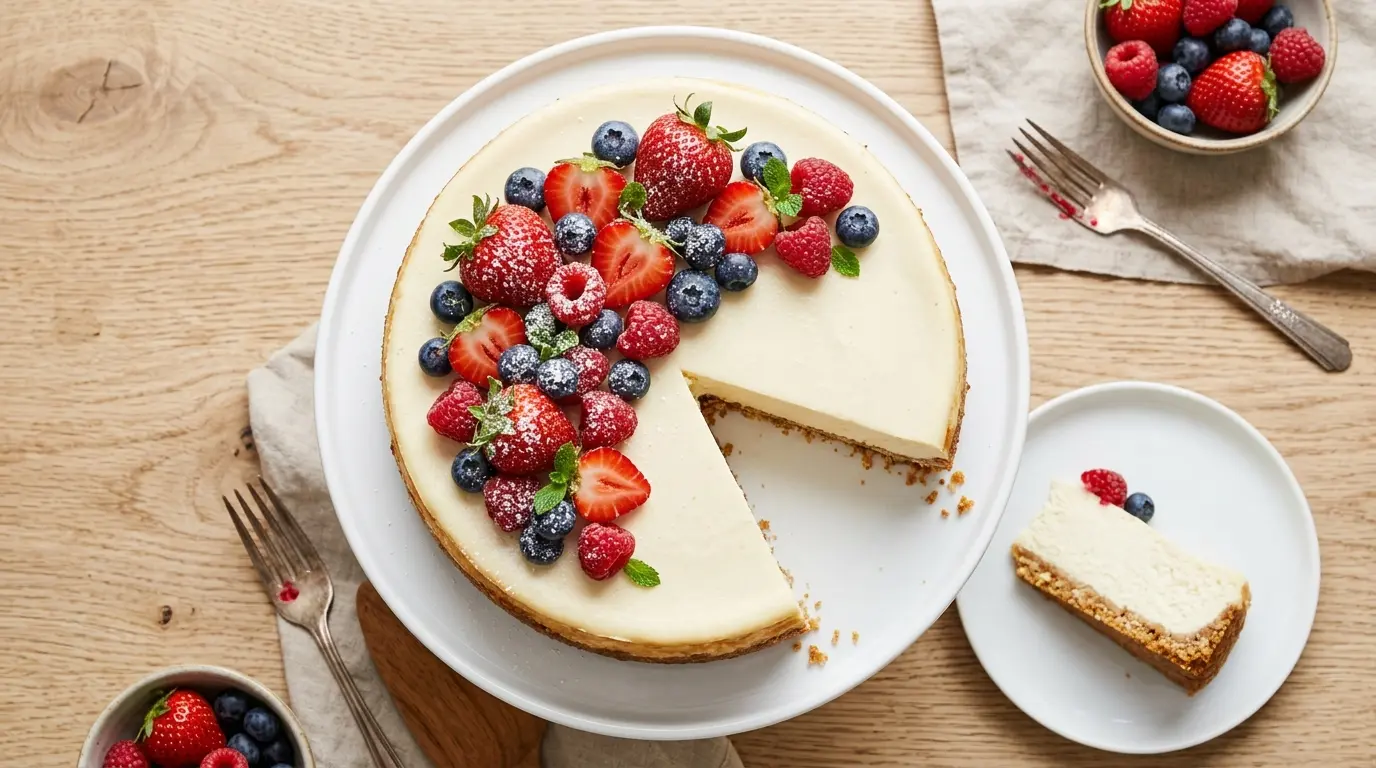
If you’ve been searching for a gluten free cheesecake recipe that actually delivers on its promise, you are in exactly the right place. So many gluten-free desserts fall short of the real deal, but this one is different. The filling is silky, rich, and deeply creamy. The crust is buttery and snaps just the way you want it to. You would never guess this cheesecake skips gluten entirely.
The secret lies in two things: using full-fat, block-style cream cheese (not the tub spreadable kind), and building a sturdy crust from gluten-free graham crackers blended with melted butter and a touch of sugar. Both choices make an enormous difference. Block cream cheese has a much lower moisture content, which gives the filling that classic dense, velvety texture without turning runny. Gluten-free graham crackers, meanwhile, crush down beautifully and hold together just as well as the wheat-based originals when mixed with enough butter.
This recipe follows the traditional New York-style baked cheesecake method. That means a low, slow bake in a water bath to prevent cracks, and a long cool-down inside the oven after the heat turns off. It takes a little patience, but the result is a flawlessly smooth top and a filling that slices clean every single time.
You might also enjoy: Keto Cheesecake
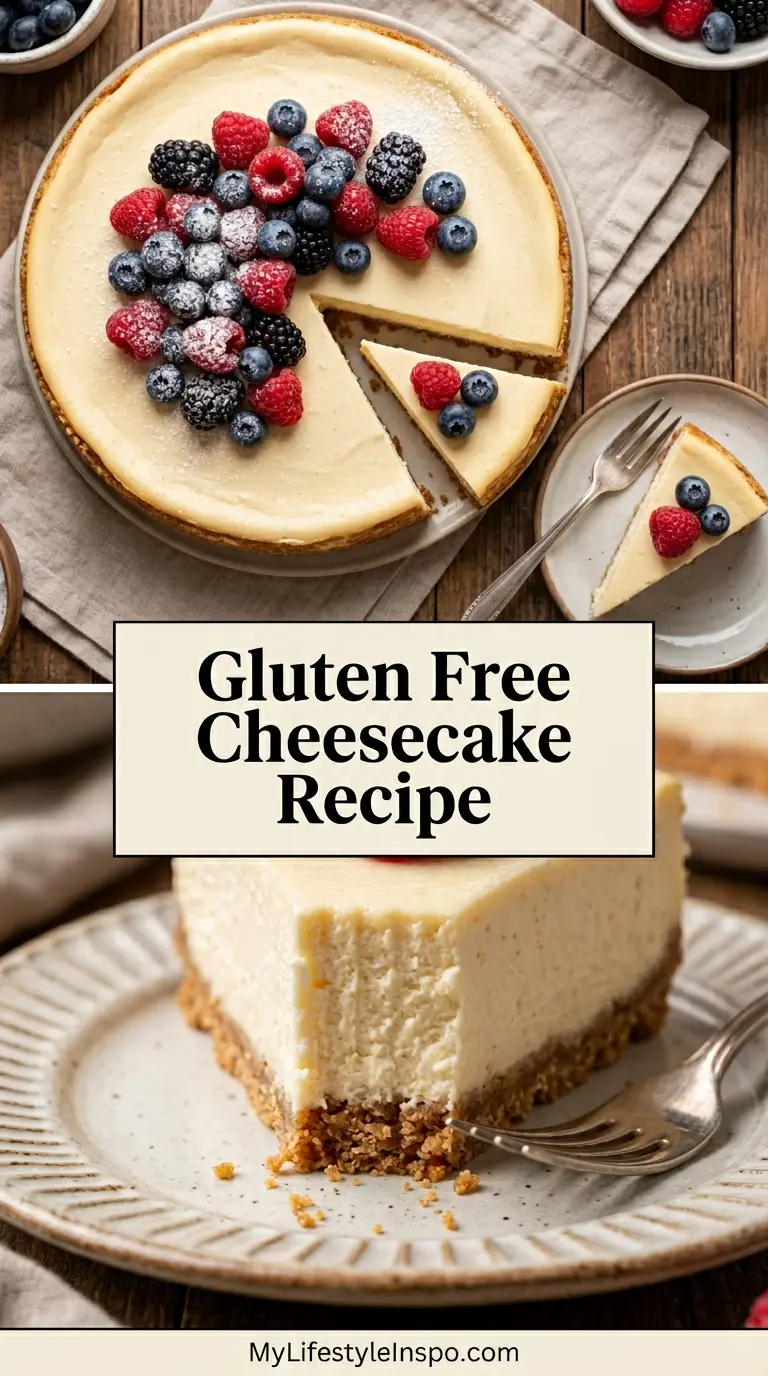
Why You’ll Love This Gluten Free Cheesecake Recipe
This dessert checks every box, and then some.
It is genuinely indistinguishable from a traditional cheesecake. Nobody at your table will suspect it is gluten-free unless you tell them.
The recipe is beginner-friendly. As long as you follow a few key steps, like starting with room-temperature cream cheese and not overmixing the batter, you will get a professional-looking result your very first time.
The crust comes together in minutes. Gluten-free graham cracker crumbs, butter, and a tablespoon of sugar are all you need for a firm, flavorful base.
It is endlessly adaptable. Top it with fresh strawberries, blueberry compote, lemon curd, or caramel sauce depending on your mood.
The cheesecake stores beautifully for up to five days in the refrigerator. That makes it ideal for prepping ahead for celebrations, holidays, or dinner parties.
- Creamy, dense, and smooth filling with zero grainy or gummy texture
- Buttery gluten-free graham cracker crust that holds together perfectly
- Traditional baked style that sets without cracking when you follow the steps
- Naturally gluten-free with no specialty flour blends needed in the filling
- Elegant enough for celebrations, easy enough for any weekend bake
- Works with dozens of topping combinations to suit any flavor preference
Read Also: No Bake Cheesecake Recipe
Ingredients
Using quality ingredients here makes a real difference. Full-fat dairy in the filling gives you the richest, creamiest result, so this is not the place to cut calories with lower-fat options.
- 2 cups (200g) gluten-free graham cracker crumbs (from about 14 full sheets)
- 3 tablespoons (37g) granulated sugar (for the crust)
- 6 tablespoons (85g) unsalted butter, melted
- 32 oz (900g) full-fat block cream cheese, softened to room temperature
- 1 cup (200g) granulated sugar (for the filling)
- 1 cup (240g) full-fat sour cream, room temperature
- 3 large eggs, room temperature
- 2 teaspoons pure vanilla extract
- 2 tablespoons (16g) cornstarch
- 1 tablespoon freshly squeezed lemon juice
- Pinch of salt
For a similar classic baked version, check out this Baked Cheesecake Recipe.
Kitchen Equipment Needed
Having the right tools will make this recipe significantly easier and will help you achieve a crack-free, professionally finished cheesecake.
- 9-inch springform pan (a must-have for cheesecake)
- Food processor or blender (for crushing the graham crackers evenly)
- Stand mixer or hand mixer (for beating the cream cheese filling)
- Large roasting pan (to hold water for the water bath)
- Heavy-duty aluminum foil (to wrap the springform pan)
- Rubber spatula
- Measuring cups and spoons
- Large mixing bowls
- Offset spatula or back of a spoon (for smoothing the top of the filling)
- Oven thermometer (optional but helpful for precision)
Read Also: New York Cheesecake Recipe
Recommended Products for This Recipe
These are products that will genuinely improve your cheesecake-making experience, selected for their quality and performance.
1. Gluten-Free Graham Crackers
The crust is the foundation of this recipe, and using a quality gluten-free graham cracker makes a noticeable difference in flavor and texture. Look for a brand that uses whole grain rice flour or a blend for the most authentic graham cracker taste. Many conventional stores now carry these, or you can order them directly online.
2. 9-Inch Springform Pan with Removable Bottom
A quality springform pan is the single most important piece of equipment for cheesecake. A pan with a tight seal prevents water from seeping in during the water bath, and the removable sides mean you can release the cheesecake without any dragging or cracking.
3. Pure Vanilla Extract
Real vanilla extract, not imitation, makes a noticeable difference in the flavor of a minimally spiced cheesecake filling. The vanilla is one of the primary flavoring agents in this recipe, so using a good-quality bottle pays off in the final taste.
4. Oven Thermometer
Most home ovens run 25 to 50 degrees off from what the dial says. Baking a cheesecake at the wrong temperature is the most common cause of cracking and overbaking. A simple oven thermometer lets you set your oven accurately and bake with confidence.
Another great option to explore is this Philadelphia Cheesecake Recipe for a slightly different filling style.
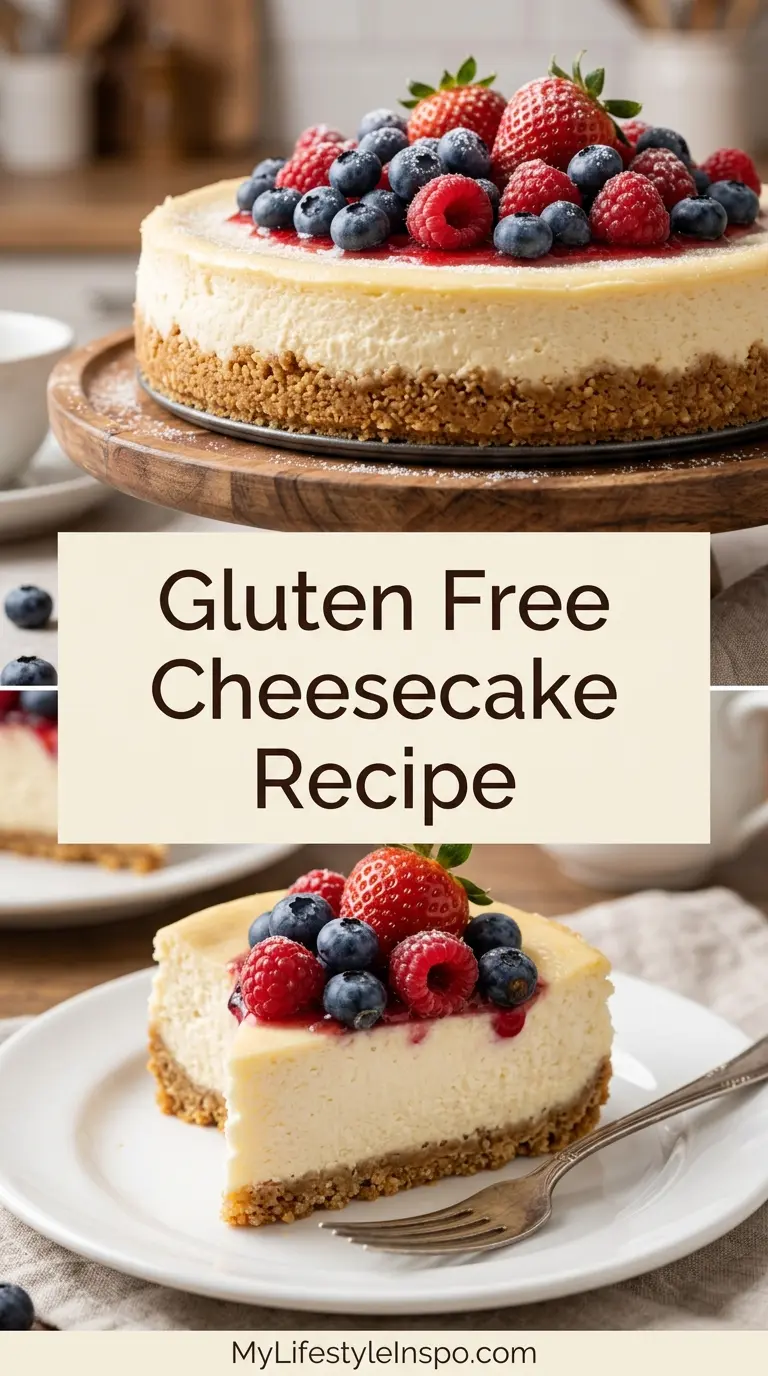
Step-by-Step Instructions
Step 1: Prepare Your Pan and Preheat the Oven
- Preheat your oven to 325°F (163°C). Use an oven thermometer if you have one to verify the temperature, as accurate heat is critical for a properly set cheesecake.
- Pull two large sheets of heavy-duty aluminum foil and wrap the outside of your 9-inch springform pan completely. Press the foil tightly up the sides of the pan and fold any excess over the top edge. Do this twice, using two layers, to ensure no water seeps in during the water bath.
- Lightly spray the inside bottom and sides of the springform pan with non-stick cooking spray.
Step 2: Make the Gluten-Free Graham Cracker Crust
- Place the gluten-free graham crackers in a food processor and pulse until they form fine, even crumbs. You need about 2 cups (200g) of crumbs. Alternatively, place the crackers in a sealed zip-lock bag and crush them with a rolling pin until very fine.
- Transfer the crumbs to a medium mixing bowl. Add 3 tablespoons (37g) of granulated sugar and stir to combine.
- Pour in the 6 tablespoons (85g) of melted unsalted butter. Stir everything together until every crumb is coated and the mixture looks like damp sand. It should hold together when you press a small amount between your fingers.
- Tip the crust mixture into the prepared springform pan. Use the bottom of a flat measuring cup or a straight-sided glass to firmly press the crumbs into an even layer across the bottom and slightly up the sides of the pan (about 1 inch up the sides). Press firmly, as a well-compacted crust will hold together after baking.
- Bake the crust alone in the preheated oven for 8 to 10 minutes, until it smells lightly toasted and feels set to the touch. Remove from the oven and allow it to cool while you prepare the filling. Keep the oven on.
Step 3: Beat the Cream Cheese Until Smooth
- This step is crucial: your cream cheese must be at room temperature before you start. Cold cream cheese will not beat smoothly and will leave lumps in your filling. Allow it to sit out for at least 1 to 2 hours before beginning.
- Place the 32 oz (900g) of room-temperature block cream cheese in the bowl of a stand mixer fitted with the paddle attachment, or in a large bowl if using a hand mixer.
- Beat the cream cheese on medium-low speed for about 2 to 3 minutes, scraping down the sides of the bowl frequently with a rubber spatula, until the cream cheese is completely smooth with no lumps.
- Do not rush this step. A fully smooth cream cheese base is what gives your cheesecake that silky, uniform texture.
Step 4: Add the Sugar and Flavorings
- With the mixer on low speed, add 1 cup (200g) of granulated sugar to the beaten cream cheese. Beat on medium-low for about 1 minute until fully combined and creamy.
- Add the 2 tablespoons (16g) of cornstarch and a pinch of salt. Beat on low just until incorporated. The cornstarch helps stabilize the filling, giving it a cleaner set and making it easier to slice.
- Add the 2 teaspoons of pure vanilla extract and 1 tablespoon of freshly squeezed lemon juice. The lemon juice adds a subtle brightness that balances the richness of the cream cheese. Beat on low until just combined.
- Scrape down the sides and bottom of the bowl thoroughly with a rubber spatula to make sure no unmixed ingredients are hiding along the edges.
Step 5: Add the Sour Cream and Eggs
- Add the 1 cup (240g) of room-temperature sour cream to the filling. Beat on low speed just until smooth and fully incorporated, about 30 seconds. Sour cream adds a gentle tang and a slightly softer texture to the finished cheesecake.
- Now add the 3 large room-temperature eggs, one at a time, beating on the lowest speed after each addition just until the yolk disappears into the batter. Do not overbeat at this stage. Overbeating after adding eggs incorporates too much air, which is the primary cause of cracking during baking.
- After adding all three eggs, give the batter one final scrape and a very brief mix by hand with the spatula to ensure everything is evenly combined.
Step 6: Assemble and Set Up the Water Bath
- Pour the cream cheese filling over the cooled pre-baked crust. Use an offset spatula or the back of a large spoon to gently smooth the top of the filling into an even, flat layer.
- Set the foil-wrapped springform pan inside a large roasting pan. Place the roasting pan in your preheated oven.
- Carefully pour hot water from a kettle or pot into the roasting pan around the outside of the springform pan, filling it until the water reaches about 1 inch (2.5cm) up the sides of the springform pan. Be careful not to splash water onto the cheesecake filling.
- The water bath surrounds the cheesecake with gentle, moist heat, which prevents the outer edges from cooking faster than the center and dramatically reduces the chance of cracking.
Step 7: Bake the Cheesecake
- Bake the cheesecake in the water bath at 325°F (163°C) for 55 to 65 minutes. The timing can vary slightly depending on your oven.
- The cheesecake is done when the outer 2 to 3 inches of the filling look set and no longer wobble when you gently nudge the pan, but the center 2 to 3 inches still jiggle slightly like Jell-O when shaken. This is the correct level of doneness. The center will finish setting as the cheesecake cools.
- Do not open the oven door during the first 45 minutes of baking, as sudden temperature changes can cause cracking.
Step 8: Cool the Cheesecake (The Most Important Step)
- When the baking time is up, turn off the oven but do NOT open the door. Leave the cheesecake inside the closed oven for 1 full hour. This gradual cooling process is the single most effective way to prevent cracks from forming on the surface.
- After 1 hour, open the oven door just a crack (prop it open an inch or two with a wooden spoon) and let the cheesecake continue cooling inside the oven for another 30 minutes.
- Remove the cheesecake from the water bath and set it on a wire rack at room temperature. Run a thin knife or offset spatula around the edges of the cheesecake between the filling and the sides of the pan. This releases any slight adhesion and allows the filling to contract freely as it cools, which also prevents surface cracks.
- Allow the cheesecake to cool at room temperature for at least 1 to 2 hours, then refrigerate uncovered for a minimum of 4 hours, preferably overnight. The cheesecake firms up considerably and the flavor deepens significantly after a full overnight chill.
Step 9: Unmold and Serve
- Once the cheesecake is fully chilled and set, remove the foil from the outside of the pan. Run a thin knife around the edge of the cheesecake one more time to ensure it is not stuck.
- Unlatch and remove the springform ring carefully. Transfer the cheesecake (still on the pan base) to a serving plate or cake stand.
- Slice with a sharp knife, wiping the blade clean with a warm, damp cloth between each cut for perfectly neat slices.
- Add your desired toppings just before serving.
This pairs beautifully with the Strawberry Cheesecake Recipe for topping inspiration.
Tips for Success
Following these practical pointers will set you up for a bakery-quality result on your very first attempt.
- Always start with room-temperature ingredients. Cold cream cheese, sour cream, and eggs are the most common cause of a lumpy, uneven batter. Set them out at least 1 to 2 hours before you plan to mix.
- Do not overmix after adding eggs. Once the eggs go in, mix on the lowest possible speed and stop as soon as the batter is smooth. Excess air in the batter leads to cracks and a spongy rather than dense texture.
- Use two layers of heavy-duty foil on the springform pan. A single layer of regular foil often lets water seep through into the crust during the water bath. Heavy-duty, doubled foil gives much more reliable protection.
- Do not skip the water bath. It is the most reliable way to achieve a creamy, crack-free top and a uniformly set filling. Some bakers skip it and still get good results, but the water bath gives consistent, professional results.
- Use block cream cheese, not the tub spreadable kind. Tub cream cheese has added stabilizers and higher water content that will make your filling too soft and runny.
- Cool the cheesecake slowly. The long oven cool-down is not optional. Rapid temperature changes cause the filling to contract unevenly and crack.
- Chill overnight for best results. A cheesecake pulled from the refrigerator after just 4 hours is edible, but one chilled overnight has a firmer texture and a much more developed, deep flavor.
You might also enjoy: Lemon Cheesecake Recipe
Serving Suggestions
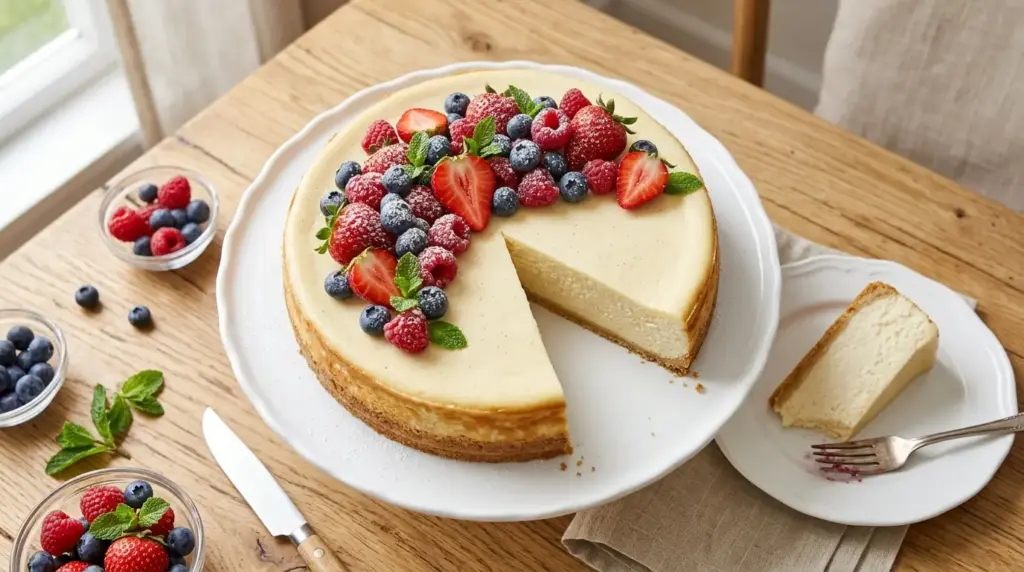
This cheesecake is stunning on its own, but a well-chosen topping takes it to another level entirely.
Fresh berry toppings are the most popular choice and work beautifully with the creamy, tangy filling. A simple mix of strawberries, raspberries, and blueberries tossed with a little sugar and lemon juice is elegant and effortless.
A warm fruit compote spooned over each slice just before serving adds richness and color that makes the presentation look genuinely impressive.
- Fresh Strawberry Sauce poured over the top or served on the side
- Lemon curd drizzled across the surface for a bright, citrusy contrast
- Chocolate Ganache for a decadent, dessert-restaurant finish
- Classic caramel sauce with a sprinkle of flaky sea salt
- Blueberry compote made from fresh or frozen blueberries with sugar and lemon
- Sliced fresh mango with a squeeze of lime for a tropical twist
- Whipped cream piped around the edges with a dusting of cinnamon
Variations to Try
Once you have mastered the base recipe, these variations are easy to pull off with a few simple adjustments.
- Almond flour crust: Swap the gluten-free graham cracker crumbs for 2 cups (200g) of almond flour mixed with 3 tablespoons of melted butter and 2 tablespoons of sugar. Press and bake exactly as directed. This gives a slightly nutty, slightly denser crust.
- Chocolate swirl cheesecake: Melt 3 oz (85g) of dark chocolate and let it cool slightly. After pouring the filling into the crust, drop small spoonfuls of melted chocolate over the surface and use a toothpick or skewer to swirl it into the filling before baking.
- Lemon cheesecake: Add an extra tablespoon of lemon juice, 1 teaspoon of lemon zest, and increase the vanilla to 1 tablespoon. This creates a noticeably brighter, more citrus-forward flavor.
- Mini cheesecakes: Line a standard 12-cup muffin tin with paper liners. Press 2 tablespoons of crust mixture into the bottom of each cup. Fill with batter and bake at 325°F (163°C) for 18 to 22 minutes. No water bath needed.
- Pumpkin cheesecake: Reduce the sour cream to 1/2 cup and add 1 cup (240g) of pure pumpkin puree plus 1 teaspoon of pumpkin pie spice to the filling. Bake as directed but check 5 minutes earlier, as the added moisture can affect baking time.
- No-bake version: Skip the eggs, reduce the cream cheese to 24 oz, and beat in 1 cup of whipped heavy cream at the end for a no-bake filling. Refrigerate for at least 6 hours before serving.
Another cheesecake variation worth exploring: Blueberry Cheesecake Recipe
Storage and Reheating
This cheesecake stores exceptionally well, making it ideal for making ahead.
- Refrigerator: Cover the cheesecake loosely with plastic wrap or store individual slices in an airtight container. It keeps well in the refrigerator for up to 5 days. The flavor actually improves after the first 24 hours as the ingredients meld together.
- Freezer: Wrap the fully cooled, un-topped cheesecake (or individual slices) tightly in plastic wrap, then in a layer of aluminum foil. Freeze for up to 2 months. Thaw overnight in the refrigerator before serving.
- Do not add toppings before storing. Fresh fruit and sauces release moisture that can make the top of the cheesecake soggy. Always add toppings just before serving.
- Reheating: Cheesecake is best served cold or at cool room temperature. There is no need to reheat it. If serving from the refrigerator, let it sit at room temperature for 20 to 30 minutes for the filling to soften slightly and the flavors to come through more fully.
For another fun dessert idea: Cheesecake Ice Cream Cake Recipe
Nutritional Facts
The following values are per serving based on 12 slices, without toppings. Values are approximate.
| Nutrient | Per Serving |
|---|---|
| Calories | 420 kcal |
| Total Fat | 30g |
| Saturated Fat | 17g |
| Cholesterol | 130mg |
| Sodium | 300mg |
| Total Carbohydrates | 32g |
| Dietary Fiber | 0.5g |
| Total Sugars | 23g |
| Protein | 7g |
| Calcium | 110mg |
Nutritional values are estimates and will vary based on the specific brands and products used.
For another gluten-free baked treat, try this Gluten Free Pancake Recipe
Health Benefits of Key Ingredients
While cheesecake is certainly an indulgent dessert, some of its key ingredients do carry genuine nutritional value worth knowing about.
Cream cheese is a source of protein and fat-soluble vitamins A and D. Full-fat dairy products like cream cheese contain conjugated linoleic acid (CLA), a fatty acid that research suggests may support immune function and healthy body composition.
Eggs are one of the most nutritionally complete foods available, providing high-quality protein along with vitamins B12, D, and choline, which supports brain health and liver function.
- Cream cheese provides protein, calcium, and vitamins A and D to support bone and immune health
- Eggs contribute high-quality complete protein and essential B vitamins, including B12 and choline
- Sour cream delivers calcium and phosphorus, both important for strong bones and teeth
- Lemon juice adds a small but meaningful dose of vitamin C, which supports immune function and collagen production
- Gluten-free graham crackers allow people with celiac disease or gluten sensitivity to enjoy this dessert safely without the digestive discomfort associated with gluten exposure
Read Also: Gluten Free Dairy Free Bread Recipe
Frequently Asked Questions
1. Do I really need a water bath to make this gluten free cheesecake recipe?
The water bath is strongly recommended, especially for your first time making cheesecake. It regulates the oven heat around the pan so the filling cooks gently and evenly from edge to center. Without it, the outer edges can overcook and pull away from the center as they cool, creating cracks. That said, if you skip it, make sure you lower the oven to 300°F (149°C) and expect a higher chance of surface cracking. The cheesecake will still taste great even if it cracks.
2. My cheesecake cracked. What went wrong?
Cracking usually comes down to one of three causes: overmixing after the eggs were added (which incorporated too much air), skipping or shortening the gradual cool-down in the oven, or opening the oven door before the cheesecake had set enough. The good news is that cracked cheesecake tastes exactly the same. Cover any cracks with your topping of choice and nobody will know.
3. Can I make this cheesecake without a springform pan?
A springform pan is the easiest tool for this recipe because the removable sides allow you to release the cheesecake cleanly. However, you can bake it in a regular 9-inch deep cake pan lined with parchment paper on the bottom and sides. Leave overhang on the parchment so you can lift the cheesecake out after it has chilled. It works well but takes a bit more care when unmolding.
4. How far in advance can I make this gluten free cheesecake recipe?
This cheesecake is an ideal make-ahead dessert. You can bake and refrigerate it up to 3 days before serving without any loss of quality. In fact, it tastes even better after a full 24 to 48 hours of chilling because the flavors have time to develop. Just keep it covered and add your toppings immediately before serving.
5. Can I use dairy-free cream cheese for a vegan version?
Yes, dairy-free block cream cheese (such as brands made from cashews or coconut cream) can be substituted. The texture will be slightly softer and the flavor slightly different, but the result is still quite good. Replace the sour cream with a dairy-free alternative (coconut cream works well) and use flax eggs (1 tablespoon ground flaxseed plus 3 tablespoons water per egg, rested for 5 minutes) in place of regular eggs. The baking time may need to be extended by 5 to 10 minutes.
You might also enjoy: Pumpkin Cheesecake Recipe
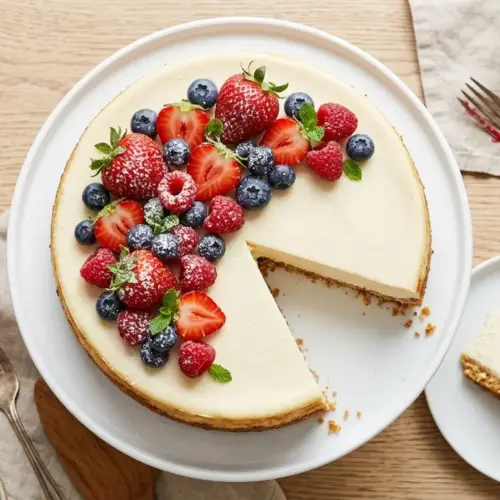
Gluten Free Cheesecake

Equipment
- 9-inch springform pan - must-have for cheesecake
- Food processor or blender - for crushing the graham crackers evenly
- Stand mixer or hand mixer - for beating the cream cheese filling
- Large roasting pan - to hold water for the water bath
- Heavy-duty aluminum foil - to wrap the springform pan
- Rubber spatula
- Measuring cups and spoons
- Large mixing bowls
- Offset spatula or back of a spoon - for smoothing the top of the filling
- Oven thermometer - optional but helpful for precision
Ingredients
- 2 cups gluten-free graham cracker crumbs - 200g, from about 14 full sheets
- 3 tablespoons granulated sugar - 37g, for the crust
- 6 tablespoons unsalted butter - 85g, melted
For the Filling
- 32 oz full-fat block cream cheese - 900g, softened to room temperature, not tub spreadable kind
- 1 cup granulated sugar - 200g, for the filling
- 1 cup full-fat sour cream - 240g, room temperature
- 3 large eggs - room temperature
- 2 teaspoons pure vanilla extract - not imitation
- 2 tablespoons cornstarch - 16g
- 1 tablespoon freshly squeezed lemon juice
- salt - pinch
Optional Toppings
- fresh strawberries - or blueberry compote, lemon curd, or caramel sauce
- whipped cream - for serving, optional
Instructions
- Preheat your oven to 325°F (163°C). Wrap the outside of a 9-inch springform pan with two layers of heavy-duty aluminum foil and spray the inside with non-stick cooking spray.
- Pulse gluten-free graham crackers in a food processor to fine crumbs, then mix with 3 tablespoons sugar and 6 tablespoons melted butter until combined and resembling damp sand. Press firmly into the bottom and 1 inch up the sides of the prepared pan. Bake for 8-10 minutes until lightly toasted, then cool.
- Beat room-temperature cream cheese on medium-low speed for 2-3 minutes until completely smooth with no lumps, scraping down sides frequently.
- Add 1 cup sugar, cornstarch, and salt, beating on low until combined. Add vanilla extract and lemon juice, beating until incorporated. Scrape down bowl thoroughly.
- Add sour cream and beat on low until smooth. Add eggs one at a time, beating on the lowest speed just until the yolk disappears. Do not overmix. Scrape and briefly mix by hand with a spatula.
- Pour filling over the cooled crust and smooth the top. Place the springform pan inside a large roasting pan and carefully pour hot water into the roasting pan until it reaches about 1 inch up the sides of the springform pan.
- Bake at 325°F (163°C) for 55-65 minutes. The cheesecake is done when the outer 2-3 inches are set but the center still jiggles slightly like Jell-O. Do not open the oven door during the first 45 minutes.
- Turn off the oven and leave the cheesecake inside with the door closed for 1 hour. Then open the door slightly and cool for another 30 minutes. Remove from the water bath and run a thin knife around the edges. Cool at room temperature for 1-2 hours, then refrigerate for at least 4 hours, preferably overnight.
- Remove foil from the pan, run a knife around the edge again, and release the springform ring. Transfer to a serving plate, slice with a sharp knife wiping the blade between cuts, and add toppings just before serving.
Notes
- Always start with room-temperature ingredients. Cold cream cheese, sour cream, and eggs are the most common cause of a lumpy, uneven batter. Set them out at least 1-2 hours before mixing.
- Do not overmix after adding eggs. Once the eggs go in, mix on the lowest possible speed and stop as soon as the batter is smooth. Excess air in the batter leads to cracks and a spongy rather than dense texture.
- Use two layers of heavy-duty foil on the springform pan. A single layer of regular foil often lets water seep through into the crust during the water bath. Heavy-duty, doubled foil gives much more reliable protection.
- Do not skip the water bath. It is the most reliable way to achieve a creamy, crack-free top and a uniformly set filling.
- Use block cream cheese, not the tub spreadable kind. Tub cream cheese has added stabilizers and higher water content that will make your filling too soft and runny.
- Cool the cheesecake slowly. The long oven cool-down is not optional. Rapid temperature changes cause the filling to contract unevenly and crack.
- Chill overnight for best results. A cheesecake pulled from the refrigerator after just 4 hours is edible, but one chilled overnight has a firmer texture and a much more developed, deep flavor.
- Store covered in the refrigerator for up to 5 days. The flavor actually improves after the first 24 hours as the ingredients meld together.
- Freeze the fully cooled, un-topped cheesecake (or individual slices) wrapped tightly in plastic wrap and aluminum foil for up to 2 months. Thaw overnight in the refrigerator before serving.
- Do not add toppings before storing. Fresh fruit and sauces release moisture that can make the top of the cheesecake soggy. Always add toppings just before serving.
Final Thoughts
A great gluten free cheesecake recipe is one of those things that can genuinely change how someone feels about eating gluten-free. When the filling is this creamy and the crust is this satisfying, there is no sense of missing out, only genuine enjoyment.
This recipe rewards a little patience and care at each step. Room-temperature ingredients, gentle mixing, a proper water bath, and a slow cool-down are the four things that separate an average result from a flawless one. Each step has a reason behind it, and once you understand why, you will find yourself instinctively doing them right every time.
Give this recipe a try for your next celebration, holiday gathering, or just because you want a truly spectacular dessert this weekend. Leave a comment below to let me know how it turned out, and feel free to share your favorite topping combinations. I would love to hear what you create!
Recommended:
- Philadelphia No Bake Cheesecake Recipe
- Oreo Cheesecake Recipe
- Basque Cheesecake Recipe
- Mini Cheesecake Recipe
- Japanese Cheesecake Recipe
- Best Cheesecake Recipe
- Churro Cheesecake Recipe
- Cream Cheese Frosting Recipe
- Gluten Free Protein Pancakes Recipe
- 4 Ingredient Gluten Free Bread Recipe


