If you’ve never made a New York cheesecake recipe at home, you’re in for a real treat. This classic dessert is rich, creamy, and absolutely show-stopping.
I grew up watching my grandmother make this exact recipe every holiday season. The secret to that signature dense, velvety texture is using plenty of cream cheese and baking it low and slow.
Most people think cheesecake is intimidating, but I promise it’s easier than you think. Once you get the technique down, you’ll be making this for every celebration.
The key is patience. Don’t rush the baking or cooling process, and you’ll end up with that iconic crack-free top every time.
Trust me, one slice of this homemade New York cheesecake will convince you that store-bought versions don’t even come close. The graham cracker crust provides the perfect buttery crunch against the smooth, tangy filling.
Another favorite: Best Cheesecake Recipe
Why You’ll Love This New York Cheesecake Recipe
This is hands-down the best cheesecake you’ll ever make. It’s got that classic New York style with a dense, creamy texture that melts in your mouth.
I’ve tested this recipe dozens of times to get it just right. The result is a cheesecake that’s rich but not too heavy, with just the right amount of tang.
- Restaurant-quality results at a fraction of the cost
- No water bath required for this foolproof method
- Feeds a crowd with 12 generous slices
- Make-ahead friendly so you can prep the day before
- Customizable with your favorite toppings and flavors
- Impressive presentation that looks like it came from a bakery
Ingredients
Here’s everything you need to create this iconic dessert. I’ve broken it down into two parts: the buttery graham cracker crust and the luxuriously rich filling.
For the Crust:
- 2 cups graham cracker crumbs (about 16 whole crackers)
- 1/4 cup granulated sugar
- 1/2 cup unsalted butter, melted
For the Filling:
- 32 ounces (four 8-ounce packages) cream cheese, softened to room temperature
- 1 1/4 cups granulated sugar
- 3 tablespoons all-purpose flour
- 4 large eggs, room temperature
- 1 cup sour cream, room temperature
- 1 tablespoon vanilla extract
- 1 tablespoon fresh lemon juice
- 1 teaspoon lemon zest
Kitchen Equipment Needed
Having the right tools makes all the difference when baking cheesecake. Here’s what I recommend having on hand before you start.
- 9-inch springform pan
- Electric mixer (stand or hand mixer)
- Large mixing bowls
- Food processor (or rolling pin for crushing crackers)
- Rubber spatula
- Measuring cups and spoons
- Parchment paper
- Aluminum foil
Recommended Products for This Recipe
After making this cheesecake countless times, I’ve found a few products that really elevate the final result. These aren’t necessary, but they’ll make your life easier and your cheesecake even better.
1. Philadelphia Cream Cheese Brick
I always use Philadelphia brand for this recipe because it has the perfect consistency and tang. Generic brands can sometimes be too watery or not flavorful enough. The brick style (not whipped) gives you that authentic New York cheesecake texture that’s impossible to replicate with anything else.
2. Fat Daddio’s Anodized Aluminum Springform Pan
This pan is a total upgrade from the cheap ones. It distributes heat evenly, releases cleanly every single time, and the anodized aluminum won’t rust or warp. I’ve had mine for five years and it still looks brand new.
3. Nielsen-Massey Madagascar Bourbon Vanilla Extract
Quality vanilla makes a noticeable difference in cheesecake. This extract has a rich, complex flavor that really shines through in the filling. It’s pricier than grocery store vanilla, but a little goes a long way and the depth of flavor is worth every penny.
4. OXO Good Grips Silicone Spatula
A good flexible spatula is essential for scraping down the bowl and ensuring everything is mixed evenly. This one has a comfortable grip and the silicone won’t scratch your bowls. It’s heat-resistant too, so you can use it for other baking projects.
You might also enjoy: Pumpkin Cheesecake Recipe
Step-by-Step Instructions
I’m walking you through every detail so you can nail this cheesecake on your first try. Take your time with each step and don’t skip ahead.
1. Prepare Your Pan and Oven
- Preheat your oven to 325°F (163°C)
- Wrap the outside of your 9-inch springform pan with two layers of heavy-duty aluminum foil, making sure it comes up the sides at least halfway to prevent any leaks
- Cut a circle of parchment paper to fit the bottom of the pan and place it inside
- Grease the sides of the pan lightly with butter or cooking spray
2. Make the Graham Cracker Crust
- In a food processor, pulse the graham crackers until you have fine, even crumbs (alternatively, place crackers in a sealed plastic bag and crush with a rolling pin)
- Transfer the crumbs to a medium bowl and add the sugar, stirring to combine
- Pour in the melted butter and mix with a fork until the mixture resembles wet sand and holds together when pressed
- Press the crumb mixture firmly into the bottom of your prepared springform pan, using the bottom of a measuring cup to create an even, compact layer
- Extend the crust about 1 inch up the sides of the pan for that classic look
- Bake the crust for 10 minutes, then remove and let cool while you prepare the filling
3. Beat the Cream Cheese Base
- In a large mixing bowl, beat the softened cream cheese on medium speed for 3-4 minutes until it’s completely smooth and fluffy with no lumps remaining
- Stop the mixer and scrape down the sides and bottom of the bowl thoroughly with a rubber spatula to ensure even mixing
- Add the sugar and flour, then beat on medium-low speed for another 2 minutes until fully incorporated and the mixture is light and creamy
- Scrape down the bowl again to catch any unmixed portions
4. Add the Eggs and Dairy
- With the mixer on low speed, add the eggs one at a time, beating for about 20 seconds after each addition until just combined (overmixing at this stage can incorporate too much air and cause cracks)
- Add the sour cream, vanilla extract, lemon juice, and lemon zest
- Beat on low speed for 30-45 seconds until everything is just incorporated and the batter is smooth and creamy
- Give the bowl one final scrape with your spatula, making sure to get the bottom and sides where ingredients often hide
- Give the mixture a few gentle stirs by hand to ensure everything is evenly distributed without overmixing
5. Pour and Smooth the Filling
- Pour the cheesecake batter over your cooled graham cracker crust
- Gently tap the pan on the counter 5-6 times to release any large air bubbles trapped in the batter
- Use an offset spatula or the back of a spoon to smooth the top into an even layer
- Run a butter knife through the batter in a figure-eight pattern to eliminate any remaining small bubbles
6. Bake the Cheesecake
- Place the springform pan on a large baking sheet to catch any potential drips
- Bake at 325°F for 55-70 minutes, checking at the 55-minute mark
- The cheesecake is done when the edges are set and slightly puffed, but the center still jiggles slightly when you gently shake the pan (it should move like jello, about a 3-inch diameter circle in the center)
- The internal temperature should reach 150°F when measured with an instant-read thermometer inserted into the center
- Do not overbake, as the cheesecake will continue cooking as it cools
7. Cool the Cheesecake Gradually
- Turn off the oven and crack the door open about 4 inches
- Leave the cheesecake in the oven for 1 hour to cool slowly (this gradual temperature change prevents cracks)
- After 1 hour, remove the cheesecake from the oven and run a thin knife around the edge to loosen it from the pan sides
- Let it cool at room temperature for another hour
- Once cooled to room temperature, cover loosely with plastic wrap and refrigerate for at least 6 hours or overnight before serving
This pairs beautifully with my Banana Pudding Recipe for a complete dessert spread.
Tips for Success
These are the tips I’ve learned through trial and error that make the difference between a good cheesecake and an exceptional one.
- Room temperature is crucial – Take your cream cheese, eggs, and sour cream out of the fridge at least 2 hours before baking so everything blends smoothly without lumps
- Don’t overmix – Once you add the eggs, mix on low speed and only until just combined to avoid incorporating excess air that causes cracks
- The jiggle test is your friend – The center should wobble like jello when done, not be completely firm (it will continue setting as it cools)
- Slow cooling prevents cracks – Never remove a hot cheesecake from the oven directly to room temperature; use the gradual cooling method in the instructions
- Patience with chilling – Overnight refrigeration gives the best texture and allows the flavors to develop fully
- Use a hot knife for clean slices – Run your knife under hot water and wipe it dry between each cut for bakery-perfect slices
- Check your oven temperature – Use an oven thermometer to ensure accuracy, as even 25 degrees off can affect baking time
Serving Suggestions
A classic New York cheesecake is delicious on its own, but here are some of my favorite ways to serve it for different occasions.
Classic Toppings:
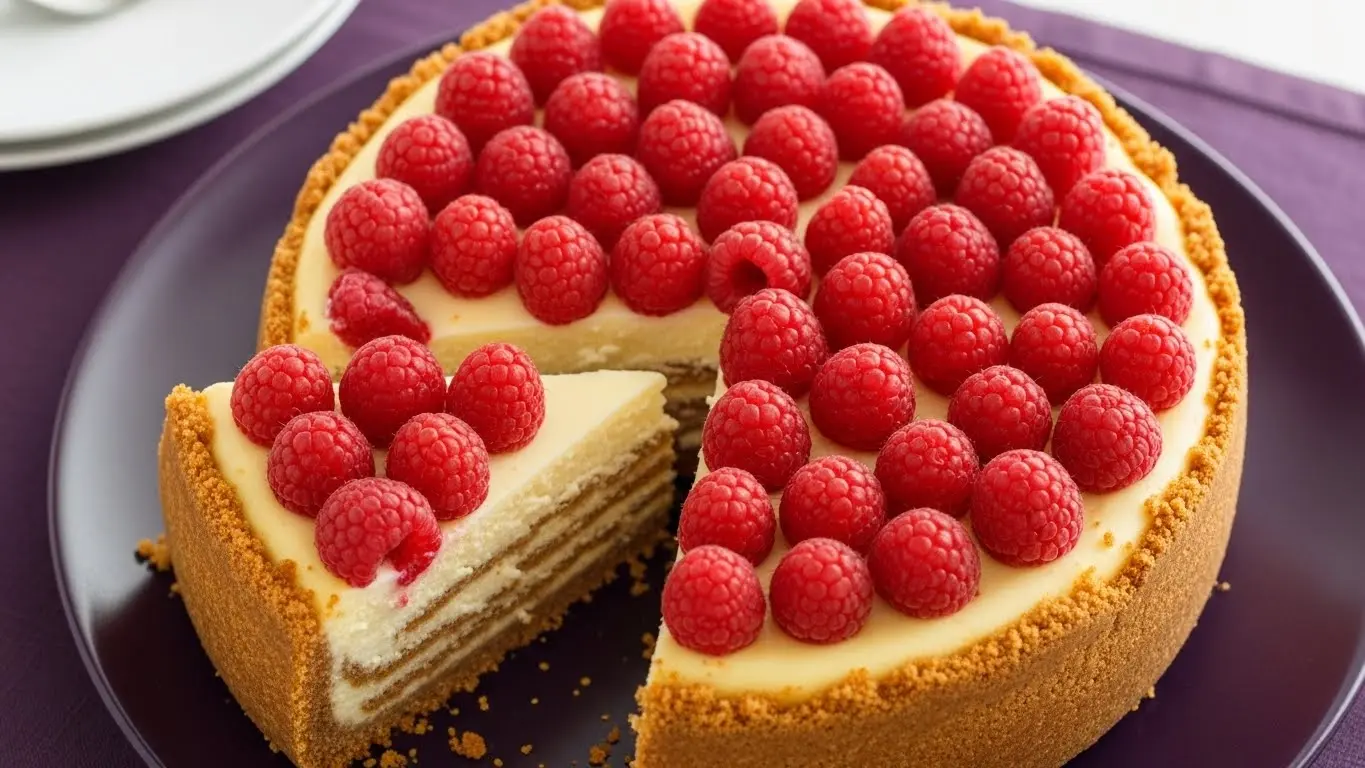
- Fresh strawberry or raspberry compote
- Warm caramel or chocolate ganache drizzle
- Whipped Shortbread Cookies crumbled on top
- Fresh berries with a dusting of powdered sugar
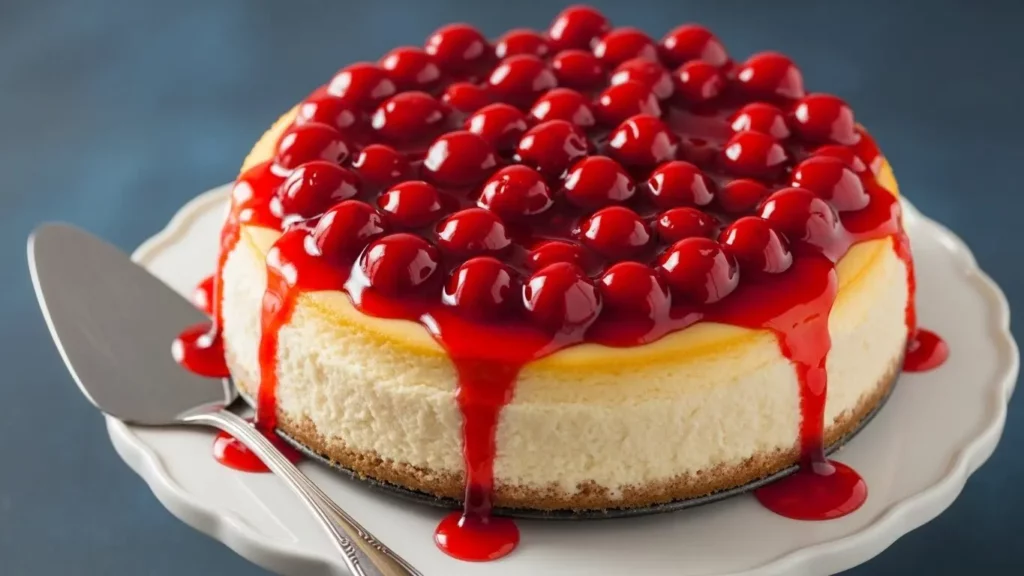
- Cherry pie filling for a traditional New York deli style
- Lemon curd for extra citrus brightness
Variations to Try
Once you’ve mastered the classic version, these variations will keep things exciting. Each one builds on the base recipe with simple additions.
- Chocolate chip – Fold 1 cup of mini chocolate chips into the batter before baking
- Salted caramel – Swirl 1/2 cup of caramel sauce through the batter and drizzle more on top before serving
- Berry swirl – Marble 1/2 cup of berry puree through the batter for a colorful twist
- Pumpkin spice – Replace 1 cup of the filling with pumpkin puree and add 2 teaspoons of pumpkin pie spice for fall
- Oreo crust – Swap the graham crackers for crushed Oreos (filling and all) for a cookies and cream version
- Chocolate – Add 6 ounces of melted and cooled dark chocolate to the filling for a rich chocolate cheesecake
- Turtle – Top with caramel, chocolate, and toasted pecans
Read Also: No Bake Cheesecake Recipe
Storage and Reheating
Proper storage keeps your cheesecake fresh and delicious for days. Here’s exactly how to handle leftovers.
- Refrigerator – Cover tightly with plastic wrap or store in an airtight container for up to 5 days
- Freezer – Wrap individual slices in plastic wrap, then aluminum foil, and freeze for up to 2 months (thaw overnight in the refrigerator before serving)
- Serving from cold – For best texture, let slices sit at room temperature for 15-20 minutes before eating
- Avoid moisture – Never store with toppings already on the cheesecake, as they can make it soggy; add fresh toppings just before serving
- Plastic wrap tip – Press plastic wrap directly onto any cut surfaces to prevent the cheesecake from drying out in the fridge
Nutritional Facts
Here’s the approximate nutritional information per slice (based on 12 slices):
- Calories: 420
- Total Fat: 31g
- Saturated Fat: 18g
- Cholesterol: 165mg
- Sodium: 320mg
- Total Carbohydrates: 30g
- Sugars: 23g
- Protein: 8g
Note: These values are estimates and will vary based on specific brands and any variations you make to the recipe.
Health Benefits of Key Ingredients
While cheesecake is definitely an indulgent treat, some of its key ingredients do offer nutritional value. Here’s what’s hiding in that delicious slice.
Cream Cheese:
- Provides calcium for strong bones and teeth
- Contains vitamin A for eye health and immune function
- Offers protein to help with satiety
- Contains beneficial probiotics if using cultured cream cheese
Eggs:
- Excellent source of high-quality protein with all essential amino acids
- Rich in choline, which supports brain health and memory
- Provide vitamin D for calcium absorption and immune support
- Contain lutein and zeaxanthin for eye health
Sour Cream:
- Good source of probiotics for gut health
- Provides calcium and phosphorus for bone strength
- Contains vitamin B12 for energy metabolism
- Offers riboflavin for cell growth and function
Another favorite: Chia Seed Pudding Recipe
Frequently Asked Questions
1. Why did my cheesecake crack on top?
Cracks usually happen from rapid temperature changes or overbaking. Make sure you cool the cheesecake gradually in the oven with the door cracked, and don’t bake past the jiggle stage.
Another common cause is overmixing after adding the eggs, which incorporates too much air. Mix on low speed and only until just combined.
2. Can I make this cheesecake without a springform pan?
You can use a regular 9-inch cake pan, but you’ll need to line it completely with parchment paper with overhang so you can lift the cheesecake out. The presentation won’t be as clean, but it will taste just as good.
Another option is to make individual cheesecakes in a muffin tin, which bake in about 20-25 minutes.
3. How do I know when my cheesecake is done baking?
The edges should be set and slightly puffed, while the center jiggles like jello when you gently shake the pan. An instant-read thermometer should read 150°F in the center.
The cheesecake will continue to set as it cools, so don’t wait for it to be completely firm in the oven.
4. Why is my cheesecake dense and heavy instead of creamy?
This usually happens when the cream cheese isn’t fully softened before mixing, creating lumps that never fully incorporate. Always let your ingredients come to room temperature for at least 2 hours.
Overbaking can also create a dense texture, so watch your baking time carefully and use the jiggle test.
5. Can I make this cheesecake ahead of time?
Absolutely! Cheesecake actually tastes better after a day or two in the fridge as the flavors develop.
You can make it up to 3 days ahead and store it covered in the refrigerator. Just add any toppings right before serving to keep them fresh.
Final Thoughts
Making a New York cheesecake from scratch is one of those accomplishments that’ll make you feel like a baking pro. The rich, creamy texture and that iconic tall profile are totally worth the time and effort.
I hope this recipe becomes a staple in your dessert rotation like it has in mine. Once you see how easy it is to achieve bakery-quality results at home, you’ll wonder why you ever bought cheesecake from a store.
Give this recipe a try and come back to let me know how it turned out! I’d love to hear about any variations you tried or how your family reacted to that first bite.
Recommended:
- Rice Pudding Recipe
- Yorkshire Pudding Recipe
- Bread Pudding Recipe
- Figgy Pudding Recipe
- Sticky Toffee Pudding Recipe
- Dirt Pudding Recipe
- Vanilla Pudding Recipe
- Chocolate Pudding Recipe
- Corn Pudding Recipe
- Brownie Pudding Recipe


