Every home baker needs a foolproof best cheesecake recipe in their arsenal, and this one delivers exactly that. I’ve spent years perfecting this recipe, testing different techniques and ingredient ratios until I landed on this version that consistently produces bakery-quality results.
This isn’t just any cheesecake. It’s the kind that makes people pause mid-bite, their eyes widen, and ask for the recipe before they’ve even finished their slice.
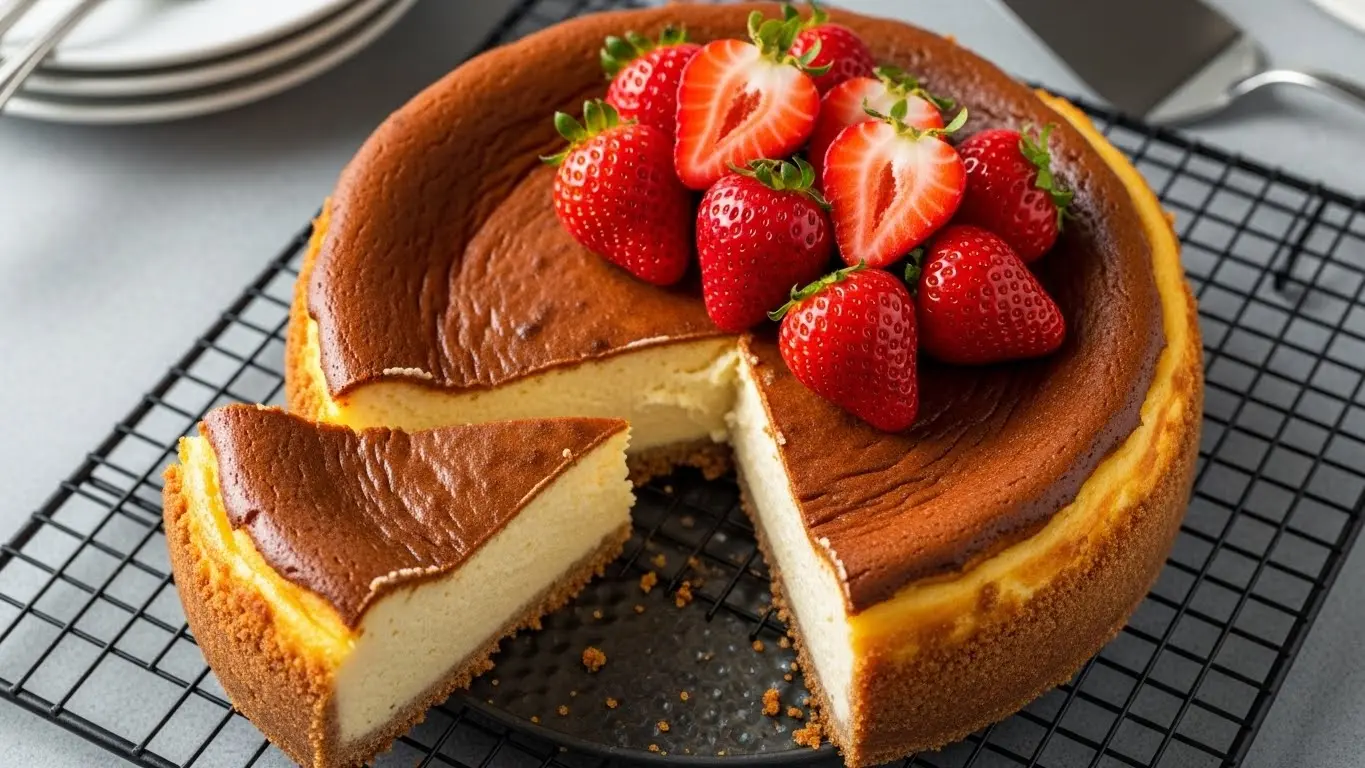
The texture is impossibly smooth and creamy, with just the right amount of tanginess from the cream cheese. The graham cracker crust provides the perfect buttery crunch that contrasts beautifully with the velvety filling.
What makes this recipe truly special is how it combines professional techniques with home baker-friendly steps. You don’t need fancy equipment or culinary school training to nail this.
Just a few quality ingredients, careful attention to timing, and the confidence to trust the process. The result is a cheesecake that rivals anything you’d find at a high-end bakery.
I’ve made this cheesecake for countless birthdays, holidays, and dinner parties over the years. It’s become my signature dessert, the one people specifically request when they know I’m bringing dessert.
The best part? Once you master this base recipe, you can customize it endlessly with different toppings, flavors, and mix-ins to suit any occasion or craving.
If you’re looking for another impressive dessert option, my pumpkin cheesecake recipe is perfect for fall gatherings.
Why You’ll Love This Best Cheesecake Recipe
This recipe stands out from the countless cheesecake variations out there for several compelling reasons. I’ve refined every detail to ensure success, even for first-time cheesecake makers.
- Foolproof texture: The water bath method ensures even baking and prevents those dreaded cracks on top
- Make-ahead friendly: This cheesecake actually tastes better after chilling overnight, making it perfect for entertaining
- Customizable base: Once you master this recipe, you can add any flavoring or topping your heart desires
- Professional results: The slow baking and gradual cooling process creates that signature creamy texture bakeries charge premium prices for
- No special equipment needed: Just standard baking tools you likely already own
- Crowd-pleasing flavor: The classic taste appeals to everyone from kids to grandparents
Ingredients
This recipe relies on quality ingredients at room temperature to achieve that signature smooth, creamy texture. Taking the time to let your dairy products warm up naturally is crucial for avoiding lumps.
- 2 cups graham cracker crumbs (about 16 crackers)
- 6 tablespoons unsalted butter, melted
- ¼ cup granulated sugar (for crust)
- 32 ounces (four 8-ounce packages) cream cheese, softened to room temperature
- 1¼ cups granulated sugar (for filling)
- ¼ cup sour cream, room temperature
- 2 teaspoons pure vanilla extract
- 4 large eggs, room temperature
- Heavy cream, ¼ cup
- Pinch of salt
Kitchen Equipment Needed
Having the right tools makes all the difference when baking cheesecake. The springform pan is essential for easy removal, while the roasting pan for the water bath ensures even heat distribution.
- 9-inch springform pan
- Stand mixer or hand mixer
- Large roasting pan (for water bath)
- Aluminum foil (heavy-duty)
- Mixing bowls
- Rubber spatula
- Measuring cups and spoons
Recommended Products for This Recipe
After making this cheesecake hundreds of times, I’ve discovered a few products that genuinely elevate the results and make the process smoother.
1. Nordic Ware Leakproof Springform Pan
I cannot stress enough how important a quality springform pan is for cheesecake success. This Nordic Ware pan has never leaked on me, even in water baths, and the latch mechanism is so sturdy that it won’t pop open unexpectedly. The non-stick surface releases the cheesecake cleanly every single time.
2. Philadelphia Cream Cheese Brick Style
While any cream cheese works, Philadelphia’s brick-style cream cheese (not the spreadable tubs) has the perfect consistency and tanginess for cheesecake. The moisture content is ideal, which means you’ll get that ultra-smooth texture without any graininess.
3. Reynolds Wrap Heavy Duty Aluminum Foil
Regular foil can tear easily when wrapping your springform pan for the water bath. This heavy-duty version is thicker and more durable, providing better protection against water seepage. I use a double layer just to be safe, and this foil makes that easy.
4. Madagascar Vanilla Extract
Since cheesecake has such a simple flavor profile, using high-quality vanilla extract makes a noticeable difference. Madagascar vanilla has those classic, creamy vanilla notes that complement the cream cheese perfectly without any artificial taste.
Another favorite: Boston cream pie offers a similar creamy custard experience with chocolate ganache.
Step-by-Step Instructions
Follow these detailed instructions carefully for perfect results. The key to an amazing cheesecake is patience and precision at every stage.
1. Prepare Your Oven and Pan
- Preheat your oven to 325°F (163°C) and position the rack in the lower third of the oven
- Wrap the outside of your 9-inch springform pan with two layers of heavy-duty aluminum foil, making sure it extends all the way up the sides to prevent water from seeping in during the water bath
- Grease the inside of the pan lightly with butter or non-stick spray, paying special attention to the sides where the cheesecake will need to release cleanly
- Place a kettle or large pot of water on the stove to boil for the water bath later
2. Make the Graham Cracker Crust
- Combine graham cracker crumbs, melted butter, and ¼ cup sugar in a medium bowl, stirring until the mixture resembles wet sand and holds together when pressed
- Pour the crumb mixture into your prepared springform pan and use the bottom of a measuring cup or glass to press it firmly and evenly into the bottom of the pan
- Press some of the mixture about 1 inch up the sides of the pan to create a slight edge
- Bake the crust for 10 minutes until it’s lightly golden and fragrant, then remove from the oven and let it cool while you prepare the filling
3. Beat the Cream Cheese Base
- In the bowl of your stand mixer fitted with the paddle attachment (or using a large bowl with a hand mixer), beat the softened cream cheese on medium-low speed for 2-3 minutes until it’s completely smooth and creamy with no lumps visible
- Scrape down the sides and bottom of the bowl thoroughly with a rubber spatula to ensure everything is evenly mixed
- Add the 1¼ cups of sugar and beat on medium speed for another 2 minutes until the mixture is light and fluffy
- Scrape down the bowl again to make sure no pockets of unmixed cream cheese remain stuck to the sides
4. Add the Remaining Filling Ingredients
- Add the sour cream, vanilla extract, and pinch of salt to the cream cheese mixture, beating on low speed just until combined and smooth
- Pour in the heavy cream and mix gently until fully incorporated
- Add the eggs one at a time, beating on the lowest speed after each addition just until the yellow disappears and the egg is incorporated (overmixing at this stage can incorporate too much air, which leads to cracks)
- After adding all four eggs, give the bowl one final scrape and gently fold the mixture with a spatula to ensure everything is evenly combined
5. Pour and Prepare for Baking
- Pour the cheesecake filling over the baked and cooled crust, using a spatula to spread it evenly to the edges
- Gently tap the pan on the counter 2-3 times to release any air bubbles that might have formed during mixing
- Place the foil-wrapped springform pan inside a large roasting pan
- Carefully pour the hot water from your kettle into the roasting pan until it comes about halfway up the sides of the springform pan (this water bath creates gentle, even heat that prevents cracking)
6. Bake the Cheesecake
- Carefully transfer the entire roasting pan setup to the preheated oven, moving slowly to avoid splashing water
- Bake at 325°F for 55-70 minutes (the exact time will depend on your oven) until the edges are set but the center still jiggles slightly when you gently shake the pan
- The cheesecake is done when the edges are puffed and slightly golden, but the center 3-4 inches still wobbles like Jell-O when you nudge the pan
- Do not overbake or wait for the center to look completely set, as it will continue cooking during the cooling process
7. Cool Gradually
- Turn off the oven and crack the oven door open about 1 inch, leaving the cheesecake inside for 1 hour (this gradual temperature change prevents the dreaded cracks)
- After an hour in the cooling oven, remove the cheesecake from the water bath and carefully remove the aluminum foil from the outside of the pan
- Run a thin knife around the edge of the cheesecake to loosen it from the pan sides (this prevents it from pulling and cracking as it cools and contracts)
- Let the cheesecake cool on a wire rack at room temperature for another hour
8. Chill and Serve
- Once the cheesecake has cooled to room temperature, cover it loosely with plastic wrap or aluminum foil and refrigerate for at least 4 hours, but preferably overnight (the texture and flavor improve dramatically after a full night in the fridge)
- When ready to serve, remove the sides of the springform pan by releasing the latch gently
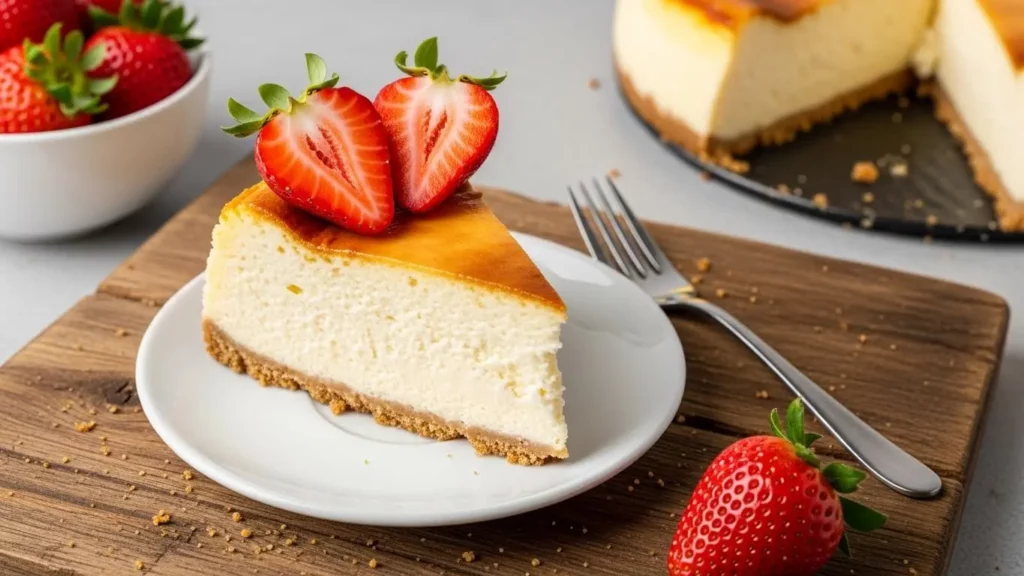
- Use a sharp knife dipped in hot water and wiped dry between each cut to slice clean, beautiful pieces
- Serve chilled with your choice of toppings or enjoy it plain to appreciate the pure, classic flavor
Read Also: Tres Leches Cake Recipe
Tips for Success
These pro tips will help you avoid common cheesecake pitfalls and achieve bakery-quality results every time. I learned most of these through trial and error, so you don’t have to.
- Room temperature is crucial: Take your cream cheese, eggs, and sour cream out of the fridge at least 1-2 hours before starting (cold ingredients create lumps and uneven texture)
- Don’t overmix: Once you add the eggs, mix on the lowest speed possible and only until just combined (excess air causes cracks and a less creamy texture)
- Check doneness carefully: The center should jiggle like Jell-O when you gently shake the pan (it firms up as it cools, so don’t wait for it to look solid)
- Prevent cracks: Use the water bath, cool gradually, and don’t open the oven door during baking (sudden temperature changes are the enemy)
- Plan ahead: Cheesecake needs to chill for at least 4 hours, but overnight is ideal (this isn’t a last-minute dessert)
- Slice cleanly: Dip your knife in hot water and wipe it dry between each cut for those Instagram-worthy slices
Serving Suggestions
This classic cheesecake is stunning on its own, but these serving ideas can elevate it even further for special occasions. The neutral flavor profile makes it incredibly versatile.
- Fresh berry compote: Simmer mixed berries with a bit of sugar and lemon juice for a vibrant, slightly tart topping that cuts through the richness
- Chocolate ganache: Pour warm chocolate ganache over chilled slices for an indulgent twist
- Caramel drizzle: Homemade or store-bought caramel sauce adds a beautiful buttery sweetness
- Whipped cream: A simple dollop of freshly whipped cream and some lemon zest brightens each bite
- Fruit coulis: Raspberry or strawberry coulis creates an elegant presentation for dinner parties
- Cookie crumbles: Top with crushed cookies like shortbread or chocolate cookies for added texture
Variations to Try
Once you’ve mastered the classic version, these variations will keep things exciting. Each one builds on the same reliable base recipe with simple modifications.
- Chocolate cheesecake: Melt 8 ounces of dark chocolate and fold it into the cream cheese mixture before adding eggs
- Lemon cheesecake: Add 2 tablespoons lemon zest and ¼ cup fresh lemon juice to the filling for a bright, citrusy version
- Oreo cheesecake: Replace graham crackers with crushed Oreos for the crust and fold crushed Oreos into the filling
- Pumpkin swirl: Swirl ½ cup pumpkin puree mixed with pumpkin pie spice into the plain filling before baking
- Strawberry topping: Top the chilled cheesecake with strawberry sauce for a classic combination
- Nutty crust: Replace half the graham crackers with ground pecans or almonds for a richer, nuttier base
You might also enjoy: Banana cream pie for another creamy, crowd-pleasing dessert.
Storage and Reheating
Proper storage is key to maintaining that perfect creamy texture for days. Cheesecake actually keeps remarkably well when stored correctly.
- Refrigerator: Cover tightly with plastic wrap or store in an airtight container for up to 5 days (the flavor actually improves over the first 2-3 days)
- Freezing whole: Wrap the entire cheesecake tightly in plastic wrap, then aluminum foil, and freeze for up to 2 months (thaw overnight in the refrigerator before serving)
- Freezing slices: Wrap individual slices in plastic wrap and place in a freezer bag for convenient single servings (thaw in the fridge for a few hours)
- Avoid room temperature: Never leave cheesecake out for more than 2 hours as the dairy ingredients can spoil
- No reheating needed: Cheesecake is best served cold, straight from the refrigerator
Nutritional Facts
Per slice (based on 12 slices):
- Calories: 420
- Total Fat: 32g
- Saturated Fat: 19g
- Cholesterol: 145mg
- Sodium: 280mg
- Total Carbohydrates: 28g
- Fiber: 0g
- Sugars: 23g
- Protein: 7g
Note: Nutritional information is approximate and will vary based on specific ingredients used and portion sizes.
Health Benefits of Key Ingredients
While cheesecake is definitely an indulgent treat, some of its core ingredients do offer nutritional value. Moderation is key, but you can feel slightly better about enjoying this dessert.
- Cream cheese: Provides calcium for bone health, vitamin A for eye health, and protein for muscle maintenance (though it’s high in saturated fat, so enjoy in moderation)
- Eggs: Excellent source of complete protein, B vitamins for energy metabolism, and choline for brain health
- Sour cream: Contains probiotics that support gut health and digestive function, plus additional calcium and vitamin D
- Graham crackers: Made from whole wheat flour, providing some fiber and complex carbohydrates for sustained energy
Another decadent option: Chocolate pie satisfies chocolate lovers with a similar creamy filling.
Frequently Asked Questions
1. Why did my cheesecake crack?
Cracks typically occur due to sudden temperature changes or overbaking. Make sure you’re using a water bath for gentle, even heat distribution, and allow the cheesecake to cool gradually in the oven with the door cracked. Also avoid overmixing the batter once you add the eggs, as too much air can cause the top to rise and then crack as it falls during cooling.
2. Can I make cheesecake without a water bath?
While technically possible, I strongly recommend using a water bath for the best results. The water bath creates a humid environment that prevents the top from drying out and cracking. If you absolutely can’t use one, place a pan of hot water on the rack below your cheesecake to add some moisture to the oven environment.
3. How do I know when my cheesecake is done baking?
The edges should be set and slightly puffed, while the center 3-4 inches should still jiggle like Jell-O when you gently shake the pan. An instant-read thermometer inserted in the center should read 150°F. The cheesecake will continue to cook and set as it cools, so don’t wait for the center to look completely firm.
4. Why is my cheesecake grainy or lumpy?
This usually happens when the cream cheese isn’t fully softened before mixing, or when ingredients are added while still cold from the refrigerator. Always let your cream cheese, eggs, and sour cream come to room temperature for at least 1-2 hours. Beat the cream cheese thoroughly until completely smooth before adding any other ingredients.
5. Can I use low-fat cream cheese?
I don’t recommend it for this recipe. Low-fat or fat-free cream cheese contains more water and less fat, which results in a less creamy texture and can cause the cheesecake to become watery or separate. For the best flavor and texture, always use full-fat cream cheese in block form, not the whipped or spreadable varieties.
If you love custard-based desserts, try banana pudding for a lighter, no-bake option.
Final Thoughts
This best cheesecake recipe has earned its place as my go-to dessert for a reason. It’s reliable, impressive, and absolutely delicious every single time.
I hope you’ll give it a try and experience that moment when you take your first bite and realize you’ve just made something truly special. The combination of creamy filling and buttery crust is simply unbeatable.
Don’t be intimidated by the steps or the water bath technique. Once you make this cheesecake successfully, you’ll wonder why you ever bought one from the store. I’d love to hear how your cheesecake turns out, so please leave a comment below and let me know if you tried any fun variations or toppings!
Recommended:
- Pumpkin Cheesecake Recipe
- Boston Cream Pie Recipe
- Tres Leches Cake Recipe
- Key Lime Pie Recipe
- Banana Cream Pie Recipe
- Lemon Meringue Pie Recipe
- Chocolate Pie Recipe
- Peanut Butter Pie Recipe
- Fruit Tart Recipe
- Sugar Cookies Recipe


