If you’ve been searching for the perfect mini cheesecake recipe, you’ve landed in exactly the right place.
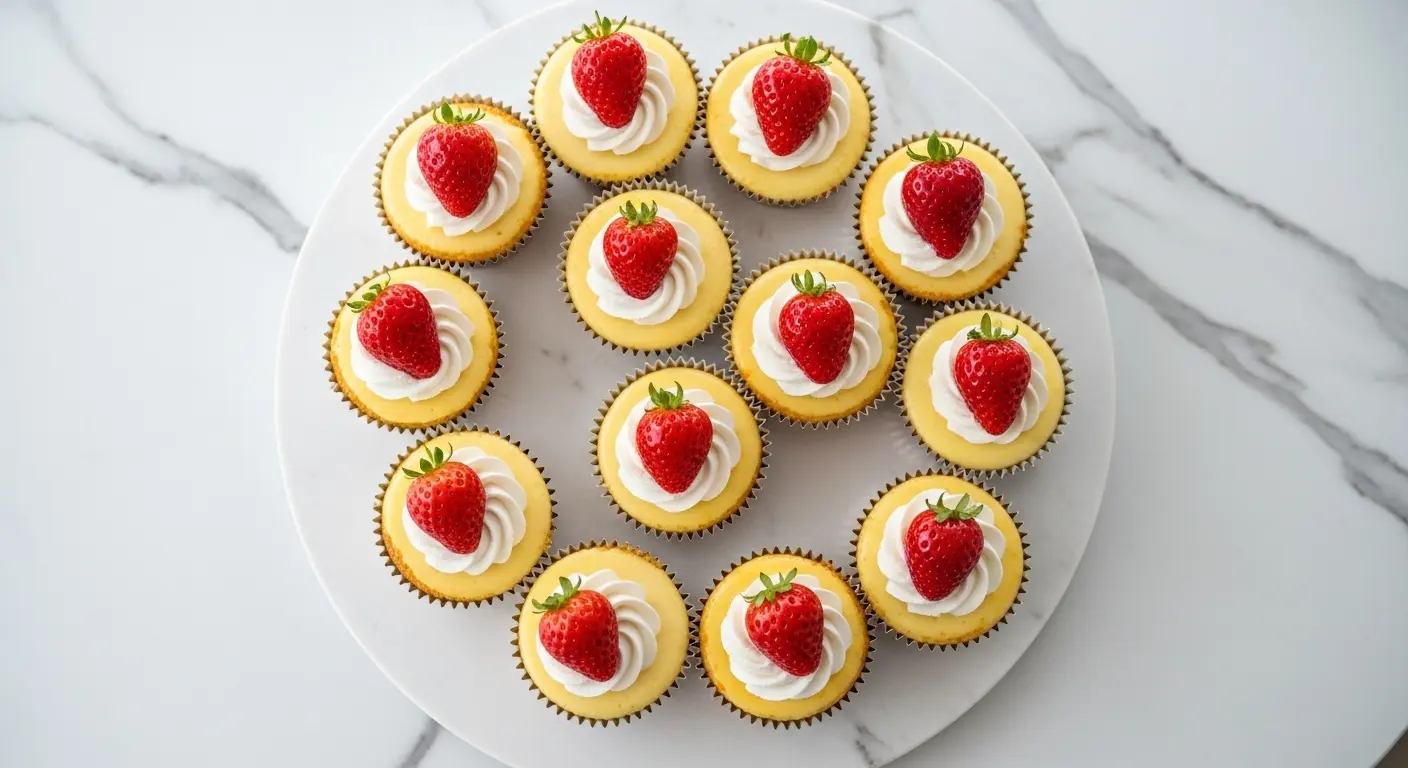
These little bites of creamy, tangy heaven are baked right in a standard muffin tin, no springform pan required, and they come out perfectly portioned every single time.
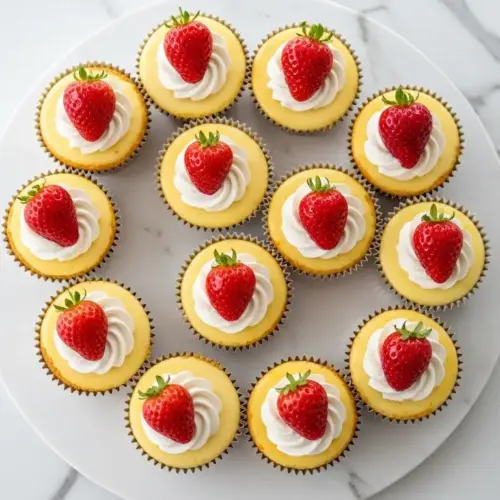
What makes this recipe so special is the ratio of crust to filling. Each individual cheesecake gets a thick, buttery graham cracker base that holds its shape beautifully, topped with a silky smooth cream cheese filling that is rich without being overwhelming.
They’re ideal for parties, holidays, potlucks, or just a Tuesday night when you want something sweet without committing to slicing a full-sized cake.
The best part? No water bath. No fussing with a springform pan. No worrying about cracks ruining the whole presentation. Just twelve perfectly cute mini cheesecakes that look like you spent hours in the kitchen.
You might also love this No Bake Cheesecake if you want an even simpler option.
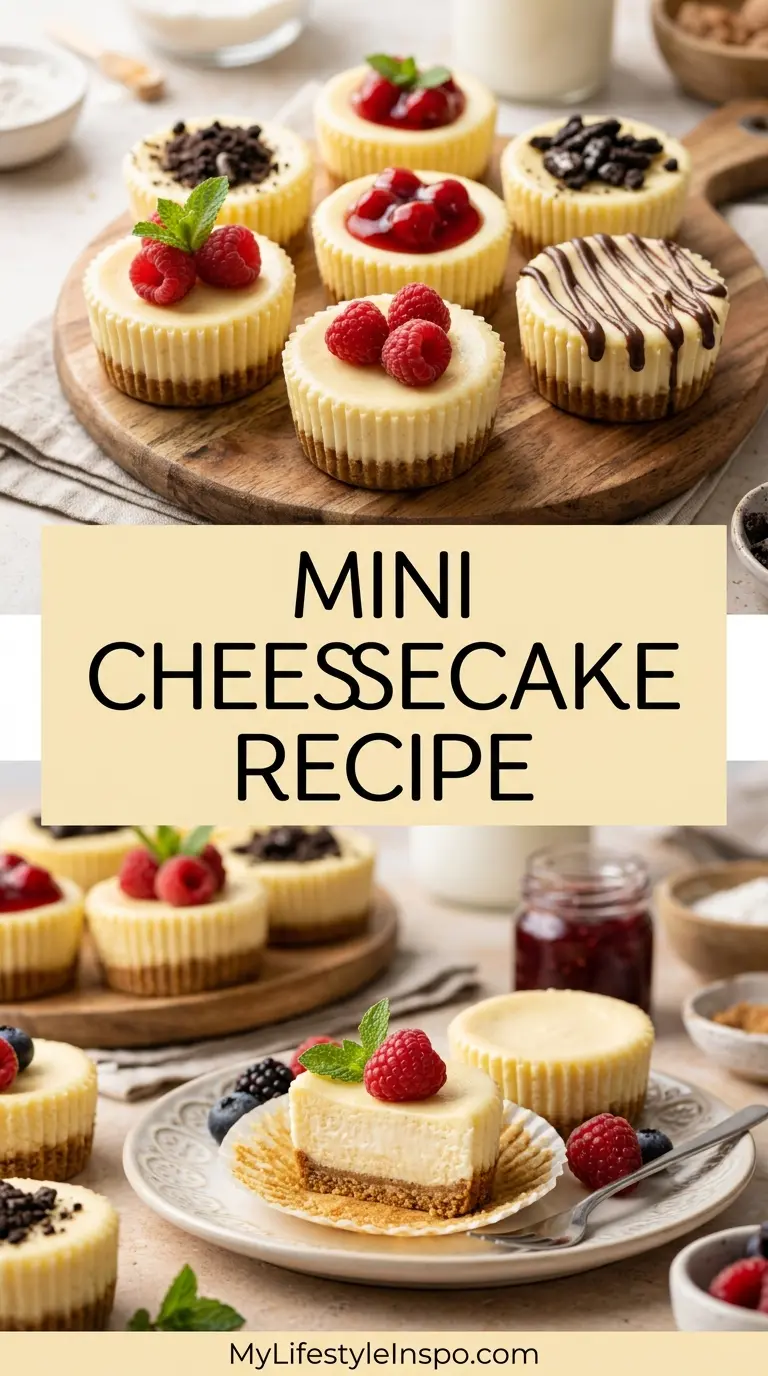
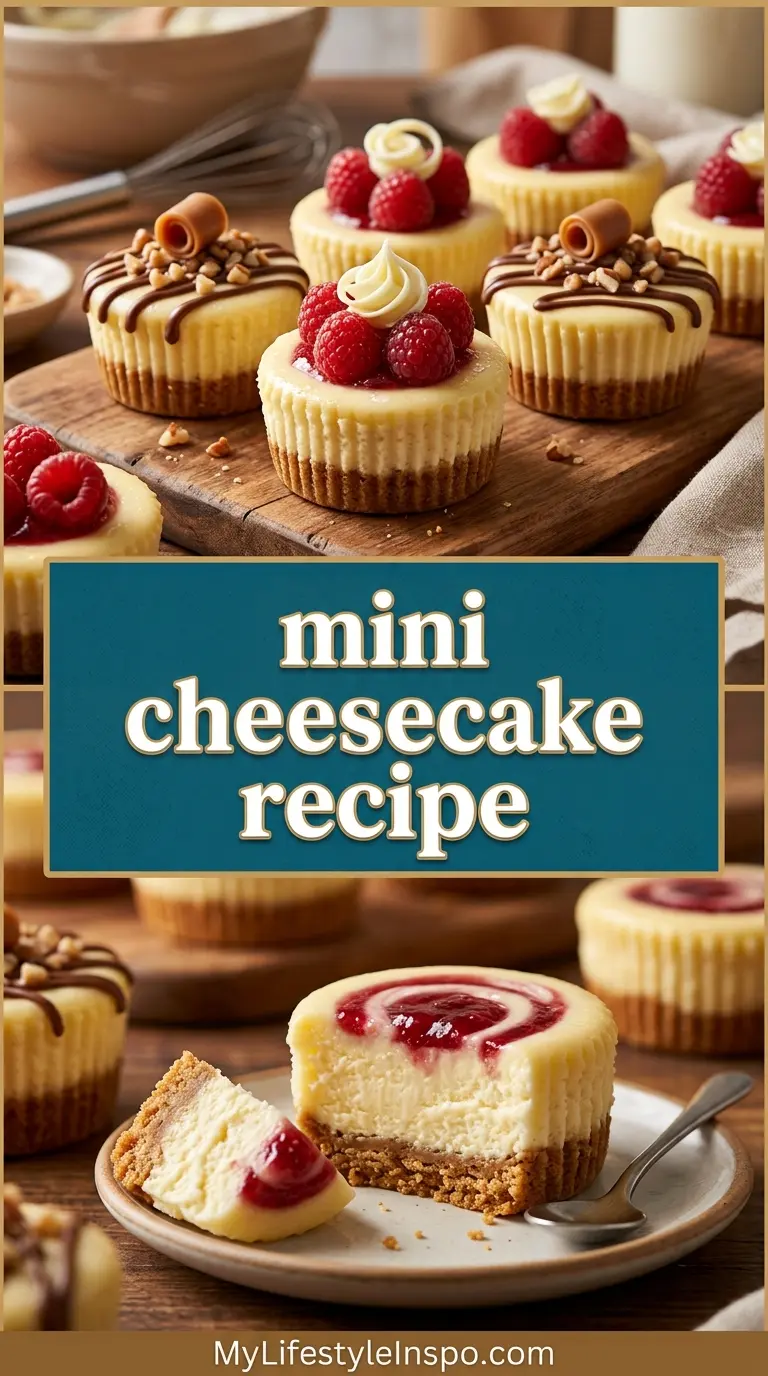
Why You’ll Love This Mini Cheesecake Recipe
This mini cheesecake recipe is one of those desserts that genuinely delivers every time you make it.
The texture is luxuriously smooth and creamy, thanks to full-fat block cream cheese and a touch of sour cream that adds just the right amount of tang.
Each mini is already portion-controlled, so there’s no awkward slicing or serving. You just grab one and go.
They bake in under 25 minutes and don’t require a water bath, which is a huge time saver compared to a full cheesecake.
The graham cracker crust gets pre-baked for a few minutes, which firms it up and gives it a slightly toasted, nutty flavor that pairs beautifully with the creamy filling.
You can make them ahead of time and refrigerate overnight, meaning they are completely stress-free for entertaining.
They’re endlessly customizable with different toppings: fresh berries, fruit sauce, chocolate ganache, caramel, or whipped cream all work wonderfully.
Here’s a quick summary of why this recipe stands out:
- No water bath needed
- Ready in under an hour (plus chilling time)
- No springform pan required
- Perfect for parties and make-ahead prep
- Customizable with any topping you love
- Creamy, rich, and tangy all at once
- Stores beautifully in the fridge for several days
Read Also: Strawberry Cheesecake Recipe
Ingredients
This mini cheesecake recipe uses simple, familiar ingredients that come together to create something truly impressive. The key is using full-fat, block-style cream cheese (not the kind in a tub) and making sure everything is at room temperature before you start mixing.
For the Graham Cracker Crust:
- 1 cup (120g) graham cracker crumbs (about 8 full sheets)
- 2 tablespoons (25g) granulated sugar
- 4 tablespoons (57g) unsalted butter, melted
For the Cheesecake Filling:
- 16 oz (450g) full-fat block cream cheese, softened to room temperature
- 1/2 cup (100g) granulated sugar
- 1/4 cup (60g) full-fat sour cream, at room temperature
- 1 teaspoon pure vanilla extract
- 2 large eggs, at room temperature
- 1 tablespoon fresh lemon juice (optional, brightens flavor)
Optional Toppings (choose your favorite):
- Fresh strawberries, blueberries, or raspberries
- Cherry pie filling
- Whipped cream
- Chocolate ganache
- Caramel sauce
Another favorite: Blueberry Cheesecake
Kitchen Equipment Needed
You don’t need any fancy baking equipment to pull off this mini cheesecake recipe. A standard muffin tin and a hand mixer are really all you need to get started.
- Standard 12-cup muffin tin
- Cupcake liners (paper or foil)
- Electric hand mixer or stand mixer
- Large mixing bowl
- Medium mixing bowl
- Measuring cups and spoons
- Rubber spatula
- Food processor (for crushing crackers, or use a zip-lock bag and rolling pin)
- Wire cooling rack
- Ice cream scoop or cookie scoop (for filling the liners evenly)
Read Also: Lemon Cheesecake Recipe
Recommended Products for This Recipe
These are products I genuinely recommend based on quality and performance. They make a real difference in achieving perfect mini cheesecakes every time.
1. OXO Good Grips Non-Stick Pro Muffin Pan
A quality non-stick muffin tin ensures your mini cheesecakes release cleanly and bake evenly without hot spots. The heavy-gauge steel construction prevents warping in the oven, and the micro-textured surface provides excellent release even when using liners.
2. KitchenAid 5-Speed Hand Mixer
Getting a lump-free cheesecake filling comes down to the mixer. A powerful hand mixer with multiple speed settings lets you beat the cream cheese to a perfectly smooth consistency before adding other ingredients, which is the single most important step in this recipe.
3. Wilton Baking Cups Cupcake Liners
Standard foil-lined cupcake liners are the secret to removing mini cheesecakes cleanly after chilling. The foil exterior holds its shape and makes presentation look polished without the paper peeling away from the filling.
4. Nielsen-Massey Pure Vanilla Extract
Pure vanilla extract makes a noticeable difference in baked cheesecake. The quality of your vanilla comes through in the final flavor, especially in a delicate filling like this one where vanilla is one of just a handful of ingredients.
5. Graham Cracker Crumbs (Pre-Crushed)
Using pre-crushed graham cracker crumbs saves time and ensures a uniform, fine texture in the crust. Fine crumbs pack more tightly into the liner, giving you a sturdier base that holds together when you lift the cheesecake out.
This technique works wonderfully in other dessert crusts too, including our Churro Cheesecake Recipe.
Step-by-Step Instructions
Step 1: Prep Your Oven and Muffin Tin
- Preheat your oven to 350°F (177°C).
- Place the oven rack in the center position for even heat distribution.
- Line a standard 12-cup muffin tin with paper or foil cupcake liners. Make sure each liner sits snugly in its cup.
- Set the prepared tin aside. Do not grease the liners; the cheesecake will naturally pull away from the paper as it chills.
Step 2: Make the Graham Cracker Crust
- If starting with whole graham crackers, place them in a zip-lock bag and crush them with a rolling pin until you have very fine crumbs, about the consistency of coarse sand. Alternatively, pulse in a food processor for about 15 seconds.
- In a medium bowl, combine the 1 cup (120g) graham cracker crumbs and 2 tablespoons (25g) granulated sugar. Stir until evenly mixed.
- Pour in 4 tablespoons (57g) melted unsalted butter and stir until all the crumbs are moistened. The mixture should hold together when you press it between your fingers, similar to wet sand.
- Spoon a heaping tablespoon of the crumb mixture into each prepared liner.
- Use a small measuring cup, the back of a spoon, or the bottom of a shot glass to firmly press the crumbs into an even, compact layer. Press down hard; a loose crust will crumble when you try to eat the cheesecake.
Step 3: Pre-Bake the Crust
- Place the muffin tin in the preheated oven.
- Bake the crusts for exactly 5 to 6 minutes, or until you can just begin to smell a toasted, buttery aroma.
- Remove the pan from the oven and set it on a wire rack to cool slightly.
- Reduce the oven temperature to 325°F (163°C). Allow the oven to come down to temperature before baking the cheesecakes.
Step 4: Make the Cheesecake Filling
- Make sure your cream cheese, sour cream, and eggs are all fully at room temperature before you start. Cold cream cheese will leave lumps that cannot be beaten out.
- In a large mixing bowl, beat the 16 oz (450g) softened block cream cheese on medium-high speed with an electric or stand mixer for about 2 minutes, until completely smooth and creamy with zero lumps. Stop and scrape down the sides of the bowl a couple of times as you go.
- Add the 1/2 cup (100g) granulated sugar and beat on medium speed for another 1 minute until fully combined and fluffy.
- Add the 1/4 cup (60g) sour cream and 1 teaspoon vanilla extract. If using, add 1 tablespoon fresh lemon juice now as well. Mix on low speed until just incorporated.
- Add the eggs one at a time. Add the first egg, beat on low speed just until the yolk disappears into the batter, then add the second egg and do the same. Do not overmix at this stage; overbeating the eggs incorporates too much air, which causes the cheesecakes to puff up and then sink or crack as they cool.
- Use a rubber spatula to give the batter one final fold by hand, making sure to scrape the bottom of the bowl where unmixed ingredients can hide.
Step 5: Fill the Liners
- Using an ice cream scoop or large spoon, divide the cheesecake batter evenly among the 12 prepared muffin cups.
- Fill each liner about three-quarters full. The batter will puff slightly in the oven, so leave a small gap at the top.
- Gently tap the muffin tin on the counter a couple of times to release any air bubbles.
Step 6: Bake the Mini Cheesecakes
- Place the filled muffin tin in the center rack of the oven, now set to 325°F (163°C).
- Bake for 17 to 20 minutes. The cheesecakes are done when the edges look set and matte, but the centers still have a slight jiggle when you gently nudge the pan. Do not wait until the centers look fully firm; they will continue to set as they cool.
- Avoid opening the oven door during baking, as sudden temperature changes can cause the tops to crack.
- When the bake time is up, turn the oven off but leave the cheesecakes inside with the door closed for 10 minutes. This gradual cool-down helps prevent cracking.
Step 7: Cool and Chill
- After 10 minutes in the turned-off oven, remove the pan and transfer to a wire cooling rack.
- Allow the cheesecakes to cool to room temperature in the pan, which takes about 30 to 45 minutes.
- Once cool, cover the pan loosely with plastic wrap and refrigerate for at least 2 hours. For best results, chill overnight; the texture becomes noticeably creamier and more set after a full night in the fridge.
Step 8: Remove from Liners and Serve
- Once fully chilled, carefully peel the cupcake liner away from each mini cheesecake. They should release easily when cold. If you have trouble, pop the pan in the freezer for 15 minutes before removing the liners.
- Top with your choice of fresh berries, fruit sauce, whipped cream, or a drizzle of caramel or chocolate ganache just before serving.
You might also enjoy: Oreo Cheesecake Recipe
Tips for Success
Getting mini cheesecakes right comes down to a few key techniques, most of which are about temperature control and patience. Following these will make the difference between an okay cheesecake and a truly spectacular one.
- Room temperature ingredients are non-negotiable. Cold cream cheese or cold eggs are the number one reason cheesecake batters turn out lumpy. Take everything out of the fridge at least 1 to 2 hours before you start.
- Use block cream cheese, not the tub. Spreadable cream cheese in a tub has added stabilizers and water content that affect the texture. Full-fat block cream cheese gives you that dense, silky result.
- Don’t overmix the eggs. Once you add the eggs, switch to low speed and mix only until each egg is just incorporated. Overbeating the eggs creates air bubbles that cause cracking and sinking.
- Pre-bake the crust. Skipping the 5-minute crust pre-bake will result in a soggy, soft base that doesn’t hold together. This short step makes a big difference.
- Don’t overbake. The centers should still jiggle slightly when you pull the pan from the oven. They’ll finish setting as they cool and chill.
- Chill fully before serving. Cheesecake needs time to firm up. Cutting into it too soon gives you a soft, under-set texture that doesn’t hold its shape.
- For an extra smooth filling, beat the cream cheese alone for a full 2 minutes before adding any other ingredient. This gets rid of every lump before anything else is incorporated.
This same approach to getting a smooth, lump-free filling works beautifully in a New York Cheesecake Recipe as well.
Serving Suggestions
Mini cheesecakes are incredibly versatile when it comes to serving. Their petite size makes them work equally well as a plated dessert or as part of a larger dessert spread.
Set them out on a tiered dessert stand with a variety of toppings in small bowls alongside so guests can build their own: fresh strawberries, a jar of cherry pie filling, whipped cream, and chocolate drizzle make for a fun interactive spread.
Here are some great ways to serve your mini cheesecakes:
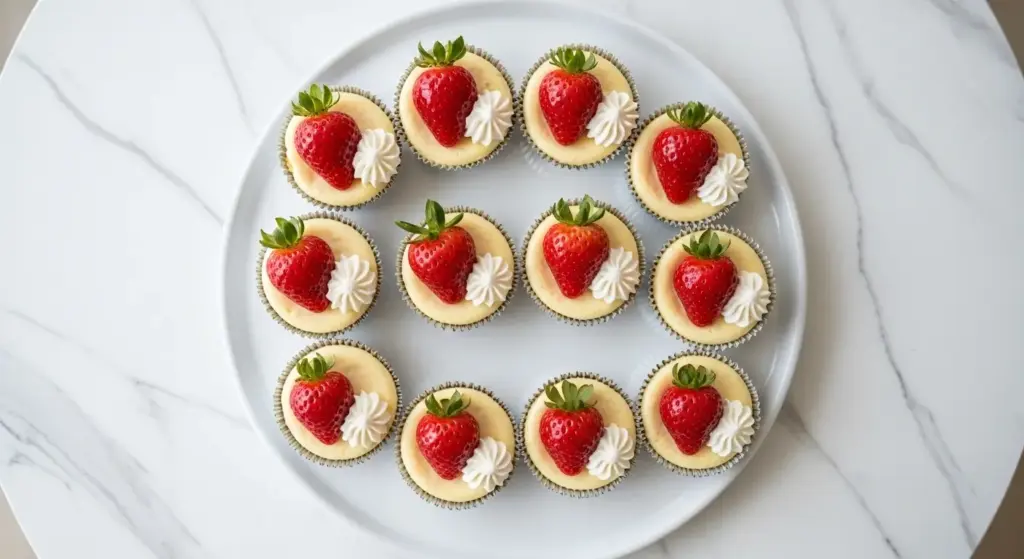
- Top with our Strawberry Sauce for a classic and elegant presentation
- Drizzle with warm Caramel Sauce and a sprinkle of flaky sea salt
- Serve alongside a Fruit Salad for a beautiful dessert table spread
- Top with a spoonful of lemon curd and a few fresh raspberries
- Layer fresh blueberries and a dusting of powdered sugar for a simple, elegant finish
- Serve with coffee or espresso for an after-dinner dessert course
- Add to a holiday dessert board alongside cookies, chocolate truffles, and seasonal fruits
Variations to Try
Once you have the base mini cheesecake recipe down, you can take it in so many delicious directions. The filling and crust both lend themselves well to swaps and add-ins.
- Oreo Crust: Replace the graham cracker crust with finely crushed Oreo cookies mixed with melted butter. Skip the added sugar since the cookies are already sweet.
- Chocolate Swirl: Drizzle 2 tablespoons of melted dark chocolate over the filled liners and use a toothpick to swirl it into the batter before baking.
- Lemon Cheesecake: Add 2 teaspoons of fresh lemon zest and 2 tablespoons of lemon juice to the filling for a bright, citrusy twist. Top with lemon curd.
- Pumpkin Spice: Replace the sour cream with canned pumpkin puree, reduce the cream cheese to 12 oz (340g), and add 1 teaspoon pumpkin pie spice for a fall-inspired version.
- Salted Caramel: Swirl 1 tablespoon of caramel sauce into each filled liner before baking, then top with more caramel and flaky salt after chilling.
- Gingersnap Crust: Swap the graham crackers for crushed gingersnap cookies for a spiced, warmly flavored base that pairs beautifully with a cranberry topping.
- Berry Swirl: Stir 2 tablespoons of fresh berry puree (raspberry or strawberry) into a portion of the batter and swirl it into the white batter in the liners for a marbled effect.
For a completely different take on cheesecake, check out the Japanese Cheesecake Recipe for a fluffy, soufflé-style version.
Storage and Reheating
Mini cheesecakes store beautifully, making them an ideal make-ahead dessert for events and gatherings. They actually taste better the next day, once they’ve had time to fully set and the flavors have melded together.
- Refrigerator: Store cooled mini cheesecakes in an airtight container in the fridge for up to 5 days. Keep them without toppings if possible, and add fresh toppings just before serving for the best presentation.
- Freezer: Place the fully chilled, unwrapped cheesecakes on a baking sheet and freeze until solid, about 1 to 2 hours. Transfer them to a freezer-safe zip-lock bag or airtight container and freeze for up to 2 months.
- Thawing from frozen: Transfer frozen cheesecakes to the refrigerator and allow them to thaw overnight, or for at least 4 to 6 hours. Do not thaw at room temperature, as this can cause the texture to become watery.
- Reheating: Cheesecake is best served cold or at room temperature and is not typically reheated. If you prefer them slightly less cold, simply let them sit at room temperature for 15 to 20 minutes before serving.
- Do not store with whipped cream on top. Add whipped cream and other fresh toppings directly before serving, as they will weep and break down in the fridge.
Read Also: Pumpkin Cheesecake Recipe
Nutritional Facts
The following nutrition information is an estimate per plain mini cheesecake (without toppings), based on a yield of 12 servings.
| Nutrient | Per Serving (1 mini cheesecake) |
|---|---|
| Calories | ~260 kcal |
| Total Fat | 20g |
| Saturated Fat | 12g |
| Cholesterol | 80mg |
| Sodium | 200mg |
| Total Carbohydrates | 16g |
| Sugars | 12g |
| Protein | 4g |
| Calcium | ~70mg |
Note: Nutritional values will vary based on exact brands used and any toppings added. For precise tracking, input your specific ingredients into a nutrition calculator.
You might also enjoy: Easy Creme Brulee Recipe
Health Benefits of Key Ingredients
While mini cheesecakes are an indulgent treat, some of the key ingredients do offer real nutritional value worth noting.
Enjoyed in moderation as part of a balanced diet, this dessert can be a satisfying way to treat yourself without going overboard.
Here’s a look at the benefits of some main ingredients:
- Cream cheese provides calcium and a small amount of protein per serving. Full-fat versions offer fat-soluble vitamins including vitamin A.
- Eggs are one of the most complete sources of protein available. They also provide vitamins B12, D, and choline, which supports brain and liver health.
- Sour cream contains beneficial live cultures in some varieties, along with calcium and phosphorus.
- Graham crackers provide a small amount of dietary fiber and iron compared to refined grain alternatives.
- Lemon juice adds a dose of vitamin C, which supports immune function and helps with iron absorption.
- Vanilla extract contains small amounts of antioxidants and has been traditionally used to support digestive comfort.
Read Also: Basque Cheesecake Recipe
Frequently Asked Questions
1. Can I make mini cheesecakes without a muffin tin?
You can use a silicone cupcake mold, which works just as well and makes removal especially easy. Ramekins can also work in a pinch, though you would need to adjust baking time and the cheesecakes would be served in the ramekins rather than removed. A mini cheesecake pan with push-up bottoms is another excellent option and produces beautifully shaped results.
2. Why did my mini cheesecakes crack on top?
Cracking is usually caused by one of a few things: overmixing the eggs, which incorporates too much air; overbaking, which dries out the filling; or cooling the cheesecakes too quickly. To prevent cracks, mix the eggs in on low speed and only until just combined, remove the cheesecakes from the oven when the centers still have a slight jiggle, and let them cool gradually by leaving them in the turned-off oven for 10 minutes before moving them to a rack.
3. Do I have to use sour cream in the filling?
Sour cream adds a slight tang and contributes to a creamier, denser texture. That said, you can substitute it with an equal amount of full-fat Greek yogurt for a similar result. Some recipes omit it entirely and still produce a delicious cheesecake, though the texture will be slightly firmer and less tangy.
4. Can I make mini cheesecakes ahead of time?
Yes, and they are actually better when made ahead. The texture becomes creamier and more set after a night in the refrigerator. You can make them up to 2 days in advance and store them in an airtight container in the fridge. Add any fresh toppings just before serving for the best appearance.
5. How do I know when mini cheesecakes are done baking?
The cheesecakes are done when the outer edges look set and matte, but the very center of each one still has a slight wobble when you gently shake the pan. This is called the jiggle test. The centers will firm up fully as they cool and chill in the fridge. If the entire surface looks completely firm in the oven, they are likely overbaked.
For more small-batch dessert inspiration, check out this Fruit Tart Recipe.
Mini Cheesecake Recipe
Equipment
- Standard 12-cup muffin tin
- Cupcake liners - paper or foil
- Electric hand mixer - or stand mixer
- Large mixing bowl
- Medium mixing bowl
- Measuring cups and spoons
- Rubber spatula
- Food processor - or zip-lock bag and rolling pin for crushing crackers
- Wire cooling rack
- Ice cream scoop - or cookie scoop for filling liners evenly
Ingredients
- 1 cup graham cracker crumbs - 120g, about 8 full sheets
- 2 tablespoons granulated sugar - 25g
- 4 tablespoons unsalted butter - 57g, melted
For the Cheesecake Filling
- 16 oz cream cheese - 450g, full-fat block, softened to room temperature
- 1/2 cup granulated sugar - 100g
- 1/4 cup sour cream - 60g, full-fat, at room temperature
- 1 teaspoon pure vanilla extract
- 2 large eggs - at room temperature
- 1 tablespoon lemon juice - optional, brightens flavor
Optional Toppings
- Fresh strawberries - blueberries, or raspberries
- Cherry pie filling
- Whipped cream
- Chocolate ganache
- Caramel sauce
Instructions
- Preheat oven to 350°F (177°C) and line a 12-cup muffin tin with paper or foil liners.
- Combine graham cracker crumbs and sugar in a bowl. Stir in melted butter until mixture resembles wet sand.
- Press a heaping tablespoon of crust mixture firmly into each liner. Bake for 5-6 minutes until lightly toasted, then reduce oven to 325°F (163°C).
- Beat softened cream cheese until smooth and lump-free. Add sugar and beat until fluffy, then mix in sour cream, vanilla, and lemon juice if using.
- Add eggs one at a time, mixing on low just until each yolk disappears. Fold batter by hand to incorporate any hidden ingredients.
- Divide batter evenly among the 12 liners, filling each about three-quarters full. Tap the pan to release air bubbles.
- Bake at 325°F for 17-20 minutes until edges are set but centers still have a slight jiggle. Turn off oven and leave cheesecakes inside for 10 minutes with the door closed.
- Remove pan to a wire rack and cool to room temperature (about 30-45 minutes). Refrigerate for at least 2 hours or overnight.
- Carefully peel liners away from chilled cheesecakes. Top with fresh berries, whipped cream, or sauce just before serving.
Notes
- Room temperature is critical: Take cream cheese, sour cream, and eggs out of the fridge at least 1-2 hours before starting to ensure a lump-free batter.
- Use block cream cheese: Tub-style cream cheese has added stabilizers and water content that will negatively affect the texture and final result.
- Don’t overmix after adding eggs: Overbeating incorporates too much air, causing the cheesecakes to puff up and crack as they cool. Mix on low just until combined.
- The jiggle test: Cheesecakes are done when the centers still wobble slightly when you gently shake the pan. They will set completely during chilling.
- Make ahead: These mini cheesecakes taste even better the next day after the flavors meld. Store in the fridge for up to 5 days.
- Freezing instructions: Freeze fully chilled cheesecakes on a baking sheet until solid, then transfer to a freezer bag. Thaw overnight in the refrigerator before serving.
- No water bath needed: The small size of these cheesecakes means they bake evenly without a water bath, saving you time and effort.
- Flavor variations: Try an Oreo crust, swirl in melted chocolate, add lemon zest, or use gingersnap cookies for a spiced fall version.
- Topping tip: Add fresh toppings like whipped cream or berries just before serving to prevent them from weeping or breaking down in the fridge.
- Removal trick: If the liners don’t release easily, pop the pan in the freezer for 15 minutes before peeling them away.
Final Thoughts
This mini cheesecake recipe is exactly the kind of dessert that earns a permanent spot in your rotation.
It’s simple enough for a weeknight bake but impressive enough to bring to a dinner party or holiday table.
The combination of that buttery, toasted graham cracker crust and the silky, gently tangy cream cheese filling hits every note you want in a great cheesecake.
Once you try making them at home, you’ll never need to reach for a store-bought version again.
Give this mini cheesecake recipe a try and let us know how it goes in the comments below. We’d love to hear what toppings you chose and how your guests reacted!
Recommended:
- Best Cheesecake Recipe
- New York Cheesecake Recipe
- No Bake Cheesecake Recipe
- Cheesecake Ice Cream Cake Recipe
- Easy Tiramisu Recipe
- Classic Tiramisu Recipe
- Best Carrot Cake Recipe
- Easy Creme Brulee Recipe
- Fruit Tart Recipe
- Classic Pumpkin Pie Recipe


