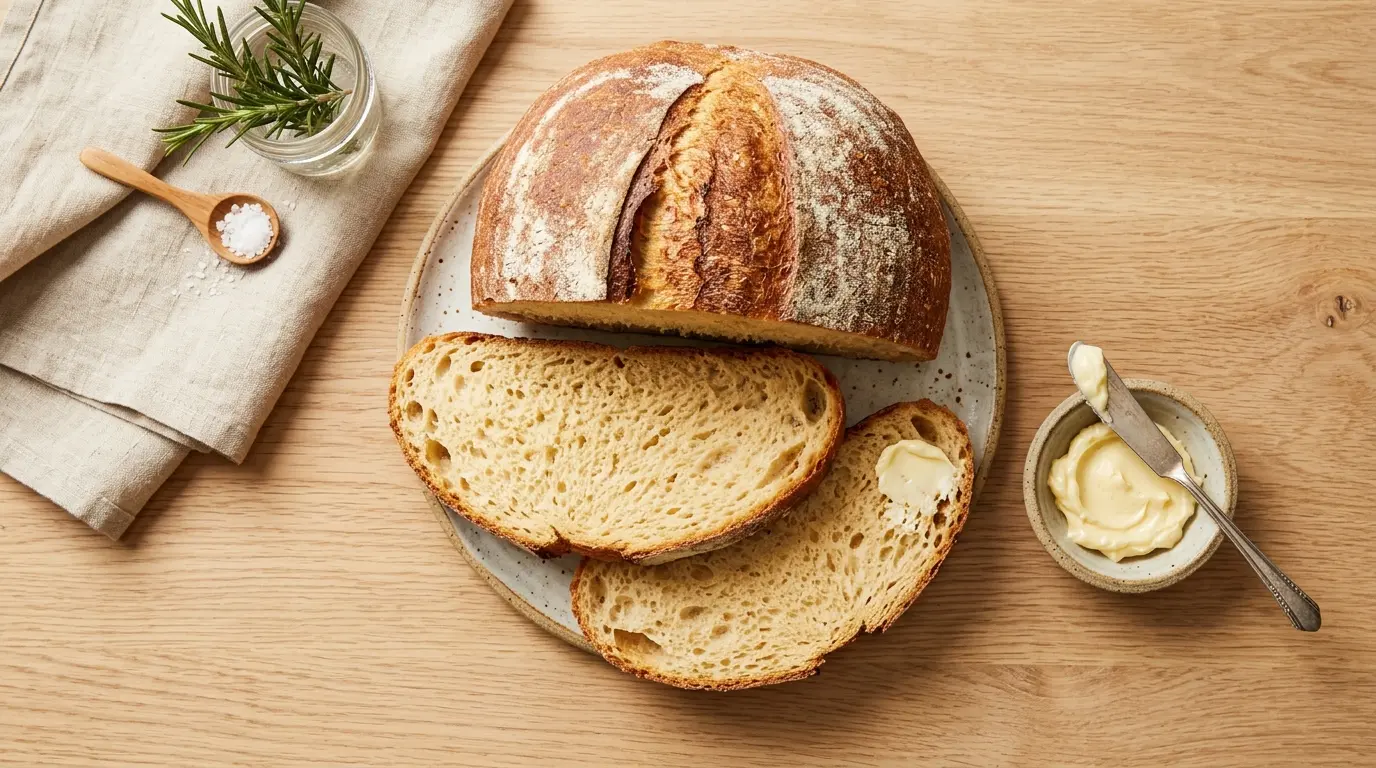
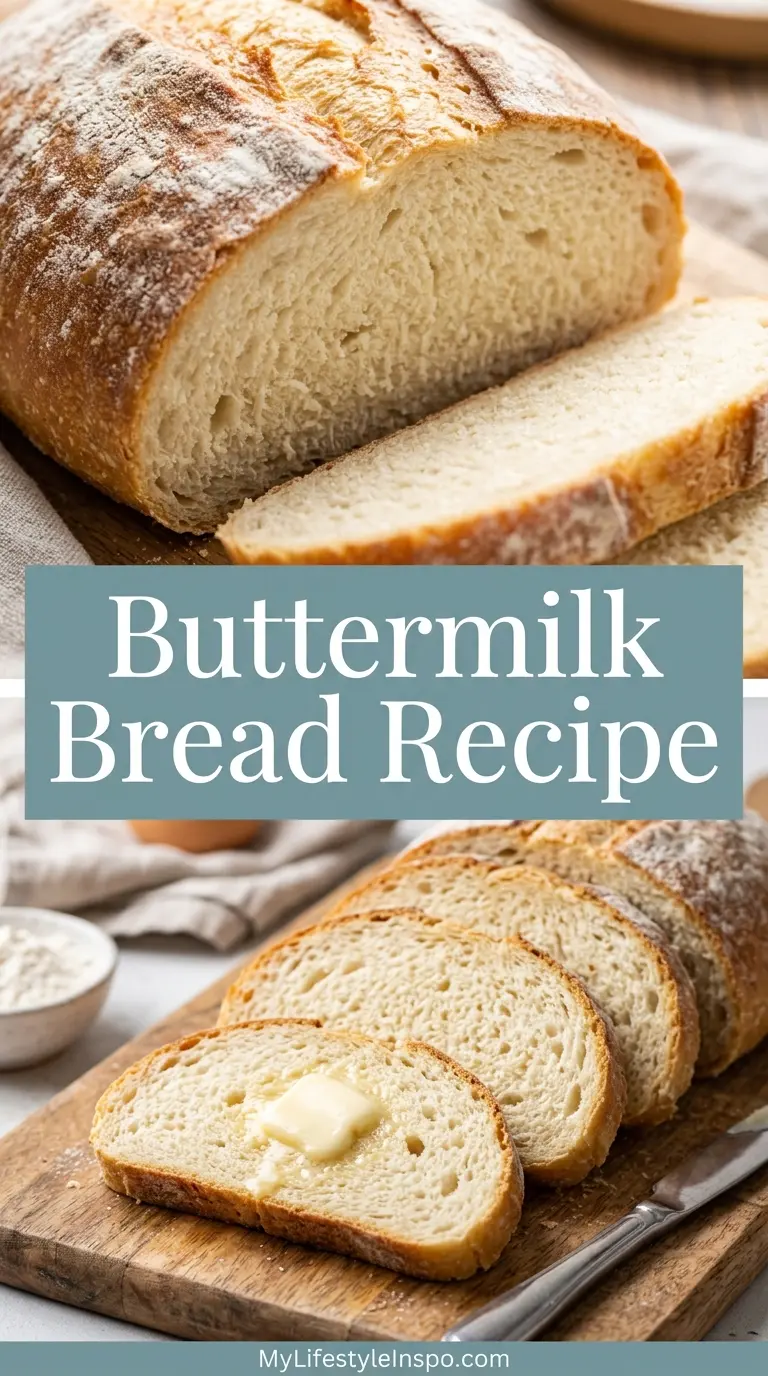
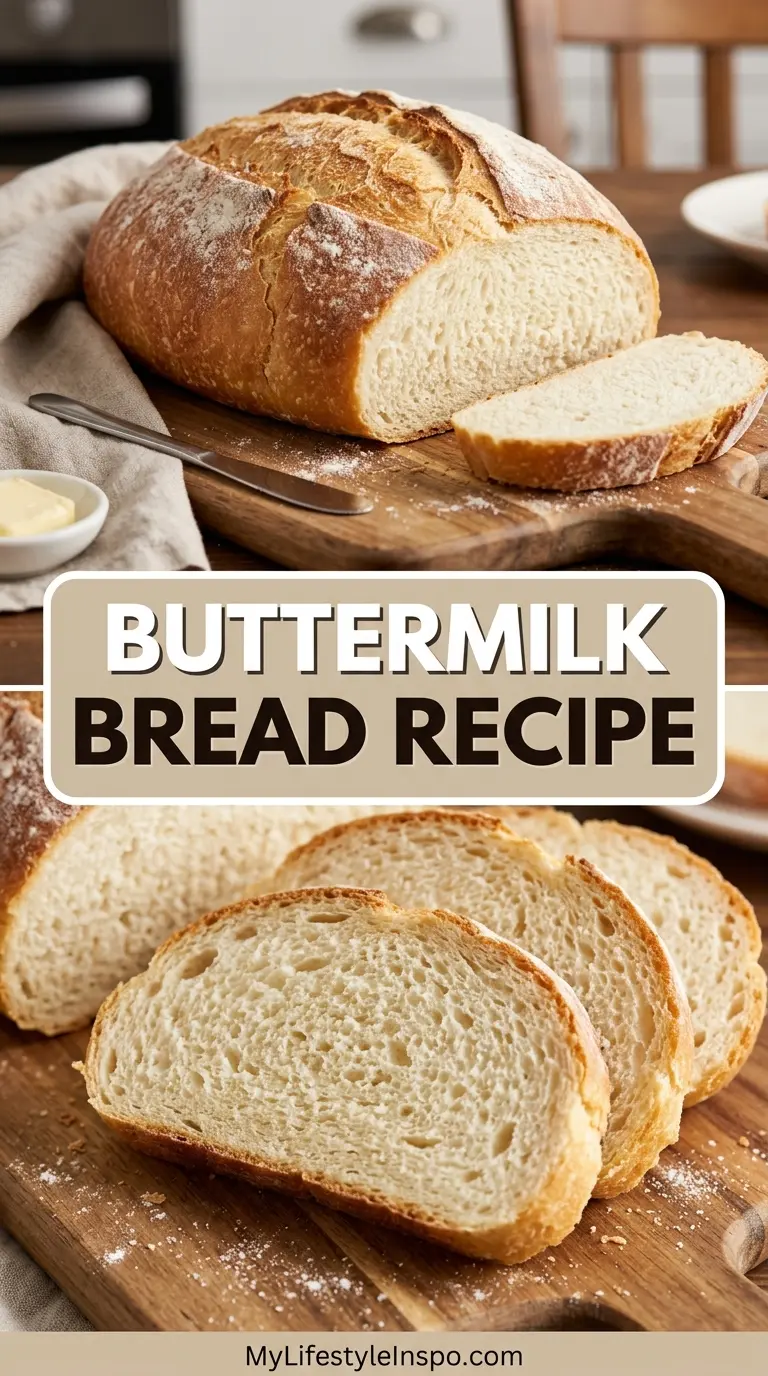
If you’ve been searching for the perfect buttermilk bread recipe, you’ve landed in the right place. This loaf is everything a homemade bread should be: pillowy soft on the inside, golden and lightly crisp on the outside, with a subtle tangy flavor that sets it apart from a basic white loaf.
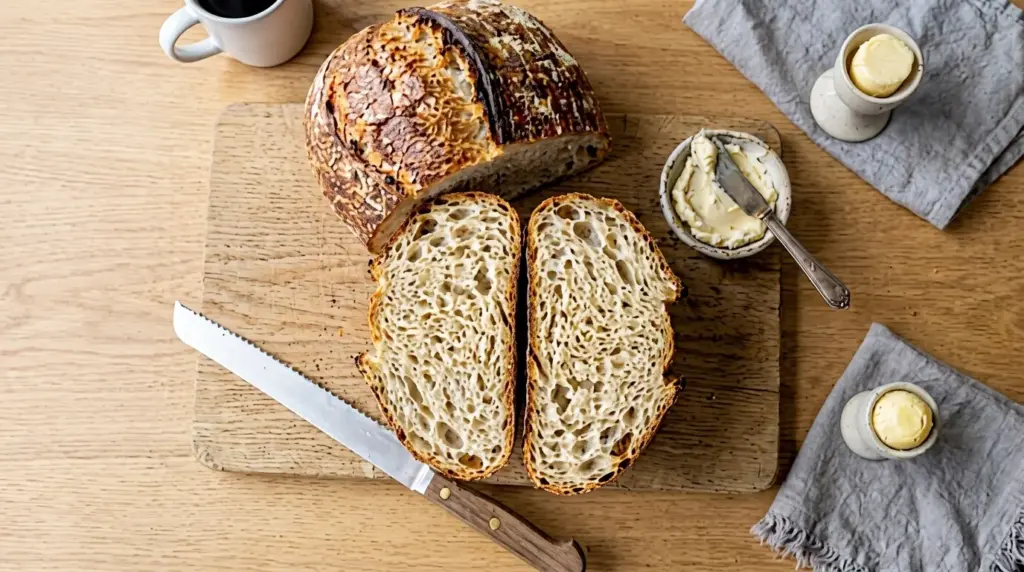
Buttermilk is the real magic here. The acid in the buttermilk reacts with the leavening agents, giving the bread an incredibly tender crumb that stays moist for days longer than most homemade loaves.
It works beautifully with yeast too, helping to create a tighter, more even rise while adding that signature gentle tang you can’t quite replicate with plain milk.
This recipe is ideal for sandwich slices, thick toast slathered with butter and jam, or just pulling apart warm from the oven. It’s a recipe you’ll come back to again and again, whether you’re a seasoned bread baker or making your very first loaf.
You might also enjoy: Sandwich Bread Recipe
Why You’ll Love This Buttermilk Bread Recipe
This bread is the kind of recipe that makes your kitchen smell incredible and has everyone hovering near the oven.
It uses simple pantry staples you likely already have, and the process is approachable even if you’ve never baked a yeast bread before.
The buttermilk keeps the crumb soft and tender, so you end up with slices that are sturdy enough for sandwiches but gentle enough to melt in your mouth.
It also keeps fresh at room temperature for up to 3 days, which is longer than many homemade breads thanks to the acidity of the buttermilk slowing down staleness.
The recipe makes one standard loaf pan of bread, which is perfect for a week’s worth of breakfast toast or a batch of sandwiches for the whole family.
Here’s a quick list of reasons this recipe stands out:
- The buttermilk creates an exceptionally soft and tender crumb
- The flavor is subtly tangy and rich, far more interesting than plain white bread
- It rises beautifully and holds its shape when sliced
- It’s beginner-friendly with clear, detailed steps
- You can customize it easily (see the Variations section below)
- It pairs perfectly with both sweet and savory toppings
- The loaf stays moist and fresh longer than standard white bread
This is also a great foundation recipe. Once you’re comfortable with it, you can start experimenting with add-ins like herbs, cheese, or honey to create your own signature loaf. You might love this Buttermilk Pancake Recipe for using up leftover buttermilk too.
Ingredients
You don’t need anything unusual for this recipe. Everything here should be easy to source from your local grocery store. The key is using real buttermilk (not a substitute) for the best flavor and texture, though a DIY version works in a pinch.
Here’s what you’ll need:
- 3 cups (360g) all-purpose flour, plus extra for kneading
- 2 1/4 teaspoons (7g / 1 packet) active dry yeast
- 1 cup (240ml) buttermilk, warmed to about 110°F (43°C)
- 2 tablespoons (30ml) warm water
- 2 tablespoons (25g) granulated sugar
- 1 1/2 teaspoons (9g) salt
- 2 tablespoons (28g) unsalted butter, softened
- 1 teaspoon (5ml) vegetable oil (for greasing the bowl)
- 1 tablespoon (15ml) melted butter (for brushing the top after baking, optional)
Read Also: White Bread Recipe
Kitchen Equipment Needed
Having the right tools on hand before you start makes the baking process much smoother. None of these items need to be fancy or expensive, just functional.
Here’s what to gather:
- Stand mixer with dough hook (or a large bowl for hand kneading)
- 9×5 inch loaf pan
- Instant-read thermometer (for checking dough and bread doneness)
- Large mixing bowl
- Measuring cups and spoons
- Kitchen scale (recommended for accuracy)
- Clean kitchen towel or plastic wrap
- Wire cooling rack
- Pastry brush (for butter, optional)
This technique works wonderfully for Whole Wheat Bread Recipe as well if you want to experiment after mastering this loaf.
Recommended Products for This Recipe
These are products I recommend based on quality and performance. They’ll make a genuine difference in your bread-baking results.
1. KitchenAid Stand Mixer with Dough Hook
A good stand mixer removes most of the effort from kneading and develops the gluten more evenly than hand kneading. The result is a bread with a better rise and a more consistent crumb. It’s one of the most versatile tools you can own if you bake regularly.
2. USA Pan Loaf Pan (9×5 inch)
This is one of the best loaf pans available for even heat distribution and easy release. The aluminized steel construction prevents hot spots, meaning your bread browns evenly on all sides. It’s a durable investment that lasts for years.
3. Thermapen Instant-Read Thermometer
Knowing your buttermilk is the right temperature (110°F/43°C) is critical for activating the yeast correctly. An accurate instant-read thermometer takes all the guesswork out of this step. It also helps you confirm when the bread is fully baked inside (internal temp should reach 190-200°F/88-93°C).
4. King Arthur Bread Flour
While all-purpose flour works well here, using a high-quality bread flour gives the loaf even better structure and chew. King Arthur’s is consistently one of the most reliable brands for yeast breads, with a higher protein content that promotes gluten development.
5. Nordic Ware Naturals Cooling Rack
Cooling your bread on a wire rack (rather than leaving it in the pan) prevents the bottom crust from going soggy. A sturdy, wide cooling rack with good airflow makes a real difference in the final texture of your crust.
Another favorite: No Knead Bread Recipe
Step-by-Step Instructions
Follow these steps carefully, and you’ll have a perfect loaf every time. Read through all the steps before you begin so nothing catches you off guard.
Step 1: Activate the Yeast
- Pour the 2 tablespoons (30ml) of warm water into a small bowl or measuring cup. The water should be around 105-115°F (40-46°C), which feels warm but not hot to the touch. If it’s too hot, it will kill the yeast. If it’s too cold, the yeast won’t activate.
- Add the 2 tablespoons (25g) of granulated sugar to the warm water and stir briefly to dissolve.
- Sprinkle the 2 1/4 teaspoons (7g) of active dry yeast over the water and sugar mixture.
- Let it sit undisturbed for 5-10 minutes. You’ll know the yeast is active when it becomes foamy and bubbly on top. If nothing happens after 10 minutes, your yeast may be old or the water was too hot or too cold. Discard and start again with fresh yeast.
Step 2: Warm the Buttermilk
- Measure out 1 cup (240ml) of buttermilk.
- Warm it gently in the microwave in 15-second intervals, stirring in between, or heat it in a small saucepan over low heat. You’re aiming for 105-115°F (40-46°C), similar to the water temperature.
- Use your thermometer to check. Buttermilk that is too cold will slow down the rise. Buttermilk that is too hot can inhibit yeast activity.
- Set the warmed buttermilk aside.
Step 3: Combine the Dry Ingredients
- In the bowl of your stand mixer (or a large mixing bowl if kneading by hand), add 3 cups (360g) of all-purpose flour and 1 1/2 teaspoons (9g) of salt.
- Whisk the flour and salt together briefly to distribute the salt evenly throughout the flour. This prevents the salt from coming into direct contact with the yeast at first, which can inhibit fermentation.
Step 4: Mix the Dough
- Add the activated yeast mixture and the warmed buttermilk to the flour and salt.
- Add the 2 tablespoons (28g) of softened unsalted butter.
- If using a stand mixer: fit it with the dough hook and mix on low speed for 2 minutes to bring the ingredients together into a shaggy dough. Then increase to medium speed and knead for 6-8 minutes until the dough is smooth, slightly tacky, and pulls cleanly away from the sides of the bowl.
- If kneading by hand: stir the ingredients together with a wooden spoon until a rough dough forms, then turn it out onto a lightly floured surface and knead for 10-12 minutes until smooth and elastic.
- The dough should be soft and slightly tacky but not sticky. If it sticks excessively to your hands or the bowl, add flour one tablespoon at a time until it’s manageable. Don’t add too much flour or the bread will be dense.
Step 5: First Rise
- Lightly grease a large clean bowl with 1 teaspoon (5ml) of vegetable oil.
- Shape the dough into a ball and place it in the greased bowl, turning it once so the top is also coated with oil.
- Cover the bowl tightly with plastic wrap or a clean damp kitchen towel.
- Place the bowl somewhere warm (around 75-80°F/24-27°C). A good spot is inside your oven with just the oven light on, or on top of the refrigerator.
- Let the dough rise for 60-90 minutes, or until it has doubled in size. The exact time will vary depending on your kitchen temperature.
Step 6: Shape the Loaf
- Once the dough has doubled, punch it down gently with your fist to release the gas bubbles.
- Turn the dough out onto a lightly floured surface.
- Flatten it gently into a rough rectangle that is about as wide as your loaf pan (9 inches/23cm).
- Starting from one of the short ends, roll the dough tightly away from you into a log shape.
- Pinch the seam firmly along the bottom to seal it.
- Place the dough log seam-side down into a greased 9×5 inch (23x13cm) loaf pan.
Step 7: Second Rise
- Cover the loaf pan loosely with lightly oiled plastic wrap or a clean kitchen towel.
- Let the dough rise again for 45-60 minutes in a warm place until the dough crowns about 1 inch (2.5cm) above the rim of the pan. This second rise, called proofing, is what gives the bread its final light and airy texture.
- While the dough is proofing, preheat your oven to 375°F (190°C). Make sure the oven is fully preheated before baking.
Step 8: Bake the Bread
- Once the dough has proofed and your oven is fully preheated, carefully place the loaf pan on the middle rack.
- Bake for 30-35 minutes until the top is a deep golden brown and the loaf sounds hollow when you tap the bottom.
- For the most accurate check, insert an instant-read thermometer into the center of the loaf. It should read 190-200°F (88-93°C) when fully baked.
- If the top is browning too quickly before the inside is cooked through, loosely tent the pan with aluminum foil for the last 10 minutes of baking.
Step 9: Cool the Bread
- Remove the loaf from the oven and immediately brush the top with 1 tablespoon (15ml) of melted butter if desired. This gives the crust a beautiful shine and keeps it soft.
- Let the bread rest in the pan for 5 minutes, then turn it out onto a wire cooling rack.
- Allow the loaf to cool for at least 30 minutes before slicing. Cutting into it too soon releases the steam and can make the crumb gummy and dense. The bread continues to set internally as it cools.
Read Also: Irish Soda Bread Recipe
Tips for Success
Even simple recipes have a few tricks that make the difference between a good loaf and a great one. Keep these in mind as you bake.
Here are the most important tips for nailing this buttermilk bread recipe:
- Temperature is everything for yeast. Always check the temperature of your buttermilk and water with a thermometer. The ideal range is 105-115°F (40-46°C).
- Don’t skip the second rise. The proofing stage after shaping is what gives the bread its final airy structure. Rushing it leads to a denser loaf.
- Measure flour correctly. Instead of scooping, spoon the flour into your measuring cup and level it off with a knife. Scooping packs in too much flour and can make the bread dense.
- Real buttermilk is best. Full-fat or low-fat store-bought buttermilk gives the best flavor and texture. A DIY substitute (1 tablespoon of white vinegar or lemon juice in 1 cup of regular milk, left to sit for 5 minutes) works in a pinch.
- Let it cool before slicing. The crumb needs time to set. Cutting too early collapses the soft interior.
- Don’t overflour the dough. A slightly tacky dough bakes into a softer, more tender loaf. Add extra flour only if the dough is truly unworkable.
- Use a loaf pan with straight sides. Slanted sides can cause the loaf to spread sideways rather than rise upward.
You might also enjoy: Artisan Bread Recipe
Serving Suggestions
Buttermilk bread is wonderfully versatile and pairs well with both sweet and savory accompaniments.
It makes outstanding toast, with the tangy crumb providing the perfect backdrop for rich toppings. The soft, tender texture also makes it ideal for sandwiches, as it’s sturdy enough to hold fillings without falling apart.
Here are some of the best ways to serve it:
- Spread with Cinnamon Butter for a warm, spiced breakfast toast
- Use thick slices for Easy French Toast, where the tangy crumb soaks up the egg custard beautifully
- Serve alongside Sausage Gravy for a Southern-style breakfast that really satisfies
- Slice for sandwiches with deli meats, cheese, or chicken salad
- Pair with soups and stews for dipping
- Toast and top with avocado and a fried egg for a quick savory meal
- Use slightly stale slices to make a Bread Pudding with wonderful depth of flavor
Variations to Try
Once you’ve mastered the base recipe, there are so many delicious ways to customize it. These variations work well with the same core technique.
Try one of these ideas to make the recipe your own:
- Honey Buttermilk Bread: Replace the sugar with 2 tablespoons of honey for a subtly sweet, slightly floral loaf that’s wonderful for toast.
- Herb Buttermilk Bread: Add 1-2 teaspoons of dried rosemary, thyme, or Italian seasoning to the flour for a savory loaf perfect alongside soups and stews.
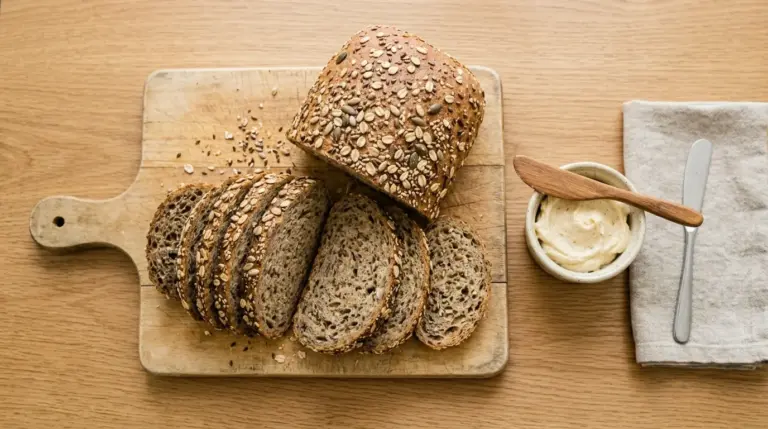
- Whole Wheat Buttermilk Bread: Swap 1 cup of the all-purpose flour for whole wheat flour for a heartier loaf with a nuttier flavor.
- Cheddar Buttermilk Bread: Fold in 1 cup (113g) of shredded sharp cheddar cheese during the mixing stage for a deeply savory, cheesy loaf.
- Seeded Buttermilk Bread: Sprinkle the top of the loaf with sesame seeds, poppy seeds, or a mix of seeds just before baking for added texture and visual appeal.
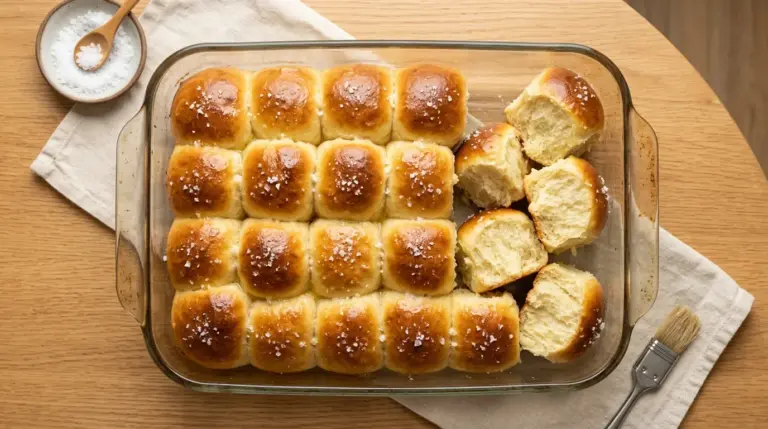
- Buttermilk Dinner Rolls: Divide the dough into 12 equal pieces instead of shaping one loaf, place in a greased 9×13 pan, and bake at 375°F (190°C) for 18-22 minutes. Check out these Dinner Rolls for inspiration.
Read Also: Dutch Oven Bread Recipe
Storage and Reheating
Proper storage makes a big difference in how long your buttermilk bread stays fresh and delicious.
Here are the best storage and reheating methods:
- Room temperature: Wrap the cooled loaf tightly in plastic wrap or store it in an airtight bread bag at room temperature for up to 3 days. Avoid the refrigerator, as it dries out bread quickly.
- Freezing the whole loaf: Wrap the fully cooled loaf tightly in plastic wrap, then in aluminum foil. Freeze for up to 3 months. Thaw at room temperature for 4-5 hours or overnight.
- Freezing slices: Pre-slice the loaf, separate slices with small pieces of parchment paper, and freeze in a zip-top bag for up to 3 months. Individual slices can go straight from freezer to toaster.
- Reheating: To refresh a slightly stale loaf, wrap it in foil and warm it in a 300°F (150°C) oven for 10-15 minutes. Individual slices are best reheated in a toaster or toaster oven for the best texture.
You might also love this Sourdough Sandwich Bread Recipe if you want to explore more homemade bread varieties.
Nutritional Facts
The following nutritional information is an estimate per slice, based on a loaf cut into 12 equal slices.
| Nutrient | Amount Per Slice |
|---|---|
| Calories | 170 kcal |
| Total Fat | 3.5g |
| Saturated Fat | 2g |
| Cholesterol | 9mg |
| Sodium | 310mg |
| Total Carbohydrates | 29g |
| Dietary Fiber | 1g |
| Total Sugars | 3g |
| Protein | 5g |
| Calcium | 45mg |
| Iron | 1.8mg |
Nutritional values will vary based on specific brands and ingredient substitutions used.
Another favorite: Multigrain Bread Recipe
Health Benefits of Key Ingredients
The ingredients in this buttermilk bread recipe aren’t just there for flavor and texture. Several of them bring real nutritional value to the table.
This is a bread you can feel reasonably good about including in a balanced diet, especially when made at home where you control exactly what goes in.
Here’s a look at the key nutritional benefits:
- Buttermilk: Despite its name, buttermilk is actually low in fat and calories compared to whole milk. It’s a good source of calcium, potassium, and phosphorus. The natural probiotics in cultured buttermilk can also support gut health and aid digestion.
- All-purpose flour: A source of carbohydrates for energy, and when enriched (as most commercial flour is), it provides iron and B vitamins including folate and niacin.
- Active dry yeast: Yeast is a source of B vitamins, especially B12 and folic acid, and provides a small amount of plant-based protein. It also contributes to the fermentation process, which may improve the digestibility of the bread.
- Butter: In moderate amounts, butter provides fat-soluble vitamins A, D, E, and K. Using real unsalted butter keeps sodium content more controlled.
- Sugar: Used in a small quantity here mainly to feed the yeast and promote browning, the amount per slice is minimal and contributes only around 3g of sugar.
Read Also: Brioche Recipe
Frequently Asked Questions
1. Can I use a buttermilk substitute if I don’t have real buttermilk?
Yes, you can make a quick substitute by adding 1 tablespoon of white vinegar or fresh lemon juice to a 1-cup measuring cup, then filling it to the top with regular whole milk or 2% milk.
Stir briefly and let it sit for 5 minutes until it curdles slightly. This mimics the acidity of buttermilk and works well in this recipe, though the flavor will be slightly less tangy than with real buttermilk.
2. Why didn’t my dough rise?
The most common culprits are inactive yeast or buttermilk that was too hot or too cold.
Always check the temperature of your liquids with a thermometer before mixing. If your yeast didn’t foam up during activation (Step 1), it’s not active and the dough won’t rise. Start again with a fresh packet of yeast.
3. My bread is dense. What went wrong?
Dense bread is usually caused by one of a few things: not enough rising time, too much flour added to the dough, or using expired yeast.
Make sure you’re giving the dough adequate time during both rises, especially the second proofing stage. The dough should visibly puff and crown above the pan rim before going into the oven.
4. Can I make this bread without a stand mixer?
Absolutely. Kneading by hand works just as well, it just takes a bit more effort.
Knead the dough on a lightly floured surface for 10-12 minutes until it’s smooth, elastic, and passes the windowpane test (a small piece of dough can be stretched thin enough to see light through without tearing).
5. Can I make this buttermilk bread recipe into rolls instead of a loaf?
Yes, this dough is wonderful as dinner rolls.
After the first rise, divide the dough into 12 equal pieces, shape each into a smooth ball, and place them in a greased 9×13 inch baking pan. Let them proof for 30-45 minutes, then bake at 375°F (190°C) for 18-22 minutes until golden brown. Brush with melted butter right out of the oven.
This Homemade Biscuit Recipe is another great quick option if you want something similar without the yeast.
Final Thoughts
Baking a loaf of buttermilk bread from scratch is one of those deeply satisfying kitchen projects that rewards you with something truly delicious.
The process is approachable, the ingredients are simple, and the result is a soft, flavorful loaf that beats anything from a supermarket shelf by a wide margin.
Once you’ve tried this recipe, it’s the kind of thing that becomes a weekly habit. That warm, freshly baked smell alone is reason enough to make it again.
Give this buttermilk bread recipe a try and see for yourself how much better homemade bread can be. Leave a comment below to share how it turned out, ask any questions, or tag your loaf on social media. We love seeing your bakes.
Recommended:
- Sandwich Bread Recipe
- Hokkaido Milk Bread Recipe
- Japanese Milk Bread Recipe
- Beer Bread Recipe
- Challah Recipe
- Ciabatta Recipe
- French Bread Recipe
- Buttermilk Biscuit Recipe
- Buttermilk Belgian Waffle Recipe
- Pita Bread Recipe
