If you have ever bitten into a cookie that simply dissolved on your tongue like a little buttery cloud, you already know the magic of a whipped shortbread cookies recipe. These are not your dense, crumbly traditional shortbread cookies. They are softer, airier, and far more delicate, thanks to one key technique: whipping the butter and sugar until the mixture is impossibly light and pale before adding anything else. The result is a cookie that looks simple but tastes extraordinary, with a melt-away texture that keeps people reaching for just one more.
What makes this recipe so special is that it relies on just a handful of pantry ingredients, yet the technique transforms them into something that tastes genuinely impressive. The cornstarch is not optional here. It reduces gluten development and keeps the cookies from spreading, giving them that signature thick, pillowy shape. Low oven heat is equally important, protecting the delicate texture and keeping the cookies pale and tender rather than browned and crispy.
These cookies have a long-standing reputation as a holiday staple, but the truth is they are wonderful all year. They pair perfectly with afternoon tea, show up beautifully on dessert tables, and make incredibly thoughtful homemade gifts. And once you see just how easy they are, you will likely find yourself making them far more often than the holiday season calls for.
If you love buttery baked treats, you might also enjoy this Shortbread Cookie Recipe for a classic, slightly denser version to compare against.
Why You’ll Love This Whipped Shortbread Cookies Recipe
This recipe hits that rare sweet spot of being both incredibly simple and genuinely impressive.
With only five core ingredients, there is nothing to hunt down at a specialty grocery store. Everything you need is likely already in your kitchen.
The texture is what sets these apart from every other cookie. That light, cloud-like crumb is the kind of thing people talk about long after the plate is empty.
They bake at a low 300°F (150°C), which means you are not hovering over the oven in a panic. The low and slow approach is actually what gives these cookies their tender interior.
No chilling is required in most kitchens, which means you can go from softened butter to finished cookies in under an hour. That is a rare convenience in the world of shortbread.
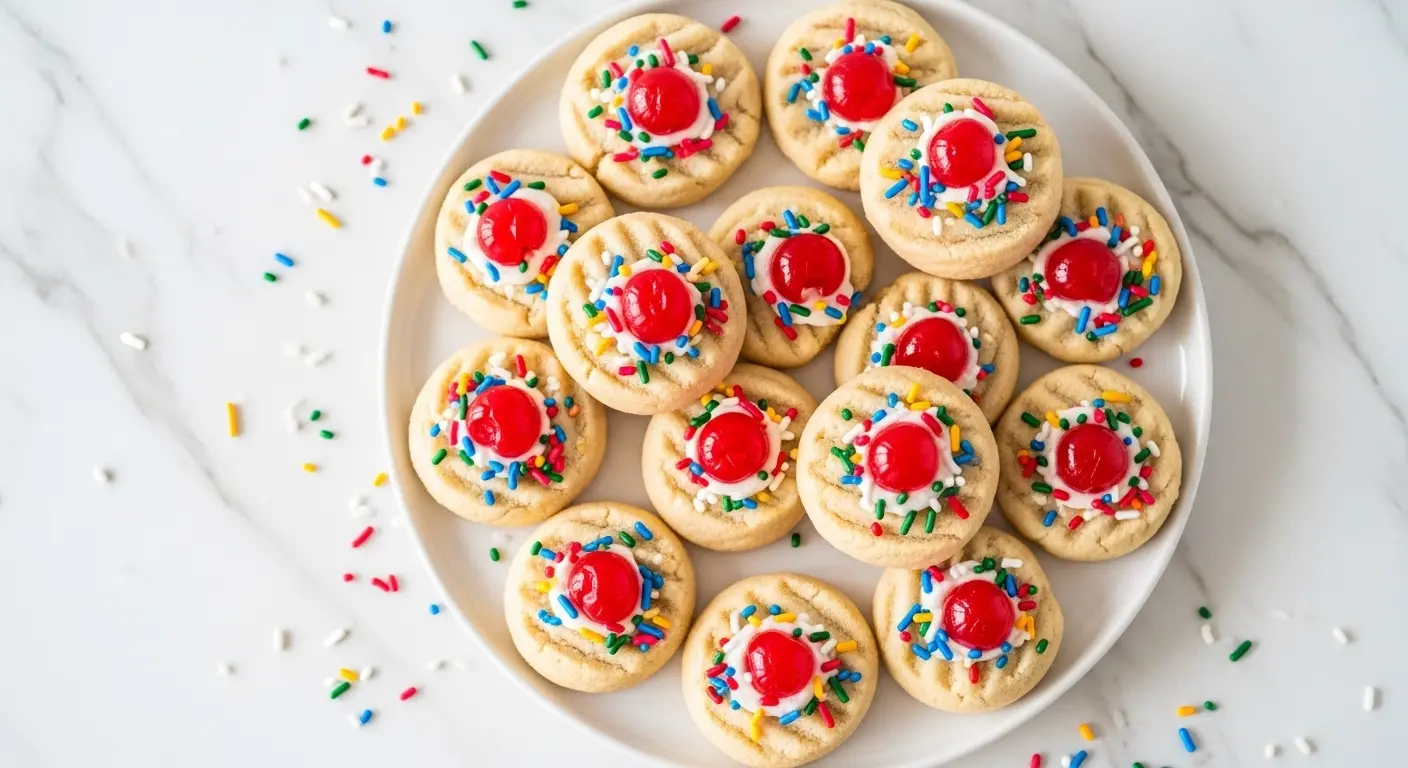
They are endlessly customizable with toppings. A few colorful sprinkles, a maraschino cherry half, or a dried cranberry pressed into the top before baking transforms them into festive showstoppers.
They store beautifully for up to two weeks, which makes them ideal for baking ahead of a holiday gathering or gifting in a decorative tin.
Read Also: Scottish Shortbread Cookie Recipe
Ingredients
Getting the most out of this recipe starts with using quality butter and measuring your flour carefully. Because there are so few ingredients, every single one carries weight.
- 1 cup (227g) unsalted butter, softened to room temperature (not melted)
- 1/2 cup (60g) powdered sugar (also called confectioners’ sugar or icing sugar), sifted
- 1 1/2 cups (190g) all-purpose flour, spooned and leveled
- 1/4 cup (30g) cornstarch
- 1/2 teaspoon pure vanilla extract
- 1/4 teaspoon salt
- Sprinkles, maraschino cherry halves, or nonpareils for topping (optional)
If you love the idea of adding a little flavor variation, this base is also excellent starting point for Cranberry Orange Shortbread Cookies.
Kitchen Equipment Needed
You do not need anything exotic for this recipe, but a stand mixer or hand mixer is genuinely important. Whipping the butter by hand is not practical and will not give you the right texture.
- Stand mixer with paddle attachment (or a hand-held electric mixer)
- Large mixing bowl (if using a hand mixer)
- Rubber spatula for scraping down the sides of the bowl
- Measuring cups and spoons
- Kitchen scale (highly recommended for accurate flour measurement)
- Baking sheets (light-colored, rimmed)
- Parchment paper or silicone baking mats
- Wire cooling rack
- Fork (for pressing cookies flat)
- Sifter or fine mesh strainer (for sifting the powdered sugar)
Another favorite: Lemon Shortbread Cookies
Recommended Products for This Recipe
These are products I recommend based on quality and performance, all of which genuinely make a difference in your finished cookies.
1. KitchenAid Stand Mixer
A stand mixer is the most important tool for this recipe because getting the butter and sugar to a truly light, pale, fluffy consistency requires sustained high-speed mixing that is difficult to replicate with a hand mixer. The KitchenAid with a paddle attachment handles this beautifully and frees your hands. It is an investment that pays off in virtually every baked good you will ever make.
2. OXO Good Grips Cookie Scoop
A small cookie scoop ensures every cookie is exactly the same size, which means they all bake evenly and finish at the same time. It also speeds up the shaping process considerably. Consistency in size is especially important for delicate cookies like these where overbaking even slightly changes the texture.
3. Silpat Silicone Baking Mat
Whipped shortbread cookies release perfectly from a silicone baking mat without any sticking, and the mat promotes even heat distribution from the bottom. It is reusable and eliminates the need for parchment paper on every bake. Many bakers find that cookies baked on a silicone mat have a more even golden bottom compared to parchment.
4. Nielsen-Massey Pure Vanilla Extract
Since vanilla is one of the primary flavors in this recipe, using a high-quality extract makes a noticeable difference. Nielsen-Massey is consistently praised for its clean, rich vanilla flavor that enhances buttery baked goods without any artificial aftertaste. A little goes a long way and one bottle lasts a very long time.
5. Bob’s Red Mill Cornstarch
Cornstarch quality matters more than most people realize in this recipe. Bob’s Red Mill produces a fine, consistent cornstarch that blends smoothly into the dough without any clumping. It is the ingredient most responsible for that signature melt-in-your-mouth texture, so using a reliable, finely milled brand is worthwhile.
You might also enjoy: Pecan Shortbread Cookies
Step-by-Step Instructions
1. Prepare Your Baking Equipment
- Preheat your oven to 300°F (150°C). If you have a fan or convection oven, set it to 130°C (fan-forced). This low temperature is intentional and critical for a tender, pale cookie.
- Position your oven rack in the center of the oven for even heat circulation.
- Line two baking sheets with parchment paper or silicone baking mats. Set them aside while you prepare the dough.
- If you are using a stand mixer, attach the paddle attachment. If using a hand mixer, ensure your beaters are clean and dry.
2. Ensure Butter Is Properly Softened
- Remove butter from the refrigerator at least 45 minutes to 1 hour before baking to let it come to room temperature naturally.
- Properly softened butter should yield easily when you press a finger into it, but it should not be greasy, shiny, or melting at the edges.
- If your butter looks oily or has started to melt, it is too warm. Place it back in the refrigerator for 10 minutes before proceeding.
- Do not microwave butter to soften it for this recipe. Microwaving heats the butter unevenly and will cause the cookies to spread and lose their airy texture.
3. Sift the Powdered Sugar
- Place a fine mesh strainer or sifter over a bowl and spoon the powdered sugar through it.
- Sifting removes any lumps that could prevent the sugar from fully incorporating into the butter during whipping.
- Set the sifted powdered sugar aside until needed.
4. Whip the Butter and Powdered Sugar
- Add the softened butter to the bowl of your stand mixer (or a large mixing bowl if using a hand mixer).
- Begin beating the butter alone on medium speed for about 30 seconds to 1 minute to smooth it out.
- Add the sifted powdered sugar to the bowl.
- Start the mixer on low speed for the first 30 seconds to prevent a sugar cloud from erupting out of the bowl.
- Once the sugar is incorporated, increase the speed to medium-high and beat for a full 5 minutes, scraping down the sides of the bowl once or twice with a rubber spatula.
- At the end of 5 minutes, the mixture should look very pale, almost white, and be extremely light and fluffy. This step is non-negotiable. If you under-whip, the cookies will be denser and won’t have that signature melt-in-your-mouth quality.
5. Add Vanilla and Salt
- With the mixer running on low speed, add the vanilla extract and salt.
- Increase to medium speed and mix for an additional 30 seconds to 1 minute until the vanilla is fully incorporated.
- Scrape down the sides of the bowl again to make sure nothing is left unmixed on the bottom or sides.
6. Add Flour and Cornstarch
- In a separate bowl, whisk together the all-purpose flour and cornstarch until combined. This ensures even distribution throughout the dough.
- With the mixer on its lowest speed, gradually add the flour and cornstarch mixture to the butter mixture. Add it in two or three additions rather than all at once.
- Mix only until the dough just comes together and there are no visible streaks of flour remaining.
- Do not overmix once the flour is added. Overmixing activates the gluten in the flour, which will make the cookies tough rather than tender. A few seconds past fully combined is all you need.
- The finished dough should be soft and slightly sticky but hold its shape when rolled.
7. Shape the Cookies
- Lightly dust your palms with a small amount of cornstarch or powdered sugar to prevent sticking.
- Scoop the dough using a small cookie scoop or a tablespoon, aiming for pieces of about 1 tablespoon (approximately 15g) each.
- Roll each piece briefly between your palms to form a smooth ball.
- Place the dough balls on the prepared baking sheets, spacing them about 1 to 1.5 inches (2.5 to 4 cm) apart. These cookies do not spread much, but they still need a little breathing room.
8. Flatten and Decorate
- Dip the tines of a fork into cornstarch or powdered sugar to prevent sticking, then gently press down on each dough ball to flatten it slightly. You are not pressing it completely flat; you just want a gentle indent and a slight disc shape. The fork marks on top add a classic look.
- If you are adding sprinkles, nonpareils, or a small piece of maraschino cherry, press them lightly onto the top of each cookie now, before baking. The dough is sticky enough at this stage to hold toppings securely.
- Do not add toppings after chilling or after baking, as they will not adhere well.
9. Bake the Cookies
- Transfer the baking sheets to the preheated oven.
- Bake for 14 to 18 minutes, checking at the 14-minute mark. The cookies are done when the tops look set and no longer appear glossy or wet. The edges may just barely start to turn golden, but the tops should remain pale.
- Do not wait for the tops to turn brown. Whipped shortbread should be pale. A fully browned cookie means it has been overbaked and will be dry rather than tender.
- If you are baking two sheets at once, rotate them halfway through baking to ensure even cooking.
10. Cool the Cookies
- Remove the baking sheets from the oven and allow the cookies to cool on the pan for 5 full minutes before touching them. The cookies are fragile when hot and will crumble if moved too soon.
- After 5 minutes, gently transfer the cookies to a wire cooling rack using a thin spatula.
- Allow the cookies to cool completely to room temperature before eating or storing. As they cool, the texture sets and becomes even more tender.
Read Also: Almond Shortbread Cookies Recipe
Tips for Success
A few simple adjustments make the difference between good cookies and truly exceptional ones.
- Whip long enough. The single most important step in this recipe is whipping the butter and sugar for a full 5 minutes. It is tempting to stop early, but under-whipped butter produces a dense, greasy cookie rather than an airy one. Set a timer and commit.
- Measure flour by weight. All-purpose flour is notoriously easy to over-measure when using cups. Too much flour makes the cookies dry and crumbly. Use a kitchen scale for the most accurate results, or at minimum, spoon the flour into the measuring cup and level it off with a knife rather than scooping directly from the bag.
- Use room temperature butter. Cold butter cannot be whipped to the proper consistency. Melted or overly warm butter cannot trap and hold air. Room temperature means cool to the touch, soft enough to dent with a finger, and definitely not shiny or greasy.
- Do not overbake. These cookies should remain pale. Pull them from the oven as soon as the tops look set and dry, even if they seem underdone. They will firm up as they cool.
- Chill if your kitchen is warm. In hot climates or during summer, refrigerate the shaped, untouched dough balls for 30 minutes before baking. This helps the cookies hold their shape and prevents excess spreading.
- Use light-colored baking sheets. Dark baking sheets absorb more heat and can cause the bottoms of these pale cookies to brown too quickly before the centers have fully set.
The same care around butter temperature and gentle mixing also applies when making Cranberry Shortbread Cookies.
Serving Suggestions

Whipped shortbread cookies are beautiful in their simplicity, but there are many lovely ways to present and enjoy them.
- Arrange them on a tiered cake stand for afternoon tea alongside Earl Grey or chamomile.
- Stack them in a clear cellophane bag tied with a ribbon for an elegant homemade gift.
- Serve alongside a mug of Hot Chocolate for the ultimate cozy winter treat.
- Layer them in a decorative tin with parchment between each row as part of a holiday cookie box.
- Pair with fresh berries and a dollop of lightly whipped cream for a simple yet beautiful dessert plate.
- Offer them alongside a cheese board as a sweet counterpoint to savory flavors.
Another favorite to serve alongside these cookies: Gingerbread Cookies
Variations to Try
Once you have mastered the base recipe, the variations are endlessly fun and easy to pull off.
- Lemon Whipped Shortbread. Add 1 teaspoon of fresh lemon zest and swap the vanilla extract for lemon extract. The brightness of lemon pairs beautifully with the buttery base.
- Almond Whipped Shortbread. Replace half the vanilla extract with 1/4 teaspoon of almond extract. Almond extract is very potent, so start with a small amount and adjust to your taste.
- Chocolate Dipped. Once the baked cookies have cooled completely, dip the bottoms or edges in melted dark or white chocolate and allow to set on parchment paper.
- Espresso Shortbread. Add 1 teaspoon of instant espresso powder to the dry ingredients for a subtle coffee flavor that complements the buttery richness.
- Holiday Sprinkle Cookies. Use themed sprinkles, nonpareils, or colored sugars on top to match any holiday or occasion. This is the easiest way to customize the look without changing the flavor.
- Lavender Whipped Shortbread. Add 1/2 teaspoon of dried culinary lavender to the dough for a fragrant, bakery-style variation. This works especially beautifully for spring or garden party presentations.
For an already-developed floral variation, check out this Lavender Shortbread Cookies Recipe.
Storage and Reheating
These cookies store remarkably well, making them one of the best bake-ahead treats you can have in your repertoire.
- Room temperature. Store completely cooled cookies in an airtight container at room temperature for up to 1 to 2 weeks. To help maintain their soft texture over time, place a small piece of sandwich bread in the container. The cookies will absorb just enough moisture from the bread to stay tender.
- Refrigerator. Store in an airtight container in the refrigerator for up to 2 weeks. Allow them to come to room temperature for 10 to 15 minutes before serving for the best texture.
- Freezer (baked cookies). Once fully cooled, transfer to a freezer-safe zip-top bag or airtight container, placing parchment paper between layers to prevent sticking. Freeze for up to 3 months. Thaw at room temperature for about 30 minutes before enjoying.
- Freezer (unbaked dough). Shape the dough balls and place them on a parchment-lined baking sheet. Freeze until solid, then transfer to a zip-top freezer bag. Bake from frozen at 300°F (150°C), adding 3 to 5 extra minutes to the baking time.
- Reheating. These cookies do not need to be reheated. They are best at room temperature. If you prefer them slightly warm, place them in a 250°F (120°C) oven for 4 to 5 minutes. Do not microwave them, as this will make them chewy rather than tender.
You might also enjoy: Cherry Almond Shortbread Cookies
Nutritional Facts
The following values are estimates per cookie, based on a yield of approximately 30 cookies from this recipe. Actual values may vary slightly based on topping choices and the exact size of each cookie.
| Nutrient | Amount Per Cookie |
|---|---|
| Calories | 87 kcal |
| Total Fat | 6g |
| Saturated Fat | 4g |
| Cholesterol | 16mg |
| Sodium | 50mg |
| Total Carbohydrates | 8g |
| Sugars | 2g |
| Protein | 1g |
| Fiber | 0g |
These cookies are relatively low in sugar compared to most desserts, making them a more restrained treat. The primary source of calories is butter fat, which also contributes to their rich flavor and distinctive texture.
Read Also: Raspberry Shortbread Cookies Recipe
Health Benefits of Key Ingredients
While whipped shortbread cookies are certainly a treat, a few of the key ingredients do carry some nutritional merit worth noting.
Butter, when used in moderation, contains fat-soluble vitamins including Vitamin A, Vitamin E, and Vitamin K2. Vitamin K2 in particular is found in very few foods and plays a role in bone and cardiovascular health. Grass-fed butter contains a higher concentration of these beneficial compounds.
- All-purpose flour provides carbohydrates for energy and small amounts of iron and B vitamins. For those avoiding refined flour, a 1:1 gluten-free all-purpose flour blend can often be substituted with reasonable results, though the texture may vary slightly.
- Cornstarch is a binding agent that keeps the cookies from spreading and contributes to the melt-in-your-mouth texture. It also slightly reduces the overall protein content of the cookie, which means less gluten development and a more tender final result.
- Vanilla extract contains small amounts of antioxidants, including vanillin, which has been studied for its anti-inflammatory properties. Using a pure, high-quality extract rather than artificial vanilla flavor also means you are getting a more nutritionally intact product.
- Powdered sugar provides sweetness in a fine, easily dissolvable form. Because these cookies use only 1/2 cup of sugar for the whole batch, the sugar content per cookie is relatively modest compared to typical baked goods.
This same combination of simple, whole-food ingredients also forms the base of Chocolate Shortbread Cookies.
Frequently Asked Questions
1. Why are my whipped shortbread cookies spreading too much?
The most common cause of spreading is butter that was too warm or melted before being whipped. When butter is too soft, it cannot hold the air beaten into it, and the dough loses structure in the oven.
Another cause is too little flour. If your flour was measured by scooping directly from the bag (which compacts it), you may have used less than the recipe requires. Always spoon flour into your measuring cup and level it off, or weigh it with a kitchen scale. Chilling the shaped dough balls for 30 minutes before baking can also help significantly, especially in warm kitchens.
2. Can I make these cookies without cornstarch?
You can make them without cornstarch, but the texture will be noticeably different. Cornstarch reduces gluten formation and is responsible for the ultra-tender, melt-in-your-mouth quality that defines whipped shortbread. Without it, the cookies will still be buttery and delicious but will be slightly denser and more crumbly, similar to traditional Scottish-style shortbread.
If you need to substitute, arrowroot powder works well in a 1:1 ratio as a cornstarch replacement with very similar results.
3. Can I use salted butter instead of unsalted?
Yes, absolutely. If using salted butter, simply omit the 1/4 teaspoon of added salt from the recipe. Different brands of salted butter contain varying amounts of salt, so reducing or eliminating the added salt prevents the cookies from being overly salty. The flavor will still be excellent and many bakers actually prefer the subtle complexity that salted butter brings.
4. How do I know when whipped shortbread cookies are fully baked?
Whipped shortbread does not brown on top the way most cookies do, which can make doneness tricky to judge. The visual cues to look for are: the tops appear dry and set, no longer looking glossy or wet, and the edges just barely begin to look the faintest shade of golden.
The cookies will still feel very soft when you touch them gently in the center. That is completely normal. They firm up as they cool on the pan. If you wait until they feel firm in the oven, they will be overbaked and dry.
5. Can I pipe whipped shortbread cookies instead of rolling them into balls?
Yes, and piping creates beautiful, bakery-style rosettes that are especially lovely for gifting or holiday platters. The dough must be at a precise consistency for piping. It should be soft enough to push through a piping bag with a large star tip but not so soft that it does not hold its shape.
If the dough feels too stiff, allow it to sit at room temperature for a few minutes. If it is too soft to pipe neatly, refrigerate it for 10 to 15 minutes. Once piped onto the baking sheet, freeze the shaped cookies for 30 to 60 minutes before baking. This helps them hold their decorative shape in the oven without puffing out and losing definition.
Read Also: Strawberry Shortbread Cookies Recipe
Final Thoughts
There is a reason whipped shortbread cookies have earned a permanent place on holiday cookie trays and afternoon tea spreads for generations. They manage to feel both humble and a little luxurious at the same time, which is a rare quality in a baked good.
Once you make them for the first time, you will understand why so many people describe them as the kind of cookie that disappears from the plate in minutes. The technique is simple and the ingredients are few, but the result is genuinely special.
Give this whipped shortbread cookies recipe a try and see for yourself just how easy it is to make something that tastes this good. If you make a batch, share a photo in the comments below or leave a note about your favorite topping. We would love to hear how yours turned out!
Recommended:
- Christmas Shortbread Cookies Recipe
- Cranberry Pistachio Shortbread Cookies Recipe
- Best Chocolate Chip Cookies Recipe
- Chewy Chocolate Chip Cookies Recipe
- Snickerdoodle Cookie Recipe
- Peanut butter Blossom Cookies Recipe
- Oatmeal Cookie Recipe
- Cut Out Sugar Cookie Recipe
- Easy Sugar Cookie Recipe
- No Bake Cookie Recipe


