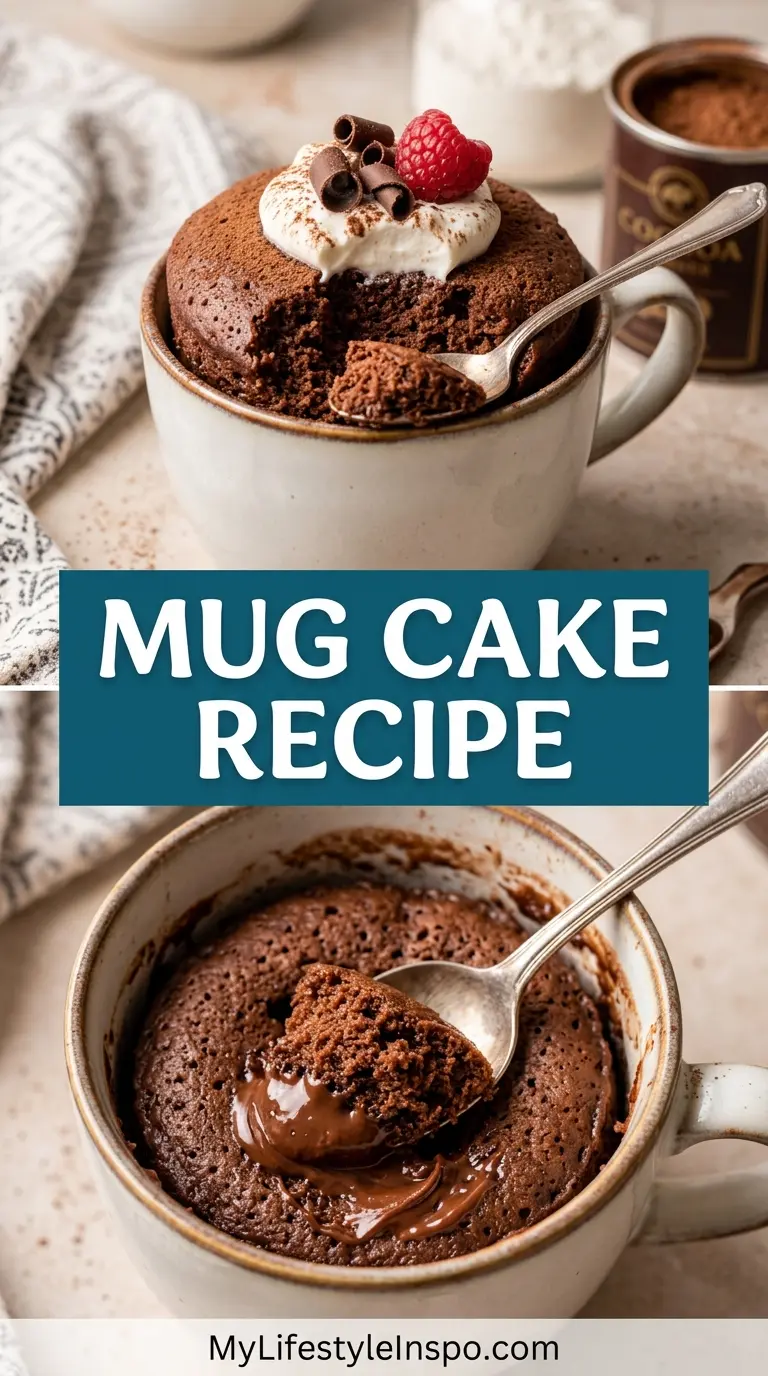
I need a quick dessert fix, and I don’t want to wait an hour for something to bake or deal with a mountain of dishes afterward. That’s exactly when this mug cake recipe comes to my rescue.
It’s a single-serving dessert that goes from craving to satisfaction in about five minutes flat. Mix everything right in the mug, pop it in the microwave, and you’ve got a warm, fluffy cake that tastes like you actually tried.
The best part? You probably have everything you need sitting in your pantry right now. No fancy ingredients, no complicated techniques, just simple pantry staples that come together into something legitimately delicious.
I’ve made this dozens of times when I’m working late and need something sweet, or when my kids want dessert but I don’t feel like turning on the oven. It works every single time, and I’ve never had anyone guess it came from a microwave.
Why You’ll Love This Mug Cake Recipe
This isn’t just another microwave dessert that tastes like a compromise. It’s actually good, with a tender crumb and rich flavor that rivals anything you’d bake in a conventional oven.
The whole process takes less time than preheating your oven would. From the moment you pull out your mug to the first bite, you’re looking at maybe five minutes total, including cooking time.
You can customize it endlessly once you nail the basic recipe. I’ve added chocolate chips, swirled in peanut butter, topped it with fresh berries, and even made savory versions for breakfast.
Here’s what makes this recipe a winner:
- Ready in 5 minutes or less – Mix, microwave, eat
- Single serving – No temptation to eat half a cake pan
- Minimal cleanup – One mug, one fork, done
- Endlessly customizable – Add whatever mix-ins you’re craving
- Uses pantry staples – No special trips to the store required
- Perfect portion control – Just enough to satisfy without overdoing it
- Kid-friendly – Safe enough for older kids to make themselves
Another favorite quick dessert: Easy Churro Recipe
Ingredients
This recipe calls for the most basic baking ingredients you probably already have on hand. I keep these stocked specifically because I make this so often.
- 4 tablespoons all-purpose flour
- 4 tablespoons granulated sugar
- 2 tablespoons cocoa powder (use Dutch-process for richer flavor)
- 1/8 teaspoon baking powder
- A pinch of salt
- 3 tablespoons milk (any kind works)
- 2 tablespoons vegetable oil or melted butter
- 1/4 teaspoon vanilla extract
- Optional: 1 tablespoon chocolate chips, nuts, or other mix-ins
Kitchen Equipment Needed
You don’t need a full kitchen setup for this recipe. Just grab what you probably already have within arm’s reach.
- One microwave-safe mug (at least 12 oz capacity)
- Fork or small whisk
- Measuring spoons
- Microwave
Recommended Products for This Recipe
I’ve tested this recipe with all kinds of equipment and ingredients over the years, and these are the products that consistently give me the best results.
1. Ghirardelli Premium Dutch Process Cocoa Powder
The quality of your cocoa powder makes a massive difference in how your mug cake tastes. Ghirardelli’s Dutch-process cocoa gives you that deep, rich chocolate flavor without any bitterness. I’ve tried cheaper brands, and they just don’t compare.
2. CorningWare 20-Ounce Mug
Not all mugs are created equal for this recipe. This CorningWare mug is perfectly sized, distributes heat evenly, and has a handle that stays cool. The extra capacity means your cake won’t overflow in the microwave, which has definitely happened to me with smaller mugs.
3. Nielsen-Massey Madagascar Bourbon Vanilla Extract
Yes, vanilla extract matters even in a five-minute microwave cake. Nielsen-Massey vanilla adds a warmth and depth that grocery store vanilla just can’t match. A little goes a long way, and one bottle lasts me months.
4. Guittard Semi-Sweet Chocolate Chips
When I want to add chocolate chips to my mug cake, Guittard chips are what I reach for. They melt beautifully in the microwave and create these perfect pockets of melted chocolate throughout the cake. They’re a bit more expensive than store brands, but the flavor difference is noticeable.
Step-by-Step Instructions
I’ve broken this down into the simplest possible steps because honestly, it’s hard to mess this up. Just follow along, and you’ll have a perfect mug cake every time.
1. Mix the Dry Ingredients
- Add the flour, sugar, cocoa powder, baking powder, and salt directly to your mug
- Use your fork to stir everything together thoroughly, making sure there are no lumps of cocoa powder hiding at the bottom
- Break up any clumps you see – this takes maybe 30 seconds of stirring
2. Add the Wet Ingredients
- Pour in the milk, oil, and vanilla extract right on top of your dry ingredients
- Stir everything together with your fork until you have a smooth batter with no streaks of flour visible
- Make sure to scrape the bottom and sides of the mug so nothing gets left behind
- The batter should be thick but pourable, similar to brownie batter
3. Add Mix-Ins (Optional)
- If you’re adding chocolate chips, nuts, or other mix-ins, fold them in now
- Reserve a few pieces to sprinkle on top if you want it to look fancy
- Don’t overmix once you add the extras – just fold them in gently
4. Microwave the Cake
- Place your mug in the center of the microwave
- Cook on high power for 60 to 90 seconds, depending on your microwave’s strength
- Watch through the window – the cake will rise as it cooks, and you want to stop when the top looks just set
- It’s better to slightly undercook than overcook, since it continues cooking a bit after you remove it
- If the center still looks very wet after 90 seconds, add 10-second intervals until done
5. Cool and Serve
- Let the mug sit for about 1 minute before eating – it’s lava-hot right out of the microwave
- The cake will settle back down as it cools slightly
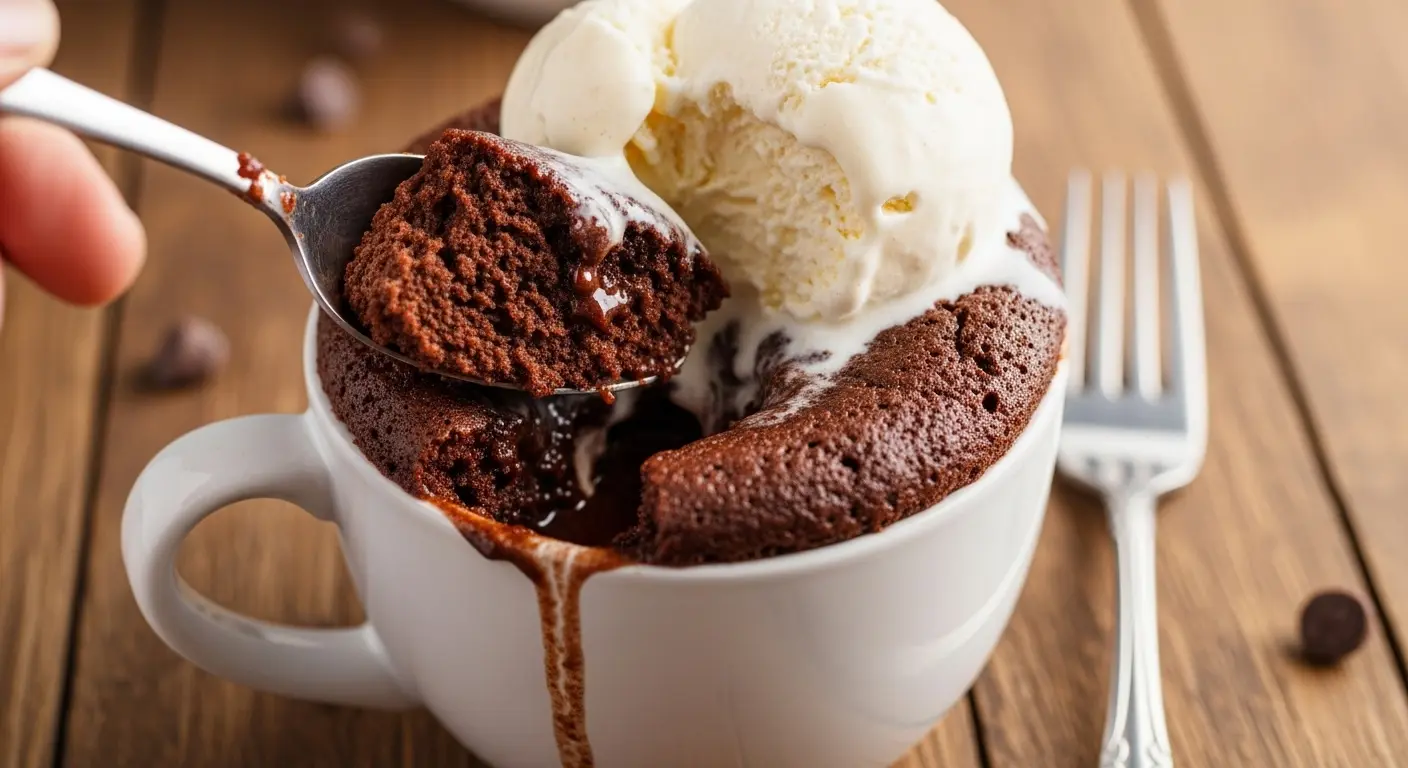
- Eat it straight from the mug with a spoon, or carefully turn it out onto a plate if you’re feeling fancy
- Top with whatever sounds good – ice cream, whipped cream, fresh fruit, or just eat it plain
You might also enjoy: Easy Chocolate Cake Recipe
Tips for Success
I’ve made this recipe enough times to know exactly where things can go wrong. Here’s how to avoid the common pitfalls.
Getting the texture right depends on a few key things. First, don’t skip the oil – it keeps the cake moist and tender. I’ve tried making it with less oil to save calories, and it turns out dry and rubbery every single time.
Your microwave matters more than you think. All microwaves heat differently, so start with 60 seconds and add time in 10-second bursts if needed. I ruined my first few attempts by cooking them too long, which turned them into chocolate hockey pucks.
Here’s what else you need to know:
- Use a big enough mug – The batter needs room to rise, or you’ll have a mess to clean up
- Don’t overmix – Stir until just combined, then stop. Overmixing makes the cake tough
- Check at 60 seconds – Better to undercook slightly than overcook. The cake continues cooking from residual heat
- Let it cool – Give it at least 60 seconds before digging in, or you’ll burn your mouth
- Measure accurately – These small quantities need precision. Too much flour makes it dry, too much liquid makes it gummy
- Use fresh baking powder – Old baking powder won’t give you the rise you need
- Grease the mug lightly – If you want to turn it out onto a plate, rub a tiny bit of butter inside the mug first
Read Also: Moist Chocolate Cake Recipe
Serving Suggestions
This cake is delicious straight from the mug, but sometimes you want to dress it up a little. I like to treat it as a blank canvas for whatever I’m craving.
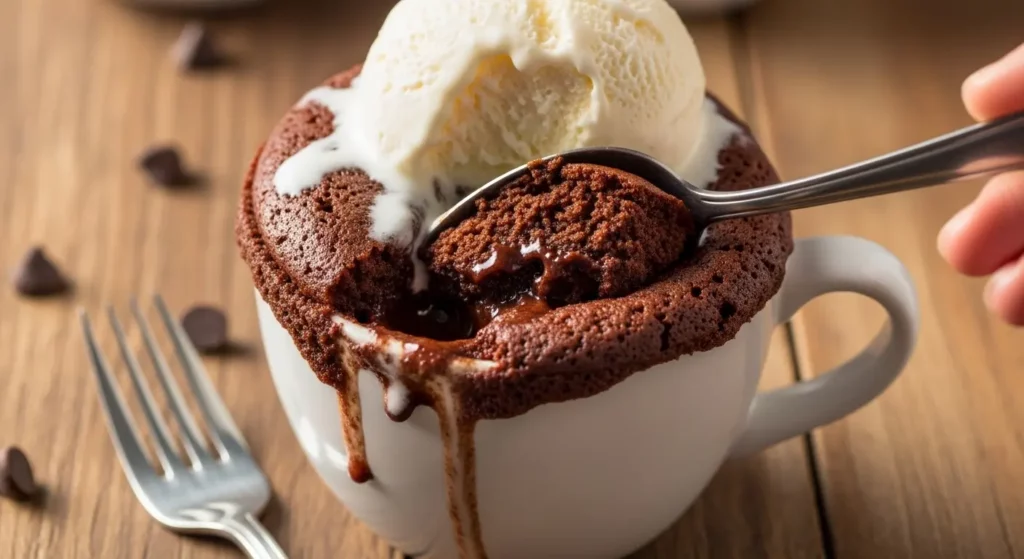
A scoop of vanilla ice cream on top turns it into an instant lava cake situation, especially if you time it so the cake is still warm. The ice cream melts into all the nooks and crannies, and it’s honestly better than most restaurant desserts I’ve paid good money for.
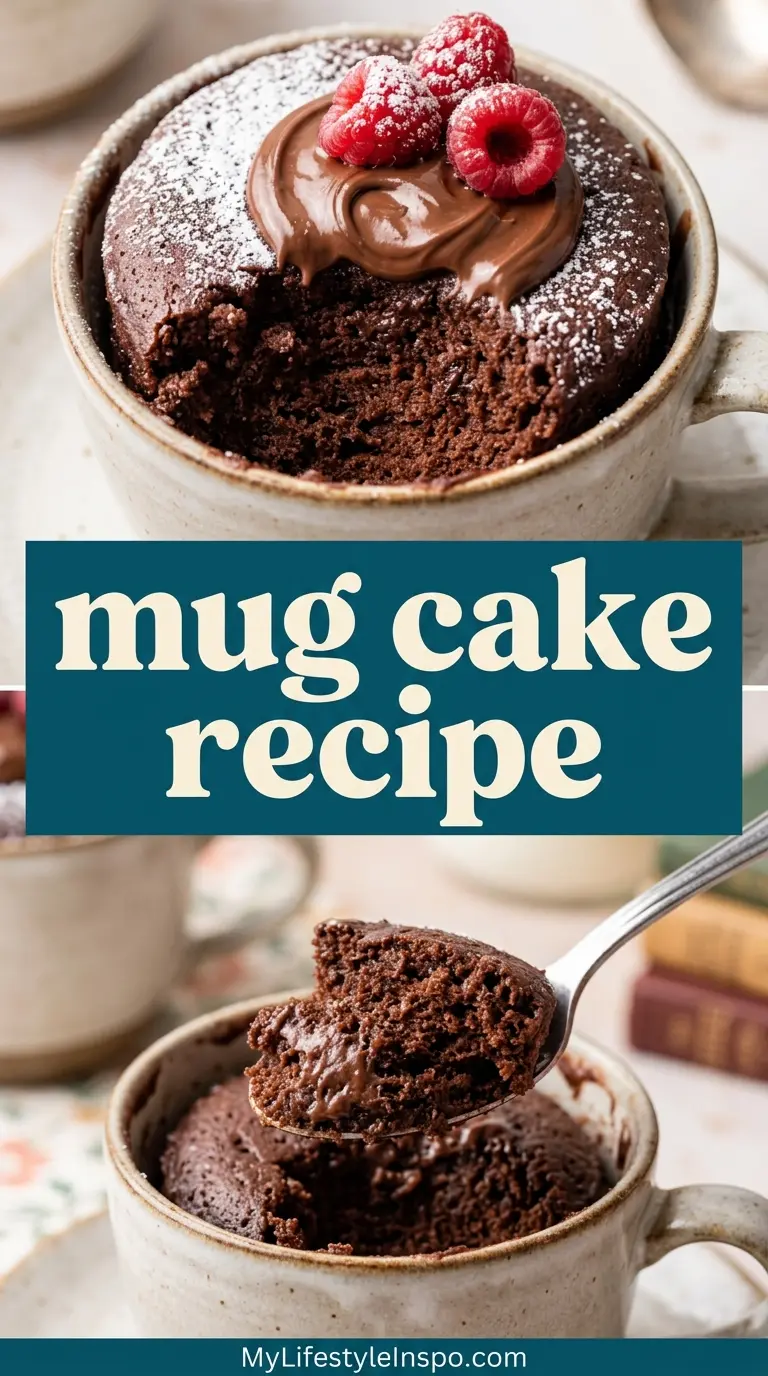
Fresh berries add a nice tart contrast to the rich chocolate, and they make it feel slightly less indulgent (even though we all know it’s still cake). I usually just pile on whatever I have in the fridge – strawberries, raspberries, blackberries, they all work.
Try these serving ideas:
- Classic sundae style – Top with vanilla ice cream, chocolate syrup, and whipped cream
- Peanut butter lover’s dream – Swirl in peanut butter before cooking, top with more after
- Fresh and fruity – Add fresh berries and a dollop of whipped cream
- Salted caramel heaven – Drizzle with caramel sauce and sprinkle with sea salt
- Coffee house special – Top with cold brew whipped cream
- S’mores style – Add mini marshmallows and graham cracker crumbs on top
Another favorite: Chewy Oatmeal Chocolate Chip Cookie Recipe
Variations to Try
Once you’ve nailed the basic recipe, the fun really begins. I’ve experimented with so many different versions that I rarely make the same mug cake twice.
The beauty of this recipe is that the base stays the same, so you can swap flavors without worrying about the texture. Just keep the ratios of wet to dry ingredients consistent, and you can pretty much add whatever you want.
Here are my favorite variations that actually work:
- Vanilla mug cake – Skip the cocoa powder, increase the flour to 5 tablespoons, and add an extra splash of vanilla
- Peanut butter chocolate – Add 1 tablespoon of peanut butter to the batter and reduce the oil by half
- Double chocolate – Mix in chocolate chips and top with more after cooking
- Cinnamon sugar – Replace cocoa with 1 extra tablespoon flour, add 1/2 teaspoon cinnamon and a pinch of nutmeg
- Nutella swirl – Drop a spoonful of Nutella in the center before cooking (don’t stir it in completely)
- Lemon poppy seed – Skip cocoa, add lemon zest and 1 teaspoon poppy seeds
- Cookies and cream – Crush an Oreo into the batter
- Pumpkin spice – Replace cocoa with pumpkin puree and add pumpkin pie spice
Storage and Reheating
Honestly, I’ve never had leftovers of this because it’s literally one serving, but occasionally I’ll make an extra one to eat later. The storage situation isn’t ideal, but it’s doable if you need it.
If you somehow don’t finish your mug cake, you can cover the mug with plastic wrap and stick it in the fridge for up to 2 days. It won’t be quite as good as when it’s fresh, but it’s still perfectly edible. The texture gets a little denser after refrigeration, more like a brownie than a cake.
Storage tips:
- Same day – Best eaten immediately, but fine at room temperature for 2-3 hours
- Refrigerator – Cover and store for up to 2 days
- Freezing – Not recommended, the texture suffers too much
- Reheating – Microwave for 15-20 seconds to warm it back up
- Make ahead batter – Mix dry ingredients ahead and store in a jar, add wet ingredients when ready to cook
Read Also: Easy Crepe Recipe
Nutritional Facts
This is a treat, not health food, so I’m not going to pretend otherwise. But it’s a controlled portion, which counts for something.
Per serving (1 mug cake):
- Calories: 320
- Total Fat: 14g
- Saturated Fat: 2g
- Cholesterol: 0mg
- Sodium: 85mg
- Total Carbohydrates: 48g
- Dietary Fiber: 3g
- Sugars: 30g
- Protein: 4g
Keep in mind these numbers can vary depending on what milk and oil you use, and they don’t include any toppings or mix-ins. Add ice cream or whipped cream, and you’re obviously adding more calories.
Health Benefits of Key Ingredients
Look, this is dessert, and I’m not going to oversell the health benefits here. But there are actually a few nutritionally positive things happening in this mug.
Cocoa powder is surprisingly good for you in moderate amounts. It’s packed with antioxidants and flavonoids that support heart health and can improve blood flow. Dark cocoa powder has even more of these beneficial compounds than milk chocolate, so you’re getting some actual nutrition along with your sugar fix.
A few bright spots:
- Cocoa powder – Rich in antioxidants and may improve mood and brain function
- Milk – Provides calcium, protein, and vitamin D for bone health
- Vanilla extract – Contains small amounts of antioxidants and may have calming properties
- Portion control – A single serving prevents overindulgence compared to baking a whole cake
You might also enjoy: Easy Royal Icing Recipe
Frequently Asked Questions
1. Why did my mug cake turn out rubbery?
This usually happens from overcooking or using too much flour. Microwave ovens vary wildly in power, so what takes 90 seconds in my microwave might only need 60 seconds in yours.
Start with less time and add more in 10-second intervals if needed. Also, make sure you’re measuring your flour correctly – spoon it into the measuring spoon rather than packing it in.
2. Can I make this without eggs?
This recipe doesn’t use eggs at all, which is part of why it’s so quick and easy. The leavening comes entirely from the baking powder, so you’re good to go exactly as written. That also makes it accidentally vegan if you use plant-based milk and oil instead of butter.
3. My cake overflowed in the microwave. What went wrong?
Your mug was too small. You need at least a 12-ounce mug to give the batter room to rise as it cooks.
The cake can double in size during cooking, so err on the side of using a bigger mug. I learned this the hard way with a very messy microwave cleanup.
4. Can I double this recipe?
You can, but you’ll need to cook it in a much larger microwave-safe bowl and adjust the cooking time.
I’d recommend just making two separate mug cakes instead – they cook more evenly, and then you can customize each one differently. Plus, then two people get to eat warm cake at the same time.
5. Why does my mug cake taste eggy even though there are no eggs?
It doesn’t actually taste eggy – what you’re probably noticing is a slight metallic or off flavor from old baking powder.
Baking powder loses its potency over time and can develop an unpleasant taste.
Replace your baking powder if it’s been sitting in your pantry for more than six months, and that flavor should disappear.
5-Minute Chocolate Mug Cake
Equipment
- Microwave-safe mug - At least 12 oz capacity, like the CorningWare 20-Ounce Mug
- Fork or small whisk - For mixing the batter right in the mug
- Measuring spoons - For accurate measurement of ingredients
- Microwave - Standard microwave oven
Ingredients
- 4 tablespoons all-purpose flour - about 30g
- 4 tablespoons granulated sugar - about 50g
- 2 tablespoons Dutch-process cocoa powder - for richer flavor; about 10g
- 1/8 teaspoon baking powder
- pinch salt
- 3 tablespoons milk - any kind works; about 45ml
- 2 tablespoons vegetable oil - or melted butter; about 30ml
- 1/4 teaspoon vanilla extract - use good quality like Nielsen-Massey
- 1 tablespoon semi-sweet chocolate chips - optional; plus extra for topping (Guittard recommended)
For Serving (Optional)
- 1 scoop vanilla ice cream - topping
- fresh berries - strawberries, raspberries, or blackberries
- whipped cream - topping
- chocolate syrup - topping
- peanut butter - for swirling or topping
- caramel sauce - optional topping
- sea salt - for salted caramel variation
- mini marshmallows - for s’mores variation
- graham cracker crumbs - for s’mores variation
Instructions
- Add the flour, sugar, cocoa powder, baking powder, and salt directly to your microwave-safe mug. Stir thoroughly with a fork to remove any lumps.
- Pour in the milk, vegetable oil, and vanilla extract. Stir until you have a smooth batter with no streaks of flour. Scrape the sides and bottom of the mug.
- If using, fold in chocolate chips or other mix-ins. Reserve a few pieces to sprinkle on top for a prettier finish.
- Place the mug in the center of the microwave. Cook on high power for 60 to 90 seconds, watching through the window until the top looks just set and the cake has risen.
- Let the mug sit for about 1 minute before eating. The cake will settle as it cools slightly. Eat straight from the mug with a spoon or turn out onto a plate.
Notes
- Don’t overmix: Stir until just combined, then stop. Overmixing develops gluten and makes the cake tough.
- Microwave power varies: Start with 60 seconds and add 10-second bursts if needed. Better slightly undercooked than overcooked.
- Use a big enough mug: Minimum 12 oz capacity gives the batter room to rise without overflowing.
- Don’t skip the oil: It keeps the cake moist and tender. Using less oil results in a dry, rubbery texture.
- Fresh baking powder matters: Old baking powder loses potency and can affect both rise and flavor.
- Customize it: Once you nail the basic recipe, try variations like peanut butter swirl, Nutella center, or cinnamon sugar.
- Storage: Best eaten immediately. Any leftovers can be covered and refrigerated for up to 2 days. Reheat for 15-20 seconds.
- Vegan option: Use plant-based milk and oil instead of butter. The recipe is naturally egg-free.
- For a clean turn-out: Rub a tiny bit of butter inside the mug before adding the batter if you plan to plate it.
- Accurate measuring: These small quantities need precision. Spoon flour into the measuring spoon rather than packing it in.
Final Thoughts
This mug cake recipe has saved me from making terrible decisions at the grocery store checkout line more times than I can count. When that late-night sweet craving hits, I can make this in less time than it would take to walk to the corner store.
I love that it’s not trying to be something it’s not – it’s quick, it’s easy, and it tastes exactly like what you want when you want cake right now. Make it once, and I guarantee it’ll become your go-to solution for dessert emergencies.
Give this mug cake recipe a try tonight and let me know what variation you end up creating. I’m always curious to hear what combinations people come up with!
Recommended:
- Easy Sourdough Bread Recipe
- Sourdough Starter Recipe
- Easy Naan Bread Recipe
- Garlic Naan Bread Recipe
- Chicken And Dumplings Recipe
- Chinese Dumplings Recipe
- Baked Chicken Spaghetti Recipe
- Easy Ratatouille Recipe
- Homemade Lemonade Recipe
- From Scratch Ravioli Recipe


