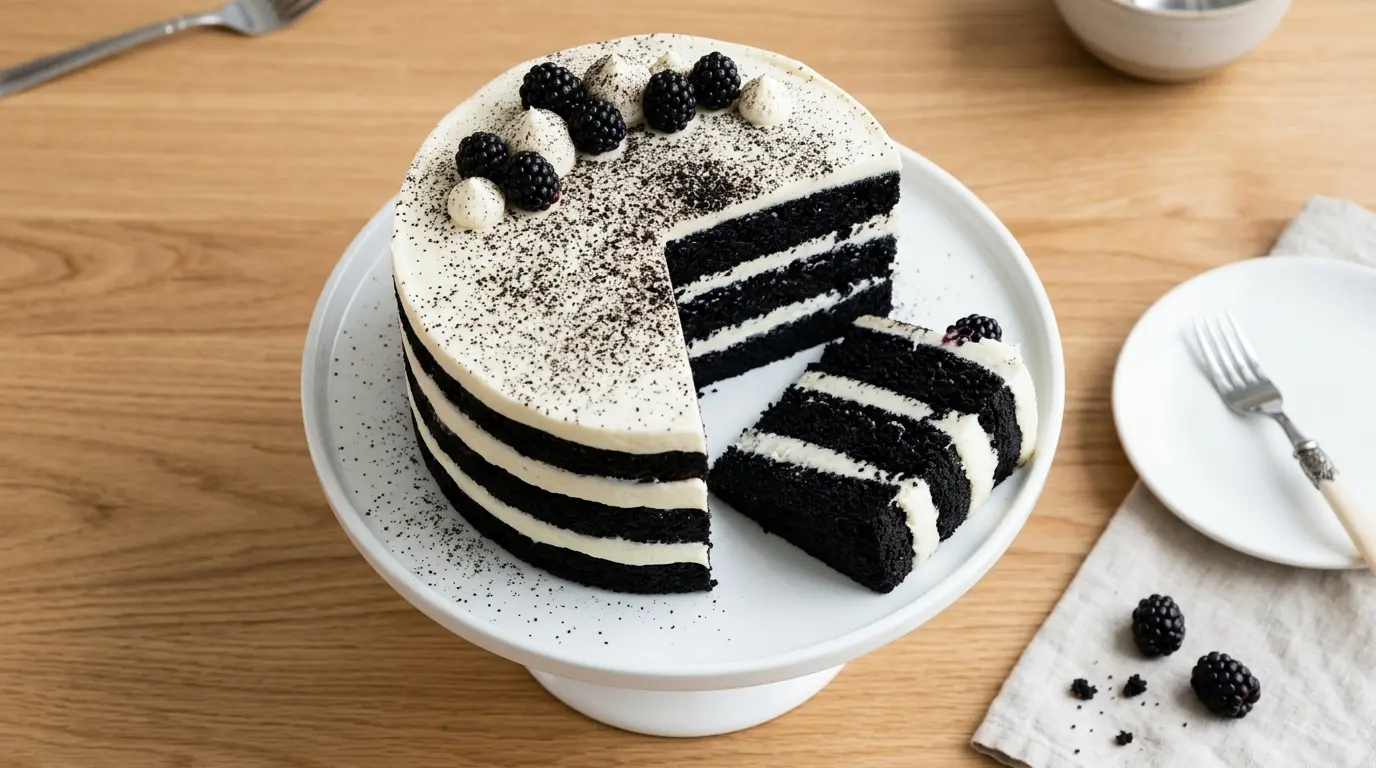
If you have been searching for a show-stopping dessert that is as bold as it is delicious, this black velvet cake recipe is exactly what you need.
It is everything a great cake should be: impossibly moist, deeply chocolatey, and finished with a silky cream cheese frosting that balances the rich cocoa beautifully.
Unlike a standard chocolate cake, black velvet cake gets its dramatic, jet-black color entirely from black cocoa powder, the same ultra-processed cocoa used to make Oreo cookies.
The result is a cake with a flavor that is smoother and less bitter than dark chocolate, with that signature velvet crumb that feels almost impossibly tender in every bite.
This is the kind of cake that turns heads at birthday parties, Halloween gatherings, or any occasion where you want something that feels a little special.
If you love red velvet cake, think of this as its brooding, sophisticated sibling.
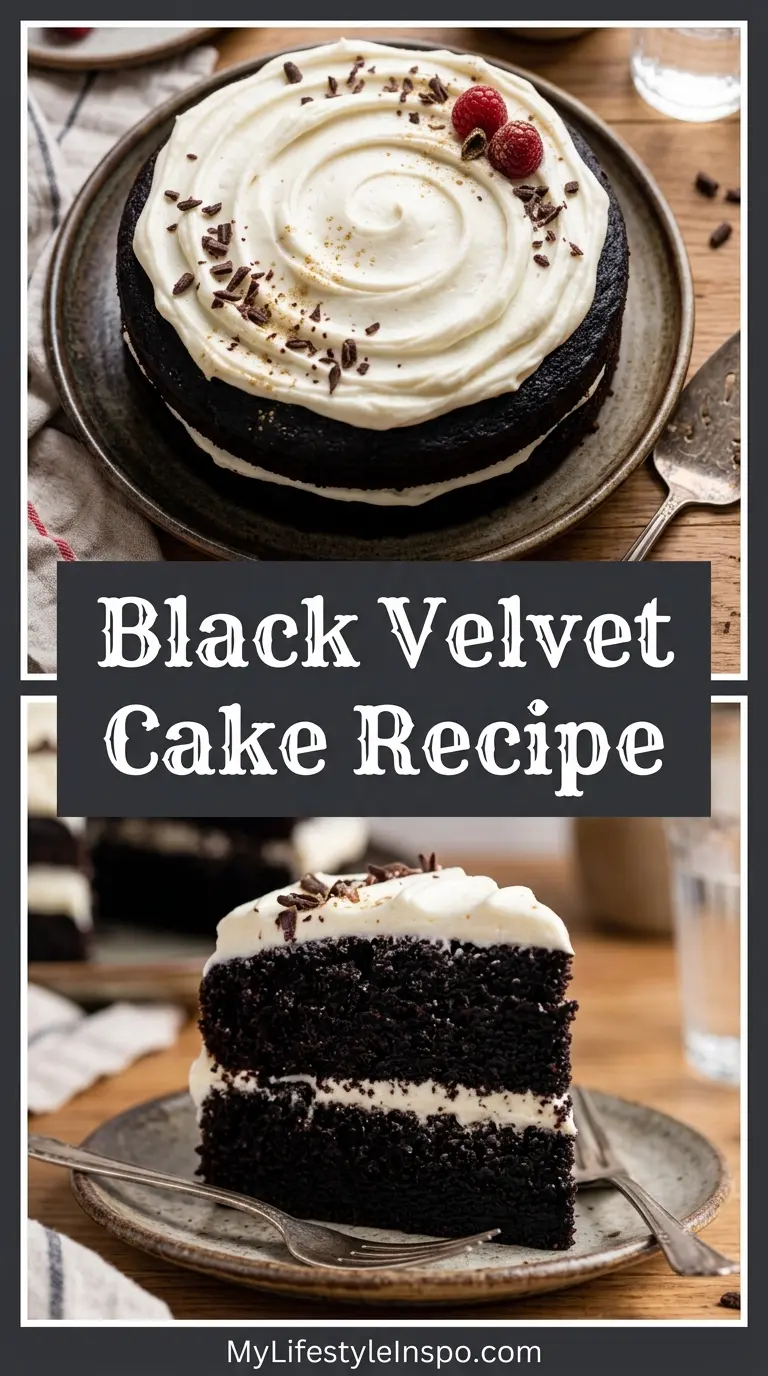
Why You’ll Love This Black Velvet Cake Recipe
This cake has a lot going for it beyond just the striking appearance.
It combines the classic velvet texture of a buttermilk cake with the deep, complex flavor of black cocoa, giving you the best of both worlds.
The buttermilk tenderizes the crumb, the vinegar activates the leavening for a light rise, and the oil keeps every slice moist for days.
That is the kind of bake you can make ahead without worrying about it drying out.
Here is what makes it worth bookmarking:
- Naturally black color. No food dye required. The black cocoa powder does all the work, giving you a deep, dramatic color that is completely natural.
- Unique flavor profile. It is not just a dark chocolate cake. The black cocoa has a milder, smoother taste with an almost cookie-like quality that is totally addictive.
- Incredibly moist texture. The combination of oil, buttermilk, and hot coffee creates a crumb so tender it practically melts on the tongue.
- Easy to make ahead. The cake layers can be baked the day before and stored at room temperature, making assembly stress-free.
- Versatile for any occasion. It works beautifully for Halloween, birthdays, dinner parties, or any time you want an impressive homemade dessert.
- Pairs perfectly with cream cheese frosting. The tanginess of the frosting cuts through the richness of the cake, creating a balance that is nothing short of perfect.
Another favorite that uses that same velvety technique: White Velvet Cake
Ingredients
You will need a handful of specialty items here, but the process is genuinely straightforward once you have everything measured out. The most important ingredient is the black cocoa powder, so do not substitute it with regular unsweetened cocoa if you want that true black color and flavor.
For the Cake Layers:
- 2 cups (250g) all-purpose flour
- 3/4 cup (75g) black cocoa powder
- 2 cups (400g) granulated sugar
- 2 teaspoons baking powder
- 1 teaspoon baking soda
- 1 teaspoon fine salt
- 1 cup (240ml) buttermilk, room temperature
- 1/2 cup (120ml) vegetable oil
- 2 large eggs, room temperature
- 1 teaspoon white vinegar
- 2 teaspoons pure vanilla extract
- 1 cup (240ml) hot brewed coffee (or hot water)
For the Cream Cheese Frosting:
- 16 oz (450g) full-fat cream cheese, softened
- 1 cup (225g) unsalted butter, softened
- 4 cups (480g) powdered sugar, sifted
- 2 teaspoons pure vanilla extract
- Pinch of fine salt
You might also enjoy: Pink Velvet Cake Recipe
Kitchen Equipment Needed
Nothing too unusual is required here, though having the right equipment will make the process much smoother. The biggest difference-maker is using two or three round cake pans of the same size so your layers bake evenly and stack neatly.
- Two 8-inch or 9-inch round cake pans (at least 2 inches deep)
- Parchment paper
- Stand mixer or hand mixer
- Two large mixing bowls
- Medium mixing bowl
- Whisk
- Rubber spatula
- Wire cooling rack
- Offset spatula for frosting
- Sifter or fine mesh sieve
- Measuring cups and spoons
- Cake turntable (optional but helpful for decorating)
Read Also: Lemon Velvet Cake Recipe
Recommended Products for This Recipe
These are products recommended based on quality and performance, chosen specifically to help you get the best results from this recipe.
1. Black Cocoa Powder
Black cocoa powder is the single most important ingredient in this recipe. It is the reason the cake is black rather than dark brown, and it delivers that distinctive smooth, Oreo-like flavor you cannot replicate with regular or dutch-process cocoa. Investing in a good-quality black cocoa makes a noticeable difference in both color depth and taste.
2. 8-Inch Round Cake Pans with Straight Sides
Straight-sided cake pans give you clean, professional-looking layers that are easy to stack and frost. Look for pans with a light-colored aluminum finish, which distributes heat evenly and prevents the bottoms from over-browning. Two matching pans are essential for a well-proportioned layer cake.
3. Rotating Cake Turntable
A turntable transforms frosting from a frustrating chore into something almost satisfying. It lets you spin the cake while holding the offset spatula steady, producing a smooth, even finish with far less effort. It also makes decorating with piping much easier.
4. Full-Fat Block Cream Cheese
The frosting on this cake only works properly with full-fat block cream cheese, not spreadable cream cheese from a tub. The block form has lower moisture content, which means the frosting will be thick, pipeable, and stable rather than runny and loose. Always soften it to room temperature before mixing.
5. Bench Scraper for Cake Decorating
A bench scraper is the secret to getting ultra-smooth frosted sides on a layer cake. Press it gently against the frosted cake while spinning it on the turntable for a clean, professional finish. It is inexpensive and makes a huge difference in the final look.
The same silky cream cheese frosting works wonderfully on Purple Velvet Cake too.
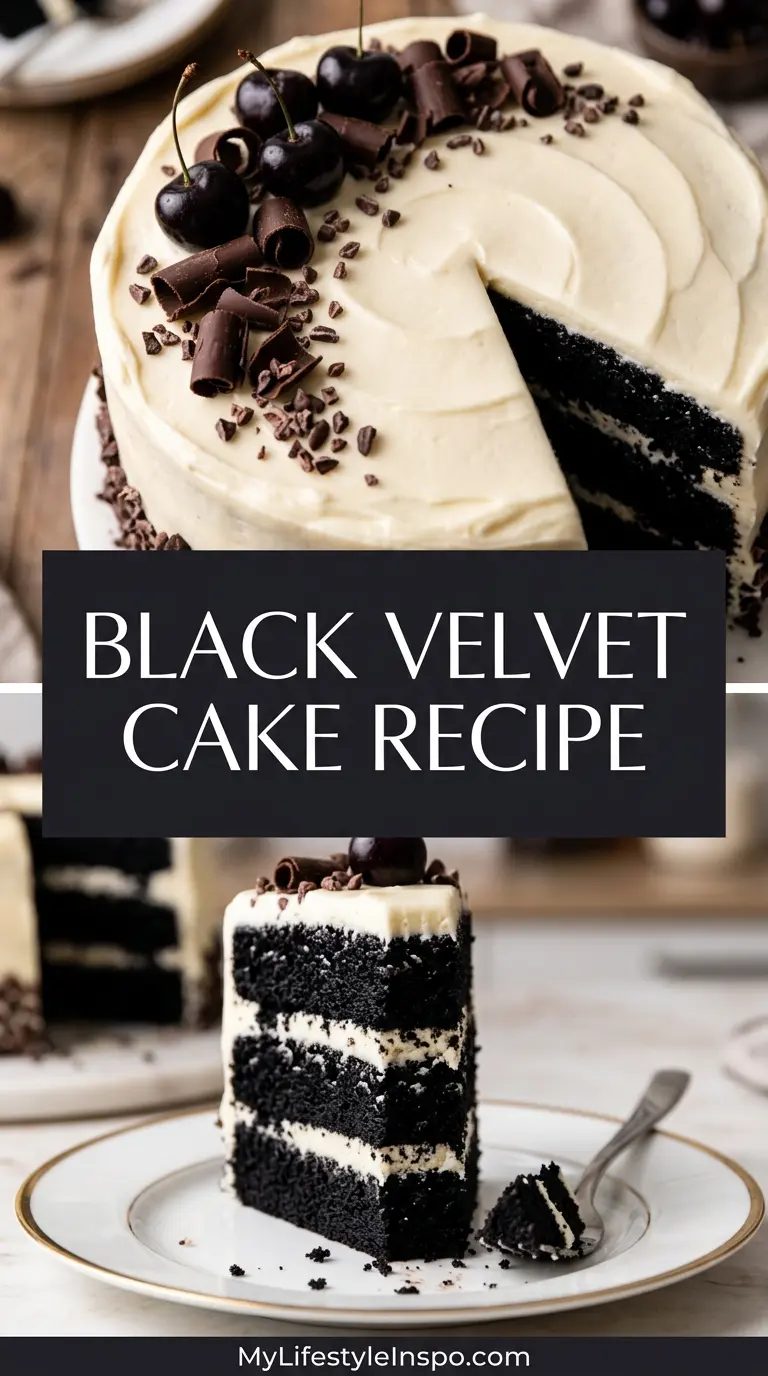
Step-by-Step Instructions
1. Prep Your Pans and Preheat the Oven
- Preheat your oven to 350°F (175°C). Position a rack in the center of the oven.
- Grease two 8-inch round cake pans thoroughly with butter or non-stick spray, making sure to get the sides and the bottom.
- Cut two circles of parchment paper to fit the bottom of each pan and press them in. Grease the parchment as well.
- Lightly dust the greased pans with a small amount of black cocoa powder or flour, tapping out any excess. This extra step helps the cakes release cleanly.
2. Mix Your Dry Ingredients
- In a large mixing bowl, add the 2 cups (250g) of all-purpose flour, 3/4 cup (75g) of black cocoa powder, 2 cups (400g) of granulated sugar, 2 teaspoons of baking powder, 1 teaspoon of baking soda, and 1 teaspoon of fine salt.
- Whisk all the dry ingredients together thoroughly for about 30 seconds until evenly combined. This step ensures there are no pockets of baking soda or powder, which would cause uneven rising.
- Set the bowl aside.
3. Combine Your Wet Ingredients
- In a separate large mixing bowl or the bowl of your stand mixer, add the 1 cup (240ml) of room-temperature buttermilk, 1/2 cup (120ml) of vegetable oil, 2 large room-temperature eggs, 1 teaspoon of white vinegar, and 2 teaspoons of pure vanilla extract.
- Whisk these wet ingredients together until smooth and fully combined, about 30 seconds.
- Room temperature ingredients are critical here. Cold eggs or buttermilk can cause the batter to seize or mix unevenly.
4. Bring the Batter Together
- Pour the wet ingredient mixture into the bowl with the dry ingredients.
- Using a whisk or the paddle attachment of your stand mixer on low speed, mix until just combined, about 1 minute. Do not overmix at this stage.
- The batter will look thick and very dark.
- With the mixer on its lowest speed (or stirring by hand), slowly pour in the 1 cup (240ml) of hot coffee. Mix until just incorporated.
- The hot coffee blooms the black cocoa, deepening both its color and its flavor significantly. Do not skip it. The batter will become quite thin after adding the coffee, which is normal.
5. Divide and Bake
- Divide the batter evenly between your two prepared cake pans. You can use a kitchen scale for precision, or simply eyeball it.
- Gently tap each pan on the counter two or three times to release any air bubbles.
- Place both pans in the center of the preheated oven, side by side.
- Bake for 30 to 35 minutes, until a toothpick or skewer inserted into the center of each cake comes out clean or with just a few moist crumbs. Do not open the oven door during the first 25 minutes, as this can cause the cakes to sink.
6. Cool the Cakes
- Remove the cakes from the oven and let them cool in their pans on a wire rack for exactly 15 minutes. Do not try to remove them before this time, as they will be too fragile and may break.
- After 15 minutes, run a thin knife around the edges of each pan to loosen the cakes.
- Invert each cake onto the wire rack, peel off the parchment paper, and allow them to cool completely, at least 1 hour, before frosting. Frosting a warm cake will cause the frosting to melt and slide.
7. Make the Cream Cheese Frosting
- In the bowl of your stand mixer fitted with the paddle attachment, beat the 16 oz (450g) of softened cream cheese and 1 cup (225g) of softened butter together on medium-high speed for 3 to 4 minutes, until very light, fluffy, and smooth.
- Reduce the speed to low and gradually add the 4 cups (480g) of sifted powdered sugar, about half a cup at a time, mixing well after each addition.
- Once all the powdered sugar is incorporated, add 2 teaspoons of vanilla extract and a pinch of fine salt.
- Increase the speed to medium-high and beat for another 2 minutes until the frosting is silky smooth, bright white, and holds its shape well.
- If the frosting seems too soft, refrigerate it for 15 to 20 minutes before using.
8. Assemble and Frost the Cake
- Place one cooled cake layer on a cake board or serving plate, flat side down.
- Add a generous dollop of cream cheese frosting to the center of the layer and spread it out evenly using an offset spatula, leaving about a half-inch border around the edges.
- Carefully place the second cake layer on top, flat side up for a level surface.
- Apply a thin, even layer of frosting all over the cake (the crumb coat) to seal in any loose crumbs. Refrigerate for 15 to 20 minutes until the crumb coat is firm.
- Apply the final, thick layer of frosting to the top and sides of the cake, smoothing it out with your offset spatula or bench scraper.
- Decorate as desired: swirls of extra frosting, crushed Oreos, dark sprinkles, or a simple dusting of black cocoa powder all look stunning.
Read Also: Orange Velvet Cake Recipe
Tips for Success
Getting a perfect black velvet cake the first time comes down to a few key techniques. These tips are pulled from the most common mistakes home bakers make with this specific recipe.
- Use actual black cocoa powder. Regular unsweetened cocoa or even dutch-process cocoa will not give you the same deep black color or unique flavor. Black cocoa is essential.
- Do not skip room temperature ingredients. Cold butter, eggs, or cream cheese will result in a lumpy frosting or an uneven cake batter. Set everything out at least an hour before you start.
- Do not overmix the batter. Once the wet and dry ingredients come together, mix only until no dry streaks remain. Overmixing develops the gluten and produces a tough, dense cake.
- Cool the cakes completely before frosting. Cream cheese frosting is sensitive to heat. If the cakes are even slightly warm, the frosting will melt and slide right off.
- Level your cake layers if needed. If the tops of your cakes have domed during baking, use a serrated knife to trim them flat before stacking. This makes for a more stable, professional-looking cake.
- Sift the powdered sugar. Skipping this step leads to lumpy frosting that is impossible to smooth out properly.
- Chill between frosting stages. The crumb coat step is not optional. It locks in crumbs and gives the final layer of frosting a clean surface to adhere to.
The same rule about room temperature cream cheese applies when making Cream Cheese Frosting for any cake.
Serving Suggestions
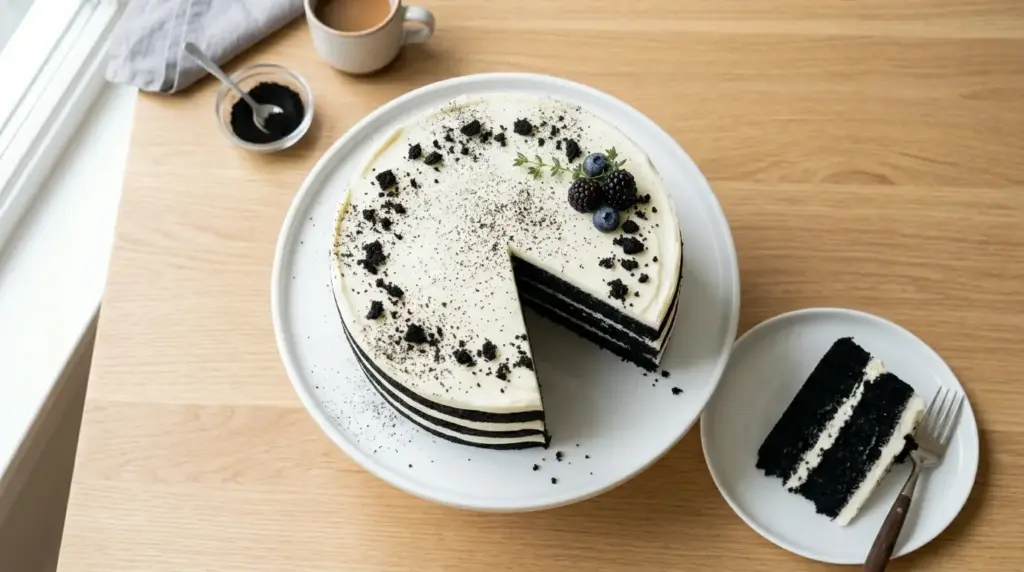
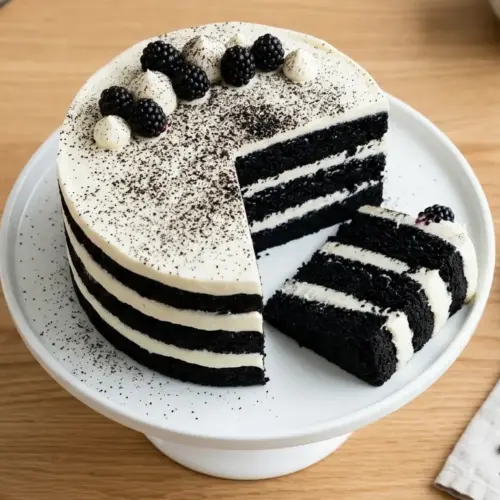
Black velvet cake is a showstopper on its own, but a few thoughtful serving touches make it even more memorable. The contrast of the jet-black cake against the white frosting is visually dramatic, so let the presentation speak for itself.
Here are some ideas for serving and presenting it beautifully:
- Serve thin slices, as this cake is rich. A 12-slice cut is plenty for most gatherings.
- Pair each slice with a small scoop of Vanilla Bean Ice Cream for a striking black-and-white dessert plate.
- Garnish plates with a light dusting of black cocoa powder or a drizzle of Chocolate Ganache for extra drama.
- Serve with hot coffee or espresso to complement the deep cocoa flavors.
- For Halloween, decorate with candy spiders, edible gold dust, or black and orange sprinkles for a seasonal touch.
Another festive showstopper worth making: Red Velvet Cheesecake
Variations to Try
Once you have mastered the base recipe, there are plenty of ways to put your own spin on it. These variations stay true to the spirit of the cake while offering a fresh take.
- Black Velvet Cupcakes. Divide the batter into a lined cupcake tin and bake at 350°F (175°C) for 18 to 22 minutes. Top with piped cream cheese frosting for an individual-sized treat.
- Black Velvet Bundt Cake. Pour the batter into a greased 10-inch bundt pan and bake for 50 to 60 minutes. Glaze with a simple vanilla or white chocolate drizzle.
- Chocolate Ganache Topping. Skip the cream cheese frosting and pour a glossy chocolate ganache over the cooled cake for an even more dramatic finish.
- Black Velvet Cake with Oreo Buttercream. Replace the cream cheese frosting with a crushed Oreo buttercream for an intensified Oreo flavor that pairs perfectly with the black cocoa.
- Three-Layer Version. Divide the batter into three 6-inch pans for a taller, more dramatic cake with extra layers of frosting between each tier.
- Black and White Marble Cake. Alternate spoonfuls of black velvet batter with a simple vanilla cake batter in the pans and swirl gently with a knife for a stunning marble effect.
For another stunning layer cake variation, try the Checkerboard Cake Recipe.
Storage and Reheating
Proper storage is essential for this cake, particularly because of the cream cheese frosting. Stored correctly, it stays moist and delicious for several days.
- Room temperature (unfrosted cake layers): Wrap cooled cake layers tightly in plastic wrap and store at room temperature for up to 2 days before assembling.
- Refrigerator (frosted cake): Once frosted, cover the cake loosely with plastic wrap or store in a cake carrier and refrigerate for up to 4 to 5 days. The cream cheese frosting must be kept cold.
- Freezer (unfrosted layers): Wrap cooled, unfrosted cake layers individually in plastic wrap and then in aluminum foil. Freeze for up to 3 months. Thaw overnight in the refrigerator before frosting.
- Freezer (frosted slices): Place individual slices on a baking sheet and freeze until solid, then wrap each slice in plastic wrap and store in a zip-top bag for up to 1 month.
- Before serving from the fridge: Let refrigerated cake sit at room temperature for 30 to 45 minutes before slicing. Cold cake is denser, and allowing it to come to room temp brings back the soft, tender texture.
Read Also: Chocolate Buttercream Frosting Recipe
Nutritional Facts
The values below are approximate and based on one slice of cake (1/12 of the whole cake, including frosting). They will vary depending on exact ingredient brands and slice size.
| Nutrient | Per Serving |
|---|---|
| Calories | 540 kcal |
| Total Fat | 29g |
| Saturated Fat | 14g |
| Cholesterol | 90mg |
| Sodium | 380mg |
| Total Carbohydrates | 67g |
| Dietary Fiber | 3g |
| Total Sugars | 51g |
| Protein | 6g |
| Calcium | 90mg |
| Iron | 2mg |
Nutritional values are estimates only and are not intended as medical or dietary advice.
You might also enjoy: Chocolate Cake Recipe
Health Benefits of Key Ingredients
While this is certainly an indulgent dessert, a few of its core ingredients do bring some genuine nutritional value to the table.
It is worth knowing what is actually in your slice, even when you are treating yourself.
- Black cocoa powder is rich in flavonoids, a type of antioxidant found in cocoa that has been associated with heart health and reduced inflammation. It also contributes trace amounts of iron and magnesium.
- Eggs provide high-quality complete protein and are one of the best dietary sources of choline, a nutrient important for brain health and liver function.
- Buttermilk is lower in fat than regular whole milk and contains beneficial probiotics from the fermentation process, which can support gut health.
- Coffee (used to bloom the cocoa) brings its own set of antioxidants, and the small amount used in this recipe adds depth of flavor without a noticeable caffeine kick in each slice.
- Cream cheese contributes calcium and fat-soluble vitamins A and D, both of which are important for bone health and immune function.
Read Also: Vanilla Buttercream Frosting Recipe
Frequently Asked Questions
1. What is the difference between black velvet cake and chocolate cake?
Black velvet cake uses a much smaller amount of cocoa powder than a traditional chocolate cake, and it specifically uses black cocoa, which has a different flavor profile. It also relies on buttermilk and vinegar for moisture and texture, which a standard chocolate cake typically does not include. The result is a lighter, more tender crumb with a smoother, milder cocoa flavor rather than the bold bitterness of a dark chocolate cake.
2. Can I use regular cocoa powder instead of black cocoa?
You can, but the cake will not be black. Regular unsweetened cocoa will give you a medium brown cake, while dutch-process cocoa will give a slightly darker brown. If you want the dramatic black color, black cocoa powder is essential. In a pinch, you can use dutch-process cocoa and add a small amount of black gel food coloring to achieve a closer color.
3. Why do I add vinegar to the batter?
The vinegar reacts with the baking soda to create carbon dioxide, which gives the cake its rise. It also helps tenderize the crumb and adds a subtle tanginess that balances the sweetness. Combined with the buttermilk, it creates that signature soft, velvety texture the cake is named for. You will not taste the vinegar in the finished cake at all.
4. Can I make this cake without coffee?
Yes. Hot water works as a direct substitute for the hot coffee in equal amounts. The coffee does not make the cake taste like coffee, it simply deepens the flavor of the cocoa and makes it more complex. If you use hot water instead, the cake will still be delicious, just with a slightly less intense cocoa flavor.
5. How far in advance can I bake the cake layers?
The unfrosted cake layers can be baked up to 2 days in advance and stored tightly wrapped at room temperature. You can also freeze the unfrosted layers for up to 3 months. Assemble and frost the cake the day you plan to serve it, or up to 24 hours ahead. The frosted cake should always be refrigerated.
For another make-ahead-friendly layer cake, check out the Carrot Cake with Cream Cheese Frosting Recipe.
Black Velvet Cake

Equipment
- 8-inch or 9-inch round cake pans - at least 2 inches deep, two matching pans
- Parchment paper
- Stand mixer or hand mixer
- Large mixing bowls - two
- Medium mixing bowl
- Whisk
- Rubber spatula
- Wire cooling rack
- Offset spatula - for frosting
- Sifter or fine-mesh sieve
- Measuring cups and spoons
- cake turntable - optional but helpful for decorating
- Bench scraper - optional, for smooth frosting finish
- Serrated knife - optional, for leveling cake layers
Ingredients
For the Cake Layers
- 2 cups all-purpose flour - 250g
- 3/4 cup black cocoa powder - 75g
- 2 cups granulated sugar - 400g
- 2 teaspoons baking powder
- 1 teaspoon baking soda
- 1 teaspoon fine salt
- 1 cup buttermilk - 240ml, room temperature
- 1/2 cup vegetable oil - 120ml
- 2 large eggs - room temperature
- 1 teaspoon white vinegar
- 2 teaspoons pure vanilla extract
- 1 cup hot brewed coffee - 240ml, or hot water
For the Cream Cheese Frosting
- 16 oz full-fat cream cheese - 450g, softened, block style, not spreadable
- 1 cup unsalted butter - 225g, softened
- 4 cups powdered sugar - 480g, sifted
- 2 teaspoons pure vanilla extract
- pinch of fine salt
For Decoration (Optional)
- crushed Oreo cookies
- dark sprinkles
- black cocoa powder - for dusting
- Vanilla Bean Ice Cream - for serving
Instructions
- Preheat oven to 350°F (175°C) with rack in center. Grease two 8-inch round cake pans, line bottoms with parchment, grease parchment, and dust with black cocoa or flour.
- In a large bowl, whisk together flour, black cocoa, sugar, baking powder, baking soda, and salt until evenly combined.
- In a separate bowl, whisk buttermilk, oil, eggs, vinegar, and vanilla until smooth and fully combined.
- Pour wet ingredients into dry ingredients and mix on low until just combined, about 1 minute. Slowly pour in hot coffee and mix until incorporated; batter will be thin.
- Divide batter evenly between prepared pans. Tap pans on counter to release air bubbles. Bake for 30 to 35 minutes until a toothpick comes out clean.
- Cool cakes in pans on a wire rack for 15 minutes. Run a knife around edges, invert onto rack, remove parchment, and cool completely, about 1 hour.
- In a stand mixer with paddle attachment, beat cream cheese and butter on medium-high until light and fluffy, 3 to 4 minutes. Gradually add sifted powdered sugar, then vanilla and salt. Beat until silky smooth.
- Place one cooled cake layer on a plate, flat side down. Spread frosting over it, top with second layer. Apply a thin crumb coat, chill 15 minutes, then add final layer of frosting. Decorate as desired.
Notes
- Use actual black cocoa powder, not regular unsweetened or dutch-process cocoa. It is essential for the deep black color and distinctive Oreo-like flavor.
- All dairy ingredients must be at room temperature. Cold eggs or cream cheese will result in lumpy frosting or uneven cake texture. Set everything out at least one hour before starting.
- Do not overmix the batter after adding flour. Mix only until no dry streaks remain to avoid developing gluten and creating a tough, dense cake.
- The hot coffee is essential for blooming the black cocoa, deepening both color and flavor. Hot water works as a substitute but will produce a slightly less intense chocolate taste.
- Cool the cakes completely before frosting. Cream cheese frosting is heat-sensitive and will melt and slide off warm cake layers.
- Level your cake layers with a serrated knife if they have domed during baking for a more professional look and stable stacking.
- Sift the powdered sugar for the frosting to prevent lumps. Skipping this step will result in a lumpy frosting that is impossible to smooth properly.
- Do not skip the crumb coat step. It locks in crumbs and provides a clean surface for the final layer of frosting.
- Frosted cake should be refrigerated and can be made up to 24 hours in advance. Let it sit at room temperature for 30-45 minutes before serving for the best texture.
- Unfrosted cake layers can be baked up to 2 days ahead and stored tightly wrapped at room temperature, or frozen for up to 3 months.
Final Thoughts
This black velvet cake recipe is one of those recipes that genuinely rewards the effort you put into it.
The combination of deep, matte black layers and bright white cream cheese frosting is visually stunning, and the flavor is unlike any other cake you will make.
It has all the comfort of a classic velvet cake, with an edge that makes it feel truly special.
If you try this recipe, drop a comment below and let me know how it turned out for you.
Did you decorate it for Halloween, a birthday, or just because you felt like making something dramatic on a Tuesday? We want to hear about it.
Recommended:
- Red Velvet Cake Recipe with Cake Mix
- Lemon Velvet Cake Recipe
- Moist Chocolate Cake Recipe
- Easy Chocolate Cake Recipe
- Best Carrot Cake Recipe
- Italian Cream Cake Recipe
- Tres Leches Cake Recipe
- Coconut Cake Recipe
- Marble Cake Recipe
- Pastry Cream Recipe



