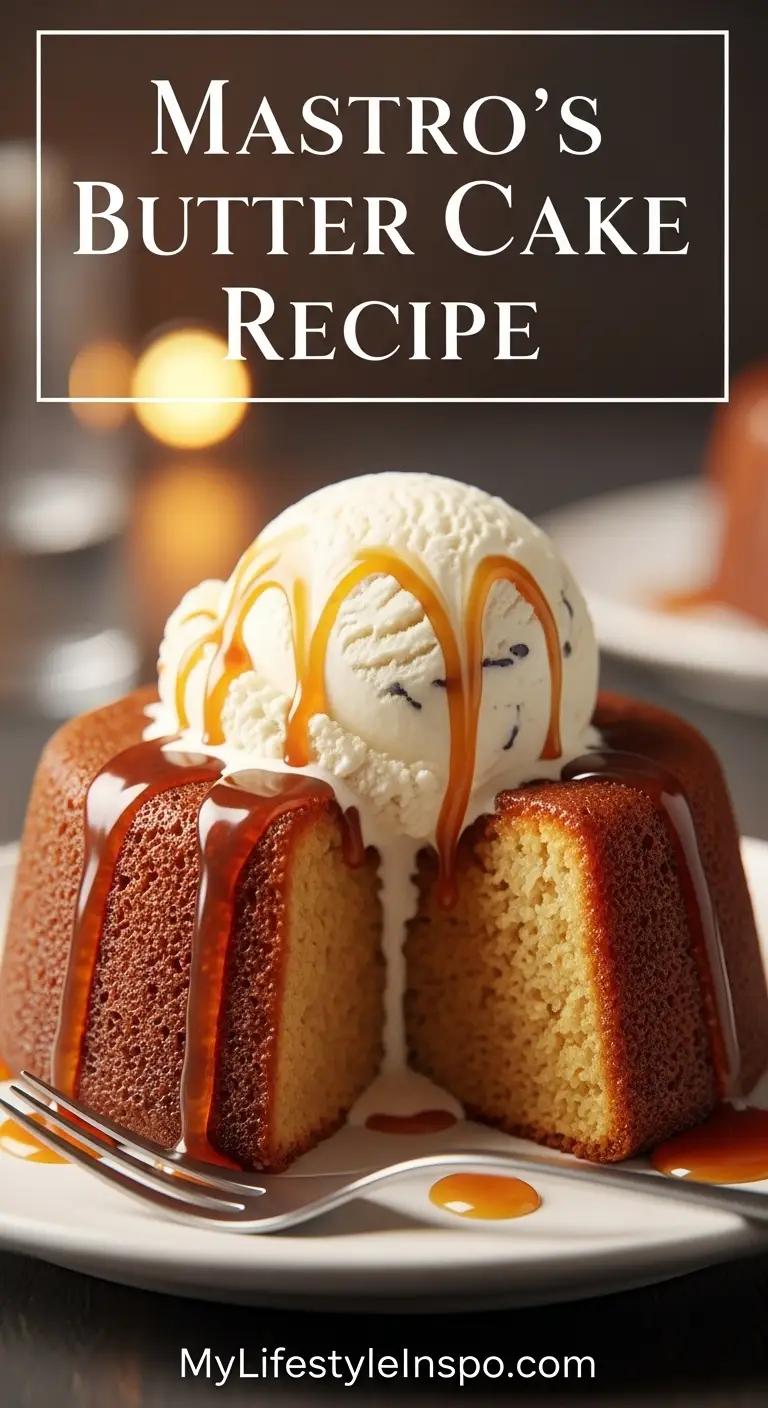
If you’ve ever dined at Mastro’s Steakhouse, you know their signature butter cake is the stuff of legend. This decadent dessert features a warm, buttery cake with a molten center, topped with vanilla ice cream and a luscious caramel sauce.
Now you can recreate this iconic mastro’s butter cake recipe at home without needing a reservation at one of the most exclusive steakhouses in the country.
What makes this dessert so irresistible is the contrast of textures and temperatures. The cake has crispy, caramelized edges that give way to a soft, nearly molten interior. When you top it with cold vanilla ice cream, the combination creates an unforgettable experience. The butter and vanilla flavors shine through, while the caramel sauce adds a deep, rich sweetness that balances the entire dish.
This recipe might seem intimidating, but it’s surprisingly straightforward. The key is using high-quality butter and not overbaking the cake. You want that signature gooey center that makes Mastro’s version so famous.
The individual portions make this perfect for dinner parties or special occasions. Your guests will think you spent hours in the kitchen, but the reality is much simpler.
Why You’ll Love This Mastro’s Butter Cake Recipe
This dessert delivers restaurant-quality results that will impress anyone lucky enough to try it. The combination of warm cake and cold ice cream creates a contrast that’s simply divine. Unlike many complicated desserts, this one requires basic ingredients you likely already have in your pantry. The individual servings make plating elegant and portion control easy. Most importantly, that signature molten center is achievable at home with the right timing.
- Restaurant-quality indulgence: Recreate a $15+ steakhouse dessert for a fraction of the cost
- Perfect texture contrast: Crispy edges meet a gooey, buttery center
- Simple ingredients: No exotic or hard-to-find items required
- Impressive presentation: Individual ramekins look elegant and professional
- Make-ahead friendly: Prepare the batter in advance and bake when ready to serve
Another favorite: Sticky Toffee Pudding
Ingredients
The ingredient list is refreshingly short for such an impressive dessert. Each component plays a crucial role in creating the signature texture and flavor.
- 1 cup (226g) unsalted butter, plus extra for greasing
- 1 cup (200g) granulated sugar
- 4 large eggs, at room temperature
- 1 teaspoon vanilla extract
- 1 cup (125g) all-purpose flour
- 1/2 teaspoon salt
- Vanilla ice cream, for serving
- Caramel sauce, for drizzling
- Powdered sugar, for dusting (optional)
You might also enjoy: Malva Pudding
Kitchen Equipment Needed
Having the right tools ensures your butter cake turns out perfectly every time. The most important piece is the ramekins, which create those beautiful individual portions.
- 6 (6-ounce) ramekins
- Large mixing bowl
- Medium saucepan
- Whisk
- Rubber spatula
- Baking sheet
- Measuring cups and spoons
- Stand mixer or hand mixer (optional, but helpful)
Read Also: Bread Pudding
Recommended Products for This Recipe
These high-quality products will help you achieve the best results and make the preparation process smoother.
1. Le Creuset Stoneware Ramekins
These ceramic ramekins distribute heat evenly, ensuring your butter cakes bake uniformly with that perfect molten center. The durable construction means they’ll last for years of dinner parties. Plus, they transition beautifully from oven to table for an elegant presentation.
2. European-Style Cultured Butter
Using high-quality butter makes a noticeable difference in this recipe since butter is the star ingredient. European-style butter has a higher fat content and richer flavor than standard butter. This creates a more luxurious, velvety texture in your finished cake.
3. Nielsen-Massey Madagascar Bourbon Vanilla Extract
Pure vanilla extract elevates this dessert from good to extraordinary. This premium extract has a deep, complex flavor that synthetic versions simply can’t match. A little goes a long way in creating that authentic Mastro’s taste.
4. Ghirardelli Premium Caramel Sauce
A quality caramel sauce is essential for the final presentation. This thick, buttery sauce has the perfect consistency for drizzling and doesn’t contain artificial flavors. It complements the butter cake without overwhelming the delicate vanilla notes.
For a lighter option, try: Lemon Cheesecake
Step-by-Step Instructions
Follow these detailed steps to create the perfect Mastro’s-style butter cake at home. Precision and timing are everything for achieving that signature molten center.
1. Prepare Your Oven and Ramekins
- Preheat your oven to 375°F (190°C).
- Generously butter the inside of each ramekin, making sure to coat the bottom and sides completely.
- Place the buttered ramekins on a baking sheet for easier handling and even heat distribution.
- Set aside while you prepare the batter.
2. Melt the Butter
- Cut the butter into tablespoon-sized pieces for even melting.
- Place the butter in a medium saucepan over medium-low heat.
- Stir occasionally as it melts to prevent burning.
- Once fully melted, remove from heat and let cool for 5 minutes.
- The butter should be warm but not hot when added to the eggs.
3. Mix the Eggs and Sugar
- In a large mixing bowl, combine the eggs and granulated sugar.
- Using a whisk or electric mixer, beat the mixture on medium-high speed for 3-4 minutes.
- The mixture should become pale yellow and significantly increase in volume.
- It should fall in ribbons when you lift the whisk.
- This aeration is crucial for creating the cake’s light texture.
4. Add Vanilla and Melted Butter
- Pour the vanilla extract into the egg mixture and whisk to combine.
- Slowly drizzle the melted butter into the bowl while whisking constantly.
- Add the butter in a thin stream to prevent the eggs from scrambling.
- Continue whisking until the butter is fully incorporated and the mixture is smooth.
- The batter should be glossy and homogeneous.
5. Incorporate the Dry Ingredients
- In a separate bowl, whisk together the flour and salt.
- Sift the flour mixture over the wet ingredients in three additions.
- Gently fold after each addition using a rubber spatula, using a figure-eight motion.
- Stop folding as soon as no flour streaks remain visible.
- Overmixing will develop gluten and make the cakes tough instead of tender.
6. Fill the Ramekins
- Divide the batter evenly among the prepared ramekins.
- Fill each ramekin about three-quarters full to allow room for rising.
- Tap each ramekin gently on the counter to release any air bubbles.
- Wipe any batter from the rims for a cleaner presentation.
7. Bake the Cakes
- Place the baking sheet with ramekins in the preheated oven.
- Bake for 14-16 minutes, watching carefully.
- The edges should be golden brown and set, while the centers still jiggle slightly when gently shaken.
- A toothpick inserted halfway between the edge and center should come out with moist crumbs, not wet batter.
- Overbaking will result in a fully set cake without the signature molten center.
8. Serve Immediately
- Remove the ramekins from the oven and let cool for 2-3 minutes.
- Place a scoop of vanilla ice cream on top of each warm cake.
- Drizzle generously with caramel sauce.
- Dust with powdered sugar if desired.
- Serve immediately while the cake is warm and the ice cream is melting.
This pairs beautifully with Hot Fudge Sauce for chocolate lovers.
Tips for Success
These professional tips will help you nail the recipe every time and avoid common pitfalls.
- Room temperature eggs: Bring eggs to room temperature before starting. They’ll incorporate more easily and create better volume when beaten.
- Don’t skip the butter prep: Thoroughly buttering the ramekins prevents sticking and ensures easy serving.
- Watch the baking time: Oven temperatures vary, so start checking at 12 minutes. The difference between perfect and overbaked is just 2-3 minutes.
- Serve immediately: These cakes are best enjoyed straight from the oven when the center is still molten and gooey.
- Quality matters: Use real butter, not margarine, and pure vanilla extract for the best flavor.
Read Also: Chocolate Pudding
Serving Suggestions
This decadent dessert pairs beautifully with various accompaniments that enhance the buttery, caramel flavors. The warm-cold contrast is essential to the experience.
- Classic presentation: Top with vanilla bean ice cream and warm caramel sauce
- Chocolate variation: Add a drizzle of Hot Fudge Sauce alongside the caramel
- Fresh berries: Garnish with fresh raspberries or strawberries for a tart contrast
- Whipped cream: Add a dollop of freshly whipped cream instead of ice cream for a lighter option
- Coffee pairing: Serve with espresso or Hot Chocolate for the ultimate indulgent dessert course
- Wine pairing: A dessert wine like late harvest Riesling or tawny port complements the rich caramel notes
This technique works wonderfully in Sticky Toffee Pudding as well.
Variations to Try
Once you’ve mastered the classic version, these creative twists offer exciting new flavor profiles while maintaining the signature molten texture.
- Chocolate butter cake: Add 1/4 cup cocoa powder to the flour for a chocolate version
- Bourbon butter cake: Replace vanilla extract with 1 tablespoon bourbon for an adult twist
- Lemon butter cake: Add 2 teaspoons lemon zest and replace vanilla with lemon extract
- Espresso butter cake: Dissolve 1 tablespoon instant espresso powder in the melted butter
- Brown butter version: Brown the butter before cooling for a nutty, caramelized flavor
- Salted caramel: Sprinkle flaky sea salt over the caramel sauce before serving
Another favorite: Figgy Pudding
Storage and Reheating
While these cakes are best enjoyed fresh from the oven, you can prepare components ahead for easier entertaining.
- Unbaked batter: Fill ramekins, cover with plastic wrap, and refrigerate for up to 24 hours. Add 2-3 minutes to baking time if baking from cold.
- Baked cakes: Store leftover baked cakes covered in the refrigerator for up to 2 days.
- Reheating: Microwave individual cakes for 15-20 seconds or warm in a 350°F oven for 5 minutes.
- Freezing: Not recommended, as the texture suffers when frozen and thawed.
- Caramel sauce: Homemade caramel sauce keeps refrigerated for 2 weeks. Reheat gently before serving.
You might also enjoy: Vanilla Pudding
Nutritional Facts
Per serving (1 butter cake without ice cream and caramel sauce):
- Calories: 420
- Total Fat: 28g
- Saturated Fat: 17g
- Cholesterol: 185mg
- Sodium: 240mg
- Total Carbohydrates: 38g
- Dietary Fiber: 1g
- Sugars: 25g
- Protein: 6g
Note: Nutritional information is approximate and will vary based on specific ingredients used and portion sizes. Adding ice cream and caramel sauce will increase calories and sugar content.
Read Also: Banana Pudding
Health Benefits of Key Ingredients
While this is definitely an indulgent dessert, some of the core ingredients do offer nutritional benefits worth noting.
Eggs: Eggs provide high-quality protein and essential nutrients including vitamin D, B vitamins, and choline which supports brain health. The yolks contain lutein and zeaxanthin, antioxidants important for eye health. Each egg contributes about 6 grams of protein and various minerals.
Butter: When consumed in moderation, butter provides fat-soluble vitamins A, D, E, and K. It contains conjugated linoleic acid (CLA), which some studies suggest may have health benefits. Butter also provides quick energy through its medium-chain triglycerides.
Vanilla: Real vanilla extract contains small amounts of antioxidants and has been studied for potential anti-inflammatory properties. While used in small quantities, pure vanilla adds flavor without additional calories or sugar.
This pairs wonderfully with Rice Pudding for a comfort food menu.
Frequently Asked Questions
1. Can I make these butter cakes ahead of time?
Yes, you can prepare the batter and fill the ramekins up to 24 hours in advance. Cover them tightly with plastic wrap and refrigerate. When ready to bake, let them sit at room temperature for 10 minutes, then add 2-3 minutes to the baking time since they’ll be cold from the refrigerator.
2. Why is my butter cake not gooey in the center?
The most common reason is overbaking. The cakes continue cooking from residual heat even after removing from the oven, so they should still jiggle slightly in the center when you take them out. Every oven is different, so start checking at 12 minutes and watch carefully.
3. Can I use salted butter instead of unsalted?
You can, but you’ll need to reduce or omit the added salt in the recipe. Unsalted butter gives you better control over the final saltiness. For the best results and most authentic Mastro’s flavor, stick with unsalted butter.
4. What size ramekins work best for this recipe?
Six-ounce ramekins are ideal for this recipe. If you use smaller 4-ounce ramekins, you’ll get 8 servings and should reduce baking time by 2-3 minutes. Larger 8-ounce ramekins will need an extra 2-4 minutes of baking time.
5. Can I make one large cake instead of individual portions?
While individual ramekins are traditional, you can bake this in an 8-inch round cake pan. Increase the baking time to 25-30 minutes, checking for doneness around 22 minutes. The edges should be set while the center remains soft.
Read Also: Chia Seed Pudding
Mastro’s Butter Cake
Equipment
- 6-ounce ramekins - Set of 6; ceramic preferred for even heat distribution
- Large mixing bowl
- Medium saucepan - For melting butter
- Whisk
- Rubber spatula
- Baking sheet - For holding ramekins during baking
- Measuring cups and spoons
- Stand mixer or hand mixer - (optional) helpful for beating eggs and sugar
Ingredients
Cake Batter
- 1 cup unsalted butter - 226g; plus extra for greasing ramekins
- 1 cup granulated sugar - 200g
- 4 large eggs - at room temperature
- 1 tsp vanilla extract - pure; not imitation
- 1 cup all-purpose flour - 125g
- 1/2 tsp salt
For Serving
- vanilla ice cream - 1 scoop per serving
- caramel sauce - for drizzling
- powdered sugar - optional; for dusting
Instructions
- Preheat your oven to 375°F (190°C). Generously butter the inside of each ramekin, coating the bottom and sides completely, then place them on a baking sheet.
- Melt the butter in a medium saucepan over medium-low heat, stirring occasionally. Remove from heat and let cool for 5 minutes until warm but not hot.
- In a large bowl, whisk together the eggs and sugar on medium-high speed for 3–4 minutes until the mixture is pale yellow, increased in volume, and falls in ribbons from the whisk.
- Whisk in the vanilla extract, then slowly drizzle in the melted butter in a thin stream while whisking constantly until fully incorporated and smooth.
- Whisk together the flour and salt, then sift over the wet ingredients in three additions, gently folding with a rubber spatula after each addition just until no flour streaks remain — do not overmix.
- Divide the batter evenly among the prepared ramekins, filling each about three-quarters full. Tap gently on the counter to release air bubbles and wipe the rims clean.
- Bake for 14–16 minutes until the edges are golden and set but the centers still jiggle slightly when gently shaken. Start checking at 12 minutes, as overbaking will eliminate the molten center.
- Let cakes cool for 2–3 minutes, then top each with a scoop of vanilla ice cream, a generous drizzle of caramel sauce, and an optional dusting of powdered sugar. Serve immediately.
Notes
- Room temperature eggs: Let eggs sit out for 30 minutes before starting — they’ll incorporate more easily and create better volume when beaten.
- Use quality butter: Since butter is the star ingredient, European-style cultured butter with higher fat content will produce a noticeably richer, more luxurious result.
- Watch the bake time closely: Ovens vary — the difference between perfect and overbaked is just 2–3 minutes. Always start checking at 12 minutes.
- Don’t skip buttering the ramekins: Thorough greasing prevents sticking and ensures a clean presentation when serving.
- Make ahead: Fill ramekins, cover with plastic wrap, and refrigerate up to 24 hours. Let sit at room temperature 10 minutes before baking, and add 2–3 minutes to bake time.
- Salted butter substitute: If using salted butter, omit the added salt in the recipe to avoid an overly salty result.
- Ramekin size matters: This recipe is calibrated for 6-oz ramekins. Use 4-oz ramekins for 8 smaller portions (reduce bake time by 2–3 min), or 8-oz for larger portions (add 2–4 min).
- One large cake option: Bake in an 8-inch round pan at 375°F for 25–30 minutes, checking for doneness around 22 minutes.
- Reheating leftovers: Microwave baked cakes for 15–20 seconds or warm in a 350°F oven for 5 minutes. Freezing is not recommended.
- Flavor variations: Try swapping vanilla for 1 tbsp bourbon, 2 tsp lemon zest + lemon extract, or 1 tbsp dissolved espresso powder for exciting twists on the classic.
Final Thoughts
This mastro’s butter cake recipe brings the magic of fine dining straight to your kitchen. The combination of crispy edges, molten center, and cold ice cream creates an unforgettable dessert experience that rivals any upscale steakhouse.
Don’t be intimidated by the restaurant pedigree of this dessert. With quality ingredients and careful attention to baking time, you’ll achieve professional results that will have your guests asking for the recipe. Give it a try for your next special occasion and watch it become your new signature dessert.
Recommended:
- Dirt Pudding
- Brownie Pudding
- Corn Pudding
- Yorkshire Pudding
- Hot Fudge Cake
- Fudge Brownie
- Chocolate Souffle
- New York Cheesecake
- Tres Leches Cake
- Peach Cobbler


