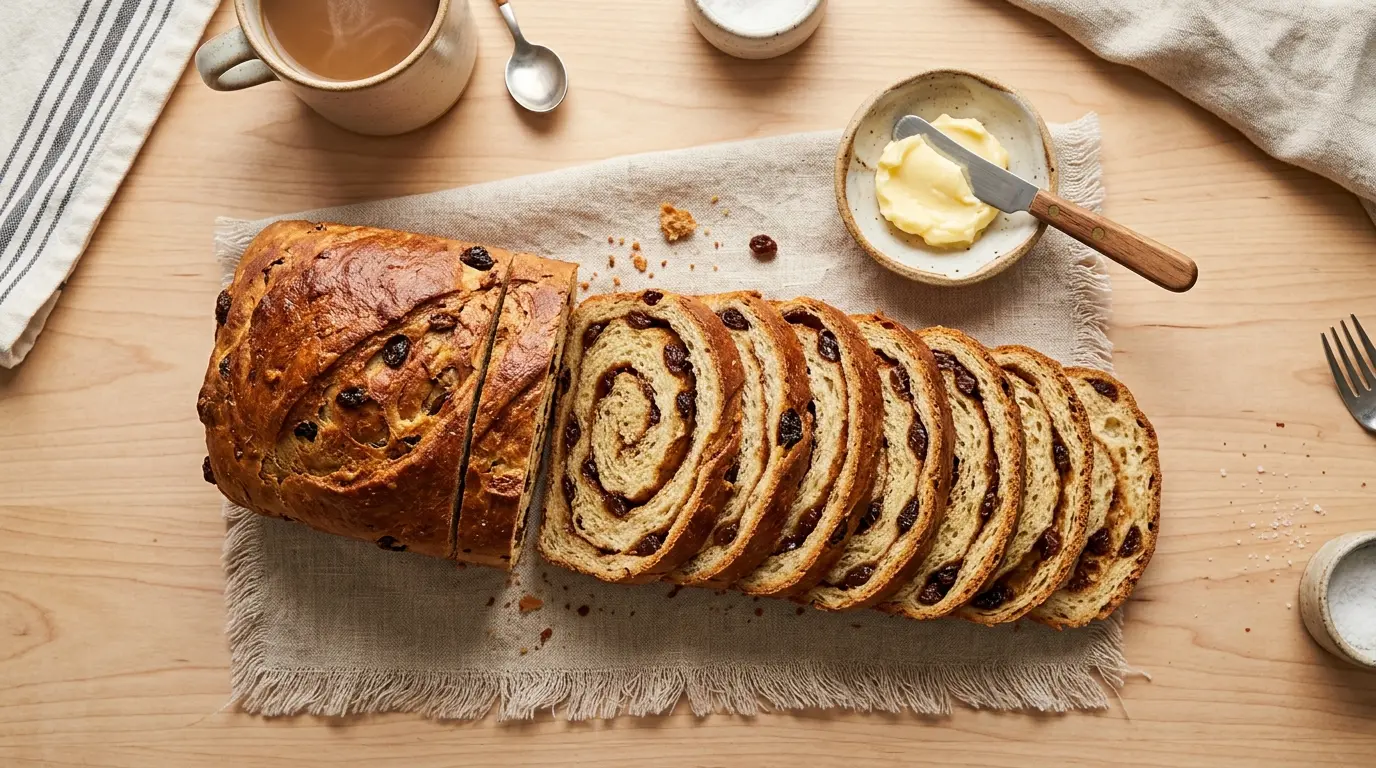
Few homemade bakes hit the way a fresh loaf of cinnamon raisin bread does. The warm, spiced aroma fills the kitchen before the bread even comes out of the oven, and that first slice, still slightly warm with a pat of softened butter melting into every crevice, is something worth looking forward to all morning.
This cinnamon raisin bread recipe produces a tall, beautifully swirled loaf with a pillowy soft crumb and plump, sweet raisins scattered throughout. It uses an enriched yeast dough, which means milk, butter, and a touch of sugar go into the mix, giving you bread that is tender and slightly sweet without crossing into cake territory.
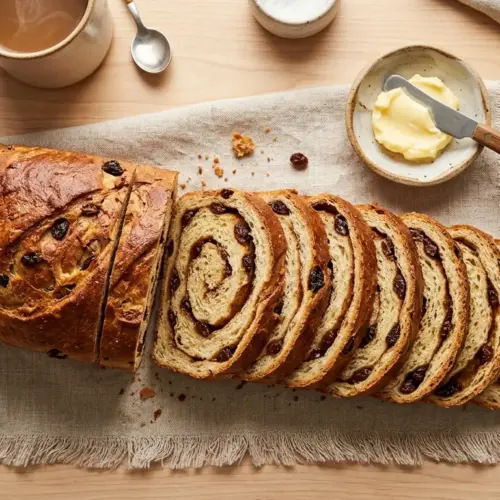
The cinnamon swirl is applied before rolling up the dough, creating that gorgeous spiral you see in every slice. Getting a tight, gap-free swirl is all about rolling the dough firmly and keeping it moist enough before it goes into the pan.
This recipe yields one standard 9×5 inch loaf, perfect for a family breakfast, gifting to a neighbor, or simply slicing away over the course of a week.
You might also love this Apple Cinnamon Bread if you enjoy warm, spiced loaves with added fruit flavor.
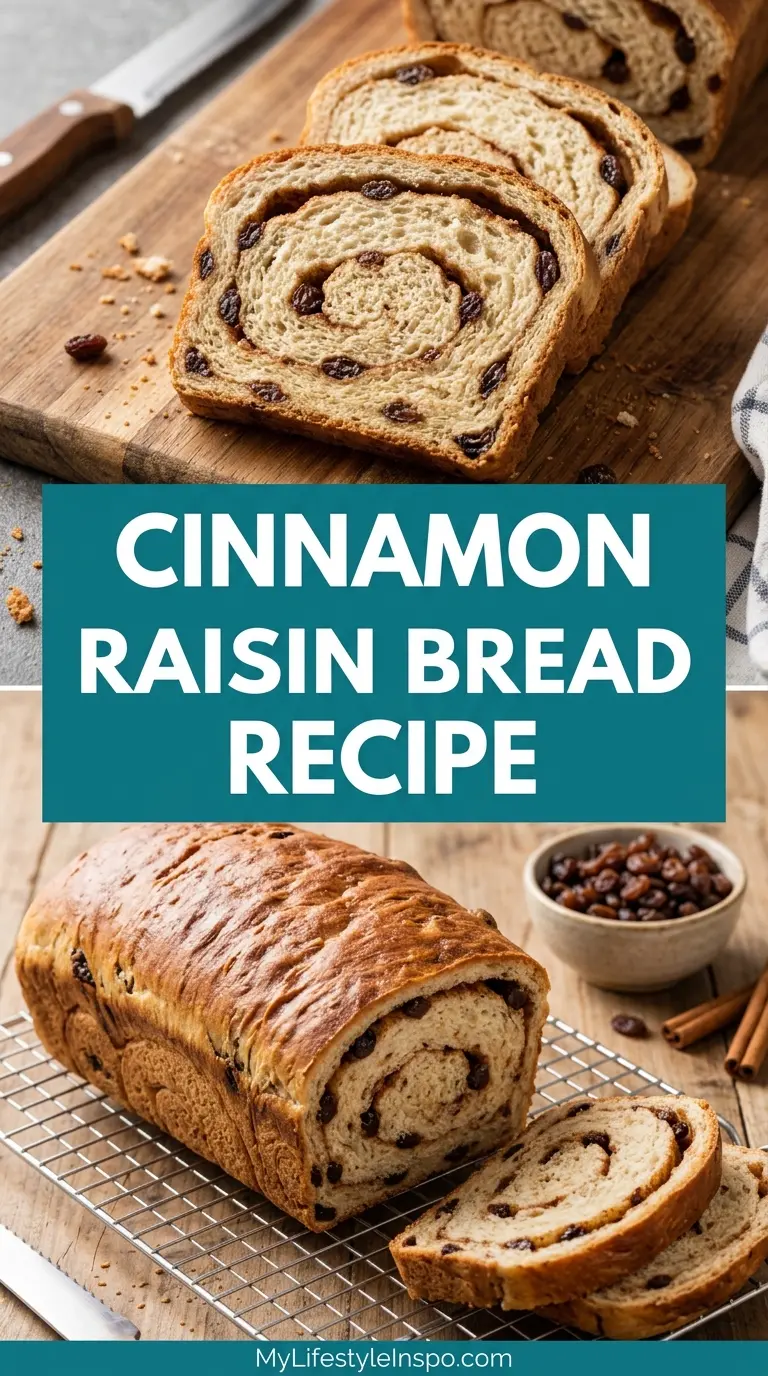
Why You’ll Love This Cinnamon Raisin Bread Recipe
Homemade bread can feel intimidating, but this recipe is actually approachable for beginners.
The steps are clear and easy to follow, the ingredients are pantry staples, and the two-rise process does most of the work while you go about your day.
The swirl is the visual star here. Every slice reveals a beautiful ribbon of cinnamon sugar running through the soft, golden crumb.
It also keeps well. Wrapped properly, this loaf stays soft for up to five days at room temperature, making it an excellent make-ahead option for busy weekday mornings.
It is endlessly versatile. Toast it with butter, use it for French toast, pair it with cream cheese, or simply eat it plain straight from the cutting board.
The raisins add natural sweetness and a chewy, plump texture in every bite. Soaking them briefly in warm water before adding them to the dough keeps them moist and prevents them from drying out during baking.
It also makes the whole house smell incredible. That buttery cinnamon fragrance while the loaf is baking is reason enough to make it on a weekend morning.
For another cozy, fruit-studded loaf to add to your rotation, check out this Date Nut Bread.
Ingredients
You only need a handful of simple ingredients to make this loaf, and most of them are likely already in your kitchen. The enriched dough relies on milk and butter for softness, while the cinnamon sugar filling creates that classic swirl.
For the dough:
- 3 cups (360g) all-purpose flour or bread flour, plus more for kneading
- 2 1/4 teaspoons (7g / 1 packet) active dry yeast
- 3/4 cup (180ml) whole milk, warmed to 110F (43C)
- 1/4 cup (60ml) warm water, about 110F (43C)
- 3 tablespoons (38g) granulated sugar
- 1 1/2 teaspoons fine salt
- 3 tablespoons (42g) unsalted butter, softened
- 1 large egg, room temperature
- 1 cup (150g) raisins (dark, golden, or a mix)
For soaking the raisins:
- 1 cup (240ml) hot water (for soaking only, discarded after)
For the cinnamon swirl:
- 1/4 cup (50g) granulated sugar
- 1/4 cup (50g) brown sugar, packed
- 2 teaspoons ground cinnamon
- 1 tablespoon unsalted butter, melted (for brushing the dough)
For the top (optional):
- 1 tablespoon milk or water (egg wash substitute)
- 1 teaspoon cinnamon sugar
Another enriched dough that is wonderful to bake at home is this traditional Challah, made with eggs and oil for a rich, braided loaf.
Kitchen Equipment Needed
You do not need any fancy equipment for this recipe. A stand mixer with a dough hook makes the kneading effortless, but hand-kneading works just as well if you prefer.
- Stand mixer with dough hook (or large mixing bowl for hand kneading)
- 9×5 inch loaf pan
- Rolling pin
- Small bowl (for soaking raisins)
- Medium bowl (for cinnamon sugar filling)
- Pastry brush or spoon (for brushing melted butter)
- Clean kitchen towel or plastic wrap (for covering dough during rise)
- Wire cooling rack
- Instant-read thermometer (highly recommended for checking internal bread temperature)
- Bench scraper (optional but helpful for handling dough)
For another soft, pillowy loaf that uses a similar enriched dough technique, take a look at this Brioche.
Recommended Products for This Recipe
These are products that truly make a difference when baking homemade bread. Each one solves a common pain point and is worth the investment if you bake regularly.
1. USA Pan Aluminized Steel Loaf Pan (9×5 Inch)
USA Pan’s loaf pans have a corrugated surface and a silicone coating that ensure even baking and effortless release. Your bread will come out with a consistent golden crust and a perfectly shaped loaf every single time. This is one of the most recommended bakeware brands among home bread bakers.
2. KitchenAid 5-Quart Tilt-Head Stand Mixer
Kneading bread dough by hand for 8 to 10 minutes is a workout. A stand mixer with a dough hook cuts that effort entirely and produces a smooth, elastic dough with consistent results. The 5-quart bowl handles a standard loaf recipe with room to spare.
3. Frontier Co-Op Ceylon Cinnamon (Ground)
Ceylon cinnamon has a softer, more complex flavor compared to the more common Cassia cinnamon. It makes a noticeable difference in the quality of the cinnamon swirl filling, with a subtler sweetness and a more delicate warmth that does not overpower the bread.
4. Sun-Maid California Sun-Dried Raisins
Quality raisins matter more than people think. Sun-Maid’s California raisins are consistently plump, moist, and flavorful. They absorb the soaking water beautifully and stay tender all the way through baking without shriveling or hardening.
5. Thermapen ONE Instant-Read Thermometer
Knowing when your bread is actually done is the key to avoiding an underbaked, gummy center. An instant-read thermometer takes the guesswork out entirely. Cinnamon raisin bread is ready when the internal temperature hits 190F to 200F (88C to 93C).
For a similarly soft and versatile everyday loaf, this Sandwich Bread is a great one to try next.
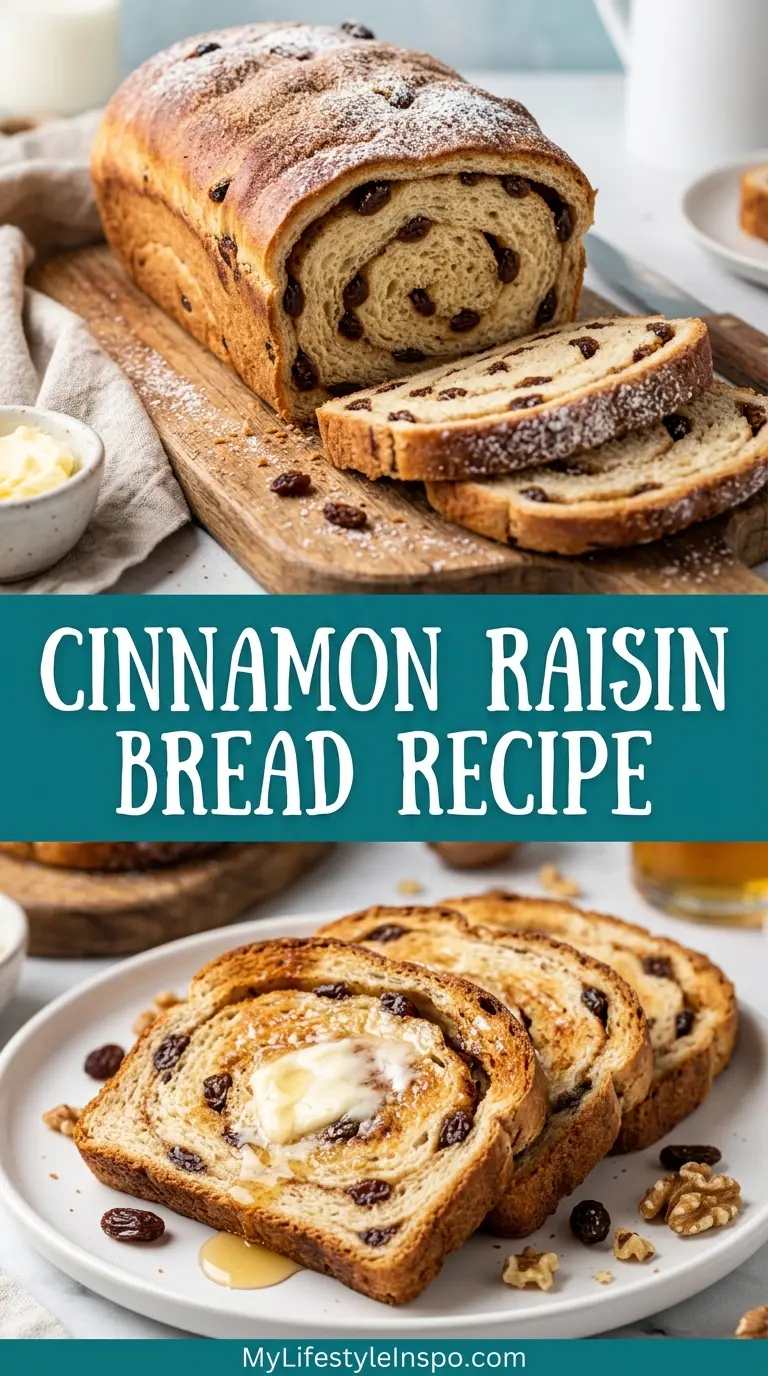
Step-by-Step Instructions
Step 1: Soak the Raisins
- Place the raisins in a small bowl and pour the hot water over them.
- Let them soak for at least 15 minutes. This rehydrates them so they stay plump and moist throughout baking, rather than drying out or pulling moisture from the dough.
- After soaking, drain them thoroughly in a fine mesh sieve or colander and pat them dry with a paper towel. Set aside.
Step 2: Activate the Yeast
- Combine the warm water (110F / 43C) and a pinch of the granulated sugar in a small bowl or measuring cup.
- Sprinkle the active dry yeast over the top and stir gently once to combine.
- Let the mixture stand for 5 to 10 minutes, until it becomes foamy and fragrant. This step confirms your yeast is active. If no foam appears after 10 minutes, your yeast may be expired, and the bread will not rise properly. Start fresh with a new packet.
Step 3: Mix the Dough
- Warm the whole milk in a small saucepan over low heat or in the microwave in 20-second bursts until it reaches 110F (43C). It should feel warm to the touch but not hot.
- In the bowl of a stand mixer fitted with the dough hook, combine the warm milk, activated yeast mixture, remaining granulated sugar, salt, softened butter, and the egg.
- Mix on low speed for about 30 seconds to begin combining the wet ingredients.
- Add the flour, one cup at a time, mixing on low speed after each addition until the flour is incorporated.
- Once all the flour has been added, increase the speed to medium and knead for 6 to 8 minutes, until the dough is smooth, elastic, and slightly tacky but not sticky.
- If kneading by hand, turn the dough out onto a lightly floured surface and knead firmly for 8 to 10 minutes, stretching and folding until smooth and supple.
Step 4: Add the Raisins
- With the mixer on low speed (or by hand), gradually add the drained, dried raisins to the dough.
- Knead for an additional 2 minutes until the raisins are evenly distributed throughout the dough. Some raisins may pop out and that is fine; just press them back in gently.
- The dough should be smooth, soft, and slightly tacky. Resist the urge to add too much extra flour, as a slightly sticky dough produces a softer loaf.
Step 5: First Rise
- Lightly oil a large bowl with neutral oil or cooking spray.
- Shape the dough into a ball and place it in the oiled bowl, turning it once so all sides are lightly coated.
- Cover the bowl tightly with plastic wrap or a clean, damp kitchen towel.
- Place the bowl in a warm, draft-free spot. A good trick is to turn your oven on for just one minute, then turn it off, and let the dough rise inside the slightly warm oven.
- Allow the dough to rise for 1 to 1.5 hours, or until it has doubled in size.
Step 6: Make the Cinnamon Sugar Filling
- While the dough rises, combine the granulated sugar, brown sugar, and ground cinnamon in a small bowl.
- Stir until fully mixed. Set aside along with the tablespoon of melted butter.
Step 7: Shape the Loaf
- Lightly grease your 9×5 inch loaf pan and set it aside.
- Gently punch down the risen dough to release the air. Turn it out onto a lightly floured surface.
- Use a rolling pin to roll the dough into a rectangle roughly 9 inches wide (matching the width of your loaf pan) and about 12 to 14 inches long. Aim for an even thickness of about 1/4 inch.
- Brush the surface of the dough evenly with the melted butter, leaving a 1/2 inch border along the far edge so the filling does not spill out when you roll it.
- Sprinkle the cinnamon sugar mixture evenly over the buttered surface. Press it gently into the dough with your palms so it adheres.
- Starting from the short edge closest to you, roll the dough tightly and evenly into a log, like a jelly roll. Roll as tightly as you can to avoid air pockets and gaps in the swirl.
- Pinch the seam firmly along the bottom edge to seal it.
Step 8: Second Rise
- Place the shaped loaf seam-side down into the prepared loaf pan.
- Cover loosely with plastic wrap or a clean towel.
- Allow the dough to rise again for 45 minutes to 1 hour, until the loaf has risen 1 to 1.5 inches above the rim of the pan. This second rise is essential for a light, airy crumb.
- During the last 20 minutes of the second rise, preheat your oven to 350F (175C).
Step 9: Bake the Bread
- Just before baking, lightly brush the top of the risen loaf with milk or water for a golden crust. If desired, sprinkle a small amount of cinnamon sugar over the top.
- Place the loaf pan in the center rack of the preheated 350F (175C) oven.
- Bake for 35 to 40 minutes, until the top is deep golden brown and an instant-read thermometer inserted into the center of the loaf reads between 190F and 200F (88C to 93C).
- If the top is browning too quickly before the bread is fully baked, loosely tent it with aluminum foil for the remaining bake time.
Step 10: Cool and Slice
- Remove the loaf from the oven and let it cool in the pan for 10 minutes.
- Run a butter knife around the edges of the pan if needed, then turn the loaf out onto a wire cooling rack.
- Allow the bread to cool for at least 30 to 45 minutes before slicing. Cutting into it too early will result in a gummy, compressed interior, since the bread is still finishing its bake and setting its structure as it cools.
- Once cooled, slice with a sharp serrated bread knife and serve.
Looking for another delightful fruit-forward baked loaf? This Cranberry Orange Bread has a bright, tangy flavor that pairs beautifully with a morning coffee.
Tips for Success
A few key techniques separate a great loaf from an average one, and most of them are simple to apply once you know what to look for. The biggest mistakes beginners make are rushing the rise, adding too much flour, and not rolling the dough tightly enough.
- Do not skip soaking the raisins. Dry raisins pull moisture from the surrounding dough, which can lead to a loaf that dries out faster. A quick soak makes a real difference.
- Temperature matters for yeast. Water or milk that is too hot (above 120F / 49C) will kill the yeast. Too cold and it will not activate. Aim for 105F to 110F (40C to 43C) every time.
- Measure flour correctly. Scoop flour into your measuring cup with a spoon and level it off, or better yet, weigh it with a kitchen scale. Scooping directly with the cup packs in extra flour and leads to a dense loaf.
- Roll the dough tightly. The tighter you roll the log, the fewer gaps you will have in the swirl. Press gently as you roll to keep it snug.
- Do not add too much flour while kneading. A slightly tacky dough is normal and produces a softer loaf. Adding excess flour makes the bread stiff and dry.
- Let the second rise go until the dough crests above the pan rim. Under-proofed bread will be dense and may have a large crack on top. Patience pays off here.
- Check internal temperature, not just color. The bread will look golden well before it is fully baked through. An instant-read thermometer at 190F to 200F (88C to 93C) is the most reliable indicator of doneness.
For more foundational bread-making guidance, this Buttermilk Bread is another soft, beginner-friendly loaf worth exploring.
Serving Suggestions
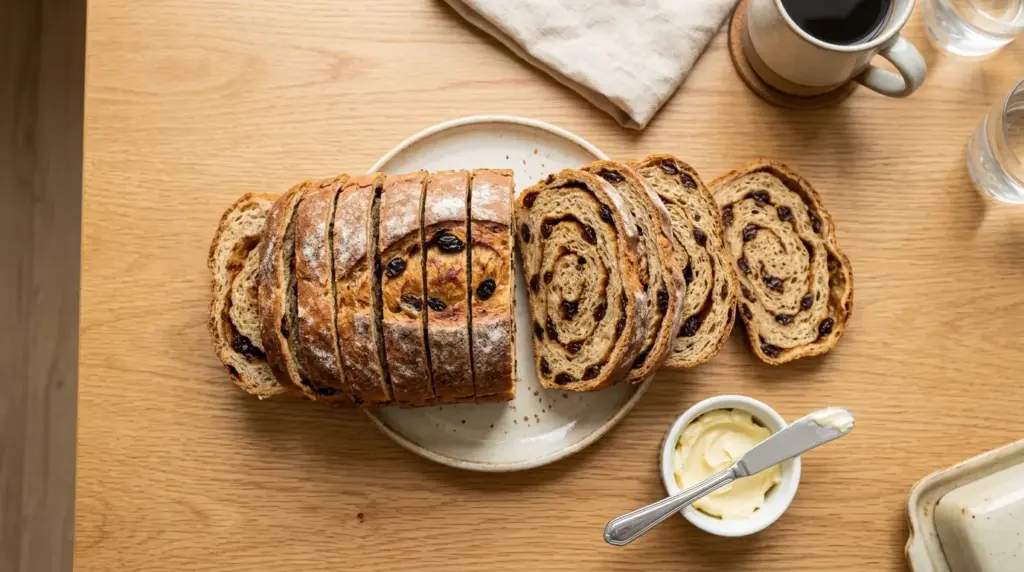
Cinnamon raisin bread is one of those rare baked goods that works equally well plain or dressed up. The natural sweetness of the raisins and the warm spice of the cinnamon swirl mean it does not need a lot of help, but the right pairing takes it somewhere special.
- Toasted with salted butter and a drizzle of honey for a simple but satisfying breakfast
- Spread with cream cheese frosting or plain cream cheese for an indulgent snack
- Used to make Brioche French Toast for a weekend brunch upgrade
- Layered with peanut butter and banana for a filling morning sandwich
- Served alongside a hot cup of coffee, chai, or spiced tea
- Cut into thick slices and used as the base for a baked French toast casserole
- Paired with sharp cheddar cheese for a sweet-savory combination that works surprisingly well
- Warmed briefly in the microwave for 10 to 15 seconds and served with a scoop of vanilla ice cream as a simple dessert
Variations to Try
This recipe is a wonderful base for customization. Once you have made it once or twice and feel comfortable with the process, there are many ways to put your own spin on it.
- Cinnamon swirl bread (no raisins): Simply omit the raisins. The enriched dough with its swirl is delicious completely on its own.
- Orange zest and raisin bread: Add the zest of one large orange to the dough along with the wet ingredients for a bright, citrusy note that complements the raisins beautifully.
- Nuts and raisins: Fold in 1/2 cup (60g) of toasted walnuts or pecans along with the raisins for added crunch and richness.
- Brown sugar cinnamon swirl: Use all brown sugar (1/2 cup / 100g packed) in the filling instead of a mix, for a deeper, more caramel-like swirl flavor.
- Whole wheat version: Replace up to half the all-purpose flour with whole wheat flour for a heartier loaf with more nutty depth. Note that the loaf will be slightly denser.
- Golden raisin variation: Swap the dark raisins for golden raisins, which have a milder, slightly floral sweetness and make for a lovely variation.
- Cardamom cinnamon swirl: Add 1/4 teaspoon of ground cardamom to the cinnamon sugar filling for a warmly spiced, slightly floral swirl.
For another creative bread variation with a mix-in approach, this Chocolate Chip Bread is a fun bake the whole family will enjoy.
Storage and Reheating
Homemade cinnamon raisin bread has no preservatives, so proper storage keeps it soft and fresh for as long as possible. The good news is it holds up very well for several days when stored the right way.
- Room temperature: Wrap the fully cooled loaf tightly in plastic wrap or beeswax wrap, then store in a bread bag or zip-lock bag with the air pressed out. It will stay soft for up to 4 to 5 days at room temperature.
- Refrigerator: The refrigerator is not recommended for storing this bread, as it speeds up staling. If your kitchen is very warm or humid, refrigerate in an airtight container for up to a week, but plan on toasting slices to revive them.
- Freezer: Cinnamon raisin bread freezes exceptionally well. Slice the cooled loaf and freeze the slices in a single layer on a baking sheet, then transfer to a freezer bag. Pull out individual slices as needed and toast straight from frozen. The bread keeps in the freezer for up to 3 months.
- Reheating: Toast slices in the toaster for the best texture. Alternatively, wrap a slice in a damp paper towel and microwave for 15 to 20 seconds for a soft, fresh-from-the-oven feel.
Read Also: Whole Wheat Bread Recipe
Nutritional Facts
The following is an approximate nutritional breakdown per slice, assuming the loaf yields 16 slices. Exact values will vary based on the specific ingredients and brands used.
| Nutrient | Per Slice (approx.) |
|---|---|
| Calories | 175 |
| Total Fat | 4g |
| Saturated Fat | 2g |
| Carbohydrates | 32g |
| Dietary Fiber | 1.5g |
| Sugars | 11g |
| Protein | 4g |
| Sodium | 200mg |
| Iron | 8% DV |
| Calcium | 3% DV |
These numbers reflect a moderate-calorie bread with a reasonable fat content from the butter and egg in the dough. The raisins contribute naturally occurring fruit sugars, and the bread provides a small amount of iron from the flour.
Another wholesome bread option to consider for everyday eating is this Multigrain Bread, which packs in more fiber and nutrients per slice.
Health Benefits of Key Ingredients
While cinnamon raisin bread is certainly a treat, several of its core ingredients offer real nutritional value worth noting.
This bread is made with whole, recognizable ingredients, without any of the additives or preservatives found in most commercially produced loaves.
- Cinnamon: Ground cinnamon is rich in antioxidants and has been studied for its potential to help regulate blood sugar levels. Even a small daily amount can contribute to overall antioxidant intake, and it adds significant flavor without adding calories or sodium.
- Raisins: Raisins are a concentrated source of natural fruit sugars, but they also provide iron, potassium, and antioxidants including resveratrol. They contribute dietary fiber and are a natural energy source. Just a small handful counts toward your daily fruit intake.
- Eggs: The egg in this dough adds protein, choline (important for brain health), and fat-soluble vitamins including A, D, and B12. It also contributes to the structure and moisture of the bread.
- Whole milk: Milk adds calcium, vitamin D, and protein to the dough. The fat in whole milk contributes to the soft, tender crumb characteristic of enriched breads.
- Butter: While butter is a saturated fat, in the moderate quantities used here it adds richness, flavor, and helps keep the crumb soft. The fat-soluble vitamins in butter, including A and K2, are also beneficial in small amounts.
For a cozy, warming breakfast that makes great use of wholesome pantry ingredients, this Baked Oatmeal is a wonderful companion recipe to bookmark.
Frequently Asked Questions
1. Can I use instant yeast instead of active dry yeast?
Yes, you can substitute instant yeast in a 1:1 ratio. The main difference is that instant yeast does not need to be proofed in warm water first. You can add it directly to the dry ingredients and then add the warm liquids. The rise times may be slightly shorter with instant yeast, so keep an eye on the dough rather than relying strictly on the clock.
2. Why did my cinnamon swirl have gaps or separate from the bread?
Gaps in the swirl usually happen because the dough was rolled too loosely or because moisture escaped between the layers during baking. To minimize gaps, roll the dough as tightly as possible, press it firmly as you go, and make sure the melted butter layer is not too thick. Pinching the seam well at the end also helps hold everything together.
3. My bread came out dense and did not rise much. What went wrong?
The most common culprits are inactive yeast, liquid that was too hot and killed the yeast, or a dough that was too cool during the rise. Always test your yeast by proofing it in warm water first. If it does not foam within 10 minutes, discard it and start with a fresh packet. Also make sure your kitchen is warm enough for the dough to rise. A cold kitchen can stall the rise significantly.
4. Can I make this dough the night before?
Yes. After the first rise, punch down the dough, shape the loaf, and place it in the greased loaf pan. Cover tightly with plastic wrap and refrigerate overnight. The next morning, remove the pan from the refrigerator and let it come to room temperature and complete its second rise before baking, which may take 1 to 2 hours depending on how cold your dough is. Then bake as directed.
5. Can I make this recipe without a stand mixer?
Absolutely. Combine all the ingredients in a large bowl and stir until a shaggy dough forms, then turn it out onto a lightly floured surface and knead by hand for 8 to 10 minutes. The dough should become smooth, soft, and elastic. It is a bit of a workout, but completely doable and many bakers actually prefer the hands-on approach.
For a delicious way to use day-old or slightly stale slices of this bread, try this Easy French Toast for a simple, crowd-pleasing breakfast.
Cinnamon Raisin Bread

Equipment
- Stand mixer with dough hook - or large mixing bowl for hand kneading
- 9×5-inch loaf pan
- Rolling Pin
- Small bowl - for soaking raisins
- Medium bowl - for cinnamon sugar filling
- Pastry brush or spoon - for brushing melted butter
- Clean kitchen towel or plastic wrap - for covering dough during rise
- Wire cooling rack
- Instant-read thermometer - highly recommended for checking internal bread temperature
- Bench scraper - optional but helpful for handling dough
Ingredients
- 3 cups all-purpose flour or bread flour - 360g, plus more for kneading
- 2 1/4 teaspoons active dry yeast - 7g / 1 packet
- 3/4 cup whole milk - 180ml, warmed to 110°F (43°C)
- 1/4 cup warm water - 60ml, about 110°F (43°C)
- 3 tablespoons granulated sugar - 38g
- 1 1/2 teaspoons fine salt
- 3 tablespoons unsalted butter - 42g, softened
- 1 large egg - room temperature
- 1 cup raisins - 150g, dark, golden, or a mix
For Soaking the Raisins
- 1 cup hot water - 240ml, for soaking only, discarded after
For the Cinnamon Swirl
- 1/4 cup granulated sugar - 50g
- 1/4 cup brown sugar - 50g, packed
- 2 teaspoons ground cinnamon
- 1 tablespoon unsalted butter - melted, for brushing the dough
For the Top (Optional)
- 1 tablespoon milk or water - egg wash substitute
- 1 teaspoon cinnamon sugar
Instructions
- Soak raisins in hot water for 15 minutes, then drain thoroughly and pat dry.
- Combine warm water and a pinch of sugar in a small bowl. Sprinkle yeast over top and let stand for 5-10 minutes until foamy.
- In a stand mixer bowl, combine warm milk, activated yeast mixture, remaining sugar, salt, softened butter, and egg. Add flour one cup at a time, mixing on low until incorporated. Knead on medium for 6-8 minutes until smooth and elastic.
- Add drained raisins to the dough and knead on low for 2 minutes until evenly distributed throughout.
- Shape dough into a ball and place in a lightly oiled bowl, turning to coat. Cover and let rise in a warm place for 1-1.5 hours until doubled in size.
- While dough rises, combine granulated sugar, brown sugar, and cinnamon in a small bowl. Set aside with melted butter.
- Punch down dough and roll into a 9×14 inch rectangle. Brush with melted butter, sprinkle with cinnamon sugar, and roll tightly into a log. Pinch seam to seal.
- Place shaped loaf seam-side down into a greased 9×5 inch loaf pan. Cover and let rise for 45 minutes to 1 hour until 1-1.5 inches above the rim.
- Preheat oven to 350°F (175°C) during the last 20 minutes of the second rise. Brush top with milk or water and sprinkle with cinnamon sugar if desired.
- Bake for 35-40 minutes until deep golden brown and internal temperature reaches 190-200°F (88-93°C). Tent with foil if browning too quickly.
- Cool in pan for 10 minutes, then turn out onto a wire cooling rack. Cool for at least 30-45 minutes before slicing with a serrated knife.
Notes
- Do not skip soaking the raisins. Dry raisins pull moisture from the surrounding dough, which can lead to a loaf that dries out faster. A quick soak makes a real difference.
- Temperature matters for yeast. Water or milk that is too hot (above 120°F / 49°C) will kill the yeast. Too cold and it will not activate. Aim for 105-110°F (40-43°C) every time.
- Measure flour correctly. Scoop flour into your measuring cup with a spoon and level it off, or better yet, weigh it with a kitchen scale. Scooping directly with the cup packs in extra flour and leads to a dense loaf.
- Roll the dough tightly. The tighter you roll the log, the fewer gaps you will have in the swirl. Press gently as you roll to keep it snug.
- Do not add too much flour while kneading. A slightly tacky dough is normal and produces a softer loaf. Adding excess flour makes the bread stiff and dry.
- Let the second rise go until the dough crests above the pan rim. Under-proofed bread will be dense and may have a large crack on top. Patience pays off here.
- Check internal temperature, not just color. The bread will look golden well before it is fully baked through. An instant-read thermometer at 190-200°F (88-93°C) is the most reliable indicator of doneness.
- For storage, wrap the fully cooled loaf tightly in plastic wrap and store in a bread bag at room temperature for up to 4-5 days. To freeze, slice the cooled loaf and freeze slices in a single layer, then transfer to a freezer bag for up to 3 months.
- For variations, try adding orange zest to the dough, swapping in golden raisins, adding 1/2 cup of toasted walnuts or pecans, or using all brown sugar in the filling for a deeper caramel flavor.
- This bread makes excellent French toast, and day-old slices are perfect for a baked French toast casserole.
Final Thoughts
Making cinnamon raisin bread from scratch is one of those kitchen experiences that feels deeply satisfying from start to finish. The process of watching the dough double in size, rolling up that cinnamon swirl, and pulling a gorgeous golden loaf out of the oven is deeply rewarding, no matter how many times you have done it.
This recipe is forgiving, flexible, and produces a loaf that tastes far better than anything from the grocery store shelf. Once you make it, it tends to become a regular weekend bake.
Give this cinnamon raisin bread recipe a try and let us know how it turned out in the comments below. We would love to hear your experience, whether you made it classic, added a twist, or served it up in a creative new way. Sharing photos or tips with other readers is always appreciated too.
Recommended:
- Apple Fritter Bread
- Lemon Blueberry Bread
- Monkey Bread
- Pumpkin Roll
- Sourdough Discard Cinnamon Rolls
- Banana Bread Pudding
- No Knead Bread
- Irish Soda Bread
- Classic Zucchini Bread
- Old Fashioned Pumpkin Bread



