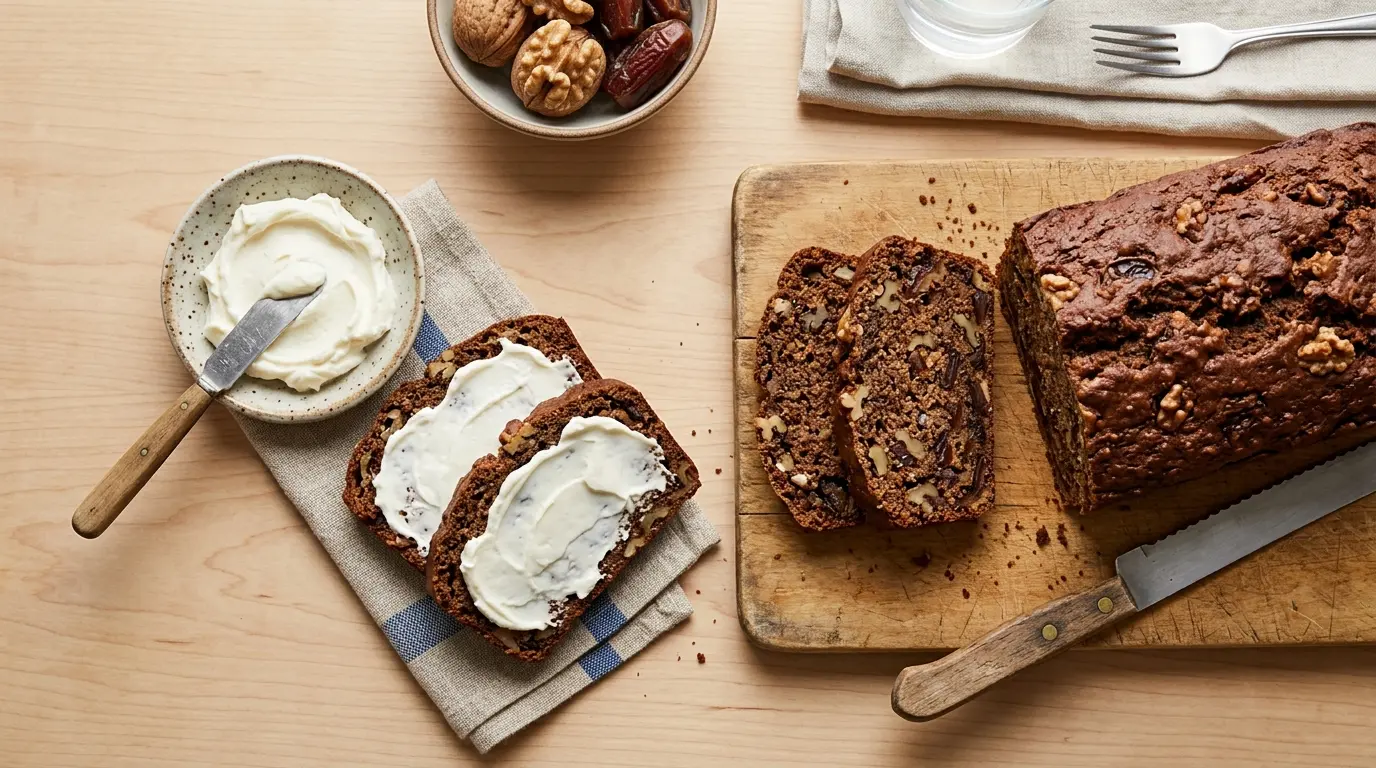
Few quick breads have the kind of loyal fanbase that a good date nut bread recipe commands. It’s the kind of loaf that’s been baked in American kitchens since the 1920s, beloved for its dark, rich crumb, natural sweetness from dates, and satisfying crunch from walnuts.
This recipe uses the classic technique of soaking chopped dates in boiling water and baking soda. That single step is what separates a dry, mediocre loaf from one that’s deeply moist and packed with flavor. The baking soda softens the dates while also reacting with the natural sugars to give the bread its beautiful dark color.
The resulting loaf slices beautifully, holds together well, and tastes even better on day two, which makes it ideal for baking ahead.
If you grew up eating thin slices of date nut bread spread with cream cheese, this is your recipe. It’s classic, timeless, and exactly what it should be.
For another classic quick bread to keep in your rotation, this Apple Cinnamon Bread is just as warmly spiced and just as easy to make.
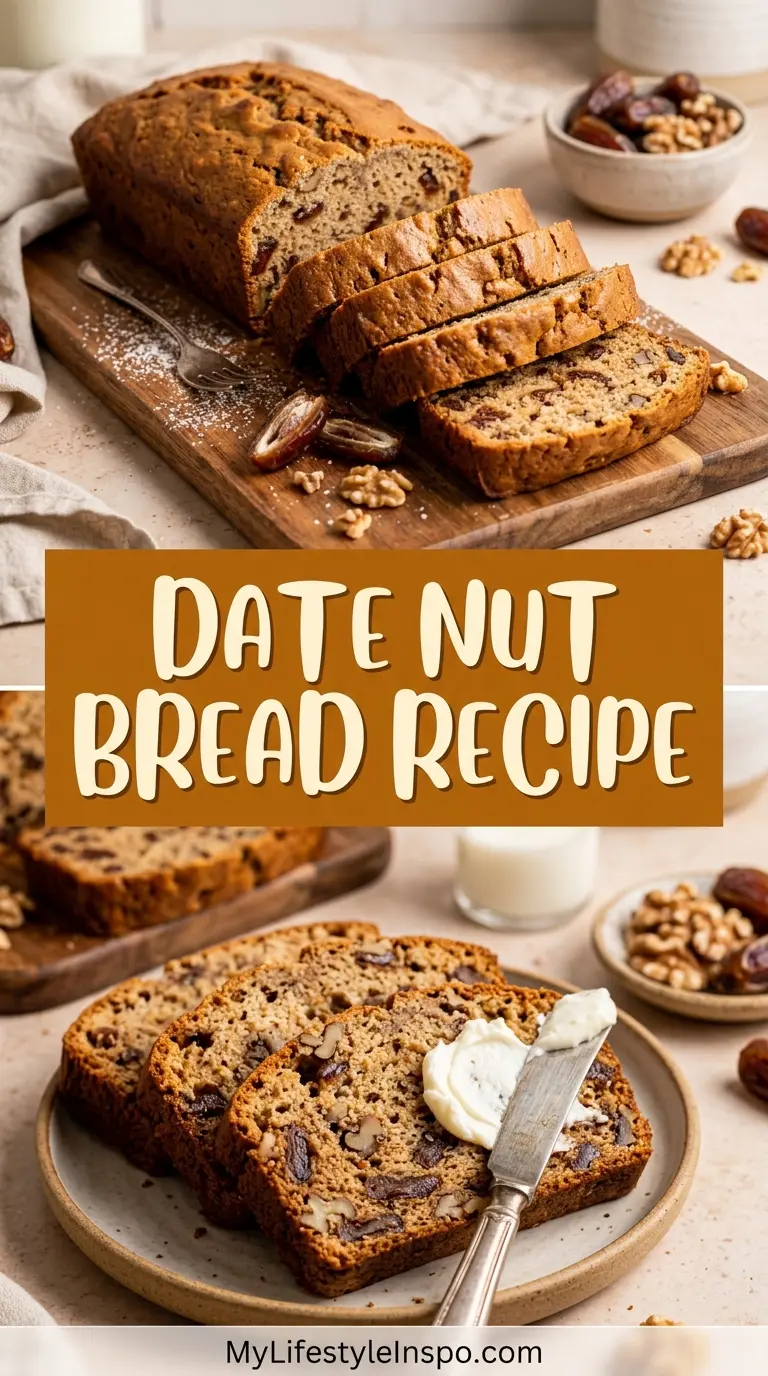
Why You’ll Love This Date Nut Bread Recipe
This bread has so much going for it, and once you bake it, you’ll understand exactly why it’s been a staple for over a century.
The dates do the heavy lifting here. They add a deep, caramel-like sweetness that is completely natural, which means you’re using far less added sugar than most cakes or sweet loaves.
The texture is the real standout. Thanks to the boiling water soak, the dates practically melt into the batter, creating an incredibly tender, moist crumb without being gummy or heavy.
It comes together in one bowl and requires no mixer if you want to keep things simple. This is a genuinely beginner-friendly bake.
It keeps beautifully. Wrapped tightly at room temperature, this bread actually improves over the first couple of days as the flavors meld and deepen.
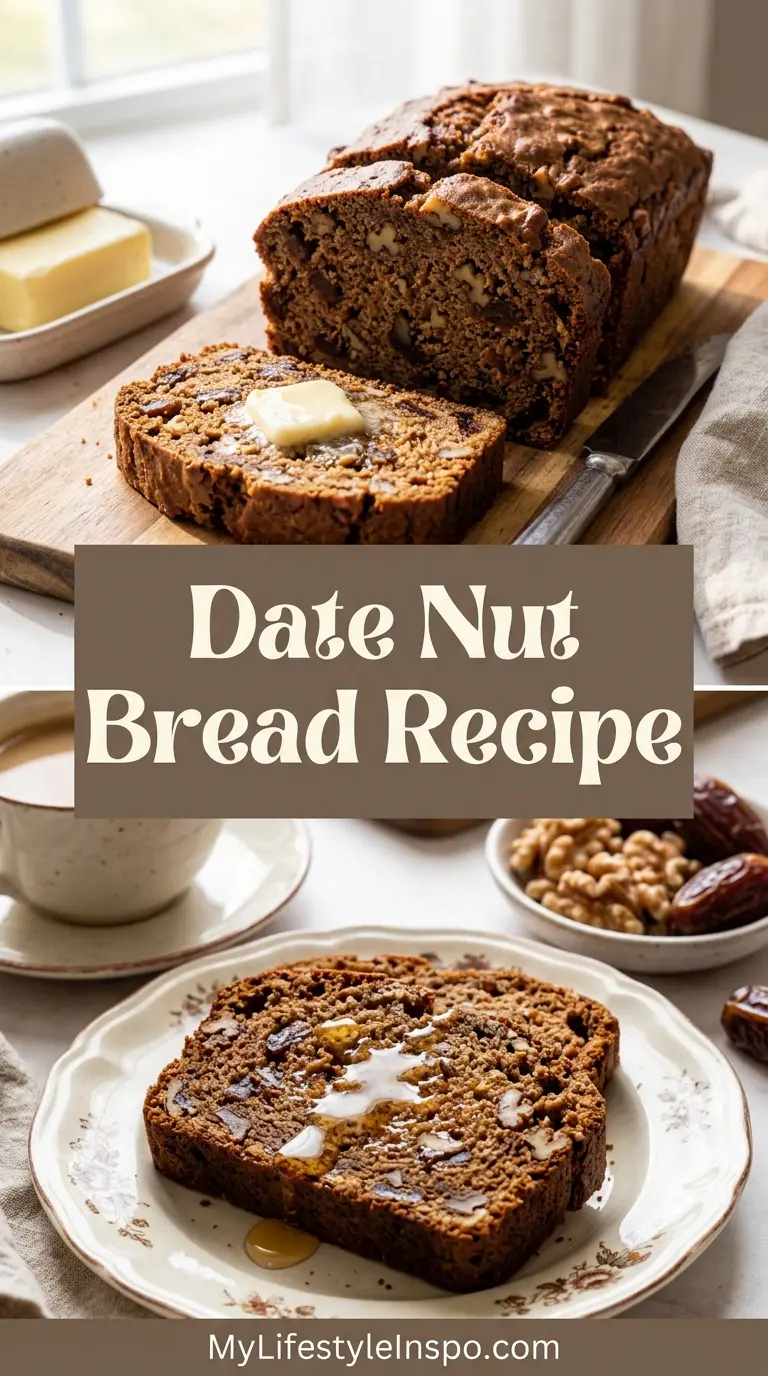
It’s incredibly versatile. Enjoy it plain, spread with butter or cream cheese, toasted with a drizzle of honey, or even as a base for a surprisingly special tea-time sandwich.
- Deep, naturally sweet flavor from dates that caramelizes as it bakes
- Rich, moist crumb that stays soft for days
- Crunchy walnuts in every bite for texture contrast
- No yeast, no proofing, no complicated techniques
- Made with pantry-staple ingredients
- Perfect for breakfast, brunch, snacks, or gifting
- Freezes well for months, so you can always have a loaf on hand
You might also enjoy: Lemon Blueberry Bread
Ingredients
The ingredient list for this bread is beautifully simple. The key is using good-quality dates, whether deglet noor or Medjool, and not skimping on the walnuts, which add a slightly bitter contrast that balances the sweetness perfectly.
- 1 cup (170g) pitted dates, roughly chopped
- 1 cup (240ml) boiling water
- 1 teaspoon baking soda (for the date soak)
- 6 tablespoons (85g) unsalted butter, softened
- 3/4 cup (150g) granulated sugar
- 1/4 cup (55g) packed light brown sugar
- 1 large egg, room temperature
- 1 teaspoon pure vanilla extract
- 1 1/2 cups (190g) all-purpose flour
- 1 teaspoon baking powder
- 1/2 teaspoon baking soda (for the batter)
- 1/2 teaspoon fine salt
- 1/2 teaspoon ground cinnamon
- 1/4 teaspoon ground nutmeg
- 1 cup (115g) chopped walnuts
For another naturally sweet bread that uses pantry staples, check out this Cranberry Orange Bread.
Kitchen Equipment Needed
You don’t need any fancy equipment to make this bread. A bowl, a loaf pan, and a wooden spoon are honestly all that’s required, though a hand mixer makes creaming the butter easier.
- Standard 8.5 x 4.5 inch loaf pan
- Parchment paper (for easy removal)
- Large mixing bowl
- Medium bowl (for dry ingredients)
- Small heatproof bowl or measuring cup (for soaking dates)
- Wooden spoon or rubber spatula
- Hand mixer (optional but helpful)
- Measuring cups and spoons
- Cooling rack
- Toothpick or cake tester
Read Also: Pineapple Quick Bread Recipe
Recommended Products for This Recipe
These are products I genuinely recommend based on quality and performance. They’ll make a real difference in how your date nut bread turns out.
1. USA Pan Loaf Pan
USA Pan makes some of the best baking pans on the market, with a non-stick corrugated surface that promotes even heat distribution and prevents sticking. A good loaf pan makes a real difference in getting a bread that bakes evenly without over-browning the bottom. This is an investment that will last for years.
2. Medjool Dates
Medjool dates have a naturally rich, caramel-like flavor that elevates the bread beyond what standard packaged chopped dates can offer. Their softer texture also makes them easier to chop and they dissolve beautifully into the batter during the soak. Using quality dates is the single biggest upgrade you can make to this recipe.
3. Premium Walnut Halves and Pieces
Freshness matters enormously with walnuts. Stale walnuts turn bitter and can ruin an entire loaf. A bag of premium walnut halves that you chop yourself will have a cleaner, bolder flavor than pre-chopped options that may have been sitting on a shelf. For a recipe where walnuts are a main ingredient, this matters.
4. Pure Vanilla Extract
Imitation vanilla can leave a slightly artificial aftertaste, especially in delicate baked goods like quick breads. Pure vanilla extract has a warmer, more complex flavor that complements the spices and dates in this recipe beautifully. A small bottle goes a long way.
5. Digital Instant-Read Thermometer
Quick breads like this one can look done on the outside while still being underbaked in the center. An instant-read thermometer takes the guesswork out. The internal temperature should reach 200-205°F (93-96°C) when perfectly baked. This tool is genuinely useful for every loaf you’ll ever bake.
For another fruity quick bread that pairs wonderfully with this one as a gift set, try this Banana Nut Bread with Pecans.
Step-by-Step Instructions
1. Prepare Your Pan and Preheat the Oven
- Preheat your oven to 350°F (175°C). Rack should be in the center position.
- Grease the inside of your 8.5 x 4.5 inch loaf pan generously with butter or nonstick spray.
- Cut a piece of parchment paper to line the bottom and long sides of the pan, creating handles for easy removal. Press it firmly into the corners.
- Set the prepared pan aside.
2. Soak the Dates
- Place 1 cup (170g) of roughly chopped pitted dates into a medium heatproof bowl or a 2-cup measuring cup.
- Sprinkle 1 teaspoon of baking soda directly over the dates and stir briefly to distribute it.
- Pour 1 cup (240ml) of freshly boiled water over the dates. The mixture may bubble and foam slightly, this is the baking soda reacting with the date sugars, and it’s exactly what you want.
- Stir everything together gently to make sure all the dates are submerged.
- Let the mixture sit and cool for at least 15 minutes. Do NOT discard the liquid. The dark, flavorful soaking liquid goes into the batter and is critical for moisture and color.
3. Mix the Dry Ingredients
- While the dates soak, combine the dry ingredients in a separate medium bowl.
- Add 1 1/2 cups (190g) all-purpose flour, 1 teaspoon baking powder, 1/2 teaspoon baking soda, 1/2 teaspoon fine salt, 1/2 teaspoon ground cinnamon, and 1/4 teaspoon ground nutmeg.
- Whisk everything together until evenly combined. Set aside.
4. Cream the Butter and Sugars
- In a large mixing bowl, add 6 tablespoons (85g) softened unsalted butter, 3/4 cup (150g) granulated sugar, and 1/4 cup (55g) packed light brown sugar.
- Beat together using a hand mixer on medium speed, or vigorously by hand with a wooden spoon, for about 2 minutes until the mixture is lighter in color and creamy in texture.
- Scrape down the sides of the bowl.
5. Add the Egg and Vanilla
- Add 1 large egg (room temperature) and 1 teaspoon pure vanilla extract to the butter-sugar mixture.
- Beat until fully combined and smooth. The mixture may look slightly curdled at first, just keep mixing and it will come together.
6. Add the Date Mixture
- Pour the entire date soaking mixture, dates and liquid together, into the large mixing bowl with the butter mixture.
- Stir gently with a rubber spatula or wooden spoon until combined. Don’t worry if the batter looks a bit loose at this stage.
7. Fold in the Dry Ingredients
- Add the flour mixture to the wet ingredients.
- Using a rubber spatula, fold gently until just combined. Stop mixing as soon as you no longer see streaks of dry flour. Do NOT overmix; overmixing develops gluten and results in a tough, dense loaf rather than a tender one.
8. Add the Walnuts
- Add 1 cup (115g) chopped walnuts to the batter.
- Fold them in with just a few strokes of the spatula until evenly distributed.
- The batter will be thick but pourable, similar to a banana bread batter.
9. Transfer to the Pan and Bake
- Pour the batter into your prepared loaf pan and spread it into an even layer using the back of your spatula.
- Gently tap the pan on the counter once or twice to release any air bubbles and settle the batter.
- Place in the preheated oven.
- Bake for 45 to 55 minutes. After the 30-minute mark, loosely tent the top of the loaf with a piece of foil to prevent the top from over-browning while the center finishes baking.
- Begin checking for doneness at 45 minutes by inserting a toothpick into the center of the loaf. It should come out clean or with just a few moist crumbs attached. No wet batter.
- For total certainty, check with an instant-read thermometer. The center should read 200-205°F (93-96°C).
10. Cool and Slice
- Remove the pan from the oven and set it on a wire cooling rack.
- Allow the bread to cool in the pan for 15 minutes before using the parchment handles to lift it out.
- Transfer the loaf directly to the cooling rack and allow it to cool completely, at least 1 to 2 hours, before slicing.
- Slicing too early will give you a gummy, compressed texture. Patience here is genuinely worth it.
- For the very best texture and flavor, wrap the cooled loaf tightly in plastic wrap and let it rest overnight at room temperature before cutting in. The texture firms up beautifully and the flavors deepen.
Another quick bread worth making this week is this Chocolate Chip Bread.
Tips for Success
A few small adjustments can make a big difference between a good loaf and a great one. Here are the most important things to keep in mind.
- Don’t skip the date soak. This is non-negotiable. Soaking the dates in boiling water and baking soda softens them, releases their flavor into the liquid, and creates the dark color and moist texture that defines this bread.
- Use room temperature butter and egg. Cold butter won’t cream properly, and a cold egg can cause the batter to seize slightly. Take them out of the fridge 30-60 minutes before baking.
- Fold, don’t stir. Once the flour goes in, switch from beating to gentle folding. Overdeveloped gluten makes the bread tough instead of tender.
- Don’t overbake. This bread can look done on top while still being wet in the center. Use a toothpick or thermometer to be sure, and tent with foil if the top is browning too quickly.
- Let it rest overnight. Like most quick breads, date nut bread is noticeably better on day two. The crumb firms up, the flavors develop, and it slices cleanly without crumbling.
- Toast the walnuts for extra flavor. Spread them on a dry skillet over medium heat for 3-5 minutes, shaking occasionally, until fragrant. Let them cool before adding to the batter.
- Line the pan with parchment. This makes removal completely stress-free and prevents any sticking, even if you’ve greased the pan well.
Read Also: Sweet Potato Bread Recipe
Serving Suggestions
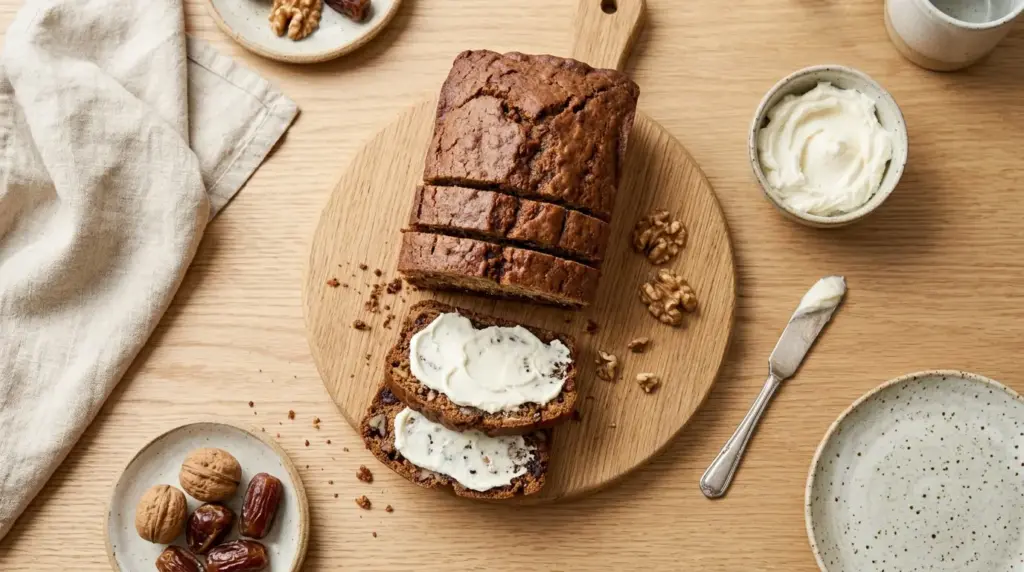
Date nut bread shines in so many different contexts. The slightly sweet, nutty loaf is a natural fit for a breakfast spread, an afternoon snack tray, or even a tea party.
Classic cream cheese is the most iconic pairing. A thick smear on a slice of date nut bread is a combination that has been popular since the 1920s for good reason. The tanginess of the cream cheese perfectly offsets the deep sweetness of the bread.
- Spread with softened Honey Butter for an indulgent breakfast treat
- Serve thinly sliced alongside Cinnamon Butter and a pot of hot tea or coffee
- Top with a layer of cream cheese and a thin slice of pear or apple for an elegant tea sandwich
- Toast a slice lightly and drizzle with local honey for a simple but satisfying snack
- Serve warm slices as part of a brunch spread alongside fresh fruit and yogurt
- Package individual slices or a whole wrapped loaf as a homemade holiday or hostess gift
Another favorite: Classic Zucchini Bread
Variations to Try
Once you’ve mastered the classic version, there are so many directions you can take this bread. Each variation keeps the soul of the original but gives it a fun new personality.
- Orange Zest Date Bread: Add the zest of one large orange to the batter. The citrus brightens the deep, earthy date flavor beautifully and pairs especially well with a cream cheese spread.
- Chocolate Chip Date Bread: Fold in 1/2 cup of dark chocolate chips along with the walnuts. The slightly bitter chocolate works surprisingly well with the sweet dates.
- Pecan Date Bread: Swap the walnuts for an equal amount of chopped pecans. Pecans have a butterier, slightly milder flavor that some people prefer with dates.
- Molasses Date Bread: Add 2 tablespoons of unsulfured molasses to the wet ingredients for an even deeper, more old-fashioned flavor profile.
- Gluten-Free Version: Replace the all-purpose flour with a 1:1 gluten-free flour blend. Results may vary slightly by brand, but most 1:1 blends work well in quick breads.
- Spiced Date Bread: Double the cinnamon to 1 full teaspoon and add 1/4 teaspoon each of ground cloves and ground ginger for a warmer, more complex spice profile.
- Date Bread Mini Loaves: Divide the batter between 3-4 mini loaf pans and bake for 25-30 minutes. Great for gifting.
For another rich, old-fashioned quick bread, try this Old Fashioned Pumpkin Bread.
Storage and Reheating
This bread keeps exceptionally well, which makes it one of the best options for baking ahead or giving as a gift. Proper storage is easy and the bread genuinely improves with a little rest time.
- Room temperature: Wrap the fully cooled loaf tightly in plastic wrap or store it in an airtight container. It will keep at room temperature for up to 5 days, and the texture and flavor actually improve over the first 2 days.
- Refrigerator: For longer storage, wrap tightly and refrigerate for up to 2 weeks. Let slices come to room temperature before serving, or warm them briefly.
- Freezer: Wrap the whole loaf (or individual slices) in a layer of plastic wrap followed by a layer of aluminum foil, then place in a freezer bag. Freeze for up to 3 months. Thaw overnight in the refrigerator or at room temperature for a few hours.
- Reheating: Individual slices can be warmed in a toaster oven at 325°F (165°C) for 5-8 minutes or microwaved for 15-20 seconds. A quick warming brings back that just-baked softness and makes the bread smell incredible.
For another freezer-friendly quick bread that makes a great backup snack, try this Blackberry Bread.
Nutritional Facts
The following is an estimate per serving, based on the recipe divided into 12 slices. Actual values will vary depending on specific ingredient brands and slice thickness.
| Nutrient | Per Serving (1 slice) |
|---|---|
| Calories | 240 kcal |
| Carbohydrates | 34g |
| Protein | 4g |
| Total Fat | 11g |
| Saturated Fat | 3.5g |
| Cholesterol | 30mg |
| Sodium | 230mg |
| Dietary Fiber | 2g |
| Total Sugar | 20g |
| Calcium | 40mg |
| Iron | 1.2mg |
| Potassium | 160mg |
Nutritional information is an estimate and provided for informational purposes only.
Another naturally sweet baked good worth looking at: Date Filled Cookie Recipe
Health Benefits of Key Ingredients
This might be a sweet bread, but several of its main ingredients come with real nutritional value. That doesn’t make it a health food, but it’s good to know what you’re working with.
Dates are a nutritional powerhouse among dried fruits. They’re high in natural sugars, yes, but they also deliver a notable amount of dietary fiber, potassium, magnesium, and antioxidants. The fiber in dates slows down how quickly those natural sugars are absorbed, which gives the bread a gentler impact on blood sugar compared to refined sweeteners.
Walnuts are one of the most well-researched nuts for heart health. They are one of the best plant-based sources of omega-3 fatty acids, specifically alpha-linolenic acid (ALA), which supports cardiovascular health and brain function.
Eggs provide complete protein and a range of essential vitamins, including B12, vitamin D, and choline, which is important for brain health.
- Dates provide potassium, magnesium, and antioxidants, along with natural fiber that supports digestive health
- Walnuts are rich in omega-3 fatty acids and have been linked to improved heart and brain health
- Cinnamon contains antioxidants and has been studied for its potential role in supporting healthy blood sugar levels
- Nutmeg provides small amounts of manganese and copper, as well as compounds with antioxidant properties
- The natural sugars from dates mean the bread requires significantly less added sugar than comparably sweet baked goods
For a delicious option for those watching their carb intake, take a look at this Almond Flour Banana Bread.
Frequently Asked Questions
1. Can I use Medjool dates instead of deglet noor dates?
Absolutely. Medjool dates are larger, softer, and have a richer, more caramel-like flavor than deglet noor. They work beautifully in this recipe and will give you an even moister, more deeply flavored bread. Because Medjool dates are larger, you may need slightly fewer of them by count to reach 1 cup (170g), so weigh them if you can.
2. Why do you add baking soda to the date soaking water?
The baking soda serves two purposes here. First, it accelerates the softening of the dates by breaking down their cell structure in the alkaline water. Second, it reacts with the natural acids in the dates to create carbon dioxide bubbles, which helps give the bread a slightly lighter texture and contributes to its signature dark color. Don’t skip this step; it’s what makes the texture of this bread uniquely moist.
3. My bread is done on the outside but still wet in the middle. What happened?
This is almost always a temperature or timing issue. Quick breads can look and feel set on the outside while the center is still underbaked. Make sure your oven temperature is accurate (use an oven thermometer to check), tent the loaf with foil after 30 minutes to slow top-browning while the center catches up, and test with a toothpick or thermometer before pulling the loaf out. The center should reach 200-205°F (93-96°C) for a clean result.
4. Can I make this recipe without nuts?
Yes, completely. Simply omit the walnuts and the bread will still be delicious. The texture will be slightly less varied, so some people like to add a tablespoon of sunflower seeds or pepitas in their place for some chew and crunch. You could also fold in a handful of shredded coconut or raisins if you want to add a little something extra.
5. How long should I really wait before slicing the bread?
The minimum wait is about 2 hours from coming out of the oven, long enough for the interior structure to set so it doesn’t compress and go gummy when you cut it. For truly the best result, wrap the fully cooled loaf and let it sit overnight at room temperature before slicing. The crumb will be firmer, the moisture more evenly distributed, and the flavor noticeably more developed. It sounds like a long time to wait, but you will taste the difference.
Read Also: Fig Cookie Recipe
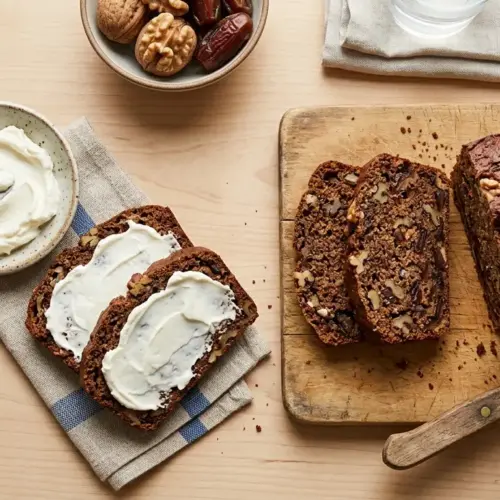
Date Nut Bread

Equipment
- 8.5 x 4.5-inch loaf pan
- Parchment paper - for easy removal
- Large mixing bowl
- Medium bowl - for dry ingredients
- Small heatproof bowl or measuring cup - for soaking dates
- Wooden spoon or rubber spatula
- Hand Mixer - optional but helpful
- Measuring cups and spoons
- Cooling rack
- Toothpick or cake tester
- Digital instant-read thermometer - optional, for checking doneness
Ingredients
- 1 cup pitted dates - 170g, roughly chopped
- 1 cup water - 240ml, boiling
- 1 teaspoon baking soda - for the date soak
- 6 tablespoons unsalted butter - 85g, softened
- 3/4 cup granulated sugar - 150g
- 1/4 cup light brown sugar - 55g, packed
- 1 large egg - room temperature
- 1 teaspoon pure vanilla extract
- 1 1/2 cups all-purpose flour - 190g
- 1 teaspoon baking powder
- 1/2 teaspoon baking soda - for the batter
- 1/2 teaspoon fine salt
- 1/2 teaspoon ground cinnamon
- 1/4 teaspoon ground nutmeg
- 1 cup walnuts - 115g, chopped
For Serving
- cream cheese - for spreading
- butter - for spreading
- honey - for drizzling
Instructions
- Preheat oven to 350°F (175°C). Grease an 8.5 x 4.5 inch loaf pan and line with parchment paper, leaving overhang on the long sides.
- Place chopped dates in a heatproof bowl, sprinkle with 1 teaspoon baking soda, and pour boiling water over them. Let soak and cool for at least 15 minutes.
- In a medium bowl, whisk together flour, baking powder, 1/2 teaspoon baking soda, salt, cinnamon, and nutmeg. Set aside.
- Beat softened butter, granulated sugar, and brown sugar in a large bowl until creamy and light, about 2 minutes. Add egg and vanilla and beat until combined.
- Pour the entire date mixture (dates and liquid) into the butter mixture and stir gently until combined.
- Add the flour mixture to the wet ingredients and fold with a spatula until just combined. Do not overmix.
- Gently fold in the chopped walnuts until evenly distributed through the batter.
- Pour batter into the prepared pan and spread evenly. Tap the pan on the counter to release air bubbles.
- Bake for 45-55 minutes, tenting with foil at the 30-minute mark if the top is browning too quickly. Bread is done when a toothpick comes out clean or the internal temperature reaches 200-205°F (93-96°C).
- Cool in the pan for 15 minutes, then lift out using parchment handles and transfer to a wire rack. Cool completely, at least 1-2 hours, before slicing.
Notes
- Don’t skip the date soak: Soaking dates in boiling water and baking soda is essential for moisture, flavor, and that signature dark color.
- Use room temperature ingredients: Cold butter won’t cream properly and cold egg can cause the batter to seize. Take them out 30-60 minutes before baking.
- Fold, don’t stir: Once flour is added, fold gently until just combined. Overmixing develops gluten and creates a tough loaf.
- Check for doneness: Use a toothpick or thermometer (200-205°F/93-96°C). Tent with foil if the top browns too quickly.
- Let it rest overnight: For the best texture and flavor, wrap the cooled loaf tightly and let it rest at room temperature overnight before slicing.
- Toast the walnuts: For extra flavor, toast walnuts in a dry skillet over medium heat for 3-5 minutes until fragrant. Let cool before adding to batter.
- Storage: Wrap tightly and store at room temperature for up to 5 days, refrigerate for up to 2 weeks, or freeze for up to 3 months.
- Variations: Try adding orange zest, dark chocolate chips, swapping walnuts for pecans, or adding 2 tablespoons of molasses for a deeper flavor.
- Serving suggestions: Serve with cream cheese, butter, or honey. Also great toasted for breakfast or as a tea sandwich with cream cheese and sliced pear.
Final Thoughts
This date nut bread recipe is the kind of bake that feels genuinely rewarding, both the process and the result.
It’s simple enough for a beginner but delivers a loaf that looks and tastes like it came from a specialty bakery. The deep, caramel-rich flavor from the dates, the warm spice, the nutty crunch of walnuts, and that gorgeous dark crumb all come together in a way that’s hard not to love.
If you’ve never made date nut bread before, this is your sign to start. And if you grew up eating it, this recipe will taste exactly like you remember.
Bake a loaf this weekend and let me know how it goes in the comments below. I’d love to hear if you made any variations or found the perfect thing to serve it with!
Recommended:
- Apple Fritter Bread Recipe
- Banana Bread Recipe with Walnuts and Chocolate Chips
- Snickerdoodle Banana Bread Recipe
- Easy Zucchini Bread Recipe
- Chocolate Zucchini Bread Recipe
- Gluten Free Pumpkin Bread Recipe
- Irish Soda Bread Recipe
- Beer Bread Recipe
- Best Carrot Cake Recipe
- Starbucks Banana Bread Recipe



