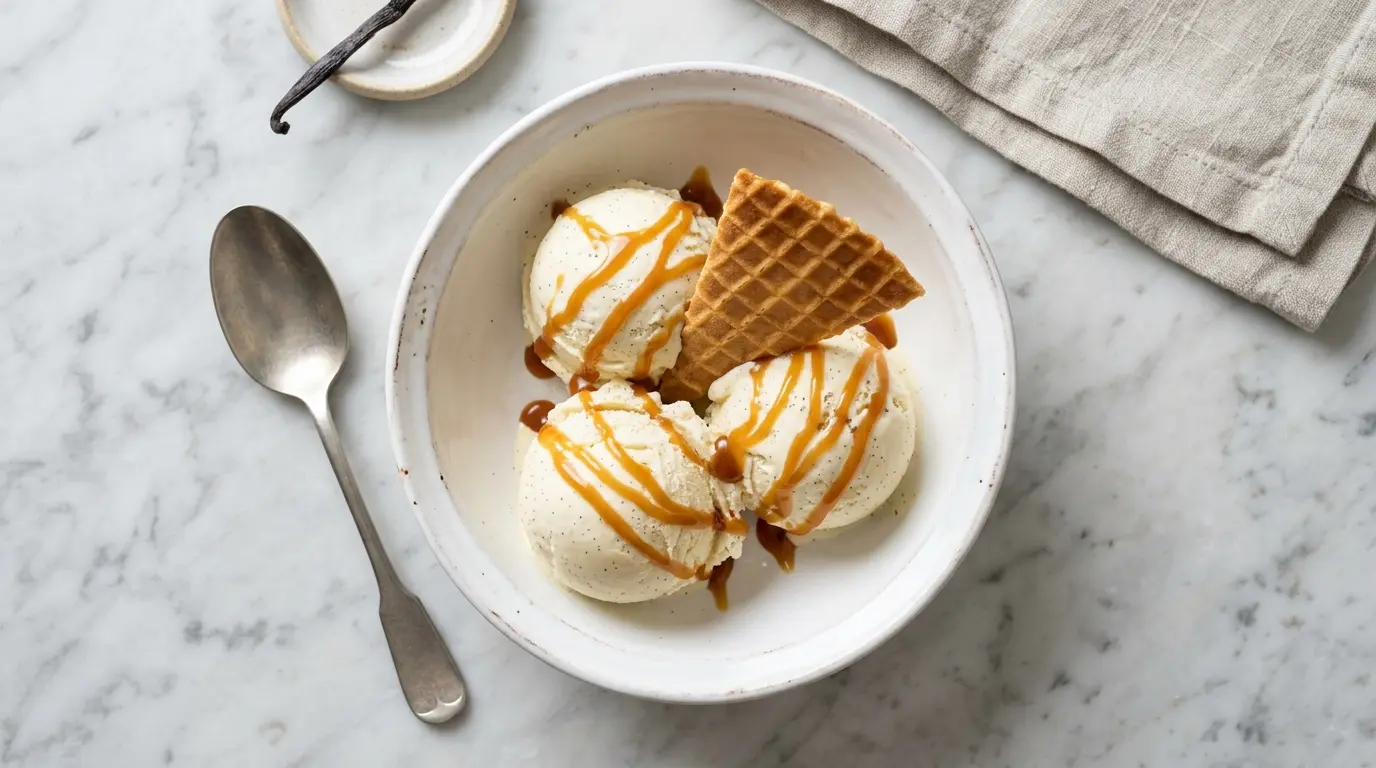
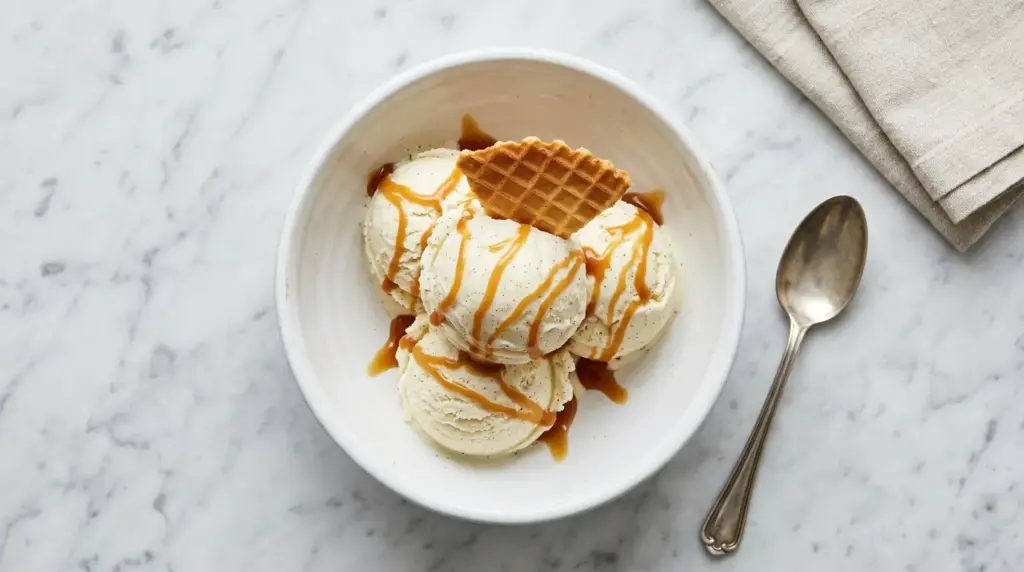
If you’ve never made a vanilla bean ice cream recipe from scratch, you’re in for a serious treat. This isn’t the pale, one-dimensional frozen stuff from a carton. This is the real thing: a silky, rich, French-style custard base packed with those gorgeous black specks from a real vanilla bean, churned to a thick, creamy perfection.
The secret lies in the egg yolks. They create a custard that’s impossibly smooth and dense, nothing like the icy, crystalline texture of a quick no-churn version.
Real vanilla beans are what set this recipe apart. The difference between vanilla extract alone and a whole scraped vanilla pod is remarkable. You get layers of floral, almost caramel-like vanilla depth that simply can’t be replicated.
This recipe uses whole milk, heavy cream, egg yolks, sugar, a fresh vanilla bean, vanilla extract, and a pinch of salt. Those six ingredients produce a scoop that’s better than anything you’ll find at a gourmet ice cream shop.
You do need an ice cream maker, and you do need patience. But neither of those things is complicated. The process is straightforward, and the payoff is enormous.
If you love creamy custard-based desserts, you’ll also want to check out this Vanilla Pudding Recipe that uses a very similar technique and makes a gorgeous layered dessert.
Why You’ll Love This Vanilla Bean Ice Cream Recipe
This vanilla bean ice cream recipe is the kind you’ll want to make every summer, and honestly, every season in between.
It uses real vanilla bean seeds, which give the ice cream those distinctive black speckles that signal you’re eating something genuinely made from scratch.
The custard base made with egg yolks creates a richness that coats the tongue in the most luxurious way. It’s thicker and more indulgent than any store-bought version.
It’s surprisingly beginner-friendly despite sounding fancy. The key steps are tempering the eggs carefully and chilling the custard thoroughly before churning.
This recipe is also endlessly versatile. Serve it in a cone, as a sundae, alongside warm pie, or as the base for flavor variations.
Here’s what makes this vanilla bean ice cream recipe a keeper:
- Pure, intense vanilla flavor from a real vanilla bean plus vanilla extract
- Ultra-creamy texture thanks to the egg yolk custard base
- No artificial ingredients or preservatives
- Impressive enough to serve guests but simple enough for a weeknight treat
- A reliable base for add-ins and flavor variations
- Better than store-bought, every single time
You might also enjoy: Monster Cookie Ice Cream Recipe
Ingredients
The ingredients for this vanilla bean ice cream recipe are simple and intentional. Each one plays a critical role in building the flavor and texture of the final product. Whole milk gives the custard body without making it greasy, while heavy cream supplies the rich fat content that makes ice cream scoopable and smooth. The egg yolks are the backbone of the custard, contributing richness, body, and that gorgeous pale yellow color.
- 2 cups (480 ml) heavy cream
- 1 cup (240 ml) whole milk
- 1 whole vanilla bean
- 1 teaspoon pure vanilla extract
- 5 large egg yolks
- ¾ cup (150 g) granulated sugar
- ¼ teaspoon fine sea salt
Read Also: Classic Vanilla Cake Recipe
Kitchen Equipment Needed
You don’t need a professional kitchen to pull this off. A few key tools will make the process smooth and stress-free. The most important item is the ice cream maker, which churns air into the custard to create a creamy, smooth texture rather than a solid frozen block.
- Ice cream maker (with bowl pre-frozen at least 24 hours in advance)
- Heavy-bottomed saucepan (2-3 quart)
- Medium mixing bowl
- Fine mesh sieve / strainer
- Whisk
- Instant-read thermometer
- Paring knife or sharp knife (to split the vanilla bean)
- Rubber spatula
- Airtight freezer-safe container (for storage)
- Large bowl (for ice bath)
- Plastic wrap
Another favorite: Easy Crème Brûlée Recipe
Recommended Products for This Recipe
These are hand-picked products that make a genuine difference in how this vanilla bean ice cream turns out. Based on quality, performance, and what professional and home cooks consistently reach for.
1. Cuisinart Ice Cream Maker
A reliable ice cream maker is the single most important tool in this recipe. The Cuisinart model with a freezer bowl is fast, easy to use, and consistently produces smooth, creamy results with minimal effort. It freezes a quart of custard in about 20 minutes, which makes weeknight ice cream completely achievable.
2. Tahitian or Madagascar Vanilla Beans
Not all vanilla beans are created equal. Grade A Tahitian or Madagascar vanilla beans are plump, moist, and loaded with seeds, which means more flavor per pod. The difference in a recipe this simple is dramatic. One good bean does the heavy lifting.
3. Thermoworks Instant Read Thermometer
Cooking a custard to exactly 170-180°F (77-82°C) is the most critical step in this recipe. An accurate instant-read thermometer takes all the guesswork out of it. No more wondering if the eggs have curdled or if the custard is underdone.
4. Freezer-Safe Airtight Container with Lid
The right storage container makes a real difference in the texture of finished ice cream. A wide, shallow container with a tight-fitting lid means the ice cream freezes evenly and resists ice crystal formation. Look for one that’s BPA-free and wide enough to scoop from easily.
5. Nordic Ware Half Sheet Pan (for Ice Bath)
Setting up a quick ice bath is the fastest way to cool your custard after cooking and stop the eggs from overcooking. A heavy half sheet pan holds the ice and water securely without warping, and it’s useful across a hundred other recipes in your kitchen.
Read Also: Cheesecake Ice Cream Cake Recipe
Step-by-Step Instructions
1. Prepare the Vanilla Bean
- Lay the vanilla bean flat on a cutting board.
- Use a paring knife to slice the bean lengthwise down the middle, cutting through it completely.
- Open the two halves and use the back of the knife blade (or a small spoon) to scrape out all the tiny seeds, also called vanilla caviar, from both halves.
- Set the scraped seeds aside in a small dish. Keep the empty pods, as these will go into the cream mixture to steep and add flavor.
2. Heat the Cream and Milk Mixture
- Combine the heavy cream, whole milk, vanilla bean seeds, vanilla bean pods, and half of the sugar (about 6 tablespoons / 75 g) in your heavy-bottomed saucepan.
- Place the saucepan over medium heat.
- Stir gently with a rubber spatula to help the sugar dissolve.
- Heat the mixture until it just begins to steam and small bubbles form around the edges of the pan, about 4 to 5 minutes. This is called “scalding.” Do not let it come to a full boil.
- Remove the pan from heat. Cover it with a lid or plastic wrap and let it steep for 15 minutes. This allows the vanilla bean pods to infuse deeper flavor into the cream.
3. Whisk the Egg Yolks and Remaining Sugar
- While the cream is steeping, add the 5 egg yolks, the remaining sugar (about 6 tablespoons / 75 g), and the salt to a medium mixing bowl.
- Whisk vigorously for about 2 to 3 minutes until the mixture is thick, pale yellow, and falls in a ribbon from the whisk.
- This step is important. The whisking incorporates air into the yolks, which helps create a smooth custard later.
4. Temper the Eggs
- This step prevents the eggs from scrambling when they hit the hot cream.
- Very slowly pour about ¼ cup (60 ml) of the hot cream mixture into the egg yolk mixture while whisking constantly.
- Continue adding the hot cream in a thin, slow stream, whisking continuously, until you’ve added about half of the cream to the egg mixture.
- Now pour the egg-cream mixture back into the saucepan with the remaining cream, whisking as you go.
- This gradual addition gradually raises the temperature of the eggs without cooking them into scrambled eggs.
5. Cook the Custard
- Return the saucepan to medium-low heat.
- Stir the custard constantly with a rubber spatula or wooden spoon, scraping the bottom and sides of the pan.
- Cook until the custard thickens enough to coat the back of a spoon and registers 170 to 180°F (77 to 82°C) on an instant-read thermometer, about 8 to 12 minutes.
- To test without a thermometer, run your finger across the back of the coated spoon. If the line holds its shape, the custard is ready.
- Do not let the mixture boil. Boiling will cause the eggs to curdle and the custard will become grainy.
6. Strain and Chill the Custard
- Set up an ice bath by filling a large bowl with ice and a cup or two of cold water.
- Place a smaller bowl or a clean saucepan on top of the ice bath.
- Set your fine mesh sieve over the smaller bowl.
- Pour the hot custard through the sieve to remove the vanilla bean pods and any bits of cooked egg.
- Stir the strained vanilla extract into the custard at this point.
- Stir the custard occasionally as it sits in the ice bath to help it cool evenly.
- Once the custard has cooled to room temperature, about 20 to 30 minutes, press a piece of plastic wrap directly onto the surface of the custard to prevent a skin from forming.
- Transfer the bowl to the refrigerator and chill for at least 4 hours, or preferably overnight. The colder the custard, the creamier the finished ice cream.
7. Churn the Ice Cream
- Remove the custard from the refrigerator. It should be very cold and slightly thickened.
- Pour it into your pre-frozen ice cream maker bowl.
- Churn according to your machine’s manufacturer instructions. Most machines take between 20 and 30 minutes.
- The ice cream is done churning when it resembles soft-serve and has increased noticeably in volume. It will look thick and creamy, with a pale, ivory color.
8. Harden the Ice Cream
- Transfer the churned soft-serve ice cream to your airtight freezer-safe container.
- Smooth the top with a rubber spatula.
- Press a piece of plastic wrap directly onto the surface of the ice cream before sealing the lid. This step is key for preventing ice crystals from forming on top.
- Freeze for at least 4 hours, or until the ice cream is firm enough to scoop cleanly.
- The ice cream will keep improving in texture as it hardens.
This pairs beautifully with homemade Fresh Strawberry Sauce drizzled on top for a stunning dessert.
Tips for Success
Getting the most out of this vanilla bean ice cream recipe comes down to a few key techniques. The most important is patience. Rushing the chilling time is the single most common reason homemade ice cream turns out icy instead of creamy. Give the custard a full overnight chill if you can.
- Freeze your ice cream maker bowl at least 24 hours in advance. A bowl that isn’t frozen solid enough won’t churn properly.
- Temper the eggs slowly. Add the hot cream in a thin stream while whisking constantly. Rushing this step causes scrambled eggs.
- Use a thermometer. Hitting that 170 to 180°F (77 to 82°C) window ensures the custard is thick enough and the eggs are safe to eat.
- Don’t boil the custard. A boiling custard will turn grainy and curdled.
- Chill the custard completely before churning. A warm or room-temperature custard going into the machine leads to icy, uneven texture.
- Press plastic wrap onto the surface before freezing. This is the best way to prevent ice crystals from forming on the top layer.
- Let the ice cream sit out for 5 minutes before scooping. This softens it just enough for clean, easy scoops.
For another rich dessert that uses a similar custard technique, try this Pastry Cream Recipe.
Serving Suggestions
Vanilla bean ice cream is the ultimate blank canvas. It’s beautiful on its own, but it really shines when paired with warm, textured, or intensely flavored desserts. The cool creaminess of the ice cream against the warmth of a fresh-baked pie or a rich chocolate sauce creates a contrast that’s nearly impossible to top.
Here are some favorite ways to serve it:
- Atop a warm slice of pie like Classic Apple Pie or Classic Pecan Pie for the ultimate a la mode experience
- With a drizzle of Caramel Sauce for a classic caramel sundae
- Alongside Chocolate Ganache warmed and poured over the top like a rich hot fudge
- Stuffed into a waffle cone for a classic summer treat
- In a root beer float with a good quality root beer poured over two generous scoops
- Alongside Best Chocolate Chip Cookies for the ultimate cookie and ice cream pairing
- Layered in a bowl with Strawberry Sauce and sliced fresh berries for a light summer dessert
- With Fruit Tart for a beautiful, elegant dessert plate
Variations to Try
Once you’ve mastered the base recipe, this custard method opens the door to dozens of incredible flavor variations. The custard technique stays the same every time. All you need to change are the add-ins, mix-ins, or infusions.
- Chocolate Chip Vanilla: Drizzle 3 ounces (85 g) of melted dark chocolate into the churning ice cream during the last 2 minutes for thin chocolate ribbons throughout.
- Strawberry Swirl: Fold ½ cup (120 ml) of fresh strawberry sauce into the ice cream during the transfer to the freezer container, using a knife to create swirls.
- Salted Caramel: Drizzle homemade caramel sauce and a sprinkle of flaky sea salt into the container as you transfer the churned ice cream.
- Vanilla Coffee: Add 1 tablespoon of finely ground espresso powder to the cream mixture when you heat it, then strain it out.
- Honey Lavender: Replace half the sugar with good quality honey and add 2 teaspoons of dried culinary lavender to the cream when heating. Strain before using.
- Cookie Butter: Stir 3 tablespoons of cookie butter into the finished custard before churning for a speculoos-spiced base.
Read Also: Hot Fudge Sundae
Storage and Reheating
Homemade ice cream is best within the first week, when the texture is at its creamiest and the vanilla flavor is brightest. Proper storage makes a significant difference in how long it stays at its best.
- Store in an airtight container in the coldest part of your freezer, typically the back.
- Press plastic wrap directly onto the surface of the ice cream before sealing the lid to minimize ice crystal formation.
- Keep for up to 2 months, though the quality is best in the first 1 to 2 weeks.
- Avoid repeated thawing and refreezing, which causes ice crystals to form and the texture to become grainy.
- To serve from a very firm state, let the container sit on the counter for 5 to 10 minutes before scooping.
- Do not refreeze melted ice cream. Once it has fully melted, the texture will not recover properly.
You might also enjoy: Lemon Curd Recipe as a bright, tangy drizzle topping for this ice cream.
Nutritional Facts
The following estimates are based on approximately 10 servings per batch (roughly ½ cup / 120 ml per serving).
| Nutrient | Per Serving (approx.) |
|---|---|
| Calories | 260 kcal |
| Total Fat | 19 g |
| Saturated Fat | 11 g |
| Cholesterol | 160 mg |
| Sodium | 75 mg |
| Total Carbohydrates | 18 g |
| Sugars | 17 g |
| Protein | 4 g |
| Calcium | 90 mg |
Please note that these are estimated values and will vary based on exact ingredient brands and serving size.
Read Also: Easy Tiramisu Recipe
Health Benefits of Key Ingredients
While this vanilla bean ice cream is an indulgent treat, the whole-food ingredients do carry some genuine nutritional value. Eating it mindfully as part of a balanced diet means you’re also getting some real benefits from these key components.
Here’s a closer look at what the key ingredients bring to the table:
- Egg yolks are rich in fat-soluble vitamins A, D, E, and K, as well as choline, which supports brain health and liver function. They also contribute high-quality protein.
- Whole milk provides calcium for strong bones and teeth, along with vitamin B12 and potassium.
- Heavy cream contains fat-soluble vitamins and conjugated linoleic acid (CLA), a fatty acid linked to various health benefits in moderate consumption.
- Real vanilla bean contains small amounts of antioxidants and has traditionally been used for its calming properties. Vanillin, the primary compound in vanilla, has demonstrated antioxidant and anti-inflammatory activity in research settings.
- Eggs overall are one of the most nutrient-dense foods available, providing all essential amino acids in a single whole-food source.
Another favorite: Chocolate Pudding Recipe
Frequently Asked Questions
1. Can I make this vanilla bean ice cream recipe without an ice cream maker?
You can, though the texture will be different. Pour the chilled custard into a shallow freezer-safe container and freeze for 45 minutes. Stir it vigorously with a fork or whisk, then return it to the freezer. Repeat this every 30 to 45 minutes for 3 to 4 hours. The result is still delicious, but the texture won’t be as uniformly creamy as the churned version. An ice cream maker is genuinely the best tool for this particular recipe.
2. What can I substitute for a whole vanilla bean?
If fresh vanilla beans aren’t accessible or are out of budget, use 2 teaspoons of pure vanilla extract or 2 teaspoons of high-quality vanilla bean paste. Vanilla bean paste is the closest substitute because it still contains real vanilla bean seeds and will give you those characteristic black speckles. Pure vanilla extract works very well too, just add it when you stir in the cream after straining the custard.
3. Why did my custard turn lumpy or grainy?
This almost always happens for one of two reasons: the eggs were added to the hot cream too quickly (causing them to scramble), or the heat was too high and the custard boiled. If you notice lumps forming, pour the custard immediately through your fine mesh sieve. Many small lumps can be removed this way. Going forward, temper the eggs slowly and keep the heat at medium-low, watching the thermometer carefully.
4. How long does it take for the custard to chill before churning?
A minimum of 4 hours in the refrigerator is required, but overnight chilling produces noticeably better results. A colder custard churns more efficiently, incorporating air more evenly and resulting in a smoother, creamier ice cream with less icy texture. If you’re planning ahead, make the custard the night before you plan to churn.
5. Can I double this recipe?
Yes, this recipe doubles easily. Just make sure your ice cream maker is large enough to handle the increased volume. Most home ice cream makers have a 1 to 1.5 quart (1 to 1.5 L) capacity, so doubling may require churning in two batches. The custard cooking process works the same at double the quantity; just use a larger pot and allow a bit more time for it to reach temperature.
Read Also: Banana Pudding Recipe
Final Thoughts
Making homemade vanilla bean ice cream from scratch is one of those kitchen experiences that feels special every single time.
There’s something quietly satisfying about watching a simple custard transform into scoops of perfectly creamy, speckled ice cream that you made entirely yourself.
This vanilla bean ice cream recipe is worth every step, from scraping that fragrant vanilla pod to the moment you dig a spoon into a fresh, frozen scoop.
Once you try it, going back to a carton will feel like a serious downgrade.
Give it a try this week, and then come back and tell me how it went in the comments below. Did you add any fun mix-ins or serve it over something delicious? Share your experience, and if you loved this recipe, pass it along to someone who deserves a homemade scoop.
Recommended:
- Hot Fudge Sauce Recipe
- Classic Tiramisu Recipe
- Dutch Apple Pie Recipe
- Classic Pumpkin Pie Recipe
- Chocolate Ganache Recipe
- Vanilla Buttercream Frosting Recipe
- Classic Apple Crisp Recipe
- Peach Cobbler Recipe
- Strawberry Cheesecake Recipe
- Easy Vanilla Cake Recipe


