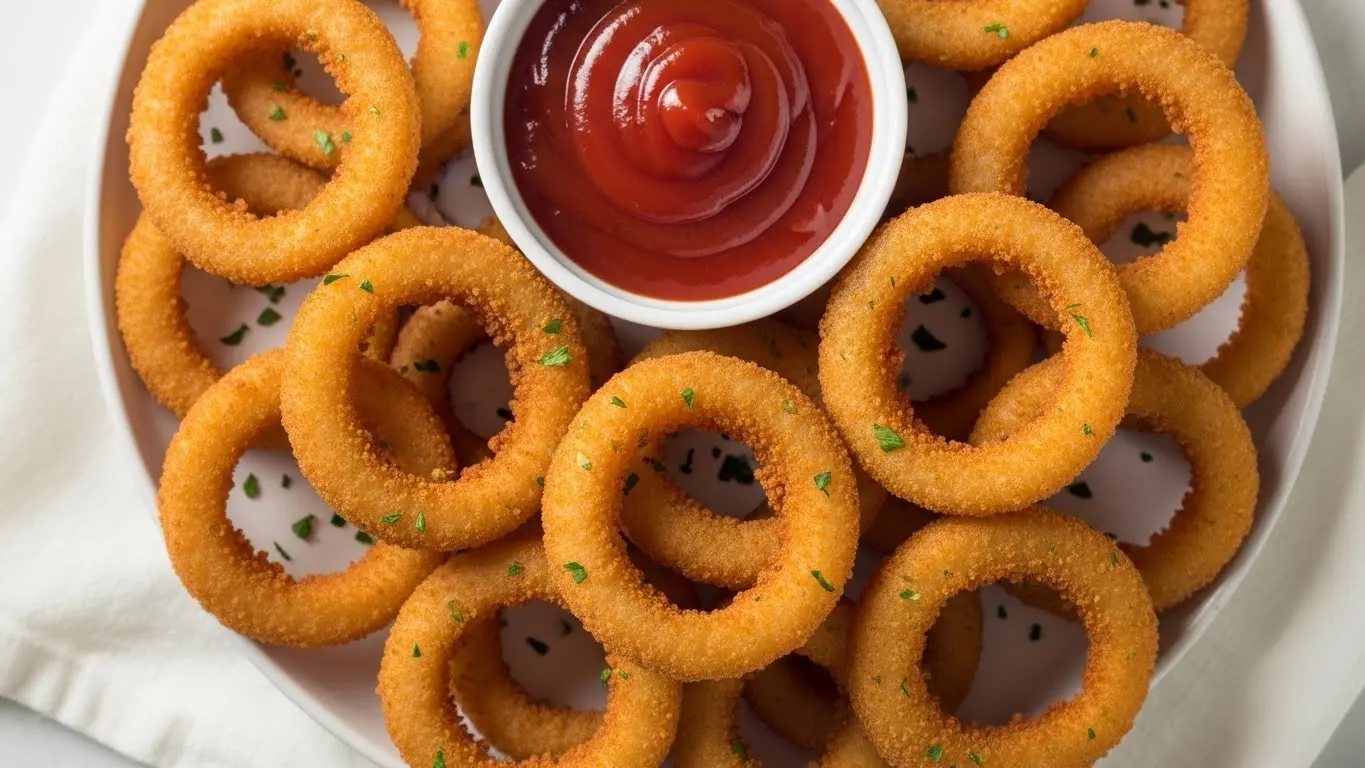
Crispy, golden onion rings are one of those comfort foods that never go out of style. The satisfying crunch of a perfectly fried coating gives way to sweet, tender onion that practically melts in your mouth.
I’ve spent years perfecting this Onion Rings Recipe, testing different batters, temperatures, and techniques to nail that restaurant-quality crunch at home. The secret is in the double coating method and getting your oil temperature just right.
What I love most about homemade onion rings is how much better they taste than anything you’d get from a freezer bag. Fresh onions, a well-seasoned batter, and the right frying technique make all the difference. Plus, you can control exactly what goes into them.
This recipe works beautifully as an appetizer, side dish, or snack. They’re perfect for game day, backyard barbecues, or just those evenings when you’re craving something indulgent and delicious.
The batter comes together in minutes, and the frying process is actually pretty straightforward once you get the hang of it. I’ll walk you through every step so you can make onion rings that rival your favorite restaurant’s version.
You might also enjoy: Crack Burger Recipe
Why You’ll Love This Onion Rings Recipe
This recipe delivers everything you want in homemade onion rings. The double-dip method creates an incredibly crispy coating that stays crunchy even as they cool.
The batter is perfectly seasoned with a blend of spices that complement the natural sweetness of the onions. You get that classic golden color and satisfying crunch in every bite.
Here’s what makes this recipe special:
- Restaurant-quality results: Crispy exterior with tender, sweet onions inside
- Simple ingredients: No fancy or hard-to-find items needed
- Customizable seasoning: Easy to adjust spices to your taste preferences
- Perfect texture: The buttermilk soak ensures the batter sticks beautifully
- Great for crowds: Easy to make large batches for gatherings
- Impressive presentation: Golden, professional-looking rings every time
Ingredients
The beauty of this recipe is in its simplicity. Most ingredients are pantry staples you probably already have on hand.
- 2 large yellow onions (sweet onions work wonderfully too)
- 2 cups buttermilk
- 2 cups all-purpose flour
- 1 cup panko breadcrumbs
- 2 teaspoons garlic powder
- 2 teaspoons paprika
- 1 teaspoon cayenne pepper (optional, for heat)
- 1 teaspoon onion powder
- 1 teaspoon salt
- 1/2 teaspoon black pepper
- Vegetable oil for frying (about 8 cups)
Kitchen Equipment Needed
Having the right tools makes the frying process much smoother and safer. Here’s what you’ll need for perfect onion rings.
- Deep fryer or large heavy-bottomed pot
- Cooking thermometer
- Large mixing bowls (at least 3)
- Wire cooling rack
- Baking sheet
- Tongs or slotted spoon
- Paper towels
Recommended Products for This Recipe
After making countless batches of onion rings, I’ve found a few products that really elevate the results and make the process easier.
1. Weston Deep Fryer with Temperature Control
Temperature consistency is everything when frying onion rings, and this deep fryer maintains steady heat like a dream. I’ve used cheaper models that fluctuate wildly, resulting in greasy or undercooked rings. This one takes the guesswork out completely.
2. Japanese Panko Breadcrumbs
Not all panko is created equal, and authentic Japanese panko creates those extra-large, ultra-crispy flakes that make onion rings truly exceptional. Regular breadcrumbs just don’t give you the same dramatic crunch.
3. ThermoPro Digital Instant Read Thermometer
Oil temperature makes or breaks fried food, and this instant-read thermometer gives you accurate readings in seconds. I clip mine to the side of my pot and can monitor the temp constantly while frying multiple batches.
Read Also: Potato Salad Recipe
Step-by-Step Instructions
Follow these detailed instructions for perfect onion rings every time. Take your time with the coating process for the best results.
1. Prepare the Onions
- Peel the onions and slice them into 1/2-inch thick rounds
- Separate the rounds into individual rings, discarding the smallest inner rings or saving them for another use
- Pat the onion rings completely dry with paper towels (moisture prevents proper coating)
- Place the separated rings in a large bowl
2. Soak in Buttermilk
- Pour the buttermilk over the onion rings, making sure they’re completely submerged
- Cover the bowl with plastic wrap
- Refrigerate for at least 30 minutes, or up to 2 hours for extra tender onions
- The acid in the buttermilk helps tenderize the onions while adding flavor
3. Set Up Your Breading Station
- In a shallow bowl, mix together the flour, garlic powder, paprika, cayenne pepper, onion powder, salt, and black pepper
- In another shallow bowl, combine the panko breadcrumbs with 1/2 cup of the seasoned flour mixture
- Line up your bowls: buttermilk soaking bowl, seasoned flour, panko mixture
- Place a wire rack over a baking sheet nearby for the coated rings
4. Coat the Onion Rings
- Remove a few onion rings from the buttermilk, letting excess drip off
- Dredge each ring in the seasoned flour, coating completely and shaking off excess
- Dip back into the buttermilk briefly
- Press into the panko mixture, coating both sides thoroughly and pressing gently to adhere
- Place coated rings on the wire rack without touching each other
- Repeat with remaining rings
5. Heat the Oil
- Pour oil into your deep fryer or heavy pot to a depth of 3-4 inches
- Heat the oil to 375°F, monitoring carefully with your thermometer
- The temperature must be accurate for crispy, non-greasy rings
- Allow the oil to fully reach temperature before beginning to fry
6. Fry the Onion Rings
- Working in small batches of 4-6 rings, carefully lower them into the hot oil using tongs
- Don’t overcrowd the pot, which drops the oil temperature
- Fry for 2-3 minutes, flipping once halfway through, until deep golden brown
- Adjust heat as needed to maintain 375°F between batches
- Use a slotted spoon to remove rings, letting excess oil drip back into the pot
7. Drain and Season
- Transfer fried onion rings immediately to a paper towel-lined plate or clean wire rack
- Sprinkle with a pinch of salt while they’re still hot
- Let the oil return to 375°F before frying the next batch
- Serve onion rings as soon as possible for maximum crispiness
Another favorite: Broccoli Salad Recipe
Tips for Success
Getting perfect onion rings takes a bit of practice, but these tips will help you nail it on your first try. Temperature control is absolutely crucial.
- Use the right onions: Sweet or yellow onions work best; avoid red onions which can be too strong
- Don’t skip the buttermilk soak: This step is essential for tender onions and helps the coating stick
- Maintain oil temperature: If the oil is too cool, rings will be greasy; too hot and they’ll burn before cooking through
- Work in small batches: Overcrowding drops the oil temperature and results in soggy rings
- Press the coating firmly: Really press that panko into the rings so it doesn’t fall off during frying
- Keep coated rings separated: If they touch before frying, the coating can stick and tear off
- Double-dip if needed: For extra thick coating, repeat the flour-buttermilk-panko process
- Serve immediately: Onion rings are best hot and fresh; they lose crispiness as they cool
Serving Suggestions
These crispy onion rings pair beautifully with so many dishes. They make any casual meal feel a bit more special.
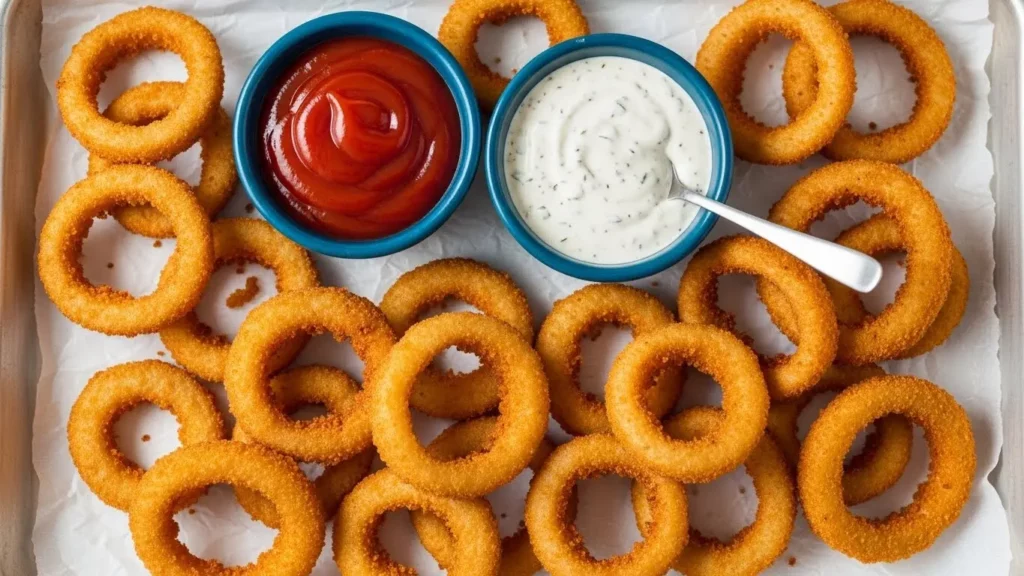
Here are my favorite ways to serve them:
- Classic dipping sauces: Burger Sauce, ranch dressing, or BBQ Sauce
- With burgers: Stack them right on top of your favorite burger for added crunch
- Alongside sandwiches: Perfect companion to pulled pork, Crack Burger, or grilled cheese
- Game day platter: Serve with wings, Sausage Balls, and Cheese Ball
- Steakhouse style: Pair with Filet Mignon and Smashed Potatoes
- As a topping: Crumble cooled rings over Cheeseburger Soup for texture
This pairs beautifully with my Cocktail Sauce Recipe for a classic appetizer combination.
Variations to Try
Once you master the basic recipe, these variations add fun twists. Each one brings something unique to the table.
- Beer-battered rings: Replace half the buttermilk with your favorite beer for a lighter, crispier coating
- Spicy version: Add 1 tablespoon of hot sauce to the buttermilk and extra cayenne to the flour mixture
- Parmesan crusted: Mix 1/2 cup grated Parmesan cheese into the panko mixture for savory richness
- Gluten-free: Substitute all-purpose flour with rice flour and use gluten-free breadcrumbs
- Air fryer method: Spray coated rings with oil and air fry at 400°F for 10-12 minutes, flipping halfway
- Seasoned variations: Try adding dried herbs like oregano, thyme, or Italian seasoning to the flour
- Tempura style: Use a lighter tempura batter with ice-cold sparkling water for ultra-crispy results
Storage and Reheating
While onion rings are definitely best fresh, you can store and reheat them if needed. Here’s how to maintain as much crispiness as possible.
- Room temperature: Best consumed within 2 hours of frying
- Refrigerator: Store in an airtight container for up to 2 days, though they’ll lose significant crispiness
- Freezer: Freeze coated but unfried rings on a baking sheet, then transfer to freezer bags for up to 3 months
- Reheating in oven: Arrange on a wire rack over a baking sheet and reheat at 400°F for 5-7 minutes
- Air fryer reheating: Place in a single layer and air fry at 375°F for 3-4 minutes
- Avoid microwave: This will make the coating soggy and chewy
- Frying from frozen: Add 1-2 minutes to the cooking time if frying frozen coated rings
I learned this technique while perfecting my Chicken Tenders Recipe.
Nutritional Facts
Per serving (approximately 6-8 onion rings):
- Calories: 285
- Total Fat: 12g
- Saturated Fat: 2g
- Cholesterol: 8mg
- Sodium: 420mg
- Total Carbohydrates: 38g
- Dietary Fiber: 2g
- Sugars: 5g
- Protein: 6g
Note: Nutritional values are approximate and will vary based on the size of your onion rings and oil absorption during frying.
Health Benefits of Key Ingredients
While fried food isn’t an everyday health food, the onions in this recipe do offer some nutritional benefits. Moderation is key with any fried dish.
Onions are surprisingly nutritious vegetables with several health benefits:
- Rich in antioxidants: Onions contain quercetin and other compounds that may reduce inflammation
- Vitamin C: Supports immune function and skin health
- Prebiotic fiber: Feeds beneficial gut bacteria for digestive health
- Heart health: Compounds in onions may help reduce blood pressure and cholesterol levels
- Antimicrobial properties: Natural compounds in onions have been shown to fight certain bacteria
- Blood sugar regulation: Some studies suggest onions may help manage blood sugar levels
Read Also: Mexican Street Corn Recipe
Frequently Asked Questions
1. Why Do My Onion Rings Get Soggy?
Soggy onion rings usually result from oil that’s not hot enough. When the temperature drops below 365°F, the coating absorbs oil instead of crisping up.
Make sure you’re working in small batches and allowing the oil to return to temperature between batches. Also ensure your onions are completely dry before coating them.
2. Can I Make Onion Rings Without Buttermilk?
Yes, you can make a buttermilk substitute by adding 1 tablespoon of lemon juice or white vinegar to 1 cup of regular milk. Let it sit for 5 minutes before using.
However, real buttermilk does provide the best flavor and helps create a more tender onion with better coating adhesion.
3. How Do I Keep the Coating From Falling Off?
The key is properly drying your onion rings before coating and pressing the breadcrumbs firmly onto each ring. The buttermilk soak also helps the coating adhere better.
Make sure you’re coating each ring thoroughly in the flour before the final panko layer, as this creates a foundation for everything to stick to.
4. What’s the Best Oil for Frying Onion Rings?
Vegetable oil, canola oil, or peanut oil all work well because they have high smoke points and neutral flavors. I typically use vegetable oil for its availability and cost-effectiveness.
Avoid olive oil or butter, which have lower smoke points and will burn at the temperatures needed for proper frying.
5. Can I Bake These Instead of Frying?
You can bake onion rings at 450°F for about 15-20 minutes, flipping halfway through, but they won’t be as crispy as fried. Spray them generously with cooking spray for better browning.
For a healthier alternative with better results than baking, try using an air fryer at 400°F for 10-12 minutes.
For a lighter option, try: Avocado Toast Recipe
Final Thoughts
Making onion rings at home is easier than you might think, and the results are absolutely worth the effort. Once you taste that perfect golden crunch and sweet, tender onion inside, you’ll understand why homemade always beats store-bought.
The key is taking your time with each step, especially maintaining the right oil temperature throughout frying. Don’t rush the process, and you’ll be rewarded with restaurant-quality rings that’ll impress everyone at your table.
I hope this recipe becomes a regular in your cooking rotation. There’s something deeply satisfying about pulling off perfect onion rings in your own kitchen.
Give this recipe a try and let me know how it turns out! Drop a comment below with your results or any creative variations you come up with.
Recommended:
- Scalloped Potatoes Recipe
- Tater Tot Casserole Recipe
- Hashbrown Casserole Recipe
- Sweet Potato Casserole Recipe
- Green Bean Casserole Recipe
- Cottage Cheese Chips Recipe
- Alabama White Sauce Recipe
- Bang Bang Sauce Recipe
- Yum Yum Sauce Recipe
- Peanut Sauce Recipe


