If you’ve never heard of a crack burger before, you’re in for a treat. This isn’t just any ordinary burger—it’s an addictive, crispy-on-the-outside, juicy-on-the-inside masterpiece that’ll have everyone asking for seconds.
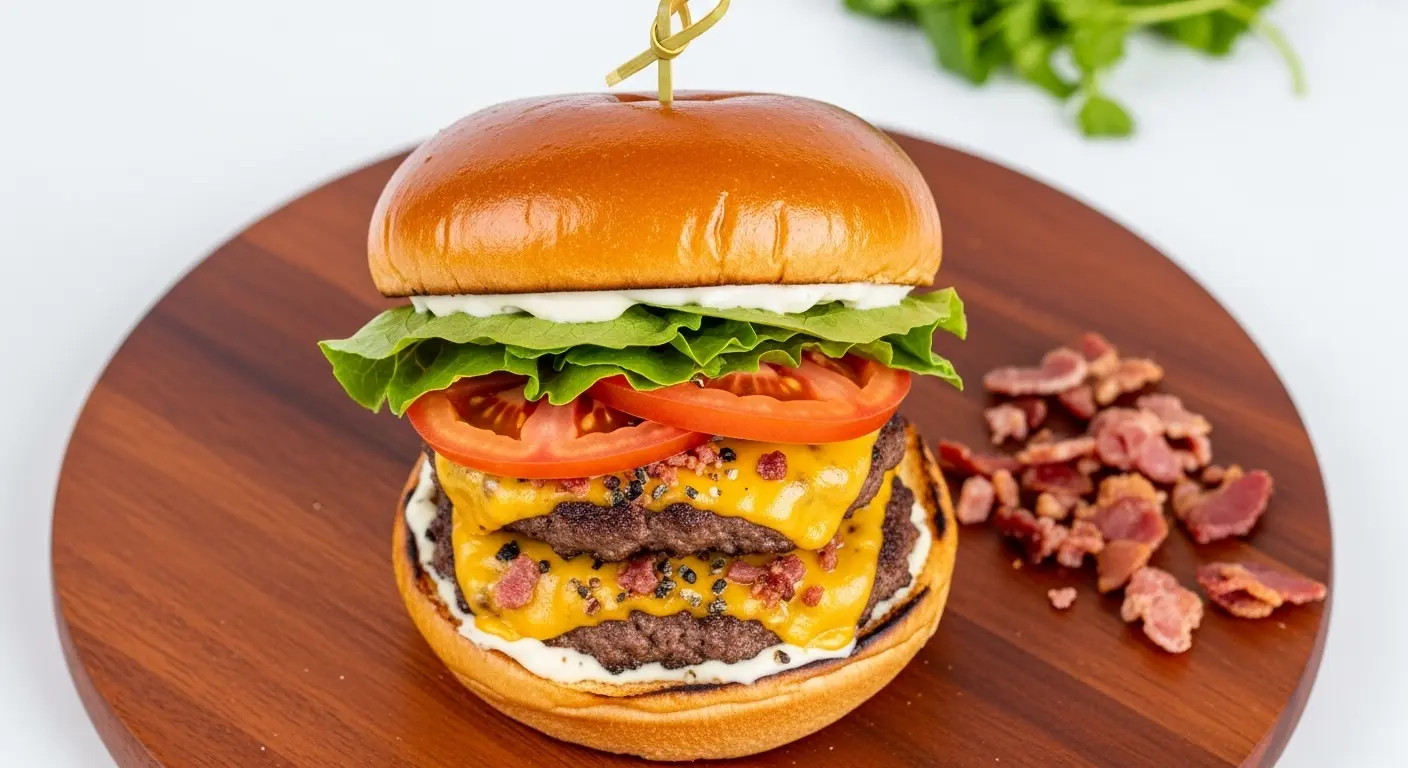
A crack burger recipe typically features paper-thin beef patties cooked until they’re perfectly caramelized with lacy, crispy edges that rival anything you’d get at a high-end restaurant. The magic happens when you use smashed burger technique with high heat, creating those irresistible crispy bits that give this burger its nickname.
What makes this burger so special is how simple it really is.
With just a few quality ingredients and the right technique, you can create restaurant-quality burgers at home that’ll impress your family and friends.
Why You’ll Love This Crack Burger
There’s genuine excitement when you bite into a crack burger—that satisfying crunch of crispy edges combined with tender, flavorful beef is hard to beat.
These burgers come together quickly, making them perfect for weeknight dinners or casual entertaining when you want something impressive without spending hours in the kitchen. The smashing technique creates maximum flavor through caramelization, giving you results that taste like they came from a professional burger joint.
The beauty of this recipe lies in its simplicity and results.
You don’t need fancy equipment or complicated steps to achieve burgers that taste absolutely phenomenal. These burgers are customizable, budget-friendly, and guaranteed to become a household favorite that people request constantly.
You can easily double or triple the recipe for parties without adding much effort. The whole process takes less than 20 minutes from start to finish.
Ingredients
This crack burger recipe uses straightforward, quality ingredients that work together to create maximum flavor.
- 1 pound ground beef (80/20 blend recommended)
- 1/2 teaspoon kosher salt
- 1/4 teaspoon black pepper
- 1/4 teaspoon garlic powder
- 1/8 teaspoon cayenne pepper (optional, for subtle heat)
- 4 slices cheese (American, cheddar, or Swiss work beautifully)
- 4 burger buns, lightly toasted
- 4 tablespoons butter, divided
- 2 tablespoons mayonnaise
- 2 tablespoons ketchup
- 1 tablespoon yellow mustard
- 4 large lettuce leaves (optional)
- 4 slices tomato (optional)
- 4 dill pickle slices (optional)
- 1/2 cup sliced red onion (optional)
Kitchen Equipment Needed
Having the right tools makes this recipe easier and helps you achieve professional results.
- One well-seasoned cast iron skillet or carbon steel griddle
- A sturdy burger spatula (metal works best for smashing)
- A food scale (optional but helpful for consistent portions)
- A meat thermometer
- A cutting board
- A small bowl for mixing seasonings
- Paper towels
- A toaster or toaster oven for buns
Recommended Products for This Recipe
Based on my experience making crack burgers regularly, these products genuinely elevate your burger game and make the whole process more enjoyable.
1. Lodge Cast Iron Skillet
A quality cast iron skillet is absolutely essential for achieving those crispy, caramelized edges that make crack burgers so addictive. This skillet heats evenly and retains heat beautifully, giving you consistent results every single time you cook.
2. Mercer Culinary Offset Spatula
This offset spatula is specifically designed for smashing burgers and gives you the leverage and control needed to create those perfect crispy edges. The thin, sturdy blade gets under patties easily without breaking them apart.
3. Premium American Cheese Slices
Using genuine, quality American cheese (not singles in plastic) makes a noticeable difference in taste and how well it melts. This cheese has superior melting properties that create that creamy, delicious layer in your burger.
4. ThermoPro Digital Meat Thermometer
Getting your burgers to exactly the right temperature ensures perfectly cooked burgers every time—juicy and safe. This thermometer reads in seconds and takes the guesswork out of doneness.
Step-by-Step Instructions
1. Prepare Your Ingredients and Workspace
- Divide your ground beef into 8 equal portions (about 2 ounces each), rolling them loosely into balls without compacting them
- Season each ball with half a pinch of the salt, pepper, garlic powder, and cayenne pepper (save half the seasoning for the other side)
- Place all ingredients within arm’s reach of your cooking station
- Toast your burger buns lightly and set them on a clean surface, ready for assembly
2. Heat Your Skillet to the Perfect Temperature
- Place your cast iron skillet on the stovetop over medium-high to high heat (depending on your stove’s power, aim for medium-high initially)
- Allow it to heat for 3-5 minutes until it’s smoking lightly and a drop of water immediately sizzles and evaporates
- Test the temperature by dropping a tiny piece of beef on it—it should sizzle violently and brown almost instantly
3. Form and Smash Your First Batch of Patties
- Place one beef ball directly onto the hot skillet—don’t oil the skillet first, as the beef’s natural fat will be your cooking medium
- Using your spatula, immediately press down firmly and quickly, flattening the patty into a very thin disc (about 1/8 inch thick)
- Apply pressure for about 3-5 seconds, then lift the spatula to reveal crispy, lacy edges that have developed almost instantly
- Season the cooked side lightly with salt, pepper, and garlic powder
- Do not move or flip the burger—let it continue cooking undisturbed for about 2-3 minutes until it develops deep brown, crispy edges
4. Flip and Cook the Second Side
- Using your spatula, carefully slide it under the entire patty and flip it in one confident motion
- Immediately press down again with the spatula for 2-3 seconds to create crispy edges on this side as well
- Season the second side with salt, pepper, and garlic powder
- Allow it to cook for another 1-2 minutes until this side also develops beautiful crispy, caramelized edges
5. Add Cheese and Continue Cooking
- After the second side has cooked for about 1 minute, add a slice of cheese to the top of each patty
- If you’re cooking multiple patties, place them close together so they support each other and help the cheese melt more evenly
- Continue cooking for another 30-60 seconds until the cheese begins to soften and show signs of melting
- For extra melty cheese, cover the skillet briefly with a lid or even a piece of aluminum foil for 30 seconds
6. Rest Your Burgers Before Assembling
- Transfer your cooked patties to a clean plate and let them rest for 1-2 minutes
- This brief rest allows the cheese to fully set and the meat to retain its juices
- While burgers are resting, you can repeat steps 3-5 with your remaining beef balls for a second batch
7. Assemble Your Burgers
- Spread a thin layer of mayonnaise on the bottom bun of each burger
- Add a small dollop of ketchup and a small dollop of mustard directly on the mayo
- Place your perfectly cooked cheese-topped patty on the bottom bun
- Add lettuce, tomato, pickles, and onion in that order if using fresh toppings
- Place the top bun on your burger with a gentle press
- Serve immediately and enjoy the crispy, juicy perfection
Tips for Success
Making excellent crack burgers is all about technique and attention to detail.
- Never press burgers while they’re cooking unless you’re the smash burger style—flatten them once, then leave them alone
- Use ground beef with an 80/20 ratio of lean to fat; this balance creates the best flavor and those crispy edges
- Keep your skillet clean between batches by wiping excess grease with paper towels—some fat is good for flavor and browning
- Don’t flip too early; allow 2-3 minutes on the first side to develop that essential crust
- Season your beef lightly but consistently; too much seasoning can overpower the meat’s natural flavors
- High heat is crucial; if your heat isn’t hot enough, you’ll end up steaming rather than searing your burgers
- Place patties away from each other initially so steam doesn’t prevent crust formation, then move them closer if adding toppings that need support
You might also enjoy: Easy Garlic Bread Recipe
Serving Suggestions
Crack burgers are delicious on their own, but they pair beautifully with complementary sides and flavors.
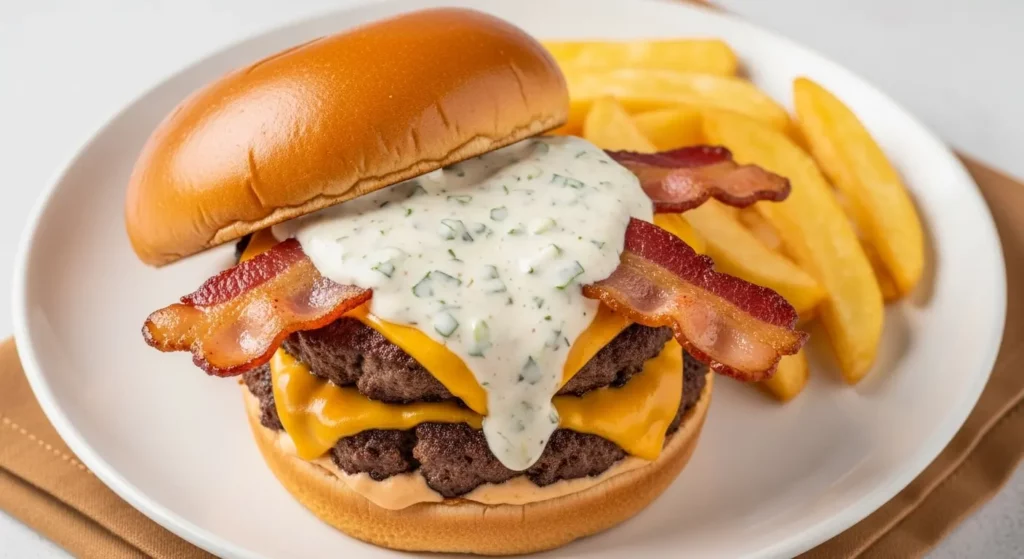
- Serve with crispy french fries or steak fries seasoned with sea salt and fresh pepper
- Pair with Smashed Potatoes for a more upscale burger meal
- Add Cheesy Garlic Bread for a delicious accompaniment
- Create a burger night spread with Broccoli Salad and Potato Salad
- Serve alongside classic coleslaw for a tangy, refreshing contrast
- Pair with pickled vegetables or a fresh green salad for balance
- Add grilled onions caramelized in butter for extra richness
- Serve with crispy bacon strips on the side
Variations to Try
Once you master the classic crack burger, these variations let you explore different flavor profiles.
- Mushroom and Swiss: Add sautéed mushrooms and Swiss cheese instead of American cheese for an earthy, sophisticated version
- Spicy Pepper Jack: Use pepper jack cheese and add jalapeño slices and a few drops of hot sauce to your mayonnaise
- Bacon Cheddar Smash: Top with crispy bacon and sharp cheddar cheese, then add a dollop of smoky mayo
- Caramelized Onion and Blue Cheese: Crown your burger with sweet, golden caramelized onions and crumbled blue cheese
- BBQ Burger: Brush cooked patties with BBQ sauce and add crispy onion strings before serving
- Fully Loaded: Start with your classic crack burger, then add lettuce, tomato, pickles, onion, bacon, an extra cheese slice, and a fried egg for ultimate indulgence
Read Also: Classic Carne Asada Recipe
Storage and Reheating
Properly storing your crack burgers ensures you can enjoy them later without losing quality or food safety.
- Store cooked burgers in an airtight container in the refrigerator for up to 3 days
- Keep raw patties in the freezer for up to 3 months; separate them with parchment paper so they don’t stick together
- To reheat, place burgers on a skillet over medium heat for 2-3 minutes per side until warmed through and crispy again
- You can also reheat in a 350°F oven for about 5 minutes on a baking sheet
- For best results with refrigerated burgers, reheat them individually on your hot skillet rather than microwaving
- Leftover beef can be crumbled into tacos, salads, or pasta sauce rather than storing as full burgers
Nutritional Facts
Here’s what you can expect nutritionally from a single crack burger (without optional toppings, based on one patty with cheese and bun):
- Calories: approximately 520-580
- Total Fat: 28-32 grams
- Saturated Fat: 12-14 grams
- Protein: 28-30 grams
- Total Carbohydrates: 38-42 grams
- Dietary Fiber: 1-2 grams
- Sugars: 4-6 grams
- Sodium: 820-920 milligrams
- Cholesterol: 85-95 milligrams
Note: Nutritional values vary based on specific ingredients used and portion sizes. These calculations use standard USDA data for 80/20 ground beef, American cheese, and a standard burger bun.
Health Benefits of Key Ingredients
Understanding what goes into your crack burger helps you appreciate its nutritional value.
- Ground Beef (80/20): Rich in complete protein with all nine essential amino acids, plus iron, zinc, and B vitamins that support energy and immune function
- Cheese: Provides calcium for strong bones and teeth, plus casein protein that aids muscle recovery and satiety
- Whole Grain Buns: Offer fiber for digestive health and sustained energy, plus B vitamins when choosing whole grain varieties
- Fresh Vegetables: Lettuce and tomato provide vitamin C, potassium, and beneficial antioxidants with minimal calories
- Pickles: Contain probiotics if naturally fermented, supporting gut health and digestion
- Onions: Packed with quercetin and other compounds that have anti-inflammatory properties and support heart health
Frequently Asked Questions
1. Why is it called a “crack burger”?
It earned this name because people find them incredibly addictive—the crispy edges and juicy center create an irresistible combination that keeps people coming back for more. Once you try one, you’ll understand why the name fits so perfectly.
2. Can I use ground turkey or chicken instead of beef?
Ground turkey works but produces different results since it’s much leaner and won’t create those same crispy, caramelized edges. Chicken is even more delicate and tends to stick to the skillet without creating that desirable crust.
3. What if my burgers aren’t getting crispy?
Your skillet isn’t hot enough or you’re using too much fat in the pan. Make sure your cast iron is smoking hot before adding beef, and don’t add oil or butter to the skillet.
4. Can I make these burgers on a grill instead of a skillet?
Yes, but you’ll get different results since a grill has open flames and gaps that prevent the concentrated heat needed for those crispy edges. A griddle on your grill would work better than grill grates.
5. How do I know when my burger is cooked through?
Use a meat thermometer inserted into the thickest part of the patty—beef burgers should reach 160°F for food safety. Most crack burgers reach this temperature in about 6-8 minutes total (3-4 minutes per side).
Final Thoughts
Making crack burgers at home is one of the most satisfying cooking experiences you can have.
The combination of crispy edges, juicy meat, melted cheese, and fresh toppings creates a burger that rivals any restaurant version and costs a fraction of the price. Once you’ve mastered this technique, you’ll find yourself making these burgers regularly for casual weeknight dinners, impressive gatherings, and everything in between.
Give this crack burger recipe a try and experience the magic for yourself. Drop a comment below and tell me how yours turned out, or share your favorite burger variations with our community!
Recommended:
- Easy Mongolian Beef Recipe
- Easy Pepper Steak Recipe
- Authentic Philly Cheese Steak Recipe
- Easy Crockpot Mac and Cheese Recipe
- Cheesy Garlic Bread Recipe
- Baked Spaghetti Recipe with Ground Beef
- Easy Tomato Soup Recipe
- Classic Shrimp Scampi Recipe
- Easy Fried Chicken Recipe
- Easy Meatballs Recipe


