I’ve been making blueberry pie for years, and I can tell you there’s nothing quite like pulling a golden, bubbling pie out of the oven. The aroma alone is enough to make everyone come running to the kitchen.
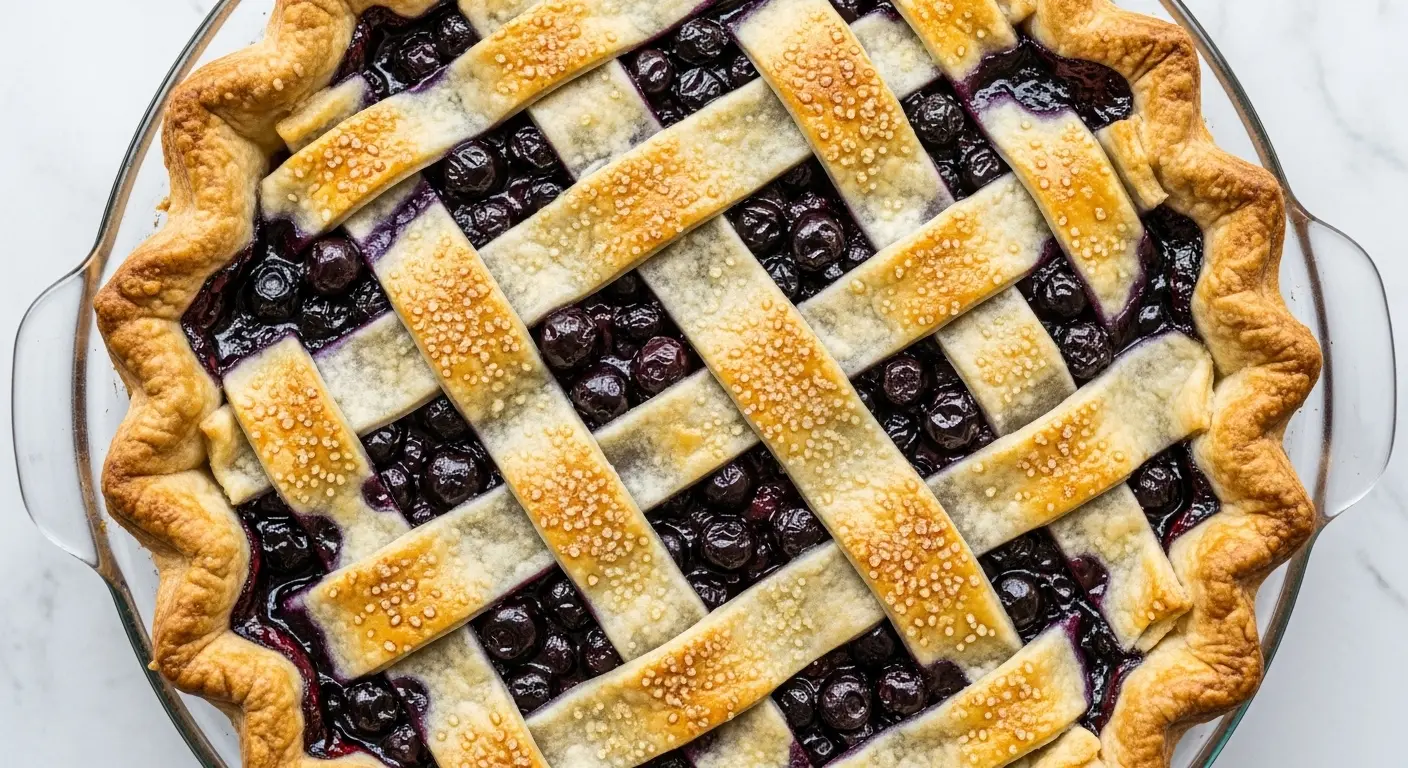
This blueberry pie recipe combines juicy, sweet-tart berries with a flaky, buttery crust that shatters perfectly with each bite. It’s the kind of dessert that brings back memories of summer afternoons and family gatherings.
The filling strikes just the right balance between jammy and fresh. You’ll taste the natural sweetness of the berries without it being cloying, and that hint of lemon brightens everything up beautifully.
What I love most is how forgiving this recipe is. Even if your crust isn’t picture-perfect, it’ll still taste incredible.
Why You’ll Love This Blueberry Pie Recipe
This recipe has become my go-to for a reason. It works every single time, and I’ve made it dozens of times for potlucks, holidays, and random Tuesday nights when I just wanted something special.
The filling uses a simple technique that prevents that dreaded soggy bottom crust. You know the one I’m talking about—where you cut into a slice and find a pale, wet layer of pastry that just won’t cooperate.
Here’s what makes this recipe stand out:
- Perfect texture every time: The filling sets up beautifully without becoming gummy or runny
- Flexible berry options: Use fresh or frozen blueberries without adjusting the recipe
- Make-ahead friendly: The dough can be prepared days in advance and kept in the fridge
- Customizable sweetness: Easy to adjust sugar levels based on your berries’ natural sweetness
- Crowd-pleaser: I’ve never met anyone who didn’t go back for seconds
If you’re a fan of fruit desserts, you might also enjoy my sweet potato pie recipe.
Ingredients
This pie comes together with simple, straightforward ingredients you probably have on hand. I’ve organized everything you need below to make this foolproof.
For the Pie Crust:
- 2½ cups all-purpose flour
- 1 tablespoon granulated sugar
- 1 teaspoon salt
- 1 cup (2 sticks) cold unsalted butter, cut into small cubes
- 6-8 tablespoons ice water
For the Blueberry Filling:
- 5 cups fresh or frozen blueberries
- ¾ cup granulated sugar
- ¼ cup cornstarch
- 2 tablespoons fresh lemon juice
- 1 teaspoon lemon zest
- ¼ teaspoon salt
- ½ teaspoon ground cinnamon
- 2 tablespoons cold butter, cut into small pieces
For the Egg Wash:
- 1 large egg
- 1 tablespoon milk or heavy cream
- 1 tablespoon coarse sugar for sprinkling
Kitchen Equipment Needed
Having the right tools makes pie-making so much easier. You don’t need anything fancy, but these essentials will help you achieve that professional look and perfect texture.
- 9-inch pie dish (glass or ceramic works best)
- Large mixing bowls
- Pastry cutter or fork
- Rolling pin
- Plastic wrap
- Parchment paper
- Sharp knife or pastry wheel
- Small bowl for egg wash
- Pastry brush
- Cooling rack
Recommended Products for This Recipe
After making countless pies over the years, I’ve found a few products that genuinely make a difference in the final result. These aren’t just random recommendations—they’re tools and ingredients that have solved real problems I’ve encountered while baking.
1. Wild Maine Blueberries
Wild blueberries have an intensity of flavor that regular cultivated berries just can’t match. They’re smaller and pack more concentrated berry goodness, which means your pie filling tastes like you picked the berries yourself from a mountain hillside. I keep bags of frozen wild blueberries in my freezer year-round for whenever the pie craving hits.
2. Emile Henry Pie Dish
This ceramic pie dish conducts heat beautifully and gives you that perfectly browned, crispy bottom crust every time. The fluted edges make crimping so much easier, and it’s gorgeous enough to go straight from oven to table. I’ve had mine for over five years and it still looks brand new.
3. OXO Rolling Pin with Adjustable Rings
The removable rings on this rolling pin help you achieve perfectly even dough thickness every single time. No more guessing if one side is thicker than the other—just set the rings and roll. It’s made my pie crusts infinitely more consistent.
4. King Arthur Pie Crust Protector
This silicone shield slips right over your pie edges and prevents them from burning while the center finishes baking. Before I discovered this, I was wrapping aluminum foil around my crusts halfway through baking, which was messy and never quite worked as well. This shield is reusable and makes the process effortless.
Step-by-Step Instructions
Making pie from scratch is easier than you think. I’ll walk you through each step in detail so you feel confident throughout the entire process.
1. Prepare the Pie Dough
- In a large bowl, whisk together the flour, sugar, and salt until well combined.
- Add the cold butter cubes to the flour mixture and use a pastry cutter to work the butter into the flour until the mixture resembles coarse crumbs with pea-sized pieces of butter remaining.
- Drizzle 6 tablespoons of ice water over the mixture and use a fork to gently mix until the dough starts to come together—add more water one tablespoon at a time if the dough seems too dry.
- Turn the dough out onto a clean surface and divide it in half, shaping each half into a flat disc.
- Wrap each disc tightly in plastic wrap and refrigerate for at least 1 hour or up to 3 days.
2. Make the Blueberry Filling
- In a large bowl, combine the blueberries, sugar, cornstarch, lemon juice, lemon zest, salt, and cinnamon.
- Toss everything together gently but thoroughly until the berries are evenly coated with the sugar and cornstarch mixture.
- Let the filling sit at room temperature while you roll out the pie crust, allowing the berries to release some of their juices and the flavors to meld together.
Another favorite: Key Lime Pie Recipe
3. Roll Out the Bottom Crust
- Remove one disc of dough from the refrigerator and let it sit at room temperature for about 5 minutes to make rolling easier.
- On a lightly floured surface, roll the dough from the center outward, rotating it a quarter turn after each roll to maintain a circular shape.
- Continue rolling until you have a circle about 12 inches in diameter and roughly ⅛ inch thick.
- Carefully transfer the dough to your pie dish by rolling it around the rolling pin and then unrolling it over the dish.
- Gently press the dough into the bottom and sides of the dish without stretching it, letting any excess hang over the edges.
4. Add the Filling and Top Crust
- Pour the blueberry filling into the prepared bottom crust and spread it evenly.
- Dot the filling with the small pieces of cold butter, distributing them across the surface.
- Roll out the second disc of dough in the same manner as the first, creating another 12-inch circle.
- Place the top crust over the filling, then trim both the top and bottom crusts to leave about ½ inch of overhang.
- Fold the edges of the top crust under the bottom crust edge and crimp decoratively using your fingers or a fork.
- Cut 4-6 slits in the top crust to allow steam to escape during baking.
5. Apply Egg Wash and Bake
- Preheat your oven to 400°F (200°C) and position a rack in the lower third of the oven.
- In a small bowl, whisk together the egg and milk until smooth and well combined.
- Brush the egg wash generously over the entire top crust, making sure to cover all the crimped edges.
- Sprinkle the coarse sugar evenly over the egg-washed surface for a beautiful sparkle and subtle crunch.
- Place the pie on a baking sheet to catch any drips and bake for 20 minutes at 400°F.
- Reduce the oven temperature to 350°F (175°C) and continue baking for another 40-50 minutes until the crust is deep golden brown and the filling is bubbling through the vents.
- If the edges start to brown too quickly, cover them loosely with aluminum foil or add a pie crust shield.
6. Cool and Serve
- Remove the pie from the oven and place it on a cooling rack.
- Allow the pie to cool for at least 4 hours before slicing—this cooling time is crucial for the filling to set properly.
- The pie will continue to thicken as it cools, so resist the temptation to cut into it too early even though it smells incredible.
- Once cooled, slice and serve with vanilla ice cream, whipped cream, or enjoy it on its own.
Tips for Success
These little tricks have saved my pies more times than I can count. Pay attention to these details and you’ll avoid the most common pie-making pitfalls.
Keep everything cold. Cold butter creates those flaky layers in your crust, so work quickly and don’t let the dough warm up too much. If your kitchen is particularly warm, pop the dough back in the fridge for 10 minutes if it starts getting soft while you’re working with it.
- Use ice water for the dough and keep your butter as cold as possible
- Chill the dough thoroughly before rolling—don’t skip this step
- If frozen blueberries are very wet, pat them dry with paper towels before mixing with other filling ingredients
- Don’t overmix the pie dough or it will become tough
- Bake on the lower oven rack to ensure the bottom crust gets crispy
- Let the pie cool completely for the best slicing results—I know it’s hard to wait
Read Also: Boston Cream Pie Recipe
Serving Suggestions
This pie shines on its own, but pairing it with the right accompaniments takes it to another level. I’ve tested all these combinations multiple times, and each one brings out different flavors in the berries.
A scoop of vanilla ice cream melting into the warm pie is classic for a reason—the contrast between hot and cold, creamy and tart, is simply unbeatable. Freshly whipped cream adds a light, airy touch that doesn’t overpower the fruit.
For breakfast (yes, pie for breakfast is acceptable), I love a slice with Greek yogurt and a drizzle of honey. The tanginess of the yogurt complements the sweet berries perfectly.
- Vanilla ice cream or gelato
- Freshly whipped cream with a hint of vanilla
- Caramel Sauce for extra decadence
- Sharp cheddar cheese for a sweet-savory combination
- Coffee or tea as the perfect beverage pairing
- Lemon curd on the side for extra citrus brightness
Variations to Try
Once you’ve mastered the basic recipe, these variations will keep things interesting. I rotate through these throughout the year depending on what’s in season.
Mixed berry pie: Replace 2 cups of blueberries with raspberries, blackberries, or sliced strawberries for a more complex flavor profile. You might need to add an extra tablespoon of cornstarch since some berries release more liquid than others.
- Add ½ teaspoon of almond extract to the filling for a subtle nutty undertone
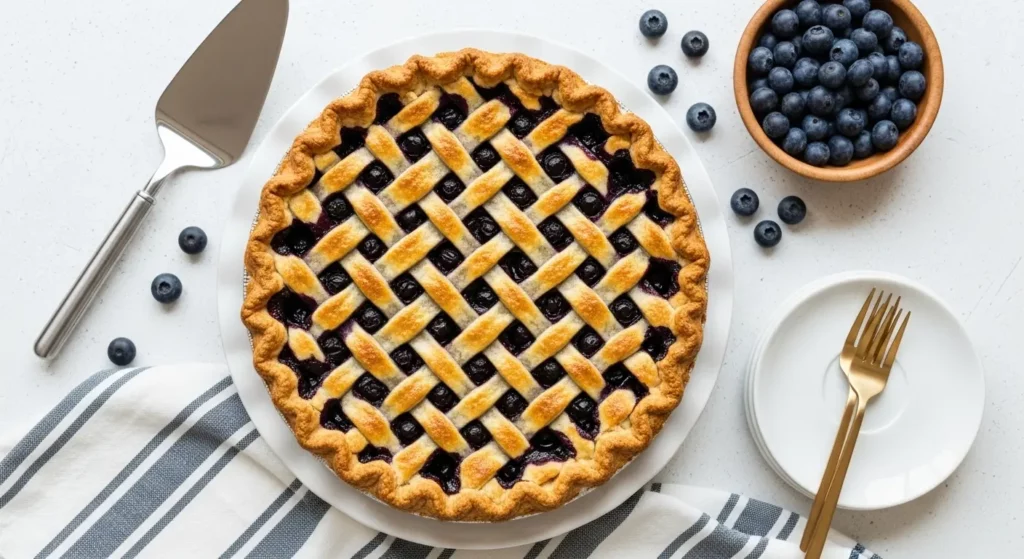
- Use a lattice top crust instead of a solid top for a stunning presentation
- Mix in 1 teaspoon of vanilla extract to deepen the flavor
- Try a streusel topping instead of a top crust for added texture
- Add a handful of fresh basil leaves to the filling for an unexpected herbal note
- Incorporate ¼ cup of tapioca pearls instead of cornstarch for a different thickening agent
This pairs beautifully with my Apple Pie Biscuits for a fruit dessert spread.
Storage and Reheating
Proper storage keeps your pie tasting fresh for days. I’ve found these methods work best for maintaining that perfect texture.
Room temperature storage: Cover the cooled pie loosely with foil and keep it at room temperature for up to 2 days. The crust stays crispier this way compared to refrigerating.
- Refrigerate for up to 5 days by covering tightly with plastic wrap or aluminum foil
- Freeze unbaked pie for up to 3 months—wrap tightly in plastic wrap, then foil, and bake from frozen adding 15-20 extra minutes
- Freeze baked pie slices individually wrapped for up to 2 months
- Reheat individual slices in a 350°F oven for 10-15 minutes to restore crispness
- Avoid microwaving whole slices as it makes the crust soggy
- Bring refrigerated pie to room temperature before serving for best flavor
Nutritional Facts
Per slice (based on 8 servings):
- Calories: 425
- Total Fat: 18g
- Saturated Fat: 11g
- Cholesterol: 55mg
- Sodium: 310mg
- Total Carbohydrates: 64g
- Dietary Fiber: 3g
- Sugars: 32g
- Protein: 5g
Health Benefits of Key Ingredients
While pie is definitely a treat, the blueberries in this recipe pack some serious nutritional benefits. I feel a little less guilty about that second slice knowing what these berries bring to the table.
Blueberries are loaded with antioxidants called anthocyanins, which give them their deep blue color and have been linked to improved brain function and heart health. They’re also high in vitamin C and vitamin K, supporting immune function and bone health.
- Rich in antioxidants that fight inflammation and oxidative stress
- High in fiber, promoting digestive health and helping you feel satisfied
- Contains vitamin C for immune system support
- Provides vitamin K for bone health and blood clotting
- Low glycemic index compared to many other fruits
- May improve memory and cognitive function with regular consumption
You might also enjoy: Peach Cobbler Recipe
Frequently Asked Questions
1. Can I use frozen blueberries instead of fresh?
Absolutely, and you don’t need to thaw them first. Frozen blueberries work perfectly in this recipe and are often more affordable, especially when fresh berries are out of season. Just add them directly to the filling mixture while still frozen—they’ll release their juices as the pie bakes.
2. Why is my pie filling runny?
The most common reason is not letting the pie cool completely before slicing. The filling needs at least 4 hours to set properly as it cools and the cornstarch does its thickening magic. If you cut into it too soon, the filling will still be liquid and run all over your plate.
3. How do I prevent a soggy bottom crust?
Baking the pie on the lower oven rack helps because the bottom gets more direct heat. I also recommend using a glass or ceramic pie dish rather than a metal one, as you can see through the bottom to check for browning. Some people brush the bottom crust with a thin layer of egg white before adding the filling as an extra moisture barrier.
4. Can I make the pie dough ahead of time?
Yes, and I actually prefer to do this. The dough keeps beautifully in the refrigerator for up to 3 days, or you can freeze it for up to 3 months. Just wrap each disc tightly in plastic wrap and then in foil if freezing.
5. What’s the best way to get perfectly crimped edges?
The key is making sure your dough isn’t too cold or too warm. If it’s too cold, it’ll crack when you try to crimp it. If it’s too warm, it won’t hold the pattern. Let refrigerated dough sit at room temperature for about 5 minutes before crimping, then use your thumb and forefinger to create a fluted pattern around the entire edge.
Read Also: Pear Cobbler Recipe
Final Thoughts
There’s something deeply satisfying about making pie from scratch. The process is meditative—measuring, mixing, rolling, crimping—and the reward at the end is more than worth the effort.
This blueberry pie recipe has become one of my most treasured, and I hope it becomes one of yours too. The combination of buttery, flaky crust and sweet-tart filling is timeless for a reason.
I’d love to hear how your pie turns out. Drop a comment below with your results, any tweaks you made, or questions you have along the way.
Recommended:
- Fruit Salad Recipe
- No Bake Cookie Recipe
- Oatmeal Raisin Cookie Recipe
- Oatmeal Cookie Recipe
- Peanut Butter Cookie Recipe
- Strawberry Sauce Recipe
- Pumpkin Bar Recipe
- Toffee Recipe
- Baklava Recipe
- Tres Leches Cake Recipe


