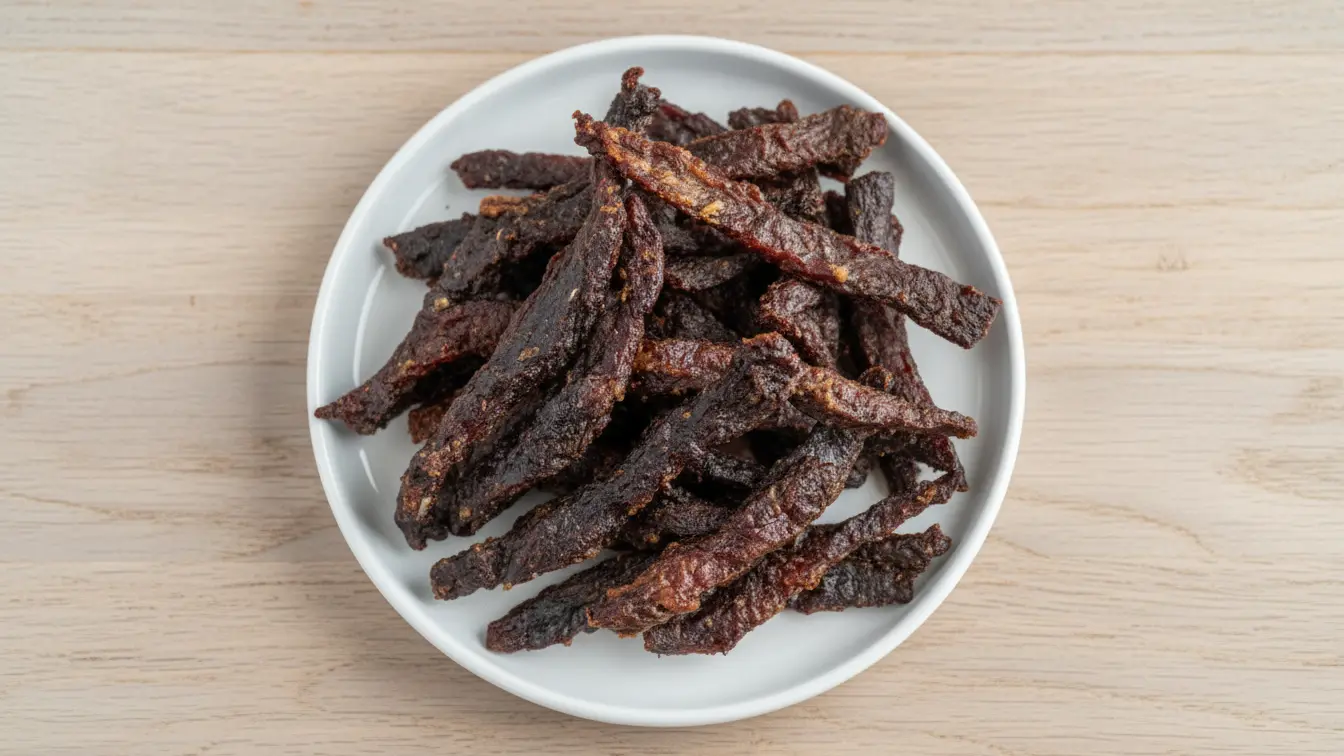
Making homemade beef jerky in your air fryer is one of those culinary revelations that changes everything. I used to think jerky was something you could only get from the store or fancy dehydrators, but then I discovered this Air Fryer Beef Jerky Recipe and never looked back.
The air fryer’s circulating heat creates perfectly chewy, flavorful jerky with a fraction of the time and effort of traditional methods. You get all the savory, protein-packed goodness of store-bought jerky without the questionable ingredients or sky-high prices.
I love making big batches on Sunday afternoons and packing them into snack bags for the week ahead. My kids grab them for after-school snacks, my husband tosses them in his gym bag, and I keep a stash in my desk drawer for those mid-afternoon energy slumps.
The best part? You control exactly what goes into your jerky. No weird preservatives, no excess sugar, just pure beefy deliciousness seasoned exactly how you like it.
This pairs beautifully with my Air Fryer Chicken Wings Recipe when you’re putting together a protein-packed snack spread.
Why You’ll Love This Air Fryer Beef Jerky Recipe
This recipe transforms tough cuts of beef into tender, flavorful strips that rival anything you’d find at a specialty store. The air fryer does the heavy lifting, creating that perfect chewy texture without requiring hours of your attention.
Here’s what makes this recipe special:
- Budget-friendly: Store-bought jerky costs a fortune, but making your own slashes the price dramatically
- Customizable flavors: Season it exactly how you want, from teriyaki to spicy to classic savory
- Healthier option: Control the sodium, skip the preservatives, and choose quality beef
- Quick process: Ready in just a few hours versus all-day dehydrating
- Perfect texture: The air fryer creates evenly dried jerky with ideal chewiness
- Meal prep winner: Makes a week’s worth of high-protein snacks in one batch
- No special equipment: Just your trusty air fryer and basic kitchen tools
Ingredients
The beauty of homemade jerky lies in its simplicity. You need quality beef and a flavorful marinade that penetrates every fiber of the meat.
- 2 pounds flank steak or top round, sliced ¼-inch thick against the grain
- ½ cup low-sodium soy sauce
- ¼ cup Worcestershire sauce
- 3 tablespoons brown sugar
- 2 tablespoons liquid smoke
- 2 teaspoons garlic powder
- 2 teaspoons onion powder
- 1 teaspoon black pepper
- 1 teaspoon smoked paprika
- ½ teaspoon red pepper flakes (optional, for heat)
- ¼ teaspoon Prague powder #1 (curing salt, optional but recommended for safety and color)
Kitchen Equipment Needed
Having the right tools makes slicing and drying your jerky so much easier. Most of these you probably already have in your kitchen.
- Air fryer (6-quart or larger works best)
- Sharp slicing knife or meat slicer
- Large mixing bowl
- Gallon-sized resealable bags
- Paper towels
- Tongs
- Wire cooling rack
- Dehydrator sheets or parchment paper (optional)
Recommended Products for This Recipe
After making countless batches of air fryer beef jerky, I’ve found a few products that genuinely make the process easier and the results better. These aren’t necessities, but they’re investments that pay off if you plan to make jerky regularly.
1. Certified Angus Beef Top Round
Quality beef makes all the difference in homemade jerky. Top round is lean enough to dry properly but still has enough flavor to shine through the marinade. I always look for well-marbled cuts that are fresh, not previously frozen, for the best texture.
2. Weston Manual Meat Slicer
Consistent slice thickness is crucial for even drying, and this manual slicer delivers perfectly uniform ¼-inch strips every time. It’s way safer than trying to eyeball it with a knife, and it cuts your prep time in half. The suction base keeps it stable while you work.
3. Colgin Hickory Liquid Smoke
Not all liquid smoke is created equal, and this brand gives you authentic smoky flavor without any chemical aftertaste. Just a couple tablespoons transforms your jerky into something that tastes like it spent hours in a smoker. A little bottle lasts for dozens of batches.
4. InstaCure #1 Prague Powder
This curing salt isn’t mandatory, but it prevents bacterial growth during the drying process and gives your jerky that classic rosy color. It’s especially important if you’re not eating all the jerky within a week or two. One container will last you years since you only need a pinch per batch.
Step-by-Step Instructions
Making beef jerky is all about patience and precision. Follow these detailed steps for perfect results every time.
1. Prepare the Beef
The secret to easy slicing is partially freezing your beef first. This firms up the meat so you can cut clean, even slices.
- Place your beef in the freezer for 1-2 hours until it’s firm but not completely frozen
- Remove from freezer and place on a cutting board
- Using a sharp knife, trim away any visible fat (fat doesn’t dry well and can turn rancid)
- Identify the grain direction of the meat (the lines running through it)
- Slice the beef against the grain into strips about ¼-inch thick
- Try to keep all slices as uniform as possible for even drying
- Pat the slices dry with paper towels to remove excess moisture
2. Make the Marinade
A well-balanced marinade penetrates the meat and creates layers of flavor that intensify as the jerky dries.
- In a large mixing bowl, whisk together the soy sauce, Worcestershire sauce, and brown sugar until the sugar dissolves
- Add the liquid smoke, garlic powder, onion powder, black pepper, and smoked paprika
- Stir in the red pepper flakes if you want some heat
- If using Prague powder, add it now and whisk thoroughly to distribute evenly
- Taste the marinade (it should be salty and flavorful since it will mellow as the meat dries)
- Adjust seasonings to your preference
3. Marinate the Beef
Proper marination time allows the flavors to fully penetrate every strip of meat.
- Add the beef strips to the marinade in the bowl, or transfer everything to a large resealable bag
- Make sure every piece of beef is completely coated in marinade
- Remove as much air as possible if using a bag
- Seal and refrigerate for at least 4 hours, or preferably overnight (8-12 hours is ideal)
- Flip the bag or stir the bowl every few hours to ensure even marination
- The longer it marinates, the more intense the flavor will be
4. Prepare the Beef for Air Frying
Removing excess marinade prevents dripping and helps the jerky dry evenly.
- Remove the marinated beef from the refrigerator
- Take out each strip and lay it on paper towels
- Pat both sides of each strip thoroughly with paper towels to remove excess marinade
- Don’t skip this step—too much liquid will cause steaming instead of drying
- Let the beef sit at room temperature for about 15 minutes before cooking
- This allows for more even drying in the air fryer
5. First Air Fryer Session
The initial drying phase removes most of the moisture from the meat.
- Preheat your air fryer to 160°F (or the lowest setting your air fryer offers)
- Arrange beef strips in a single layer in the air fryer basket, leaving space between each piece
- Don’t overlap the strips—air circulation is crucial for even drying
- If your air fryer has multiple racks, you can use them all but rotate positions halfway through
- Set the timer for 2 hours
- Check on the jerky every 30 minutes, flipping each strip for even drying
- The meat should start to darken and firm up significantly
6. Pat Dry and Continue Drying
Removing any moisture that has surfaced ensures crispy edges and proper preservation.
- After the first 2 hours, remove all the beef strips from the air fryer
- Pat each strip dry with fresh paper towels (you’ll see moisture has collected on the surface)
- Return the strips to the air fryer in a single layer
- Continue drying at 160°F for another 1-2 hours
- Check every 30 minutes and flip the strips
- The jerky is done when it bends and cracks slightly but doesn’t break in half
- It should be firm and dry to the touch but still have some flexibility
7. Cool and Final Check
Jerky continues to firm up as it cools, so don’t worry if it seems slightly soft when hot.
- Remove all strips from the air fryer and place them on a wire cooling rack
- Let the jerky cool completely at room temperature (about 30 minutes)
- Once cool, bend each piece to test the texture
- Properly dried jerky should crack slightly when bent but not snap completely
- If some pieces still seem too moist, return them to the air fryer for 30-minute intervals until done
- Different thickness pieces will finish at different times, so check each one individually
Tips for Success
These pro tips will help you nail the perfect batch every single time.
- Freeze before slicing: Partially frozen meat is exponentially easier to slice thinly and uniformly
- Slice against the grain: This creates more tender jerky that’s easier to chew
- Keep thickness consistent: Uniform slices dry at the same rate, preventing some pieces from over-drying while others stay too moist
- Don’t skip the pat-dry: Excess marinade causes steaming instead of drying, resulting in tough jerky
- Use the bend test: Properly dried jerky bends and cracks but doesn’t snap completely in half
- Work in batches: Don’t overcrowd the air fryer basket or the jerky won’t dry evenly
- Rotate positions: If using multiple racks, swap their positions halfway through for even drying
- Watch the temperature: Too high and you’ll cook the meat instead of drying it, resulting in crumbly jerky
- Cool completely: Jerky firms up as it cools, so don’t judge the final texture while it’s still warm
- Check for cool spots: Some air fryers have hot and cold zones, so move pieces around during cooking
Another favorite: Air Fryer Chicken Thighs Recipe
Serving Suggestions
Beef jerky shines as a standalone snack, but it also adds protein and flavor to various dishes and occasions.
Jerky is incredibly versatile beyond just grabbing a piece on the go. I love packing it for hiking trips since it’s lightweight and doesn’t need refrigeration. It’s also perfect for road trips, camping, or keeping in your desk for those afternoons when you need sustained energy without the sugar crash.
- Chop it up and toss it into salads for a smoky protein boost
- Crumble it over baked potatoes with sour cream and chives
- Add it to homemade trail mix with nuts and dried fruit
- Pack it in lunch boxes alongside cheese and crackers
- Serve it on a charcuterie board with pickles and mustard
- Crumble it into scrambled eggs for a savory breakfast
- Use it as a topping for Loaded Potato Soup
- Include it in camping meals or backpacking food kits
- Gift it in mason jars with festive ribbon for the holidays
Variations to Try
Once you’ve mastered the classic version, experimenting with different flavors keeps things exciting.
- Teriyaki jerky: Replace Worcestershire with teriyaki sauce and add fresh ginger and pineapple juice
- Spicy sriracha jerky: Add 2 tablespoons sriracha and increase red pepper flakes to 1 teaspoon
- Sweet and spicy: Double the brown sugar and add cayenne pepper to taste
- Korean BBQ: Use gochujang paste, sesame oil, and rice vinegar in the marinade
- Peppered jerky: Coat strips heavily with cracked black pepper after marinating
- Maple bourbon: Add 3 tablespoons maple syrup and 2 tablespoons bourbon to the marinade
- Jamaican jerk: Use jerk seasoning blend and add lime juice and allspice
- Honey garlic: Swap brown sugar for honey and triple the garlic powder
- Buffalo style: Add buffalo sauce and ranch seasoning to the marinade
- Citrus herb: Use orange juice, lime zest, cilantro, and cumin
You might also enjoy: Air Fryer Salmon Bites Recipe
Storage and Reheating
Proper storage is crucial for maintaining freshness and preventing spoilage.
Homemade jerky lacks the commercial preservatives of store-bought versions, so storage matters. Always make sure your jerky is completely cool and thoroughly dried before packing it away, or residual heat will create condensation and spoilage.
- Store in airtight containers or resealable bags at room temperature for up to 2 weeks
- For longer storage, refrigerate in airtight containers for up to 1 month
- Freeze in vacuum-sealed bags or freezer containers for up to 6 months
- Add a food-grade silica gel packet to room temperature storage to absorb moisture
- Label containers with the date made so you know when to use them by
- If you notice any mold, sliminess, or off smell, discard immediately
- Jerky doesn’t need reheating, but you can warm it briefly in the microwave for 10-15 seconds if desired
- Vacuum sealing extends shelf life significantly by removing oxygen
Read Also: Air Fryer Chicken Drumsticks Recipe
Nutritional Facts
Per serving (approximately 1 ounce):
- Calories: 116
- Protein: 18g
- Fat: 3g
- Carbohydrates: 4g
- Fiber: 0g
- Sugar: 3g
- Sodium: 580mg
- Cholesterol: 45mg
Nutritional values will vary based on the cut of beef used and any modifications to the marinade. These calculations assume lean flank steak and the recipe as written.
Health Benefits of Key Ingredients
Beyond just being delicious, the ingredients in this jerky offer some impressive nutritional advantages.
Beef jerky is one of the best high-protein, low-carb snacks you can make. The beef provides complete protein with all essential amino acids your body needs for muscle repair and sustained energy. Unlike many commercial snacks loaded with empty calories, homemade jerky gives you real nutrition that keeps you satisfied for hours.
- Lean beef: Excellent source of iron, zinc, and vitamin B12 for energy and immune function
- Soy sauce: Contains beneficial minerals and amino acids, though watch the sodium
- Garlic powder: Offers antioxidants and may support heart health
- Black pepper: Contains piperine, which aids nutrient absorption
- Smoked paprika: Rich in antioxidants like vitamin A and carotenoids
- Brown sugar: Provides quick energy, though use sparingly
- Worcestershire sauce: Adds depth and contains some beneficial fermented compounds
For a lighter option, try: Air Fryer Salmon Recipe
Frequently Asked Questions
1. Can I use other cuts of beef for jerky?
Absolutely, though some cuts work better than others. Top round, bottom round, and eye of round are ideal because they’re lean with minimal fat. Sirloin and flank steak also work well. Avoid cuts with a lot of marbling like ribeye or cuts that are very tender like filet mignon, as the fat can go rancid during storage and tender cuts don’t have the right texture for jerky.
2. How do I know when the jerky is completely done?
Properly dried jerky will crack slightly when you bend it but won’t break completely in half. It should feel dry and somewhat firm to the touch, not tacky or moist. Remember that jerky continues to firm up as it cools, so don’t judge the final texture while it’s still warm from the air fryer.
3. Do I have to use Prague powder?
Prague powder (curing salt) isn’t absolutely necessary, but it’s highly recommended for safety and quality. It prevents bacterial growth during the drying process and helps preserve the meat’s red color. If you skip it, make sure to store your jerky in the refrigerator and consume it within a week or two.
4. Why is my jerky turning out tough or brittle?
Jerky that’s too tough usually means it was over-dried at too high a temperature. Try using a lower temperature setting and checking more frequently. Brittle jerky that snaps easily means it was dried for too long. Also make sure you’re slicing against the grain, as slicing with the grain creates very chewy, tough jerky.
5. Can I make this recipe without an air fryer?
Yes, you can use a dehydrator or even your oven. For a dehydrator, follow the manufacturer’s instructions, usually around 160°F for 4-6 hours. For the oven, set it to the lowest temperature (usually 170-200°F), prop the door open slightly with a wooden spoon, and dry for 3-5 hours, checking frequently and flipping the strips every hour.
Read Also: Air Fryer Chicken Breast Recipe
Final Thoughts
Making your own Air Fryer Beef Jerky Recipe at home is honestly one of those things that seems intimidating until you try it once. Then you realize how simple it actually is and wonder why you ever spent $8 on a tiny bag at the gas station.
The satisfaction of pulling out a perfectly dried, flavorful strip of jerky that you made yourself is hard to beat. Plus, you get to control exactly what goes into your snacks—no mystery ingredients, no excessive sodium, just pure protein-packed goodness. I’d love to hear how your batch turns out or what flavor variations you experiment with—drop a comment below and share your jerky-making adventures!
Recommended:
- Air Fryer Chicken Tenders Recipe
- Air Fryer Chicken Parmesan Recipe
- Air Fryer Chicken Nuggets Recipe
- Air Fryer Chicken Cutlets Recipe
- Air Fryer Salmon Patties Recipe
- Air Fryer Frozen Salmon Recipe
- Air Fryer Zucchini Boats Recipe
- Air Fryer Zucchini Fritters Recipe
- Air Fryer Zucchini Chips Recipe
- Air Fryer Zucchini Fries Recipe


