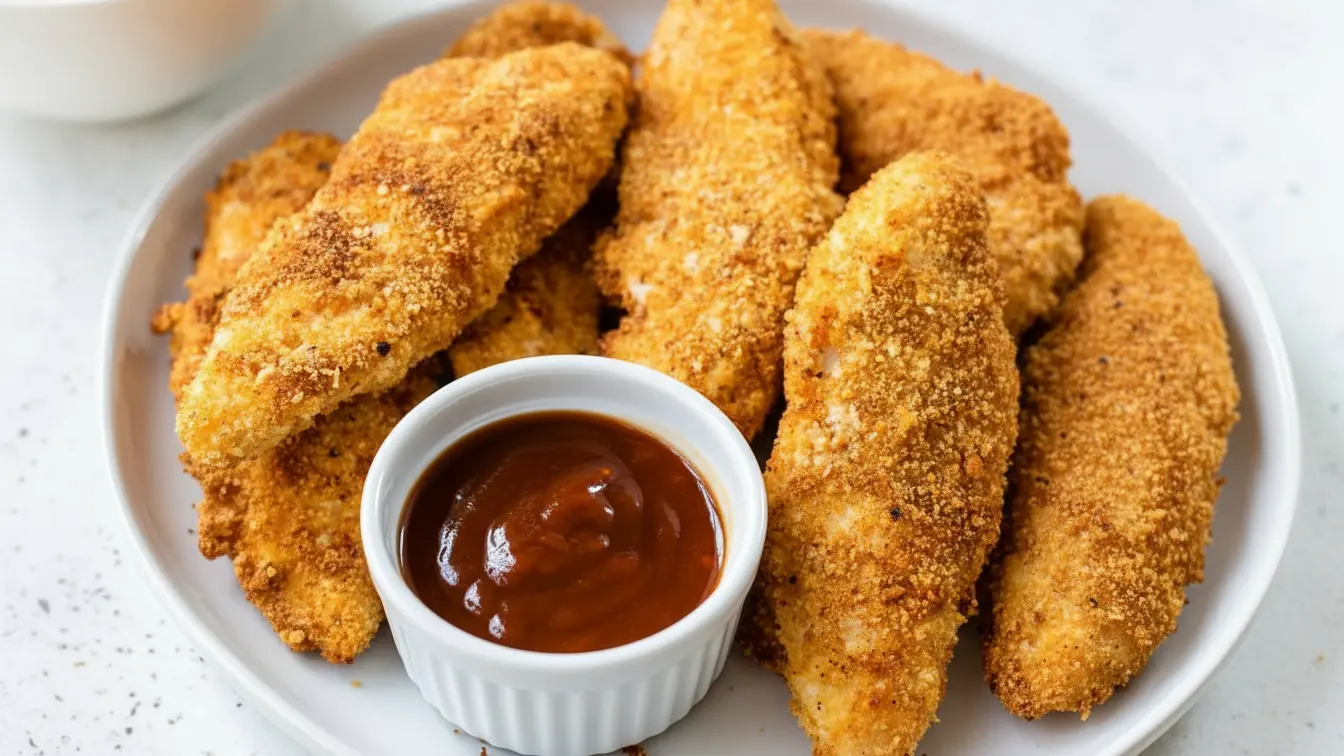
Crispy, golden chicken tenders made in an air fryer are about to become your new weeknight dinner hero. This Air Fryer Chicken Tenders Recipe delivers restaurant-quality results with minimal oil and maximum flavor.
I’ve been making these tenders for my family at least twice a month, and they disappear faster than I can plate them. The air fryer creates an impossibly crispy coating while keeping the chicken incredibly juicy inside.
What makes this recipe special is how foolproof it is. You don’t need any fancy techniques or hard-to-find ingredients. Just a simple breading setup, your trusty air fryer, and about 20 minutes from start to finish.
The best part? These tenders are healthier than their deep-fried counterparts but taste just as indulgent. My kids can’t tell the difference, and honestly, neither can I.
Why You’ll Love This Air Fryer Chicken Tenders Recipe
This recipe has earned its spot in my regular dinner rotation for so many reasons. The air fryer cuts cooking time in half compared to the oven, and cleanup is ridiculously easy.
You’re getting that satisfying crunch without standing over a pot of hot oil. The air circulation in the fryer works magic on the breading, creating an even golden crust all around.
- Quick cooking time – Ready in under 20 minutes from start to finish
- Healthier option – Uses minimal oil compared to deep frying
- Kid-approved – Even picky eaters devour these tenders
- Perfectly crispy – The air fryer creates an irresistibly crunchy coating
- Versatile – Serve as a main dish, in wraps, or on salads
- Meal prep friendly – Make a big batch and reheat throughout the week
For more air fryer chicken inspiration, you might enjoy my Air Fryer Chicken Breast Recipe.
Ingredients
Getting the ingredient ratios right makes all the difference in achieving that perfect crispy-yet-tender result. I’ve tested this recipe countless times to nail down these exact measurements.
- 1.5 pounds boneless, skinless chicken breasts, cut into strips
- 1 cup all-purpose flour
- 2 teaspoons garlic powder
- 2 teaspoons onion powder
- 1 teaspoon paprika
- 1 teaspoon salt
- ½ teaspoon black pepper
- ½ teaspoon cayenne pepper (optional)
- 2 large eggs
- 2 tablespoons milk
- 1.5 cups panko breadcrumbs
- ½ cup grated Parmesan cheese
- Cooking spray or olive oil spray
Kitchen Equipment Needed
Having the right tools makes this recipe even easier to pull off. You probably already have most of these items in your kitchen.
- Air fryer (I use a 5-quart basket-style model)
- Three shallow bowls or plates for breading station
- Sharp knife and cutting board
- Meat thermometer (optional but helpful)
- Tongs for flipping
Recommended Products for This Recipe
These are products I personally use and recommend to make your Air Fryer Chicken Tenders turn out perfectly every time.
1. Cosori Air Fryer 5.8 Quart
This is the exact air fryer I use in my kitchen, and it’s been a total workhorse. The basket is large enough to cook tenders for a family of four in one batch, and the temperature control is incredibly accurate. The nonstick coating makes cleanup a breeze, even when dealing with breaded foods.
2. Panko Japanese Style Bread Crumbs
Not all panko is created equal, and this authentic Japanese-style panko creates the crispiest coating. The flakes are larger and airier than regular breadcrumbs, which means more crunch in every bite. I always keep a few boxes in my pantry because I use them so often.
3. Parmigiano Reggiano Cheese
Adding real Parmigiano Reggiano to your breading mixture takes these tenders from good to extraordinary. The nutty, savory flavor adds incredible depth, and it helps the coating brown beautifully. It’s worth splurging on the good stuff for this recipe.
4. ThermoPro Digital Meat Thermometer
This instant-read thermometer takes all the guesswork out of cooking chicken. You’ll know exactly when your tenders hit that perfect 165°F internal temperature, so they’re never undercooked or dry. It’s one of those tools I didn’t know I needed until I had it.
Another favorite air fryer recipe of mine is Air Fryer Chicken Wings Recipe.
Step-by-Step Instructions
Follow these detailed steps for perfectly crispy chicken tenders every single time. I’ve broken down each stage so even beginners can nail this recipe.
1. Prepare the Chicken
- Remove chicken breasts from packaging and pat them completely dry with paper towels (excess moisture prevents proper browning)
- Place chicken on a cutting board and slice each breast lengthwise into strips about 1 inch wide and 4-5 inches long
- Try to keep the strips relatively uniform in size so they cook evenly
- Season the chicken strips lightly with a pinch of salt and let them sit at room temperature for 10 minutes
2. Set Up Your Breading Station
- Place the flour in the first shallow bowl and mix in the garlic powder, onion powder, paprika, salt, black pepper, and cayenne pepper (if using)
- Whisk together the eggs and milk in the second bowl until completely combined
- Combine the panko breadcrumbs and grated Parmesan cheese in the third bowl, mixing thoroughly
- Line up your bowls in order: flour mixture, egg wash, breadcrumb mixture
3. Bread the Chicken Tenders
- Take one chicken strip and coat it completely in the seasoned flour, shaking off any excess
- Dip the floured chicken into the egg wash, making sure it’s completely coated and letting excess drip off
- Press the chicken into the panko mixture, coating all sides and pressing gently so the crumbs adhere well
- Place the breaded tender on a clean plate and repeat with remaining chicken strips
- Once all tenders are breaded, spray them lightly with cooking spray on all sides (this helps them crisp up beautifully)
4. Preheat the Air Fryer
- Set your air fryer to 400°F and let it preheat for 3-5 minutes
- Preheating ensures even cooking and helps achieve that golden crust from the start
- While it’s preheating, you can finish breading any remaining tenders
5. Air Fry the Chicken Tenders
- Arrange the breaded tenders in a single layer in the air fryer basket, leaving space between each piece
- Don’t overcrowd the basket – work in batches if necessary to ensure proper air circulation
- Cook for 10 minutes at 400°F without opening the basket
- After 10 minutes, carefully flip each tender using tongs
- Spray the flipped side lightly with cooking spray
- Cook for an additional 5-7 minutes until the tenders are golden brown and the internal temperature reaches 165°F
6. Check for Doneness and Rest
- Use a meat thermometer to check that the thickest part of a tender reads 165°F
- The coating should be deep golden brown and crispy to the touch
- Remove tenders from the air fryer and let them rest on a wire rack for 2-3 minutes
- This resting period allows the juices to redistribute and the coating to set up perfectly
- If cooking in batches, keep finished tenders warm in a 200°F oven while you cook the rest
You might also enjoy: Air Fryer Chicken Thighs Recipe
Tips for Success
These tips come from countless batches of chicken tenders and will help you avoid common pitfalls.
- Don’t skip the cooking spray – It’s essential for achieving that crispy, golden exterior
- Maintain consistent chicken strip sizes – This ensures everything cooks at the same rate
- Avoid overcrowding – Leave at least ½ inch between tenders for proper air circulation
- Pat chicken completely dry – Moisture is the enemy of crispy breading
- Use one hand for wet ingredients, one for dry – This prevents your fingers from getting completely coated
- Let breaded chicken rest – Give the coating 5 minutes to set before air frying for better adhesion
- Flip at the halfway point – This ensures even browning on both sides
- Check temperature, not just time – Different air fryer models vary, so a thermometer is your best friend
Read Also: Air Fryer Chicken Drumsticks Recipe
Serving Suggestions
These versatile chicken tenders work beautifully in so many different meals and settings. I love how they transition from kid-friendly dinners to adult gatherings effortlessly.
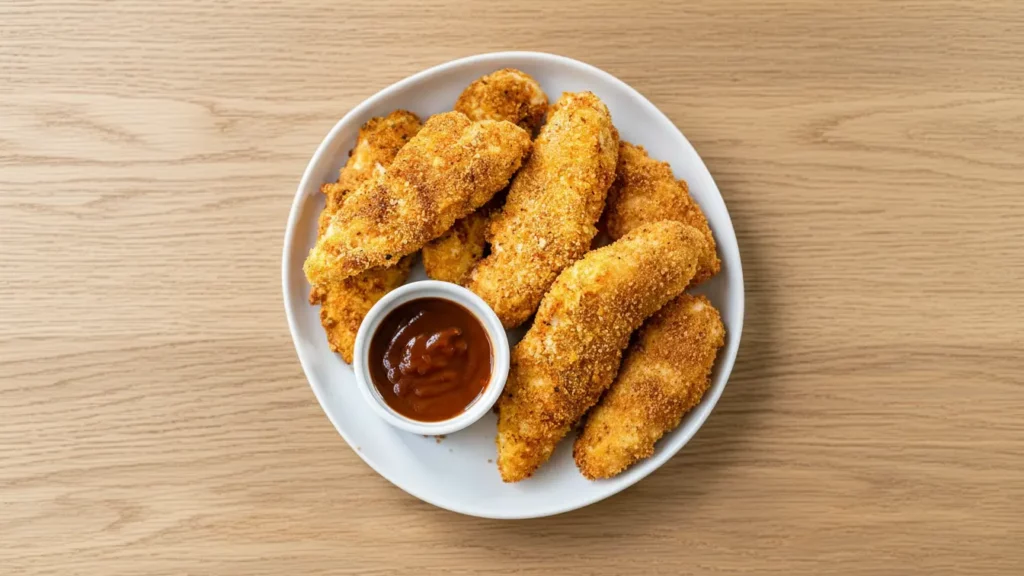
Serve them as a classic dinner with french fries and coleslaw for that nostalgic comfort food vibe. They’re also fantastic sliced over a Caesar salad or tucked into wraps with ranch dressing and vegetables.
- Pair with roasted potatoes and a green salad for a complete meal
- Serve with honey mustard, ranch, or comeback sauce for dipping
- Toss with buffalo chicken dip for an appetizer twist
- Place in soft tortillas with lettuce and tomatoes for easy chicken tender tacos
- Top a bed of mixed greens with sliced tenders for a protein-packed salad
- Serve alongside roasted broccoli for a healthier dinner option
Variations to Try
Once you’ve mastered the basic recipe, these variations will keep things interesting and let you customize the flavors to your preferences.
- Spicy tenders – Add 1 tablespoon of hot sauce to the egg wash and increase cayenne to 1 teaspoon
- Ranch seasoning – Mix 2 tablespoons of ranch seasoning powder into the flour mixture
- Lemon pepper – Replace paprika with 1 tablespoon of lemon pepper seasoning
- Italian herb – Add 2 teaspoons of Italian seasoning and dried basil to the breadcrumb mixture
- Honey garlic – Toss cooked tenders in a mixture of honey, melted butter, and minced garlic
- BBQ – Brush tenders with your favorite BBQ sauce during the last 2 minutes of cooking
- Asian-inspired – Add 1 teaspoon of ground ginger to the flour and serve with sweet chili sauce
For another delicious main course, check out my Baked Salmon Recipe.
Storage and Reheating
Proper storage keeps these tenders delicious for days, making them perfect for meal prep or enjoying leftovers.
- Refrigerator – Store cooled tenders in an airtight container for up to 4 days
- Freezer – Freeze cooked tenders in a freezer-safe bag for up to 3 months (place parchment paper between layers to prevent sticking)
- Reheating in air fryer – Cook at 375°F for 4-5 minutes until heated through and crispy
- Reheating in oven – Bake at 400°F for 8-10 minutes on a wire rack
- Avoid the microwave – It makes the coating soggy and chewy
Nutritional Facts
Per serving (4 tenders, based on 6 servings total):
- Calories: 285
- Protein: 32g
- Carbohydrates: 22g
- Fat: 7g
- Saturated Fat: 2g
- Cholesterol: 115mg
- Sodium: 520mg
- Fiber: 1g
- Sugar: 1g
Health Benefits of Key Ingredients
While these tenders taste indulgent, they actually offer some solid nutritional benefits. Using the air fryer dramatically reduces the fat content compared to traditional frying methods.
Chicken breast is an excellent source of lean protein, which supports muscle growth and keeps you feeling satisfied. The minimal oil used in air frying means you’re getting all that protein without the excess calories.
- Chicken breast – High in protein, low in fat, and rich in B vitamins for energy metabolism
- Eggs – Provide additional protein and essential amino acids for tissue repair
- Garlic powder – Contains compounds that may support immune function and heart health
- Paprika – Rich in antioxidants and vitamin A for eye health
- Parmesan cheese – Adds calcium for bone health and protein for satiety
- Panko breadcrumbs – Lighter than regular breadcrumbs, creating a crispier coating with less absorption
Another protein-packed option is my Baked Cod Recipe.
Frequently Asked Questions
1. Can I use chicken thighs instead of breasts?
Absolutely! Chicken thighs work wonderfully in this recipe and stay even juicier than breasts. Just adjust the cooking time to 12-14 minutes total, checking that the internal temperature reaches 165°F.
2. Why isn’t my breading staying on?
The most common issue is excess moisture on the chicken. Pat your chicken strips completely dry before breading, and make sure each coating layer adheres well before moving to the next station. Letting the breaded tenders rest for 5 minutes before air frying also helps the coating set.
3. Can I make these ahead of time?
Yes! Bread the chicken tenders up to 4 hours ahead and keep them refrigerated on a plate. When ready to cook, spray with oil and air fry as directed. You can also freeze breaded (uncooked) tenders for up to 2 months and cook them straight from frozen, adding 3-4 minutes to the cooking time.
4. How do I prevent the tenders from drying out?
The key is not overcooking them. Use a meat thermometer to check for 165°F and remove them immediately. The resting period after cooking also helps redistribute juices throughout the meat.
5. Can I use regular breadcrumbs instead of panko?
You can, but panko breadcrumbs create a much crispier and lighter coating. If you only have regular breadcrumbs, the tenders will still taste great but won’t have quite the same crunch.
Final Thoughts
These Air Fryer Chicken Tenders have completely changed how I approach weeknight dinners. They’re fast, delicious, and so much healthier than the deep-fried version I used to make.
The beauty of this recipe is its simplicity paired with amazing results. You don’t need any special skills or expensive ingredients to create something your whole family will love. I hope this becomes a regular in your dinner rotation like it has in mine!
Give this recipe a try and let me know how it turns out. Drop a comment below with your favorite dipping sauce or any creative variations you come up with!
Recommended:
- Air Fryer Zucchini Fries Recipe
- Air Fryer Zucchini Chips Recipe
- Air Fryer Zucchini Fritters Recipe
- Air Fryer Zucchini Boats Recipe
- Meatloaf Recipe
- Chicken Fajita Recipe
- Egg Roll in a Bowl Recipe
- Beef Stroganoff Recipe
- Crab Cake Recipe
- Buttermilk Biscuit Recipe


