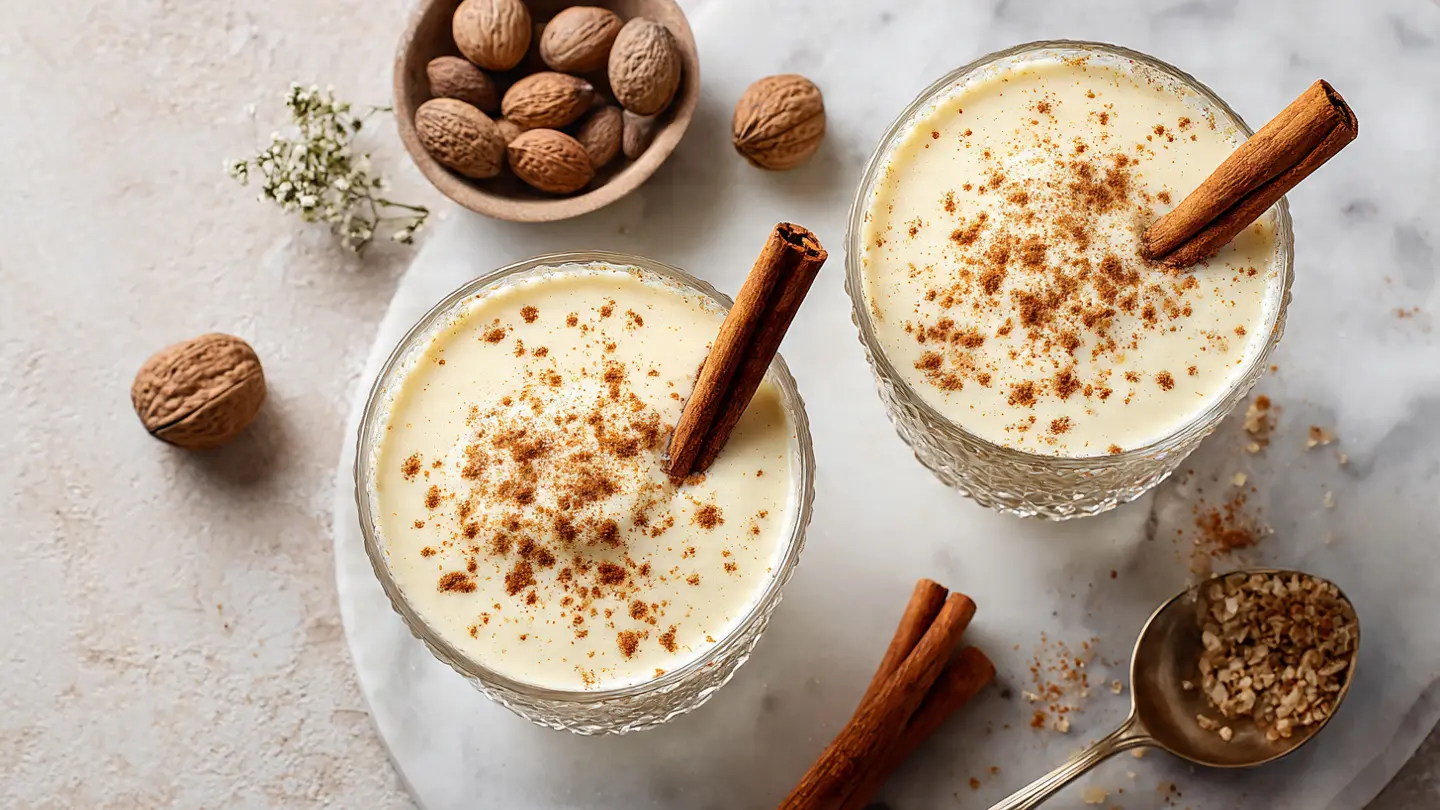
If you’ve never tried making a homemade eggnog recipe, this is the year to start. Rich, creamy, perfectly spiced with nutmeg and vanilla, and so much better than anything you’ll find in a carton, this classic holiday drink is a tradition worth keeping alive.
The secret to a truly great eggnog lies in tempering the eggs properly. That gentle technique of slowly introducing hot liquid to the egg yolks is what gives homemade eggnog its luxuriously thick, custard-like texture without any graininess.
This recipe uses a cooked custard base, making it safe for everyone at the table including kids, pregnant women, and anyone who’d rather not take chances with raw eggs.
You’ll be surprised at how quickly it comes together, and once you taste the difference, store-bought will never feel the same again.
For a fun spin on this seasonal drink, you might also love this Eggnog Cake that uses the same beloved holiday flavors.
Why You’ll Love This Eggnog Recipe
This isn’t just a holiday drink. It’s a full sensory experience that brings warmth, nostalgia, and joy to every sip.
Here’s why this eggnog recipe deserves a permanent spot in your seasonal rotation:
- It’s cooked and safe for everyone. By tempering and gently heating the eggs, this recipe eliminates the raw egg concern entirely.
- The flavor is incomparable. Real nutmeg, pure vanilla extract, and good heavy cream produce a depth of flavor that no store-bought version can replicate.
- You control the ingredients. No artificial thickeners, no mystery additives, just real, wholesome ingredients.
- It’s easy to make ahead. The flavor actually improves after a few hours in the fridge, making it perfect for entertaining.
- It’s customizable. Serve it plain, spiked, or topped with whipped cream and a cinnamon dusting.
- It doubles beautifully. Planning a holiday party? Simply scale up the recipe and serve from a punch bowl.
Another cozy holiday drink that pairs perfectly with this season is a mug of Hot Chocolate.
Ingredients
Making eggnog at home requires just a handful of pantry staples, but quality matters here. Use the freshest eggs and the best heavy cream you can find for the richest result.
Here’s everything you’ll need to make 6 servings:
- 6 large egg yolks
- 1/2 cup (100g) granulated sugar
- 2 cups (480ml) whole milk
- 1 cup (240ml) heavy whipping cream
- 1/2 teaspoon ground nutmeg (plus more for garnish)
- 1/4 teaspoon ground cinnamon
- 1 teaspoon pure vanilla extract
- Pinch of salt
- Optional: 1/2 cup (120ml) dark rum, bourbon, or brandy (for a spiked version)
- Optional garnish: whipped cream, cinnamon stick
Read Also: Eggnog Pie Recipe
Kitchen Equipment Needed
You don’t need any special equipment to make this recipe. A few basic tools are all it takes to get a perfectly smooth, creamy eggnog.
Here’s what to have on hand:
- Medium heavy-bottomed saucepan
- Large mixing bowl
- Balloon whisk
- Instant-read thermometer (highly recommended for accuracy)
- Fine mesh strainer
- Glass pitcher or mason jar with a lid (for storing)
- Ladle (for serving)
- Measuring cups and spoons
For a truly special presentation, serving eggnog from a glass punch bowl set at a holiday gathering elevates the whole experience.
You might also enjoy: Eggnog Cookies Recipe
Recommended Products for This Recipe
These are hand-picked products based on quality and performance that will genuinely make your eggnog experience better.
1. OXO Good Grips 11-Inch Balloon Whisk
A sturdy, ergonomic whisk is essential when tempering eggs and whisking the custard base. The OXO balloon whisk offers excellent control and flexibility, helping you whisk vigorously without your hand tiring out. It’s a kitchen staple that will serve you well far beyond this recipe.
2. ThermoPro Instant-Read Meat Thermometer
Bringing your eggnog custard to exactly 160°F (71°C) is the key to a safe, properly cooked eggnog. The ThermoPro gives a precise reading in seconds, removing all guesswork from the process. It’s inexpensive, reliable, and one of the most useful tools in any kitchen.
3. Freshly Grated Whole Nutmeg
Nothing compares to the warm, aromatic punch of freshly grated nutmeg in homemade eggnog. Pre-ground nutmeg loses its potency quickly, but a whole nutmeg grater set lets you grate directly over each glass for maximum flavor. The difference in taste is remarkable.
4. Anchor Hocking Glass Pitcher with Lid
A beautiful glass pitcher keeps your eggnog fresh in the fridge and makes serving effortless. The Anchor Hocking model is durable, leak-proof, and the wide mouth makes it easy to pour and clean. It’s also gorgeous enough to set right on a holiday buffet table.
Read Also: Hot Chocolate Bombs Recipe
Step-by-Step Instructions
Step 1: Separate the Egg Yolks
- Crack each egg carefully over a small bowl, using the shell halves to pass the yolk back and forth and let the white drop into the bowl below.
- Place all 6 egg yolks into a large mixing bowl. Set the egg whites aside for another use (they work great in an omelet or meringue).
- Make sure no egg shell fragments end up in the yolks. Even a tiny piece can affect the final texture.
Step 2: Whisk Yolks and Sugar Together
- Add 1/2 cup (100g) granulated sugar to the egg yolks.
- Using a balloon whisk, beat the mixture together vigorously for about 2 minutes.
- You’re looking for the mixture to turn pale yellow and slightly thickened. This process, called “ribboning,” ensures the sugar fully dissolves into the yolks and creates a silky smooth base for your custard.
- Set this bowl aside close to the stove, as you’ll need it soon.
Step 3: Heat the Milk and Cream Mixture
- Pour 2 cups (480ml) of whole milk and 1 cup (240ml) of heavy whipping cream into a medium heavy-bottomed saucepan.
- Add 1/2 teaspoon of ground nutmeg, 1/4 teaspoon of ground cinnamon, and a pinch of salt.
- Place the saucepan over medium heat and stir gently.
- Heat the mixture until it just begins to steam and you see tiny bubbles forming around the edges of the pan. This is called a “bare simmer.” Do not let it come to a rolling boil, as that can scorch the cream and create an unpleasant flavor.
- This should take about 5 to 7 minutes.
Step 4: Temper the Eggs
- This is the most important step in the process. Tempering means gradually raising the temperature of the egg yolks by introducing the hot milk slowly, which prevents them from scrambling.
- Using a ladle, scoop about 1/4 cup (60ml) of the hot milk mixture and pour it into the egg yolk mixture in a thin, steady stream while whisking constantly.
- Repeat this process 3 to 4 more times, adding small amounts of hot milk each time and whisking quickly after each addition.
- Each time you add hot liquid, you’re slowly bringing the eggs up to a safe temperature without cooking them into scrambled eggs.
- By the time you’ve added about half of the hot milk mixture, the egg yolk bowl should feel warm to the touch.
Step 5: Combine and Cook
- Pour the tempered egg yolk mixture back into the saucepan with the remaining hot milk, whisking constantly as you pour.
- Reduce the heat to medium-low.
- Continue cooking, stirring constantly with your whisk or a heat-safe spatula, for about 5 to 8 minutes.
- You want the mixture to reach 160°F (71°C) on an instant-read thermometer. At this temperature, the eggs are fully safe to consume.
- The eggnog will thicken slightly and coat the back of a spoon. When you run your finger across the back of a spoon dipped in the mixture and it leaves a clear line, it’s ready.
- Do not let the mixture boil. If you see it starting to bubble aggressively, remove it from the heat immediately.
Step 6: Strain and Add Vanilla
- Remove the saucepan from the heat.
- Pour the hot eggnog mixture through a fine mesh strainer into a clean large bowl or directly into your storage pitcher. Straining catches any small egg bits that may have cooked, ensuring a silky smooth final product.
- Stir in 1 teaspoon of pure vanilla extract.
- If you’re making a spiked version, stir in 1/2 cup (120ml) of dark rum, bourbon, or brandy at this stage.
Step 7: Chill Thoroughly
- Allow the strained eggnog to cool at room temperature for about 15 minutes, stirring occasionally to prevent a skin from forming on top.
- Transfer to a glass pitcher or an airtight container.
- Cover and refrigerate for at least 2 hours, though 4 to 6 hours is even better. The eggnog will thicken slightly as it chills and the flavors will deepen and meld beautifully.
- If you notice a slight skin forming on the surface, just whisk or stir it back in before serving.
Step 8: Serve
- When ready to serve, give the pitcher a good stir or gentle shake.
- Pour into individual glasses or mugs over ice if preferred.
- Garnish each glass with a fresh grating of nutmeg, a sprinkle of cinnamon, or a dollop of whipped cream.
- For a spiked version served at a party, you can set out a bottle of dark rum or bourbon alongside the pitcher so guests can add their own.
This technique also works wonderfully as the base for a creamy Eggnog Pie if you find yourself with leftovers.
Tips for Success
Getting eggnog right is all about technique. Keep these tips in mind and your batch will be perfect every single time.
- Never rush the tempering. Adding hot milk too quickly to the egg yolks is the most common mistake. Go slow, whisk constantly, and take your time with each ladle of hot liquid.
- Use a thermometer. Don’t guess. An instant-read thermometer takes all the uncertainty out of knowing when your eggnog is safe and properly cooked.
- Choose whole milk, not skim. The fat content in whole milk is what contributes to that thick, creamy texture. Low-fat milk will produce a noticeably thinner eggnog.
- Freshly grate your nutmeg. Pre-ground nutmeg loses its aromatic oils over time. A small nutmeg grater and whole nutmeg make a noticeable flavor difference.
- Let it chill long enough. The eggnog thickens and improves significantly after at least a few hours in the refrigerator. Making it the night before serving is actually ideal.
- Strain every single time. Even if the custard looks smooth, straining guarantees a completely lump-free result.
- Stir before serving. Ingredients will naturally settle during refrigeration, so always give it a thorough stir right before pouring.
For another warm and spiced holiday drink to pair alongside your eggnog spread, try this cozy Mulled Apple Cider.
Serving Suggestions
Eggnog is wonderfully versatile and pairs beautifully with a wide range of holiday foods and occasions.
Serve it as part of a festive holiday spread alongside any of these classic pairings:
- Gingerbread Cookies for a classic flavor combination that feels like the holidays in every bite.
- Christmas Shortbread Cookies with their buttery richness that complements the sweetness of the eggnog.
- Bourbon Balls for an adult-friendly treat that echoes the warm spiced notes in the drink.
- Fruitcake served in small slices alongside a chilled glass for a traditional holiday pairing.
- Figgy Pudding for an old-fashioned British-inspired holiday dessert table.
- A cheese and charcuterie board featuring sharp aged cheddar, prosciutto, and candied walnuts to contrast the sweetness of the eggnog.
- Spiced nuts served in small bowls as a savory, crunchy counterpoint.
For a lovely non-alcoholic holiday drink station alongside your eggnog, a rich mug of Hot Toddy makes a great pairing option.
Variations to Try
Once you’ve mastered the classic version, there are so many ways to put a creative twist on your eggnog.
Here are some popular variations worth exploring:
- Spiked Eggnog: Stir in 1/2 cup (120ml) of dark rum, bourbon, or brandy after straining. Each spirit brings a different flavor profile: rum adds caramel sweetness, bourbon adds smoky warmth, and brandy gives an elegant, fruity depth.
- Pumpkin Spice Eggnog: Whisk 3 tablespoons of pumpkin puree and 1/2 teaspoon of pumpkin pie spice into the hot custard base for a cozy fall-winter twist. Pair this variation with the equally festive Pumpkin Spice Latte for a themed holiday table.
- Chocolate Eggnog: Stir 2 tablespoons of unsweetened cocoa powder into the hot milk mixture before tempering for a rich, mocha-inspired spin.
- Dairy-Free Eggnog: Replace whole milk with full-fat coconut milk and swap heavy cream for coconut cream. The result is richly flavored with a subtle coconut note.
- Extra-Thick Eggnog: Increase the ratio of heavy cream to milk (use 1.5 cups cream and 1.5 cups milk) for an ultra-lush, dessert-like consistency.
- Eggnog Latte: Warm your eggnog (don’t boil) and froth it gently, then pour over a shot of espresso for a homemade holiday latte far better than anything from a coffee shop.
Read Also: Champurrado Recipe
Storage and Reheating
Proper storage keeps your homemade eggnog safe and delicious for several days after making it.
Follow these guidelines for the best results:
- Refrigerate immediately after the eggnog has cooled to room temperature. Do not leave it out for more than 2 hours.
- Store in an airtight container or sealed glass pitcher in the refrigerator for up to 3 to 4 days without alcohol.
- With alcohol added, eggnog can last up to 7 days in the refrigerator, as the alcohol acts as a natural preservative.
- Do not freeze eggnog. The dairy emulsion breaks during freezing and thawing, resulting in a grainy, separated texture.
- To reheat: Pour the eggnog into a small saucepan and warm over low heat, stirring gently. Do not let it boil. It is best enjoyed cold or at room temperature, so reheating is typically not necessary unless you prefer a warm version.
- Always stir before serving as natural separation occurs during refrigeration.
Another great holiday treat you can make in advance and store is a batch of Snickerdoodle Cookies.
Nutritional Facts
The following nutrition information is an estimate per 1-cup (240ml) serving based on a non-alcoholic version made with the exact ingredients listed above. Values will vary based on brands and any additions.
| Nutrient | Per Serving (approx.) |
|---|---|
| Calories | 290 kcal |
| Total Fat | 20g |
| Saturated Fat | 11g |
| Cholesterol | 220mg |
| Sodium | 55mg |
| Total Carbohydrates | 21g |
| Sugars | 19g |
| Protein | 6g |
| Calcium | 130mg |
| Vitamin A | 900 IU |
Nutritional values are estimates only. Adding alcohol will increase calorie and carbohydrate counts. For precise tracking, use an online nutritional calculator with your specific ingredient brands.
You might also enjoy: Vanilla Pudding Recipe
Health Benefits of Key Ingredients
While eggnog is certainly an indulgent treat, several of its key ingredients do offer real nutritional value when enjoyed in moderation.
Here’s a closer look at what’s working in your favor:
- Egg yolks are a nutritional powerhouse. They provide fat-soluble vitamins including Vitamin A, Vitamin D, Vitamin E, and Vitamin K, as well as choline, a nutrient important for brain health and liver function. They’re also a rich source of selenium and B vitamins.
- Whole milk contributes calcium, phosphorus, and Vitamin D, all essential for bone strength and density. It also provides high-quality protein and potassium for heart and muscle health.
- Heavy cream contains fat-soluble vitamins and is a source of conjugated linoleic acid (CLA), a fatty acid associated with some anti-inflammatory benefits.
- Nutmeg has been used medicinally for centuries. It contains antioxidants, has natural anti-inflammatory properties, and may support digestive health in small amounts. It also contains eugenol, a compound linked to various health benefits.
- Cinnamon is one of the most well-researched spices when it comes to health. It contains cinnamaldehyde, which has antioxidant and anti-inflammatory properties, and studies suggest it may help support stable blood sugar levels.
- Vanilla extract contains small amounts of antioxidants and has a calming aromatic effect that may help reduce stress.
For another warming drink made with beneficial spices, the Pumpkin Spice Latte is a great seasonal option.
Frequently Asked Questions
1. Is it safe to drink homemade eggnog?
Yes, absolutely, as long as you cook it properly. This recipe uses a cooked custard base that brings the eggs to 160°F (71°C), which is the FDA-recommended temperature for eliminating any risk of salmonella. Always use an instant-read thermometer to verify the temperature and make sure the custard has truly reached that safe point before removing it from heat.
2. Can I make this eggnog without alcohol?
Yes, and this recipe is written as a non-alcoholic version by default. It tastes incredible on its own without any spirits. Simply follow the recipe as written and skip the optional alcohol addition in Step 6.
3. What is the best alcohol to add to eggnog?
Dark rum is the most traditional choice and gives eggnog a rich, caramel sweetness. Bourbon adds a smoky, woody warmth that many people love. Brandy or cognac provides a smooth, slightly fruity depth. All three work beautifully. Start with 1/4 cup (60ml) and adjust to taste after chilling.
4. Why did my eggnog turn out lumpy?
Lumpy eggnog almost always means the eggs were added too quickly to the hot milk, causing them to cook and curdle. The fix is to strain the finished eggnog through a fine mesh strainer, which will remove any lumps and leave you with a smooth result. Going forward, add the hot liquid very slowly to the yolks and whisk constantly during tempering.
5. Can I make eggnog ahead of time?
Yes, and it’s actually better when made ahead. The flavors meld and deepen after several hours in the refrigerator, and the texture thickens to that classic spoon-coating consistency. Make it 1 to 2 days before your holiday gathering for the absolute best result. Give it a good stir before serving and grate fresh nutmeg over each glass.
Read Also: Classic Pumpkin Pie Recipe
Final Thoughts
Homemade eggnog is one of those recipes that seems like a big production until you actually make it, and then you realize it’s one of the easiest and most rewarding holiday traditions you can start.
The process of gently cooking a golden custard, watching it thicken slowly, and then chilling it into a perfectly creamy, nutmeg-laced holiday drink is genuinely satisfying.
Once you taste the difference between a homemade batch made with real eggs, fresh cream, and warm spices and a store-bought carton full of stabilizers and artificial flavors, there’s simply no going back.
Pull out your saucepan, gather those six egg yolks, and give this classic eggnog recipe a try this season. Your guests will ask for your secret, and your secret is simply taking the time to make it the right way.
Share your results in the comments below, and let us know if you went spiked or kept it classic. Tag your creations and spread the holiday cheer!
Recommended:
- Eggnog Cake Recipe
- Eggnog Cookies Recipe
- Hot Chocolate Bombs Recipe
- White Russian Recipe
- Bourbon Chicken Recipe
- Cranberry Sauce Recipe
- From Scratch Pumpkin Pie Recipe
- Figgy Pudding Recipe
- Snickerdoodle Cookie Recipe
- Pumpkin Spice Latte Recipe


