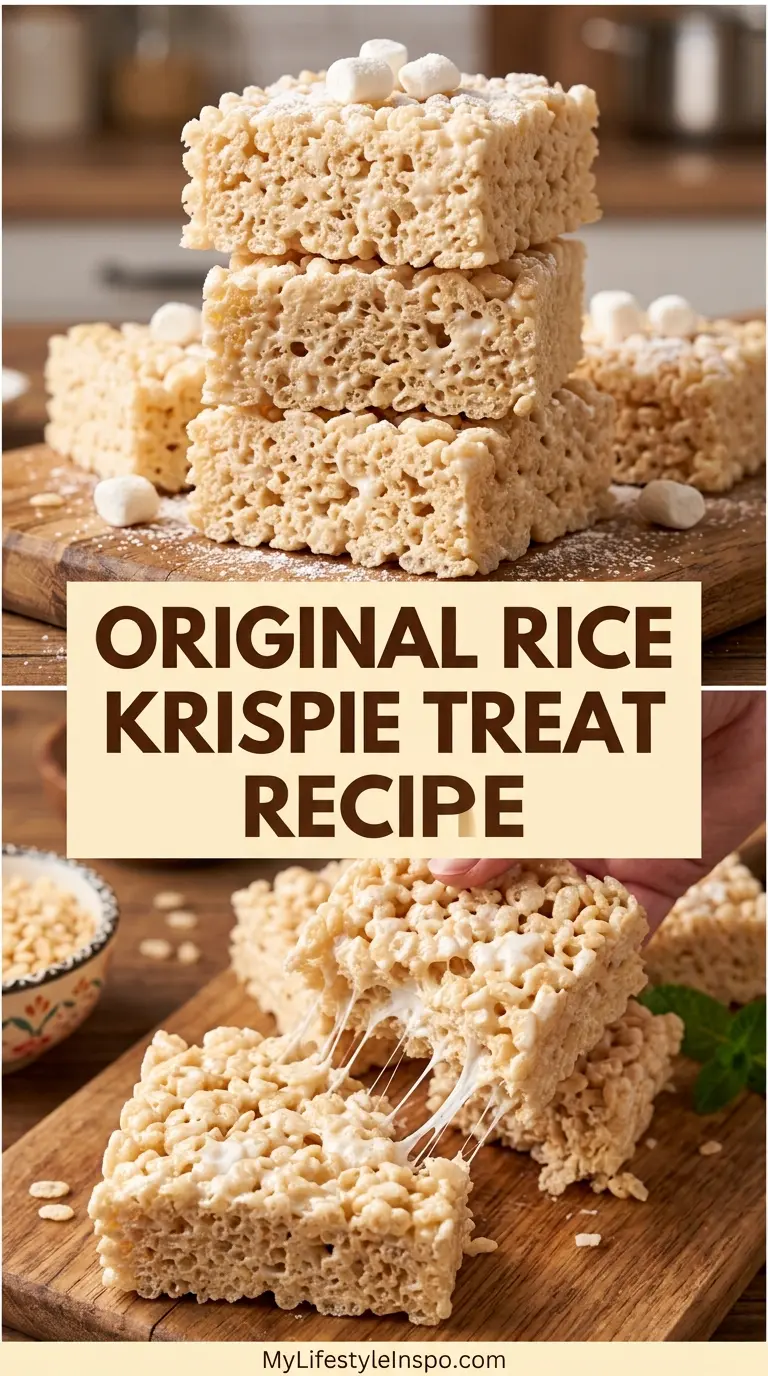
If you’ve been searching for the original rice krispie treat recipe, you’ve landed in the right place. This is the one that started it all, the classic three-ingredient version that Kellogg’s first popularized in the 1930s and that generations of home cooks have been making ever since.
What makes this recipe so enduring isn’t just the nostalgia, though that’s definitely part of it. It’s the fact that three simple pantry staples, butter, marshmallows, and Rice Krispies cereal, come together in under 15 minutes to create something genuinely magical.
The secret to a perfect batch lies in understanding exactly how each ingredient behaves. Too much heat and your marshmallows will scorch, leaving a bitter undertone. Too little butter and your treats will be dry and crumbly instead of soft and chewy. This guide walks you through every detail so you can nail it every time.
Whether you’re making these for a school bake sale, a last-minute party treat, or simply because you’re craving that gooey, crispy combination on a Tuesday afternoon, this recipe has you covered.
For another irresistibly easy no-bake treat, check out this No Bake Cookie Recipe that comes together just as quickly.
Why You’ll Love This Original Rice Krispie Treat Recipe
This recipe has earned its place in the dessert hall of fame for good reason.
It requires absolutely zero baking, which means your oven stays off and cleanup stays minimal.
With just three core ingredients and a 10-minute cook time, it’s one of the most accessible sweets you can make at any skill level.
The texture is the ultimate combination of chewy, soft marshmallow and light, crispy cereal, a contrast that’s downright addictive.
They hold up well at room temperature, making them ideal for potlucks, parties, and lunchboxes alike.
Kids absolutely love helping make these, from stirring the melted marshmallows to pressing the mixture into the pan, it’s a fun kitchen project for little ones.
The base recipe is endlessly customizable too. Once you’ve mastered the original, you can add mix-ins, toppings, or flavors to make it your own.
You might also enjoy: Easy Rice Krispie Treat Recipe
Ingredients
You only need three ingredients to make these, but quality and quantity matter more than you’d think. Using real butter (not margarine) gives you the richest flavor and the most satisfying chew. Full-sized regular marshmallows melt more evenly than mini ones, though both work. And of course, the cereal must be Rice Krispies, the snap, crackle, and pop comes from that specific puffed rice structure.
- 3 tablespoons (42 g) unsalted butter, plus extra for greasing
- 1 package (10 oz / 283 g) regular marshmallows (about 40 large marshmallows), OR 4 cups (240 g) mini marshmallows
- 6 cups (180 g) Rice Krispies cereal
Read Also: Gooey Rice Krispie Treat Recipe
Kitchen Equipment Needed
You don’t need any fancy tools for this recipe, but having the right setup makes the process much smoother. A large enough pot is essential because the cereal will triple the volume of the marshmallow mixture. A non-stick pan is your best friend here because marshmallow residue clings to everything.
- Large heavy-bottomed saucepan (at least 4-quart / 3.8-liter capacity)
- 9×13-inch baking pan (23×33 cm) OR a square 8×8-inch pan (20×20 cm) for thicker treats
- Rubber spatula or silicone spatula (heat-resistant)
- Measuring cups and spoons
- Wax paper or parchment paper (for pressing the treats flat without sticking)
- Pastry brush or paper towel for buttering the pan
- Sharp knife for cutting
Another favorite: Muddy Buddy Recipe
Recommended Products for This Recipe
These are products I genuinely recommend based on performance and quality. They’ll help you get the best results every time you make this recipe.
1. Rice Krispies Cereal (Family Size)
The original Kellogg’s Rice Krispies give you that signature light, airy crunch that off-brand puffed rice cereals simply can’t replicate. The texture holds up beautifully in the marshmallow mixture without going soggy or tough. Buying the family-size box means you’ll always have enough on hand for a full batch.
2. Premium Silicone Baking Mat
Pressing the sticky marshmallow mixture into the pan is infinitely easier when you have a silicone mat to work with. It’s naturally non-stick, so you can press and smooth the treats without them gluing themselves to your hands or the pan. It also doubles as a prep surface for countless other recipes.
3. Stainless Steel Heavy Bottomed Saucepan
A good heavy-bottomed saucepan distributes heat evenly, which is critical when melting butter and marshmallows. Hot spots cause scorching, and scorched marshmallow leaves a burnt flavor that ruins the whole batch. A quality stainless steel pot pays for itself in perfectly made treats.
4. Parchment Paper Sheets
Pre-cut parchment paper sheets make lining your pan a breeze. They prevent sticking far better than buttering alone, and cleanup becomes almost effortless. Keep a box in your pantry for this recipe and dozens of other baking projects.
This technique also works beautifully in Monster Cookie Bars if you want another simple bar dessert to try.
Step-by-Step Instructions
Step 1: Prepare Your Pan
- Grease your 9×13-inch (23×33 cm) baking pan generously with butter or non-stick cooking spray. Make sure to get the corners and sides well, because that’s where the mixture tends to stick most stubbornly.
- Alternatively, line the pan with parchment paper and lightly butter the parchment. This is the easiest method for clean removal.
- Set the pan aside in an accessible spot near your stovetop. You’ll need to move quickly once the marshmallows are melted.
Step 2: Measure Out Your Cereal
- Measure 6 cups (180 g) of Rice Krispies cereal and pour it into a very large mixing bowl. Using a bowl rather than adding directly to the pot gives you much more control over mixing.
- Set the bowl near the stove so it’s ready to go the moment the marshmallows are melted. Speed is key in this recipe because the mixture starts to firm up quickly.
Step 3: Melt the Butter
- Place your large, heavy-bottomed saucepan on the stove over low heat. Low heat is essential here. High heat causes the marshmallows to scorch and caramelize, which changes both the color and flavor negatively.
- Add 3 tablespoons (42 g) of unsalted butter to the pan.
- Let the butter melt slowly, swirling the pan occasionally. You want it fully melted and gently bubbling, but not browned or sizzling aggressively.
- Once the butter is melted, keep the heat on low before moving to the next step.
Step 4: Melt the Marshmallows
- Add the entire 10-ounce (283 g) package of marshmallows to the melted butter in the saucepan.
- Stir constantly with your heat-resistant silicone spatula, using smooth, folding motions to coat all the marshmallows in the butter.
- Continue stirring over low heat for 3 to 5 minutes, until the marshmallows are completely melted and the mixture is smooth and glossy with no lumps remaining.
- If you notice any browning on the bottom of the pan, immediately remove it from the heat. Some golden color is fine and adds a subtle caramelized flavor, but dark brown means scorching.
- Once fully melted, remove the saucepan from the heat entirely.
Step 5: Combine the Cereal and Marshmallow Mixture
- Working quickly, pour the melted marshmallow mixture over the Rice Krispies cereal in your large bowl.
- Using your silicone spatula, stir and fold the cereal into the marshmallow mixture. The goal is to coat every single piece of cereal evenly.
- Work with a gentle folding motion rather than aggressive stirring to avoid crushing the cereal and losing that signature crunch.
- If the mixture starts to get sticky and resist mixing before all the cereal is coated, you can very briefly return the saucepan to low heat for 30 seconds to loosen it up.
Step 6: Press the Mixture into the Pan
- Transfer the coated cereal mixture into your prepared baking pan.
- To press it into an even layer without the mixture sticking to your hands, lightly butter your fingertips or use a piece of wax paper or parchment paper placed over the top of the mixture.
- Press gently but firmly, working from the center outward to the edges and corners. Pressing too hard will compact the treats and make them dense instead of light and chewy.
- Aim for an even thickness throughout so every piece comes out the same.
Step 7: Let Set and Cut
- Allow the Rice Krispie treats to cool and set at room temperature for at least 30 minutes before cutting. Cutting too early means ragged, messy edges.
- Once set, use a sharp knife or bench scraper to cut into squares or rectangles. For a 9×13-inch pan, cutting 4 columns and 6 rows gives you 24 treats. For thicker treats in an 8×8-inch pan, cut 3×3 for 9 large squares.
- For the cleanest cuts, lightly oil or butter your knife blade before slicing.
Read Also: Rice Krispie Treat Recipe With Large Marshmallows
Tips for Success
A few small adjustments make the difference between good and truly great Rice Krispie treats. After testing this recipe many times, these are the tips that consistently produce the softest, chewiest, most perfectly textured results.
- Use fresh marshmallows. Old, stale marshmallows contain less moisture, which means your treats will be dry and hard rather than soft and chewy. Squeeze the bag before buying; it should feel squishy and soft.
- Keep the heat low throughout. This is the single most important tip. Marshmallows burned on high heat taste bitter and develop an unpleasant gummy texture.
- Don’t pack the mixture too tightly. A light hand when pressing creates a softer, airier treat. Dense packing = dense, tough treats.
- Add the cereal while the marshmallow mix is still hot. The moment you remove the pan from heat, start folding in the cereal. Every second of delay makes mixing harder.
- Grease everything. Butter your spatula, your hands (or use wax paper), and your pan generously. There is no such thing as over-greasing when it comes to marshmallow recipes.
- Use unsalted butter. It gives you control over the salt level and produces the clearest, cleanest buttery flavor.
- Add a pinch of salt. Even though it’s not in the original recipe, a tiny pinch of fine sea salt into the butter as it melts elevates the flavor significantly.
You might also enjoy: Peanut Butter Rice Krispie Treat Recipe
Serving Suggestions
These treats are perfect on their own, but they also shine alongside other desserts and snacks.
Serve them as part of a dessert board alongside Classic Deviled Eggs, fruit skewers, and dipping chocolate for a crowd-pleasing spread.
- Pair with a scoop of vanilla ice cream and a drizzle of Hot Fudge Sauce for a nostalgic dessert plate
- Cut into fun shapes with cookie cutters for birthday parties or holiday celebrations
- Dip the bottoms in melted chocolate and let set on parchment for a dressed-up version
- Crumble over Vanilla Pudding or Banana Pudding as a crispy topping
- Package individually in cellophane bags tied with ribbon for homemade gifts or bake sale treats
- Serve alongside a cold glass of milk for the most classic combination of all
Read Also: Fruity Pebbles Rice Krispie Treat Recipe
Variations to Try
Once you’ve mastered the original, the possibilities for customization are nearly endless. The base recipe acts as a blank canvas that accepts mix-ins and toppings with ease.
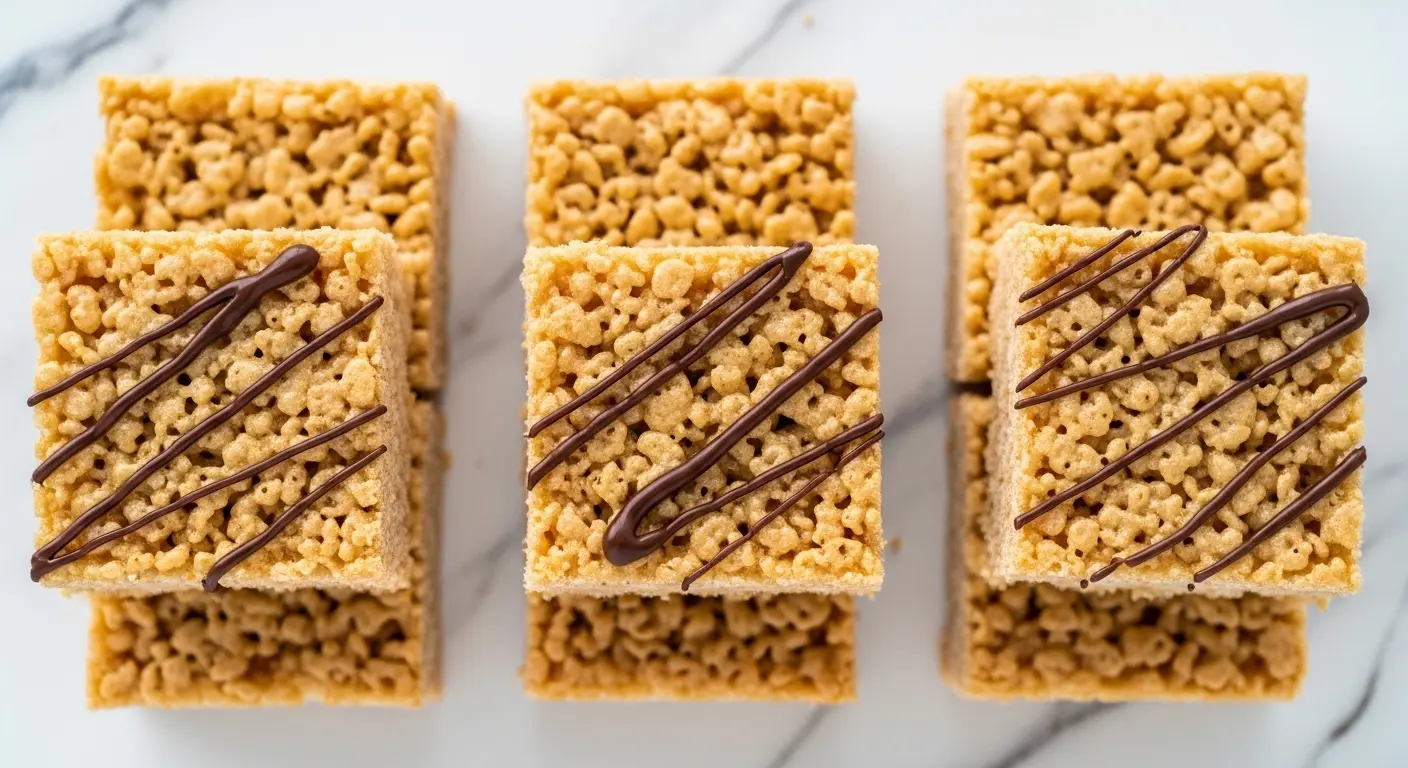
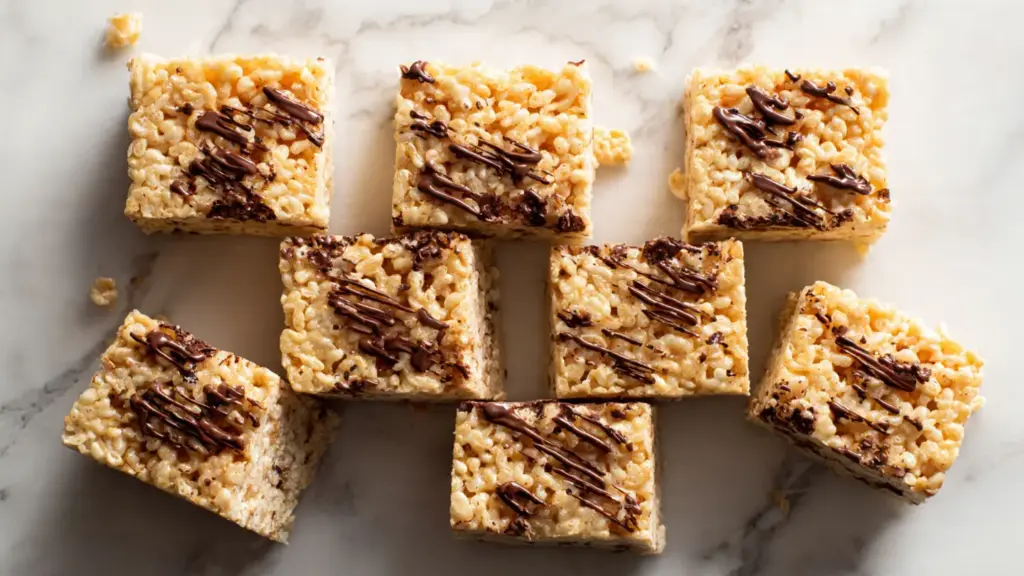
- Chocolate Drizzle: Melt semi-sweet chocolate chips and drizzle over the set treats before slicing for a simple but impressive upgrade.
- Peanut Butter: Stir 1/3 cup (85 g) of creamy peanut butter into the melted marshmallow mixture before adding the cereal for a rich, nutty variation.
- Sprinkles: Press rainbow sprinkles into the surface immediately after spreading into the pan for a festive, birthday cake look.
- Brown Butter Version: Brown the butter before adding the marshmallows to develop a nutty, toasty depth of flavor that elevates the entire treat.
- S’mores Style: Mix in 1 cup (168 g) of mini chocolate chips and 1 cup (30 g) of crushed graham crackers along with the cereal.
- Fruity Pebbles Swap: Replace all or half the Rice Krispies with Fruity Pebbles cereal for a colorful, fruity twist.
- Vegan Version: Use vegan butter and vegan marshmallows (such as Dandies brand) for a completely plant-based treat.
For the plant-based version in detail, check out the Vegan Rice Krispie Treat Recipe.
Storage and Reheating
Rice Krispie treats store well, making them a great make-ahead option for parties and events. The key is keeping air away from them, because exposure to air is what makes them stale and hard.
- Room temperature: Store in an airtight container or wrap individual treats tightly in plastic wrap. They stay fresh for up to 3 days at room temperature.
- Refrigerator: Refrigeration actually dries them out and makes them harder, so this is not recommended unless your kitchen is very warm and humid.
- Freezer: Wrap individual treats in plastic wrap, then place in a zip-top freezer bag. They freeze well for up to 6 weeks. Thaw at room temperature for about 30 minutes before eating.
- Reheating (to soften): If your treats have hardened, you can microwave an individual piece for 5 to 10 seconds to soften it back up. Start with 5 seconds and check, as overheating will make them gummy.
- Separation tip: If stacking treats in a container, place a sheet of wax paper between layers to prevent them from sticking together.
Another favorite: Single Serve Rice Krispie Treat Recipe
Nutritional Facts
Values are approximate and based on 1 treat from a 9×13-inch pan cut into 24 equal pieces.
| Nutrient | Amount Per Serving |
|---|---|
| Calories | 115 kcal |
| Total Fat | 2 g |
| Saturated Fat | 1 g |
| Cholesterol | 4 mg |
| Sodium | 115 mg |
| Total Carbohydrates | 24 g |
| Sugars | 13 g |
| Protein | 1 g |
Note: Nutritional values will vary depending on exact brands used and how large you cut your pieces.
This pairs nicely with other classic sweet treats like Toffee if you’re building a dessert spread.
Health Benefits of Key Ingredients
While Rice Krispie treats are certainly a treat and not a health food, a few of their ingredients do bring some genuine nutritional value to the table.
It’s worth understanding what you’re eating, and for most people, an occasional indulgent treat fits perfectly well within a balanced lifestyle.
- Rice Krispies cereal is a good source of B vitamins including niacin, thiamin, and riboflavin, which support energy metabolism. It’s also low in fat and cholesterol.
- Marshmallows are virtually fat-free and lower in calories than many other confectionery ingredients like chocolate chips or caramel.
- Butter contains fat-soluble vitamins A, D, E, and K2, as well as short-chain fatty acids that may support gut health when consumed in moderation.
- The relatively low calorie count per piece (around 115 calories) makes these treats a more portion-controlled sweet option compared to brownies or cake.
- Puffed rice has a high surface area to volume ratio, meaning a small amount of cereal goes a long way in terms of filling up the treat and creating satisfying texture.
Read Also: Microwave Rice Krispie Treat Recipe
Frequently Asked Questions
1. Why are my Rice Krispie treats hard and dry?
The most common cause of hard, dry treats is using too high a heat when melting the marshmallows. High heat causes the sugar in the marshmallows to break down differently, creating a stiffer, less pliable texture once cooled.
Another culprit is stale marshmallows. Always use fresh marshmallows from a recently opened bag for the softest results.
2. Can I make these ahead of time?
Absolutely. Rice Krispie treats are one of the best make-ahead sweets because they hold up well at room temperature for 2 to 3 days.
Just wrap them tightly in plastic wrap or store in an airtight container as soon as they’ve cooled to prevent them from drying out.
3. Can I use margarine instead of butter?
You can, but the result will be noticeably different. Real butter provides a richer, more complex flavor and a slightly softer texture.
Margarine has a higher water content, which can sometimes make the treats a bit more greasy without adding the same depth of flavor.
4. Why is my Rice Krispie mixture not sticking together?
This usually means the marshmallows weren’t fully melted before you added the cereal. Partially melted marshmallows don’t coat the cereal evenly, so you end up with a crumbly, loose mixture.
If this happens, try pressing the mixture into the pan firmly and refrigerating for 30 minutes to help it bind.
5. Can I double the recipe?
Yes, and it’s very popular for large batches. Simply double all three ingredients and use either two 9×13-inch pans or one very large sheet pan.
Be aware that you’ll need a very large pot to melt double the marshmallows, at least a 6-quart capacity is recommended.
This is also the perfect time to try the Rice Krispie Treat Recipe With Marshmallow Fluff for a different take on the classic.

Original Rice Krispie Treat
Equipment
- Large heavy-bottomed saucepan - at least 4-quart / 3.8-liter capacity
- 9×13 inch baking pan - 23×33 cm; or use 8×8-inch pan for thicker treats
- Heat-resistant rubber spatula - or silicone spatula
- Measuring cups and spoons
- Parchment paper - or wax paper for pressing without sticking
- Sharp knife - or bench scraper for cutting
- Large mixing bowl - for combining cereal with marshmallow mixture
Ingredients
- 3 tablespoons unsalted butter - 42g, plus extra for greasing
- 1 package regular marshmallows - 10 oz / 283g, about 40 large marshmallows; OR 4 cups / 240g mini marshmallows
- 6 cups Rice Krispies cereal - 180g
Variation Add-ins (Optional)
- Semi-sweet chocolate chips - for drizzling
- 1/3 cup creamy peanut butter - 85g, stirred into marshmallow mixture before adding cereal
- Rainbow sprinkles - pressed into surface immediately after spreading
- 1 cup mini chocolate chips - 168g, for S’mores style variation
- 1 cup crushed graham crackers - 30g, for S’mores style variation
- Fruity Pebbles cereal - replace all or half the Rice Krispies for colorful twist
- Vegan butter - for vegan version
- Vegan marshmallows - such as Dandies brand, for plant-based version
Instructions
- Generously grease a 9×13-inch baking pan with butter or non-stick spray, or line with parchment paper and lightly butter the parchment. Set aside near the stovetop.
- Measure 6 cups of Rice Krispies cereal into a very large mixing bowl and set it near the stove so it’s ready to go.
- Melt 3 tablespoons of unsalted butter in a large heavy-bottomed saucepan over low heat, swirling occasionally until fully melted and gently bubbling but not browned.
- Add the entire package of marshmallows to the melted butter and stir constantly over low heat for 3-5 minutes until completely melted and smooth. Remove from heat immediately once glossy with no lumps remain.
- Pour the melted marshmallow mixture over the cereal in the large bowl. Fold gently with a spatula until every piece of cereal is evenly coated, working quickly before the mixture firms up.
- Transfer the coated mixture to the prepared pan. Press into an even layer using lightly buttered hands or a piece of parchment paper on top, pressing gently from the center outward.
- Allow the treats to cool and set at room temperature for at least 30 minutes. Cut into 24 squares using a sharp knife or bench scraper, wiping the blade clean between cuts.
Notes
- Use fresh marshmallows from a recently opened bag for the softest texture. Stale marshmallows contain less moisture and result in dry, hard treats.
- Keep the heat on LOW throughout the entire melting process. High heat scorches marshmallows and creates a bitter, unpleasant flavor.
- For the cleanest cuts, lightly oil or butter your knife blade before slicing. Wipe the blade clean between each cut for neat edges.
- Don’t pack the mixture too tightly when pressing into the pan. A light hand creates soft, airy treats while dense packing makes them tough.
- Work quickly once the marshmallows are melted, as the mixture starts to firm up rapidly. Have all your equipment and ingredients ready before starting.
- Store treats in an airtight container at room temperature for up to 3 days. Wrap individual pieces tightly in plastic wrap to prevent them from drying out.
- Avoid refrigerating the treats, as this actually dries them out and makes them harder. Only refrigerate if your kitchen is very warm and humid.
- To soften hardened treats, microwave an individual piece for 5-10 seconds. Start with 5 seconds and check, as overheating will make them gummy.
- For thicker treats, use an 8×8-inch pan instead of the 9×13-inch pan. Cut into 9 large squares for a more substantial portion.
- Add a pinch of fine sea salt to the butter as it melts for a subtle flavor boost that elevates the entire treat without being noticeable as “salty.”
Final Thoughts
The original rice krispie treat recipe is a timeless classic for a reason. It’s fast, foolproof, and delivers a result that satisfies a sweet craving unlike almost anything else.
With just three ingredients and about 15 minutes of your time, you can have a pan of perfectly gooey, crispy, buttery treats ready to share.
Give this recipe a try and let me know how it goes. I’d love to hear how yours turned out, so leave a comment below, share a photo, or tag a friend who needs this recipe in their life.
Recommended:
- Easy Rice Krispie Treat Recipe
- Gooey Rice Krispie Treat Recipe
- Peanut Butter Rice Krispie Treat Recipe
- Fruity Pebbles Rice Krispie Treat Recipe
- Copycat Starbucks Rice Krispie Treat Recipe
- No Bake Cookie Recipe
- Monster Cookie Bars Recipe
- Dirt Pudding Recipe
- Buckeyes Recipe
- Cake Pop Recipe


