If you’ve ever ended up with a pot of mushy, sticky, or undercooked rice, this Basmati Rice Recipe is exactly what you need in your life. Basmati rice is one of those kitchen staples that looks simple on the surface but has a few key tricks that make all the difference between mediocre and absolutely perfect grains.
This guide walks you through the classic stovetop method for cooking basmati rice — the version most home cooks around the world rely on. With the right water ratio, a proper rinse, and a little patience, you’ll get long, separate, beautifully fluffy grains every single time.
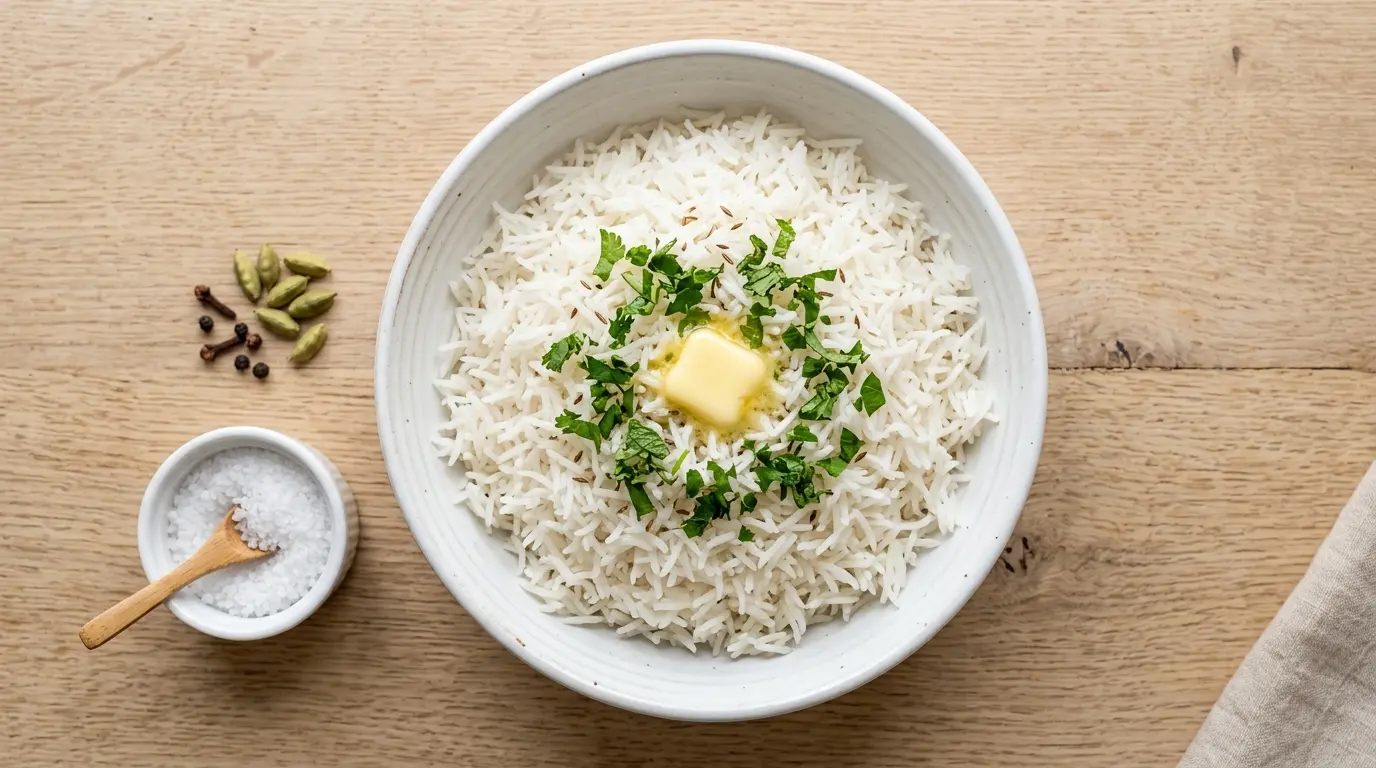
Basmati is a long-grain rice variety with a naturally nutty flavor and a faintly floral aroma that other rice types just can’t match. That fragrance comes from a compound called 2-acetyl-1-pyrroline, which intensifies when the rice is aged and properly cooked. It’s what makes basmati the go-to choice for biryanis, pilafs, and so many beloved South Asian and Middle Eastern dishes.
This recipe focuses on the plain, stovetop version — rinsed, soaked, and steamed to perfection. Once you nail the basic technique, you’ll have a reliable foundation for dozens of meals throughout the week.
If you’re also a fan of rice dishes with a little more flair, you might love this Chicken Fried Rice Recipe — it’s another crowd-pleaser that starts with perfectly cooked rice as its base.
Why You’ll Love This Basmati Rice Recipe
This recipe is genuinely hard to mess up once you understand the core principles. It doesn’t require any special equipment, and the ingredients list couldn’t be simpler.
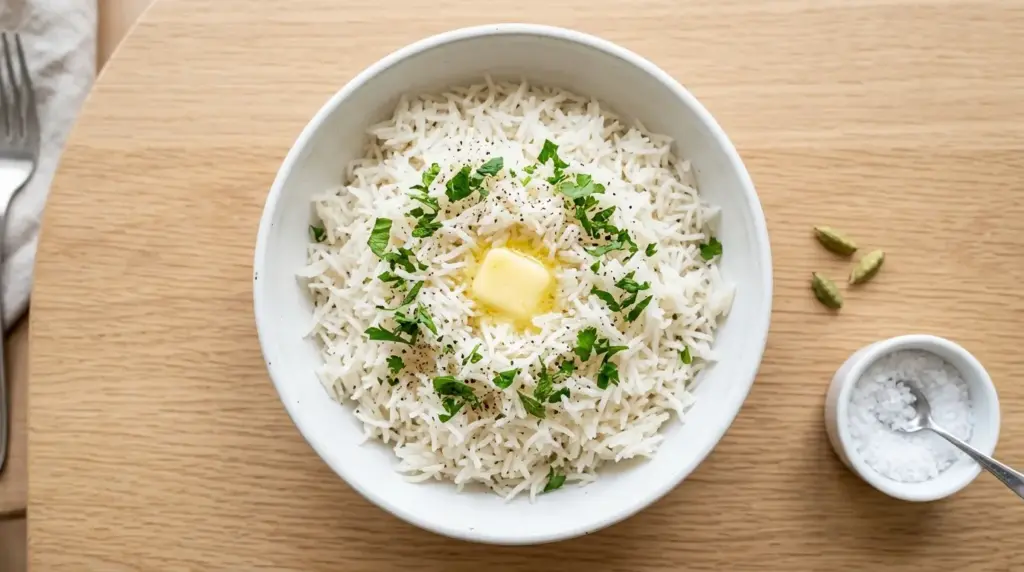
Every grain comes out long, tender, and separate — not clumped together or gluey. That’s the signature texture of properly cooked basmati, and it makes all the difference when you’re serving it alongside rich curries, grilled proteins, or saucy stews.
The rinsing and soaking steps might seem like extras, but they do real work here. Rinsing removes excess surface starch (which is the main culprit behind sticky rice), and soaking allows the grains to hydrate before they hit the heat, which leads to more even cooking and longer, more beautiful grains.
It’s also incredibly versatile. Plain basmati pairs with everything from simple weeknight dinners to elaborate weekend spreads.
Here’s a quick list of reasons to love this recipe:
- Ready in under 30 minutes from start to finish
- Only 4 ingredients needed (rice, water, salt, and a little butter or oil)
- Works as a side dish for virtually any cuisine
- Naturally gluten-free and easy to make vegan
- Leftovers reheat beautifully for meal prep
- Scales up easily for feeding a crowd
Read Also: Classic Red Beans and Rice Recipe
Ingredients
Great basmati rice starts with quality rice. Look for aged basmati (often labeled “extra long grain” or “aged 2 years”) for the best aroma and texture — it’s widely available at Indian, Middle Eastern, and Asian grocery stores, and increasingly at mainstream supermarkets too.
Here’s everything you’ll need to make 4 servings:
- 2 cups (370 g) aged basmati rice
- 3 cups (710 ml) cold water (for soaking)
- 3 cups (710 ml) fresh water (for cooking)
- 1 teaspoon fine sea salt (or to taste)
- 1 tablespoon unsalted butter or neutral oil (such as avocado or light olive oil)
This pairs beautifully alongside Authentic Butter Chicken for a deeply satisfying, restaurant-quality dinner at home.
Kitchen Equipment Needed
No special tools required here — just a few standard kitchen items. That said, having the right pot makes a real difference. A heavy-bottomed saucepan with a tight-fitting lid is ideal because it distributes heat evenly and traps steam efficiently.
Here’s what you’ll need:
- Heavy-bottomed 3-quart saucepan with a tight-fitting lid
- Fine mesh strainer (for rinsing the rice)
- Medium mixing bowl (for soaking)
- Measuring cups and spoons
- Fork (for fluffing)
- Kitchen timer
Read Also: Mexican Rice Recipe
Recommended Products for This Recipe
These are products I’d genuinely recommend based on quality and performance — each one makes a noticeable difference in the outcome of your basmati rice.
1. Royal Aged Basmati Rice (Extra Long Grain)
Aged basmati rice has a significantly more pronounced aroma and produces longer, more separate grains than younger rice. This brand is a longtime favorite in South Asian cooking and is widely trusted for its consistency.
2. All-Clad Stainless Steel Saucepan with Lid
A good heavy-bottomed saucepan is the single most important tool for perfect rice. All-Clad’s tri-ply construction distributes heat evenly and eliminates hot spots that can scorch the bottom layer of rice.
3. OXO Good Grips Fine Mesh Strainer
Rinsing basmati rice properly requires a fine mesh strainer — coarse strainers let too many grains fall through. The OXO Good Grips version is sturdy, easy to hold, and works perfectly for grains of all sizes.
4. Kelapo Organic Coconut Oil (for fragrant rice variations)
If you’d like to cook your basmati with a subtle hint of coconut, a high-quality unrefined coconut oil adds beautiful flavor without overwhelming the natural fragrance of the rice.
You might also enjoy: Chicken Rice Soup — another excellent way to put perfectly cooked rice to use.
Step-by-Step Instructions
Step 1: Measure and Rinse the Rice
- Measure out 2 cups (370 g) of basmati rice and place it into a medium mixing bowl.
- Add enough cold water to fully submerge the rice by at least 1 inch (2.5 cm).
- Swirl the rice gently with your hand — you’ll immediately notice the water turning cloudy white. That cloudiness is excess surface starch, and removing it is what prevents gummy, sticky rice.
- Carefully pour off the cloudy water, being careful not to lose any rice grains.
- Repeat this rinsing process 3 to 4 times, or until the water runs mostly clear. It won’t be perfectly transparent, but it should be significantly clearer than the first rinse.
Step 2: Soak the Rice
- After the final rinse, add 3 cups (710 ml) of fresh cold water to the bowl and let the rice soak for 30 minutes at room temperature.
- This soaking step is important: it allows each grain to absorb moisture before cooking begins, which means the grains expand from the inside out during cooking and are less likely to break or turn mushy.
- If you’re short on time, even a 15-minute soak will help. Do not skip this step entirely if you want the best possible texture.
- After soaking, drain the rice completely through your fine mesh strainer and let it sit for 1 to 2 minutes to shed any excess water.
Step 3: Bring Water to a Boil
- Add 3 cups (710 ml) of fresh cold water to your heavy-bottomed saucepan.
- Add 1 teaspoon of fine sea salt and 1 tablespoon of unsalted butter or neutral oil.
- Place the pot over medium-high heat and bring the water to a full, rolling boil. This usually takes about 3 to 4 minutes.
- Adding the butter or oil at this stage helps coat the rice grains slightly during cooking, which further encourages them to stay separate rather than clumping.
Step 4: Add the Rice
- Once the water is at a full boil, add the drained basmati rice to the pot.
- Stir gently once with a spoon or fork to distribute the rice evenly across the bottom of the pot.
- Do not stir vigorously or repeatedly — too much stirring during cooking breaks down the grains and releases more starch, which leads to stickier rice.
- Let the pot return to a boil, which should only take about 30 to 60 seconds since the water is already hot.
Step 5: Reduce Heat and Cover
- Once the water returns to a boil with the rice added, immediately reduce the heat to the lowest possible setting on your burner.
- Place the lid firmly on the pot. A tight-fitting lid is essential here because the rice is going to cook entirely in the trapped steam.
- Set your timer for exactly 15 minutes and do not lift the lid during this time. Every time you lift the lid, you release steam, which disrupts the cooking environment and can result in unevenly cooked rice.
- You may notice some steam escaping around the lid edges — that’s normal and okay. What you want to avoid is lifting the lid completely.
Step 6: Steam Off the Heat
- After 15 minutes, turn off the heat completely and keep the lid on the pot.
- Let the rice rest, covered and undisturbed, for an additional 10 minutes. This off-heat steaming step is what truly finishes the rice. The residual heat gently softens any slightly undercooked grains at the top while keeping the bottom from over-cooking or burning.
- Do not rush this step. The extra 10 minutes makes a real difference.
Step 7: Fluff and Serve
- After the 10-minute rest, remove the lid and use a fork (not a spoon) to gently fluff the rice with light, lifting strokes.
- A fork separates the grains without crushing them the way a spoon would.
- Taste a small amount and adjust the salt if needed.
- Serve immediately, or keep warm with the lid partially on for up to 15 more minutes before serving.
This recipe also works as an excellent base for a Chicken Broccoli Rice Casserole — just cook the rice slightly less than usual since it will continue cooking in the oven.
Tips for Success
Getting fluffy, fragrant basmati rice comes down to a few key habits. Once these become second nature, you’ll never have rice problems again.
Here are the most important tips to keep in mind:
- Always rinse until the water runs clear. This is the single most impactful step for improving texture. Don’t skip it or rush it.
- Use the right water ratio. The 1:1.5 ratio (1 cup rice to 1.5 cups water) used here is designed specifically for soaked basmati. If you skip the soak, increase water slightly to 1:1.75.
- Keep the lid on. Resist the urge to peek. Steam is what cooks the rice, and losing it means losing texture.
- Use the lowest possible heat setting. Cooking basmati on medium or medium-low heat after adding the rice will cause the bottom to cook faster than the top. Low and slow is the key.
- Don’t skip the off-heat rest. Those 10 minutes at the end are not optional — they’re what separates good rice from great rice.
- Use a fork to fluff. Forks separate grains; spoons smash them. Always fluff with a fork.
- Season the water. Cooking rice in plain unsalted water produces noticeably bland results. A full teaspoon of salt in the cooking water makes a meaningful difference.
Another fan-favorite: Easy Fried Rice — a perfect way to use leftover basmati the next day.
Serving Suggestions
Basmati rice is one of the most versatile sides you can have in your repertoire. Its delicate flavor and fluffy texture make it a natural partner for bold, saucy, or spiced main dishes.
Here are some of the best ways to serve it:
- Alongside Butter Chicken and warm Garlic Naan for a full Indian-inspired spread
- Paired with Tandoori Chicken and a fresh cucumber salad for a light, fragrant meal
- Served with Chicken Adobo for a Filipino-inspired dinner
- Spooned under a hearty Chicken Stew to soak up every drop of the broth
- As the base for Mulligatawny Soup — ladle the soup right over a scoop of warm rice in the bowl
Variations to Try
Once you’ve mastered plain basmati, there’s a world of variations to explore. Most of these start with the same method above, with simple additions to the cooking water.
Here are some delicious ways to change things up:
- Cumin Rice: Toast 1 teaspoon of whole cumin seeds in the butter before adding water. The cumin blooms in the fat and infuses every grain with warmth.
- Cardamom and Bay Leaf Rice: Add 2 to 3 whole green cardamom pods and 1 bay leaf to the cooking water for a subtly aromatic, biryani-adjacent result.
- Saffron Rice: Dissolve a generous pinch of saffron threads in 2 tablespoons of warm water and drizzle over the rice in the final 5 minutes of cooking. Stunning for special occasions.
- Coconut Basmati: Replace half the cooking water with full-fat coconut milk for a lightly sweet, tropical variation that pairs beautifully with seafood or Thai-inspired dishes.
- Garlic Butter Rice: Sauté 3 minced garlic cloves in the butter until fragrant before adding water. A simple upgrade that makes this the most requested side dish at dinner.
- Herb Rice: Stir in a generous handful of fresh chopped cilantro, parsley, or dill immediately after fluffing for a bright, fresh finish.
For another classic rice dish worth exploring, check out this Congee Recipe — it’s a completely different preparation that showcases rice in a silky, savory porridge form.
Storage and Reheating
Cooked basmati rice stores well and reheats beautifully, which makes it a great candidate for meal prepping.
Here’s how to store and reheat it properly:
- Refrigerator: Transfer cooled rice (don’t refrigerate while it’s still steaming hot) to an airtight container. Store for up to 4 days.
- Freezer: Portion the rice into zip-top freezer bags, press flat to remove air, and freeze for up to 3 months. Thaw overnight in the refrigerator or reheat from frozen.
- Stovetop reheating: Add the refrigerated rice to a saucepan with 2 to 3 tablespoons of water. Cover and heat over medium-low, stirring gently once or twice, until the rice is warmed through. The steam from the water will revive the texture.
- Microwave reheating: Place rice in a microwave-safe bowl, sprinkle 1 to 2 tablespoons of water over the top, and cover loosely with a damp paper towel. Microwave in 60-second intervals, fluffing in between, until heated through.
- Important food safety note: Never reheat rice more than once. Once reheated, serve immediately and discard any leftovers.
Read Also: Rice Pudding Recipe
Nutritional Facts
The following values are approximate and based on 1 serving (approximately 1 cup cooked rice) of plain basmati rice cooked with butter and salt, with the recipe yielding 4 servings.
| Nutrient | Amount per Serving |
|---|---|
| Calories | 240 kcal |
| Total Carbohydrates | 44 g |
| Dietary Fiber | 0.7 g |
| Sugars | 0 g |
| Protein | 4 g |
| Total Fat | 4 g |
| Saturated Fat | 2 g |
| Sodium | 295 mg |
| Potassium | 55 mg |
| Iron | 4% DV |
Nutritional values will vary depending on the brand of rice used and any modifications made to the recipe.
You might also enjoy: Chicken Fried Rice Recipe — a satisfying complete meal that comes together quickly with leftover rice.
Health Benefits of Key Ingredients
Basmati rice may be a simple pantry staple, but it comes with some genuinely noteworthy nutritional qualities.
Here’s a closer look at the health benefits of the key ingredients in this recipe:
Basmati Rice: Compared to regular long-grain white rice, basmati has a lower glycemic index (GI) — meaning it causes a more gradual rise in blood sugar rather than a sharp spike. That makes it a preferred choice among people managing blood sugar levels. Basmati also contains small amounts of B vitamins like niacin and thiamine, which support energy metabolism. The long-grain structure and lower amylopectin content also make it easier to digest for many people.
Butter: A tablespoon of unsalted butter adds richness and helps the grains stay separate. Butter contains fat-soluble vitamins A, D, E, and K, along with butyrate — a short-chain fatty acid that research suggests may support gut health and reduce inflammation.
Sea Salt: While sodium intake should be moderated, a small amount of quality sea salt used in cooking is important for flavor and for maintaining electrolyte balance in the body.
Here’s a quick summary of health benefits:
- Basmati is lower on the glycemic index than most other white rice varieties
- Provides a source of energy-sustaining complex carbohydrates
- Naturally gluten-free, making it safe for those with celiac disease or gluten intolerance
- Easily digestible for most people
- Can be made dairy-free by substituting oil for butter
Read Also: Bibimbap Recipe
Frequently Asked Questions
1. Do I really need to rinse and soak the rice?
Rinsing is strongly recommended, and soaking makes a noticeable difference in texture. Rinsing removes surface starch that would otherwise make the cooked rice sticky and gummy. Soaking hydrates the grains before cooking, which allows them to expand more evenly and stay intact rather than breaking apart. If you’re in a hurry, you can skip the soak and get decent results, but the rinse step should always be included for the best outcome.
2. What is the correct water-to-rice ratio for basmati?
For soaked basmati rice, a 1:1.5 ratio works well — meaning 1 cup of rice to 1.5 cups of water (or 2 cups of rice to 3 cups of water, as used in this recipe). If you skip the soaking step, you’ll need a slightly higher ratio, closer to 1:1.75, since the unsoaked grains need more water to fully hydrate during cooking. Different rice brands can also vary slightly, so it may take one or two batches to fine-tune the ratio to your specific rice.
3. Why did my rice turn out mushy?
Mushy basmati usually comes down to one of three things: too much water in the cooking ratio, not rinsing the rice sufficiently, or cooking on too high a heat. If your rice is consistently coming out soft and wet, try reducing the water by 2 to 3 tablespoons and making sure you’re cooking on the lowest heat setting your burner can produce. Also double-check that your lid fits tightly — if it’s loose, steam escapes and the ratio gets thrown off.
4. Can I cook basmati rice in a rice cooker?
Yes, basmati rice cooks well in a rice cooker. Use the same rinsing and soaking steps, then drain the rice and add it to the cooker. Use a 1:1.5 water-to-rice ratio (for soaked rice) and use the white rice setting. Let the rice rest in the cooker for 10 minutes after the cycle finishes before opening and fluffing. Most rice cookers produce excellent results with basmati once you have the water ratio dialed in.
5. How do I keep basmati rice warm before serving?
After fluffing, you can keep the rice warm by placing the lid back on the pot (off the heat) for up to 15 to 20 minutes. For longer holding, transfer the rice to a heat-safe bowl, cover tightly with foil or plastic wrap, and keep it in an oven set to the lowest temperature (around 200°F/93°C). Placing a folded kitchen towel between the pot and lid also helps trap heat without overcooking the rice.
Read Also: Collard Greens Recipe
Final Thoughts
Once you see how straightforward this Basmati Rice Recipe really is, it’s the kind of thing that becomes second nature in your kitchen. A quick rinse, a short soak, a patient simmer, and 10 minutes of resting — that’s truly all it takes to produce rice that’s fluffy, fragrant, and absolutely delicious every single time.
This recipe is one of those foundational skills that pays dividends for years. Master it once and you’ll always have a reliable, crowd-pleasing side dish ready to go for weeknight dinners, weekend feasts, and everything in between.
Give this recipe a try and let me know how it goes in the comments below! I’d love to hear which variation you tried first or what you served it alongside.
Recommended:
- Easy Fried Rice Recipe
- Mexican Rice Recipe
- Congee Recipe
- Rice Pudding Recipe
- Mulligatawny Soup Recipe
- Tandoori Chicken Recipe
- Chicken Stew Recipe
- Garlic Naan Bread Recipe
- Baked Salmon Recipe
- Chicken Broccoli Rice Casserole Recipe


