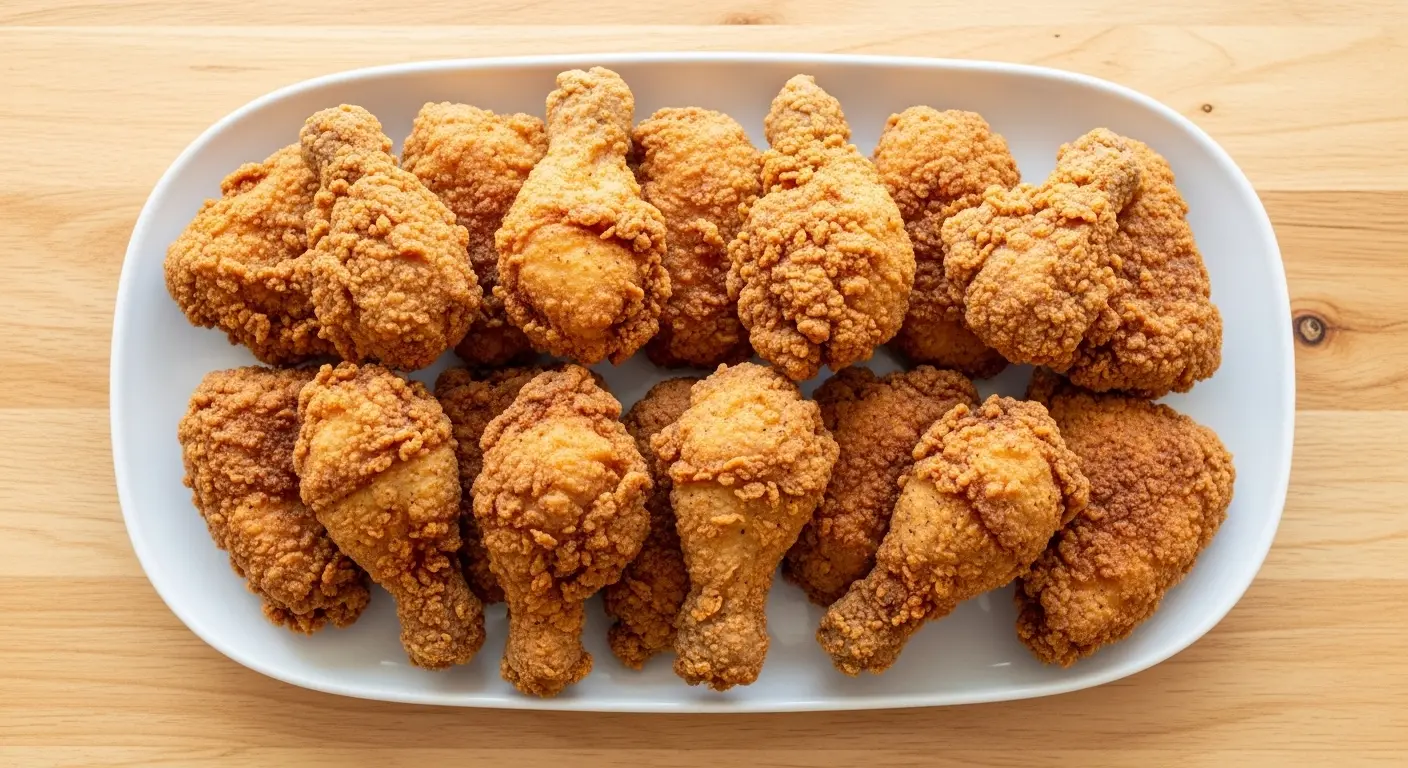
Crispy, golden brown, and bursting with flavor, this Southern fried chicken recipe is the ultimate comfort food. The secret to achieving that perfect crunchy crust and juicy interior lies in the buttermilk marinade and well-seasoned flour coating that’s been passed down through generations of Southern cooks.
This is the kind of chicken that fills kitchens with mouthwatering aromas and brings families together around the dinner table. The buttermilk tenderizes the meat while infusing it with subtle tang, and the double-dredging technique creates an irresistibly crispy coating that stays crunchy even after the chicken has cooled.
Making authentic fried chicken at home might seem intimidating, but this recipe breaks down each step so clearly that even first-time fryers can achieve restaurant-quality results. The marinade does most of the work for you, and once you master the proper oil temperature, you’ll be turning out batch after batch of perfectly golden pieces.
Every bite delivers that satisfying crunch followed by tender, flavorful meat that practically falls off the bone. This recipe works beautifully for Sunday dinners, picnics, potlucks, or any time you’re craving real Southern comfort food.
This Air Fryer Chicken Breast offers a lighter alternative when you want chicken with less oil.
Why You’ll Love This Southern Fried Chicken Recipe
This recipe produces the kind of fried chicken that makes people ask for seconds before they’ve even finished their first piece. The buttermilk marinade works like magic to keep the meat incredibly juicy while the seasoned flour creates a coating that’s crispy on the outside and locks in all those delicious flavors.
The seasoning blend hits all the right notes without being complicated. You don’t need a dozen spices to make great fried chicken, just the right combination of salt, pepper, garlic powder, onion powder, and paprika. This balanced mix enhances the natural flavor of the chicken without overwhelming it.
- Incredibly crispy coating that stays crunchy for hours, not just minutes
- Tender, juicy meat thanks to the buttermilk marinade that breaks down proteins
- Simple seasoning that delivers big flavor without requiring specialty ingredients
- Versatile cooking method that works in a deep fryer, cast iron skillet, or heavy pot
- Make-ahead friendly since the chicken marinates overnight for maximum flavor
- Perfect for feeding a crowd and tastes just as good at room temperature
- Budget-friendly ingredients that you probably already have in your kitchen
Ingredients
This recipe relies on pantry staples and fresh chicken to create that authentic Southern flavor. The buttermilk is the key ingredient that tenderizes the meat and adds that subtle tang that sets Southern fried chicken apart from other versions.
The seasoning blend is simple but effective, coating every piece with just the right amount of flavor. Cornstarch mixed with the flour adds extra crispiness to the coating.
- 1 whole chicken (3-4 lbs/1.4-1.8 kg), cut into 8-10 pieces, or your choice of chicken parts
- 2 cups (480 ml) buttermilk
- 2 tablespoons hot sauce (optional, but recommended)
- 2 1/2 cups (315 g) all-purpose flour
- 1/2 cup (65 g) cornstarch
- 2 tablespoons kosher salt, divided
- 2 teaspoons black pepper
- 2 teaspoons garlic powder
- 2 teaspoons onion powder
- 2 teaspoons paprika
- 1 teaspoon cayenne pepper (optional, for heat)
- 2 large eggs
- 1 cup (240 ml) buttermilk (for egg wash)
- Peanut oil or vegetable oil for frying (about 6-8 cups/1.4-1.9 L)
Kitchen Equipment Needed
Having the right equipment makes the frying process much easier and safer. A heavy-bottomed pot or cast iron skillet holds heat well and prevents temperature fluctuations that can result in greasy chicken.
A thermometer is essential for maintaining the proper oil temperature throughout the cooking process. Without one, you’re just guessing, which often leads to undercooked or burnt chicken.
- Large mixing bowl for marinating
- Cast iron skillet or heavy-bottomed Dutch oven
- Candy or deep-fry thermometer
- Wire cooling rack set over a baking sheet
- Tongs or slotted spoon for turning chicken
- Paper towels for draining
- Shallow dishes for dredging station
- Measuring cups and spoons
- Plastic wrap or lid to cover marinating chicken
Recommended Products for This Recipe
These carefully selected products will help you achieve the best results and make the frying process easier and safer.
1. Lodge Cast Iron Skillet 12-Inch
A quality cast iron skillet distributes heat evenly and maintains consistent temperature, which is crucial for getting that perfect golden crust without burning. This skillet is pre-seasoned and will last a lifetime with proper care. The 12-inch size is ideal for frying chicken in batches without overcrowding.
2. ThermoPro Digital Instant Read Meat Thermometer
Maintaining the correct oil temperature is the difference between greasy, undercooked chicken and perfectly crispy, golden pieces. This instant-read thermometer gives you accurate readings in seconds, taking the guesswork out of frying. It also helps ensure your chicken reaches the safe internal temperature of 165°F (74°C).
3. Planters Peanut Oil
Peanut oil has a high smoke point and neutral flavor that won’t interfere with your chicken’s seasoning. It stays stable at frying temperatures and produces the crispiest coating. This large container gives you plenty for multiple batches without worrying about running out mid-fry.
4. Ultra Cuisine Wire Cooling Rack Set
These elevated racks allow air to circulate around the fried chicken, keeping the coating crispy instead of soggy. The tight grid pattern prevents smaller pieces from falling through. They fit perfectly over standard baking sheets for easy cleanup.
Step-by-Step Instructions
Follow these detailed instructions to achieve perfectly fried chicken every time. Taking the time to properly marinate and set up your dredging station makes all the difference in the final result.
1. Marinate the Chicken
- Rinse the chicken pieces under cold water and pat completely dry with paper towels
- Place the chicken in a large mixing bowl
- In a separate bowl, whisk together 2 cups (480 ml) buttermilk and 2 tablespoons hot sauce until well combined
- Pour the buttermilk mixture over the chicken, making sure all pieces are completely submerged
- Toss the chicken pieces to coat evenly with the marinade
- Cover the bowl tightly with plastic wrap or a lid
- Refrigerate for at least 4 hours, but preferably overnight (8-12 hours) for maximum tenderness and flavor
- Turn the chicken pieces once or twice during marinating to ensure even coverage
2. Prepare the Seasoned Flour Mixture
- In a large shallow dish or bowl, whisk together the all-purpose flour and cornstarch
- Add 1 tablespoon kosher salt, black pepper, garlic powder, onion powder, paprika, and cayenne pepper (if using)
- Whisk thoroughly until all the seasonings are evenly distributed throughout the flour
- The mixture should look uniform in color with no clumps of seasoning
- Set aside at room temperature while you prepare the egg wash
3. Set Up the Dredging Station
- In a medium bowl, beat the 2 large eggs until the yolks and whites are fully combined
- Add 1 cup (240 ml) buttermilk to the beaten eggs
- Whisk together until smooth and well blended
- Arrange your workspace with the seasoned flour in one dish and the egg wash in another
- Place a clean wire rack over a baking sheet nearby for the coated chicken
- Remove the marinated chicken from the refrigerator and let it sit at room temperature for 15 minutes
- This helps the chicken cook more evenly and prevents the oil temperature from dropping too much
4. Coat the Chicken Pieces
- Working with one piece at a time, remove the chicken from the buttermilk marinade
- Let excess buttermilk drip off, but don’t pat the chicken dry
- Place the chicken in the seasoned flour and turn to coat completely
- Press the flour into the chicken to ensure good adhesion
- Shake off excess flour and dip the chicken into the egg wash
- Allow excess egg wash to drip off, then return the chicken to the seasoned flour
- Coat thoroughly once more, pressing the flour into any wet spots
- Shake off excess flour and place the coated chicken on the wire rack
- Repeat with all chicken pieces
- Let the coated chicken rest on the rack for 10-15 minutes before frying (this helps the coating stick better)
5. Heat the Oil
- Pour peanut oil or vegetable oil into your cast iron skillet or Dutch oven to a depth of 1 1/2 to 2 inches (3.8-5 cm)
- Never fill the pot more than halfway to prevent dangerous oil spillovers
- Attach a candy thermometer to the side of the pot, making sure the probe is submerged in the oil but not touching the bottom
- Heat the oil over medium-high heat until it reaches 350°F (175°C)
- This usually takes 10-15 minutes depending on your stove
- Adjust the heat as needed to maintain temperature throughout the frying process
- Have a lid nearby in case of oil splatters, but never cover the pot while chicken is frying
6. Fry the Chicken
- Once the oil reaches 350°F (175°C), carefully lower 3-4 pieces of chicken into the hot oil using tongs
- Don’t overcrowd the pot; the chicken pieces should have room to float freely
- The oil temperature will drop to about 325°F (163°C) when you add the chicken, which is normal
- Adjust the heat to bring the temperature back up to 325-335°F (163-168°C) and maintain it there
- Fry the chicken without moving it for 6-7 minutes on the first side
- You should see the coating turning golden brown around the edges
- Use tongs to carefully turn each piece over
- Continue frying for another 6-8 minutes for smaller pieces (wings, drumsticks) or 10-12 minutes for larger pieces (breasts, thighs)
- Dark meat takes longer to cook than white meat
- The chicken is done when it reaches an internal temperature of 165°F (74°C) and the coating is deep golden brown and crispy
7. Drain and Rest
- Use tongs or a slotted spoon to carefully remove the fried chicken from the oil
- Hold each piece above the oil for a few seconds to let excess oil drip off
- Transfer the chicken to a wire rack set over a baking sheet lined with paper towels
- Don’t stack the chicken pieces or the coating will become soggy
- While the first batch rests, check the oil temperature and bring it back to 350°F (175°C) before adding the next batch
- Repeat the frying process with the remaining chicken pieces
- Let the fried chicken rest for at least 5-10 minutes before serving to allow the juices to redistribute
- Sprinkle with a pinch of salt while still hot if desired
For a quicker weeknight option, try this Air Fryer Chicken Drumsticks method.
Tips for Success
These tips will help you avoid common mistakes and ensure your fried chicken turns out perfectly crispy and delicious every time. Small details make a big difference when you’re deep frying.
- Don’t skip the overnight marinade. The buttermilk needs time to tenderize the meat and infuse flavor. Four hours is the minimum, but overnight is ideal.
- Maintain consistent oil temperature. This is the most important factor in achieving crispy (not greasy) chicken. Invest in a good thermometer.
- Don’t overcrowd the pot. Frying too many pieces at once drops the oil temperature too much and results in soggy coating. Fry in batches of 3-4 pieces.
- Let the coated chicken rest. Allowing the breaded chicken to sit for 10-15 minutes before frying helps the coating adhere better and creates a crispier crust.
- Season the chicken at every stage. Add salt to the marinade, the flour, and sprinkle a bit more on the finished chicken for maximum flavor.
- Use a wire rack, not paper towels. Placing hot chicken directly on paper towels traps steam underneath, making the bottom soggy. A wire rack allows air circulation.
- Bring chicken to room temperature. Cold chicken from the fridge will lower the oil temperature too dramatically. Let it sit out for 15-20 minutes.
- Check internal temperature. Dark meat should reach 175°F (79°C) for the most tender texture, while white meat is perfect at 165°F (74°C).
Serving Suggestions
Southern fried chicken deserves to be served alongside classic comfort food sides that complement its rich, savory flavor. These traditional pairings create a complete Southern feast.
The beauty of fried chicken is that it tastes delicious hot, warm, or even at room temperature, making it perfect for everything from sit-down dinners to outdoor picnics.
- Serve with creamy Mashed Potatoes and rich gravy
- Pair with tangy Creamy Coleslaw for a refreshing contrast
- Add a side of fluffy Buttermilk Biscuits with honey butter
- Complement with sweet and savory Baked Beans
- Include Skillet Cornbread for soaking up any pan drippings
- Serve alongside Mac and Cheese for the ultimate comfort meal
- Add Green Beans or collard greens for a vegetable side
- Complete the meal with sweet tea or fresh lemonade
You might also enjoy: Classic Chicken Parmesan
Variations to Try
Once you’ve mastered the classic version, these variations add new flavors while maintaining that signature crispy coating. Each twist brings something special to the table.
- Spicy Nashville Hot Chicken: After frying, brush the hot chicken with a mixture of cayenne pepper, brown sugar, and melted butter for that fiery Nashville kick.
- Buttermilk Ranch Fried Chicken: Add 2 tablespoons of ranch seasoning mix to the flour for a tangy, herbaceous twist.
- Honey Butter Glazed: Drizzle warm fried chicken with a mixture of melted butter and honey for sweet and savory perfection.
- Garlic Parmesan: Toss hot fried chicken in melted butter mixed with minced garlic and freshly grated Parmesan cheese.
- Lemon Pepper: Add 2 tablespoons of lemon pepper seasoning to the flour mixture for bright, zesty flavor.
- Korean-Inspired: Coat fried chicken in a sauce made from gochujang, honey, soy sauce, and garlic for a sweet and spicy Asian fusion.
- Herb-Crusted: Mix fresh chopped herbs like rosemary, thyme, and sage into the flour for an aromatic coating.
Storage and Reheating
Proper storage keeps your fried chicken safe to eat and helps maintain as much of that crispy texture as possible when you reheat it. While nothing beats freshly fried chicken, these methods come pretty close.
- Refrigerator Storage: Allow chicken to cool completely to room temperature. Place in an airtight container with paper towels on the bottom to absorb excess moisture. Store for 3-4 days.
- Freezer Storage: Wrap each piece individually in aluminum foil, then place in a freezer-safe bag. Freeze for up to 3 months. Thaw overnight in the refrigerator before reheating.
- Oven Reheating: Preheat oven to 375°F (190°C). Place chicken on a wire rack over a baking sheet. Heat for 15-20 minutes until warmed through and crispy.
- Air Fryer Reheating: Place chicken in a single layer in the air fryer basket. Heat at 375°F (190°C) for 5-7 minutes, which restores the crispiness better than any other method.
- Avoid the Microwave: Microwaving makes the coating soggy and rubbery. Only use this method if you’re truly in a hurry and don’t care about texture.
Read Also: Air Fryer Chicken Nuggets
Nutritional Facts
Per serving (1 piece, approximately 4 oz/113 g of chicken):
- Calories: 320
- Total Fat: 18g
- Saturated Fat: 4g
- Cholesterol: 95mg
- Sodium: 450mg
- Total Carbohydrates: 15g
- Dietary Fiber: 1g
- Sugars: 2g
- Protein: 24g
Nutritional values are approximate and may vary based on specific ingredients used and portion sizes. Dark meat contains more calories and fat than white meat.
Another favorite: Air Fryer Chicken Parmesan
Health Benefits of Key Ingredients
While fried chicken is certainly an indulgent treat, some of the ingredients provide nutritional benefits. Enjoying it in moderation as part of a balanced diet is the key to guilt-free pleasure.
The protein from chicken supports muscle growth and repair, while the buttermilk provides calcium and probiotics that aid digestion.
- Chicken: Excellent source of lean protein (in white meat), B vitamins, selenium, and phosphorus that support muscle health, metabolism, and immune function
- Buttermilk: Contains probiotics that promote gut health, calcium for strong bones, and lactic acid that helps with protein digestion
- Garlic Powder: Offers allicin, which has anti-inflammatory properties and may support heart health
- Paprika: Rich in antioxidants, particularly vitamin A and carotenoids that support eye health and immune function
- Onion Powder: Contains quercetin, an antioxidant with anti-inflammatory benefits
- Black Pepper: Contains piperine, which enhances nutrient absorption and has antioxidant properties
Frequently Asked Questions
1. Can I make fried chicken without buttermilk?
Yes, you can make a buttermilk substitute by mixing 2 cups of whole milk with 2 tablespoons of lemon juice or white vinegar. Let it sit for 5-10 minutes until it curdles slightly.
However, real buttermilk produces superior results because it contains more lactic acid and has a thicker consistency that clings better to the chicken. If you’re making fried chicken from scratch, it’s worth using the real thing.
2. Why is my fried chicken coating falling off?
The coating falls off when there’s too much moisture between the chicken and the breading, or when the chicken is moved too much during frying. Make sure to let the buttermilk drain off slightly before dredging, press the flour firmly into the chicken, and allow the coated chicken to rest for 10-15 minutes before frying.
Also, don’t turn the chicken more than once while frying, and make sure your oil is at the correct temperature. Oil that’s too cool causes the coating to absorb grease and slide off.
3. How do I know when the chicken is fully cooked?
The most reliable method is using an instant-read thermometer inserted into the thickest part of the chicken without touching bone. White meat should reach 165°F (74°C), while dark meat is best at 175°F (79°C).
Visual cues include deep golden brown color and clear juices when pierced. If you cut into a piece and see any pink or bloody juices, it needs more cooking time.
4. Can I use chicken breasts instead of a whole chicken?
Absolutely! Boneless, skinless chicken breasts work well, though they require shorter cooking time (about 8-10 minutes total).
For best results, pound the breasts to an even thickness of about 1 inch (2.5 cm) before marinating. Bone-in, skin-on breasts are closer to traditional fried chicken and stay juicier during frying.
5. What’s the best oil for frying chicken?
Peanut oil is the gold standard because it has a high smoke point (450°F/232°C), neutral flavor, and creates the crispiest coating. Vegetable oil and canola oil are excellent alternatives with similar properties.
Avoid olive oil, which has a lower smoke point and can give the chicken a bitter taste when heated to frying temperature. Lard or shortening creates authentic, traditional flavor if you want to go old-school.
This pairs beautifully with Classic Deviled Eggs as a starter.
Final Thoughts
This Southern fried chicken recipe delivers everything you want in comfort food: crispy coating, juicy meat, and bold flavors that satisfy every craving. The buttermilk marinade and double-dredging technique might seem like extra steps, but they’re what separate good fried chicken from truly exceptional fried chicken.
Once you master the basics of maintaining oil temperature and achieving that perfect golden crust, you’ll find yourself making this recipe again and again. It’s the kind of dish that creates memories, brings people together, and reminds us why some foods become beloved classics.
Give this recipe a try for your next family dinner or gathering. I’d love to hear how it turns out for you, so feel free to leave a comment below and share your experience!
Recommended:
- Air Fryer Chicken Tenders
- Chicken Fried Rice
- Easy Chicken Pot Pie
- Classic Chicken Salad
- Healthy Chicken Salad
- Air Fryer Chicken Cutlets
- Chicken Skillet
- Chicken Casserole
- BBQ Chicken Wrap
- Air Fryer Bacon Wrapped Chicken Breast


