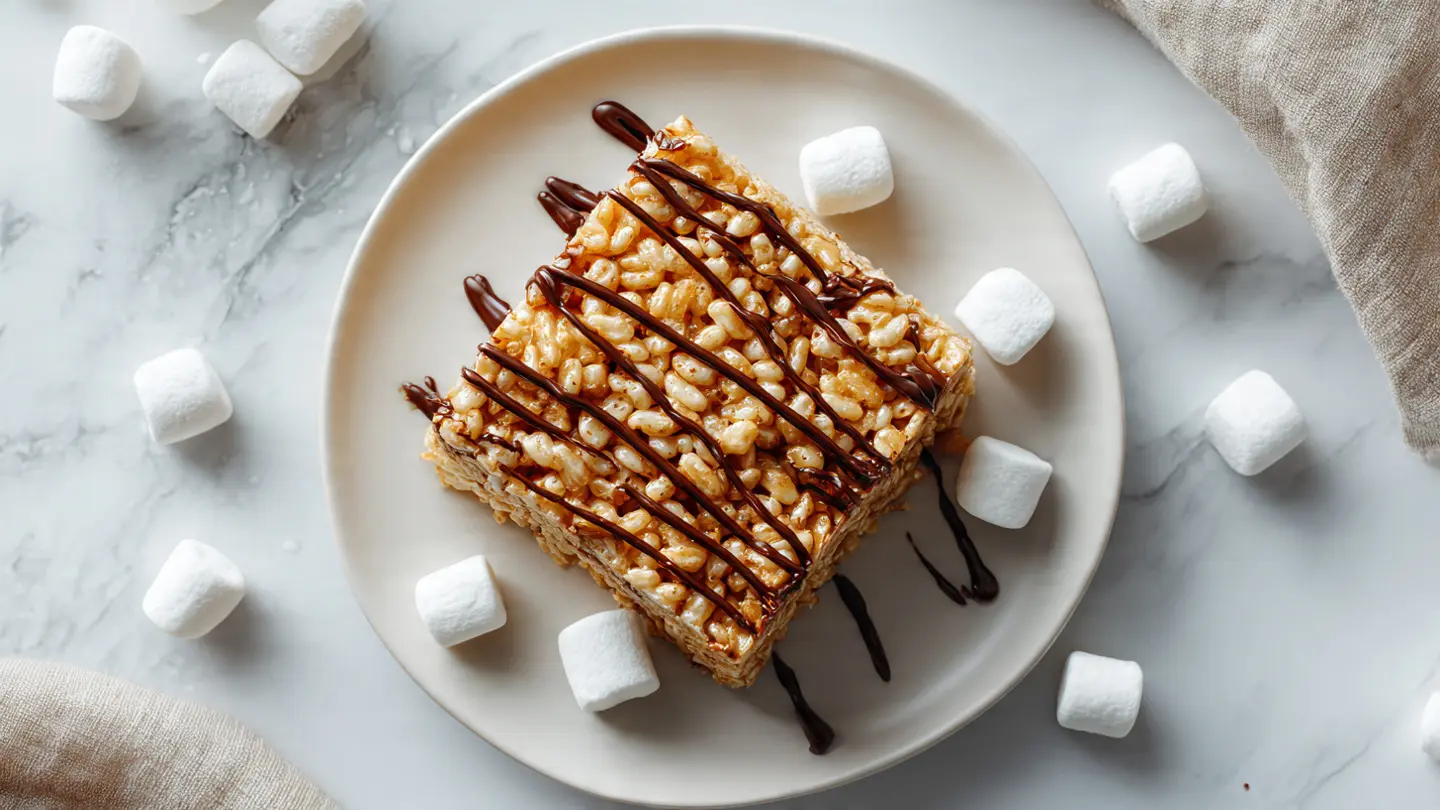
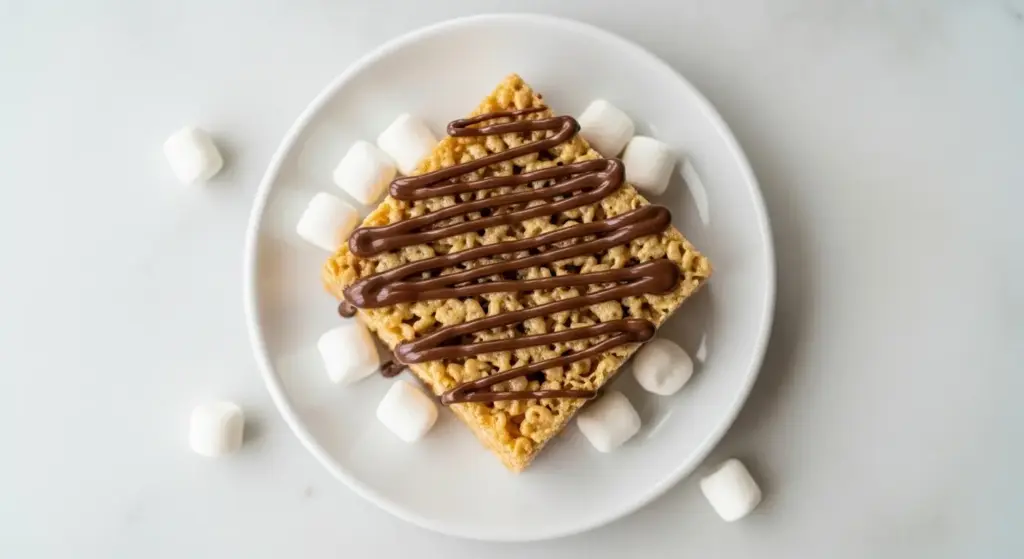
Sometimes you just want one single, perfect, chewy, buttery Rice Krispie treat without committing to an entire pan. This single serve rice krispie treat recipe is here to save the day, made in minutes with just a handful of pantry staples and zero leftovers to tempt you.
This one-portion version is ideal when you need a quick sweet fix but don’t want the mess of a full batch. The secret to getting it right in a small quantity is using the right ratio of butter to marshmallows to cereal, since scaling down can easily throw off the texture if you’re not careful. With the tips in this post, you’ll get a gooey, satisfying treat every single time.
It works in the microwave in under five minutes, making it one of the easiest desserts you’ll ever put together. Keep reading, and you’ll wonder why it took you this long to try it.
For more classic versions of this crowd-favorite treat, check out the Original Rice Krispie Treat Recipe on the site.
Why You’ll Love This Single Serve Rice Krispie Treat Recipe
Making a full pan of Rice Krispie treats when you’re craving just one is an exercise in unnecessary effort and temptation.
This recipe gives you the exact same buttery, marshmallow-y goodness in a single-serving portion, without any waste.
It comes together in about five minutes flat. That’s faster than most desserts you could bake or even buy from a store.
It requires no oven, no special equipment, and no advanced skills. If you can melt butter in a microwave, you can make this.
The texture is just right when you nail the technique. Slightly crispy on the outside, chewy and gooey in the center.
You can customize it any way you like by adding mix-ins like chocolate chips, sprinkles, or peanut butter. The base recipe is simple enough to handle all sorts of fun additions.
- Perfect single-portion size with no leftover temptation
- Ready in about 5 minutes using just a microwave
- Uses only 3 core ingredients you likely already have
- Easy to customize with fun mix-ins
- Great for late-night cravings, quick kids’ snacks, or solo dessert nights
- No baking, no oven, no fuss
You might also enjoy: Easy Rice Krispie Treat Recipe
Ingredients
This recipe strips things down to the essentials, which is exactly what makes it so quick and satisfying. Using full-fat butter and real marshmallows (not mini sugar-coated ones from a trail mix) is the key to getting that authentic, classic taste and sticky-chewy texture.
- 1 tablespoon (14g) unsalted butter
- 1 cup (25g) mini marshmallows (approximately 10-12 regular-sized marshmallows)
- 1 cup (28g) Rice Krispies cereal (or puffed rice cereal)
- Pinch of fine salt (optional, but highly recommended)
- 1/4 teaspoon pure vanilla extract (optional, adds depth of flavor)
Read Also: Gooey Rice Krispie Treat Recipe
Kitchen Equipment Needed
You don’t need much at all for this recipe, which is part of its charm. A microwave-safe bowl large enough to stir without spilling is your most important piece of equipment, since the mixture expands a bit when the marshmallows melt.
- Microwave-safe bowl (medium-sized, at least 16 oz / 500ml capacity)
- Silicone spatula or wooden spoon (for stirring)
- Small plate, ramekin, or mini baking mold for shaping
- Measuring cups and spoons
- Cooking spray or a small piece of parchment paper (to prevent sticking)
Read Also: Microwave Rice Krispie Treat Recipe
Recommended Products for This Recipe
These are products I genuinely recommend based on quality and how much of a difference they make when preparing this recipe.
1. Mini Silicone Baking Molds
Silicone molds make it so easy to press your single-serving treat into a perfect shape without it sticking to the container. They’re flexible enough to pop the treat out cleanly, and they come in all sorts of fun shapes. A small set is a worthwhile investment if you make single-serving treats regularly.
2. Jet-Puffed Mini Marshmallows
Mini marshmallows melt significantly more evenly than full-sized ones when you’re working with a small batch in the microwave. Jet-Puffed is the classic brand that melts consistently smooth without getting grainy or lumpy. Using a quality marshmallow makes a noticeable difference in the final texture.
3. High-Quality Unsalted Butter
A higher butterfat European-style butter gives your treat a noticeably richer, more buttery flavor compared to standard butter. Since butter is one of only three ingredients here, the quality really does show. It’s a small upgrade that makes a big difference.
4. Silicone Spatula Set
A flexible silicone spatula is essential for stirring the marshmallow mixture without scraping the bowl awkwardly or leaving sticky bits behind. It also works perfectly for pressing the treat into your mold. A good set is one of the most versatile tools in any kitchen.
This single serve Rice Krispie treat also pairs beautifully with a cozy mug of hot chocolate for the ultimate low-key dessert moment.
Step-by-Step Instructions
Step 1: Prepare Your Mold or Plate
- Lightly spray a small plate, ramekin, or silicone mold with cooking spray. Alternatively, cut a small piece of parchment paper and press it into a ramekin or small bowl to line it.
- This step is critical for a single-serving treat because you won’t have the structural leverage of a full pan to help you release it cleanly.
- If you prefer a freeform shape, you can also spray your hands lightly with cooking spray and simply shape the treat by hand on a greased plate.
- Set the prepared mold aside within easy reach, because once the marshmallow mixture is ready, you’ll need to move quickly.
Step 2: Melt the Butter
- Place 1 tablespoon (14g) of unsalted butter into your microwave-safe bowl.
- Microwave the butter on high for about 20 to 25 seconds, or until it is just fully melted. You don’t want it bubbling or browning at this stage.
- If the butter is not fully melted after 20 seconds, add additional 5-second bursts until it is just liquid.
- Melting the butter first rather than together with the marshmallows gives you more control over the process and helps prevent the marshmallows from scorching.
Step 3: Add the Marshmallows and Melt
- Add 1 cup (25g) of mini marshmallows directly into the bowl with the melted butter.
- Stir briefly to coat the marshmallows in the butter. This light coating helps them melt more evenly.
- Microwave the butter-marshmallow mixture on high for 30 seconds.
- Remove the bowl from the microwave and stir the mixture. The marshmallows should be partially melted and very puffed up.
- If there are still solid pieces of marshmallow remaining, return the bowl to the microwave for an additional 10 to 15 seconds.
- Stir again until the mixture is completely smooth, glossy, and free of lumps. Don’t overheat it, as overcooked marshmallows become stiff and the treat will be hard rather than chewy.
- If using, stir in the pinch of salt and 1/4 teaspoon of vanilla extract now. These add a wonderful depth of flavor that balances the sweetness.
Step 4: Add the Rice Krispies Cereal
- Working quickly, pour 1 cup (28g) of Rice Krispies cereal into the warm marshmallow mixture.
- Use your silicone spatula to fold and stir the cereal into the marshmallow mixture, making sure every piece of cereal gets coated.
- Stir until you no longer see any dry, uncoated cereal pieces. The mixture should look uniformly sticky and clumped together.
- The key here is speed. The longer the marshmallow mixture sits before you add the cereal, the stiffer it gets, which makes it harder to mix and results in a tougher texture.
- If the mixture is already cooling down rapidly and becoming hard to stir, you can microwave it for just 5 to 10 seconds to loosen it slightly before completing the fold.
Step 5: Press and Shape
- Immediately transfer the cereal mixture into your prepared mold, ramekin, or onto your greased plate.
- Use the back of your lightly greased spatula, or your lightly greased fingers, to press the mixture down firmly and evenly.
- Apply firm, even pressure to compact the treat together, which prevents it from crumbling when you eat it.
- If you’re pressing by hand, you can lightly wet your fingers with cool water instead of cooking spray as an alternative to prevent sticking.
- Shape it into a square, circle, or whatever shape your container allows. For a freeform treat, shape it into a small rectangle or square roughly 1 inch (2.5cm) thick.
Step 6: Let It Set
- Allow the treat to sit undisturbed at room temperature for at least 5 to 10 minutes before eating.
- This short resting time allows the marshmallow to firm up just enough to hold its shape while still staying chewy and gooey in the center.
- If you are in a hurry, you can speed this step up by placing the treat in the refrigerator for 3 to 5 minutes, but don’t leave it too long or the texture will become harder than ideal.
- Once set, gently unmold or lift the treat from your plate and enjoy immediately.
Another favorite: Rice Krispie Treat Recipe with Marshmallow Fluff
Tips for Success
Small-batch recipes like this one have very little margin for error, so a few key tips can mean the difference between a chewy, gooey treat and a rock-hard disappointment. The good news is they’re all easy to follow.
- Don’t overheat the marshmallows. Overcooked marshmallows lose their stretchiness and result in a dense, hard treat. Melt them just until smooth.
- Work fast once the marshmallows are melted. The mixture sets quickly, especially in a small batch. Have your cereal and mold ready before you start melting.
- Use mini marshmallows for best results. They melt more evenly than large ones in a small quantity and require less microwave time.
- Press firmly when shaping. A well-pressed treat holds together cleanly. A lightly pressed one crumbles.
- Add salt. Even a tiny pinch of fine salt dramatically enhances the flavor and cuts through the sweetness in the best way.
- Grease everything the cereal will touch. Your spatula, your hands, your mold. Marshmallow is incredibly sticky and greasing is the only thing that prevents a frustrating cleanup.
- Measure your cereal by volume, not just by eyeballing it. Too much cereal makes the treat dry; too little makes it overly gooey and hard to handle.
This technique works wonderfully for other small-batch treats too, like the Peanut Butter Rice Krispie Treat Recipe.
Serving Suggestions
A single serve Rice Krispie treat is completely satisfying on its own, but pairing it with something complementary takes the experience to the next level.
The treat’s buttery sweetness pairs beautifully with a cold glass of milk, a cup of coffee, or a mug of warm hot chocolate. The slightly salty contrast works especially well with a creamy beverage.
- Serve alongside a scoop of vanilla ice cream for an easy dessert platter
- Top with a drizzle of caramel sauce for an elevated touch
- Add a small side of fresh fruit like strawberries or raspberries for a fresh contrast
- Pair it with a mug of hot chocolate for a cozy, indulgent snack
- Wrap it in wax paper for an easy on-the-go lunchbox treat
- Serve it slightly warm (just 5 seconds in the microwave) for extra gooeyness
Read Also: No Bake Cookie Recipe
Variations to Try
The basic three-ingredient formula is a blank canvas, and it takes to additions incredibly well. These variations all work within the single-serving format without requiring any extra equipment or techniques.
- Chocolate Drizzle: Melt 1 tablespoon of chocolate chips and drizzle over the finished, set treat for a simple but impressive upgrade.
- Peanut Butter Swirl: Stir half a teaspoon of creamy peanut butter into the melted marshmallow mixture before adding the cereal. It adds richness and a slightly nutty depth.
- Fruity Version: Substitute Fruity Pebbles or Cocoa Pebbles cereal for the Rice Krispies for a colorful, flavored twist. You can also try this with the Fruity Pebbles Rice Krispie Treat Recipe.
- Sprinkle Confetti: Press rainbow sprinkles into the top of the treat before it sets for a festive, birthday-cake-style look.
- S’mores Style: Press a few mini chocolate chips and a small piece of crushed graham cracker into the top before setting.
- Vegan Version: Swap the butter for coconut oil and use vegan marshmallows. For a full guide, check out the Vegan Rice Krispie Treat Recipe.
- Brown Butter: Brown the butter in a small saucepan or microwave before adding the marshmallows for a nutty, caramelized flavor that is truly next-level.
Read Also: Copycat Starbucks Rice Krispie Treat Recipe
Storage and Reheating
Single-serve treats are best eaten fresh, ideally within the hour. That said, if you want to save it, proper storage keeps the texture as close to fresh as possible.
- Room Temperature: Wrap the treat tightly in plastic wrap or place it in a small zip-lock bag. Store at room temperature for up to 2 days. Exposure to air is the main enemy since it causes the cereal to go stale.
- Refrigerator: You can refrigerate it wrapped in plastic wrap, but cold temperatures cause it to harden significantly. Let it sit at room temperature for 15 to 20 minutes before eating, or give it a 5-second microwave blast to soften.
- Freezer: Wrap tightly in plastic wrap, then place in a freezer bag. Freeze for up to 6 weeks. Thaw at room temperature for about 20 to 30 minutes.
- Reheating: If you want to re-soften a stored treat, microwave it for 5 to 8 seconds. This brings back some of the fresh gooeyness without turning it into a melted mess.
Read Also: Rice Krispie Treat Recipe with Large Marshmallows
Nutritional Facts
The following nutritional values are approximate and based on the standard single-serving recipe using 1 tablespoon of butter, 1 cup of mini marshmallows, and 1 cup of Rice Krispies cereal.
| Nutrient | Amount (Per Serving) |
|---|---|
| Calories | 220-240 kcal |
| Total Fat | 7g |
| Saturated Fat | 4.5g |
| Cholesterol | 20mg |
| Sodium | 135mg |
| Total Carbohydrates | 40g |
| Sugars | 22g |
| Protein | 1.5g |
| Fiber | 0g |
Nutritional values will vary based on specific brands used and any optional additions or variations.
This is a treat, not a health food, and that’s perfectly okay. Enjoying one single-serving treat is a far more mindful approach than eating half a pan without even noticing.
You might also enjoy making a similarly easy single-serving treat like the Single Serving Sugar Cookie Recipe when you’re in the mood for variety.
Health Benefits of Key Ingredients
This recipe is a dessert and is not intended to be a nutritious meal, but a couple of its components do offer some minor benefits worth knowing.
Even an indulgent treat can have a few redeeming qualities when you know what’s in it and make mindful choices about when and how much you enjoy.
- Rice Krispies cereal is made from puffed, lightly processed rice and is relatively low in fat. Many commercial varieties are also enriched with B vitamins and iron, which adds a small nutritional benefit.
- Butter provides fat-soluble vitamins including vitamins A, D, E, and K. Small amounts of quality butter, especially from grass-fed cows, contain conjugated linoleic acid (CLA), which has been studied for various health properties.
- Marshmallows are virtually fat-free, which keeps the total fat content of this treat relatively low compared to many other desserts.
- Portion control is perhaps the biggest health benefit here. Making a single serving prevents overeating, which is one of the most practical ways to enjoy sweets as part of a balanced diet.
- Vanilla extract contains small amounts of antioxidants and has been studied for its calming aromatic properties.
For another treat that hits that no-bake sweet spot, the Monster Cookie Protein Balls Recipe is worth a look.
Frequently Asked Questions
1. Can I make this without a microwave?
Yes, absolutely. Melt the butter in a small saucepan over low heat on the stovetop. Once melted, add the marshmallows and stir continuously until they are completely melted and smooth. Remove from heat, stir in the cereal, and proceed as directed. The stovetop method gives you a bit more control over heat, which can be helpful if you tend to overheat things in the microwave.
2. Can I double this recipe?
Yes, you can double it easily. Simply use 2 tablespoons of butter, 2 cups of mini marshmallows, and 2 cups of Rice Krispies cereal. Increase the microwave time for the marshmallows to about 45 to 60 seconds, stirring halfway through. This will yield two standard-sized treats or one small pan worth of treats.
3. Why did my treat turn out hard?
This is the most common issue with Rice Krispie treats, and it almost always comes down to overheating the marshmallows. Once the marshmallows are cooked too long, the sugar crystallizes and causes the treat to harden. Make sure to melt only until smooth, and work quickly once the cereal is added. Adding the treat to a room temperature environment (rather than a drafty or cold one) also helps it set up with the right texture.
4. Can I use large marshmallows instead of mini ones?
Yes, you can. About 1 to 1.5 large marshmallows is roughly equivalent to 1 cup of mini marshmallows. Large marshmallows take a bit longer to melt evenly in small quantities, so microwave in 15-second intervals and stir between each. They tend to create slightly thicker, stretchier pockets of marshmallow in the finished treat, which many people find extra satisfying.
5. How do I prevent the cereal from getting soggy?
The main cause of soggy Rice Krispie treats is covering them while still warm, which traps steam and softens the cereal. Make sure to let the treat cool and set completely uncovered at room temperature before wrapping it for storage. Also avoid placing a warm treat on a non-porous surface like a plate with a tight lid, for the same reason.
Read Also: Easy Rice Krispie Treat Recipe
Final Thoughts
A single serve rice krispie treat recipe is one of those small joys that takes almost no effort and delivers a completely outsized reward.
It’s the kind of treat that satisfies a craving without commitment, mess, or leftovers. Once you make it once, it becomes your go-to whenever a sweet tooth strikes without warning.
Give it a try the next time you’re craving something sweet and simple. If you make it, leave a comment below and let me know how it turned out or share your favorite mix-in. I’d love to hear how you made it your own!
Recommended:
- Original Rice Krispie Treat Recipe
- Peanut Butter Rice Krispie Treat Recipe
- Gooey Rice Krispie Treat Recipe
- Fruity Pebbles Rice Krispie Treat Recipe
- Vegan Rice Krispie Treat Recipe
- Microwave Rice Krispie Treat Recipe
- Rice Krispie Treat Recipe with Marshmallow Fluff
- Copycat Starbucks Rice Krispie Treat Recipe
- No Bake Cookie Recipe
- Monster Cookie Bars Recipe


