If you’ve been searching for a gluten free Belgian waffle recipe that actually delivers on all fronts, you’re in the right place.
So many gluten-free versions end up dense, gummy, or just a little sad compared to their wheat-based counterparts. This one is different.
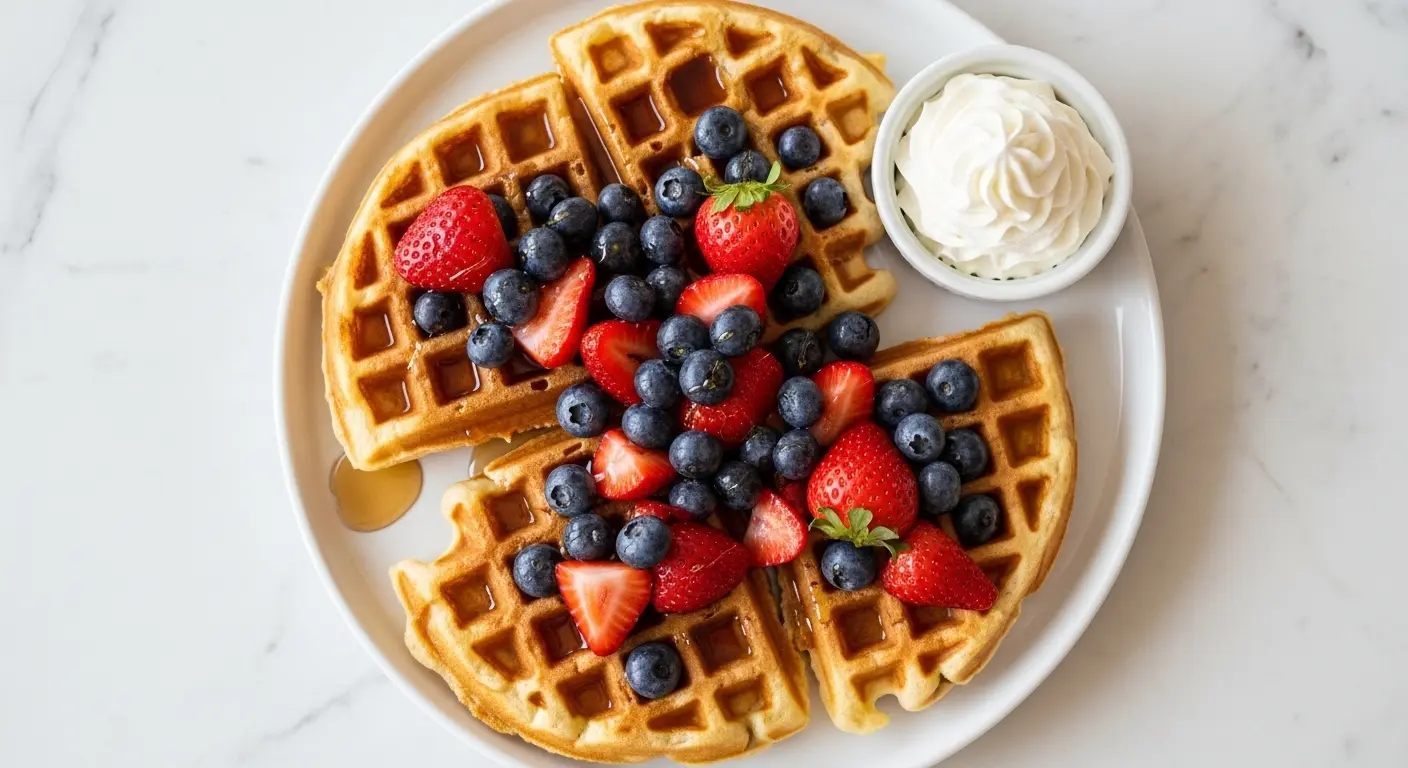
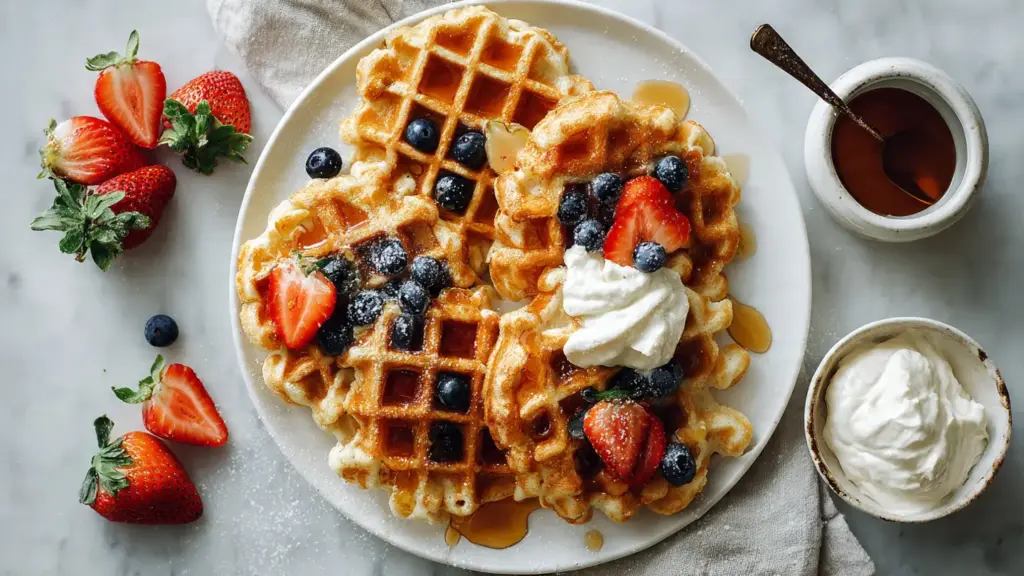
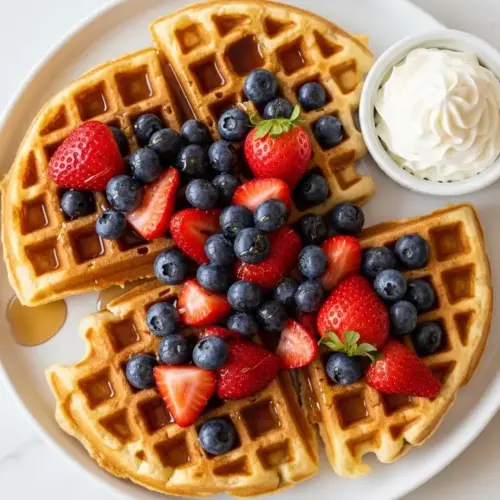
These waffles have deep, golden pockets that hold syrup perfectly, a crispy exterior, and a pillowy-soft interior that makes every bite feel indulgent.
The secret is in the flour blend. A combination of a good all-purpose gluten-free flour blend (one that already contains xanthan gum) with a little extra tapioca starch creates the structure and chewiness that regular flour would normally provide.
You don’t need any fancy or hard-to-find ingredients. This recipe uses pantry staples, comes together in about 30 minutes, and works beautifully for lazy weekend mornings, holiday brunches, or really any morning when you want something special.
Whether you’re newly gluten-free or have been baking this way for years, this recipe is about to become a regular in your rotation.
You might also enjoy: Belgian Waffle Recipe
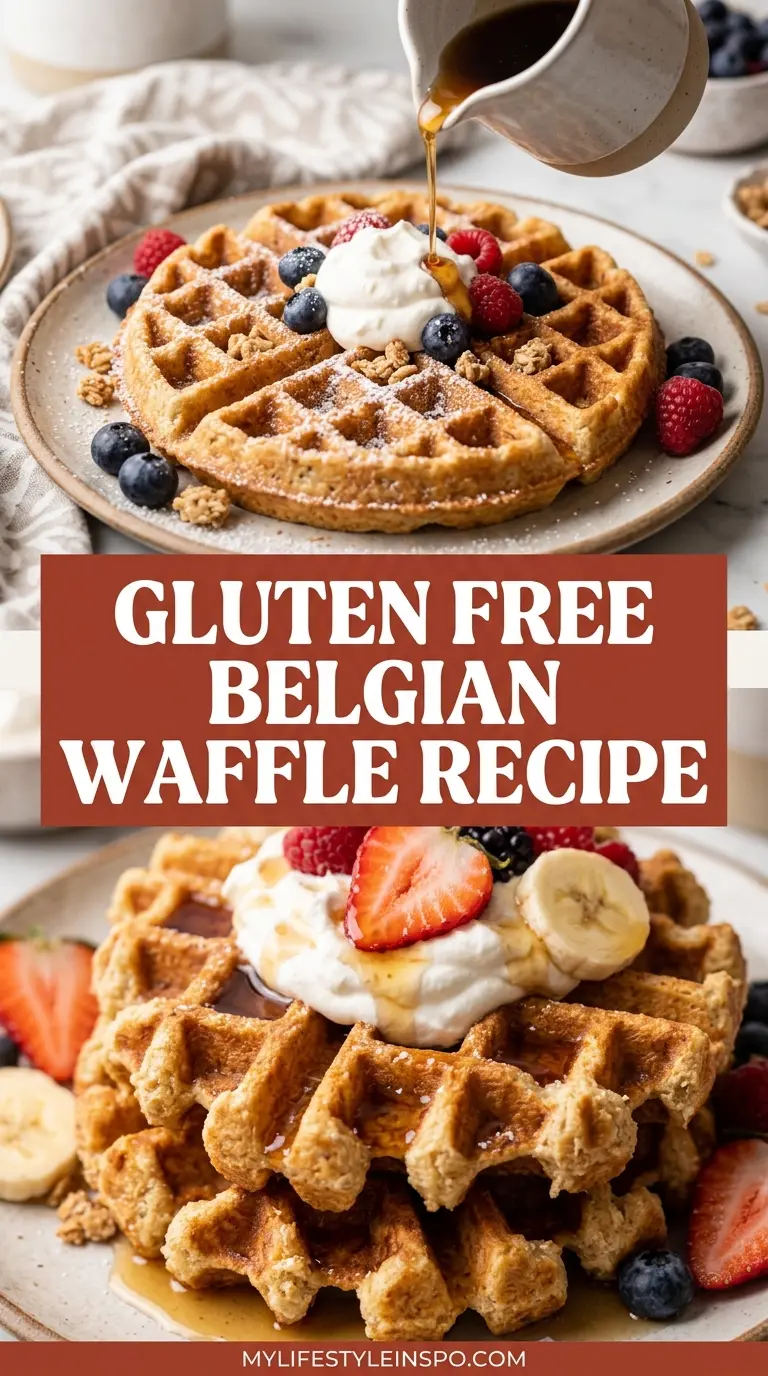
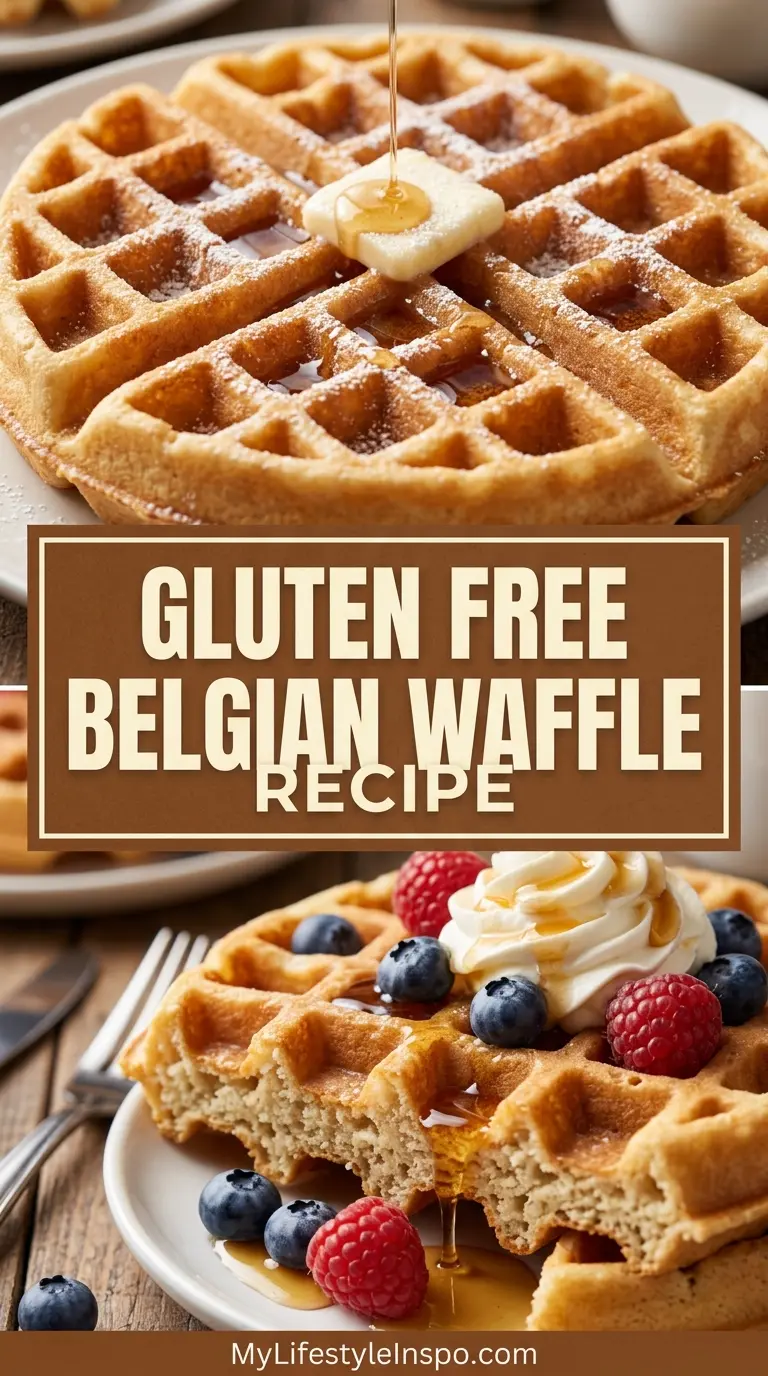
Why You’ll Love This Gluten Free Belgian Waffle Recipe
These waffles check every box you could want in a breakfast treat.
They’re crispy on the outside and fluffy on the inside, just like a classic Belgian waffle should be. You won’t find any gummy texture or strange aftertaste here.
The batter comes together quickly with simple steps, making it accessible even on a busy morning. No mixer required, just two bowls and a whisk.
They’re also incredibly versatile. Top them with fresh fruit, whipped cream, maple syrup, or savory options like fried chicken for a meal that works any time of day.
Because they use a reliable gluten-free flour blend, the results are consistent every single time. No more guessing or hoping your batter turns out right.
- Crispy, golden pockets that hold toppings beautifully
- Fluffy interior without any gumminess
- Easy to follow steps with no special equipment needed
- Consistent results using a quality gluten-free flour blend
- Customizable toppings for sweet or savory meals
- Freezer-friendly so you can make a big batch and reheat throughout the week
Read Also: Easy Waffle Recipe
Ingredients
This gluten free Belgian waffle recipe uses straightforward ingredients that are easy to find at any grocery store. The key is choosing a quality gluten-free flour blend that includes xanthan gum, as it provides the binding structure that gluten would normally handle.
- 2 cups (240g) gluten-free all-purpose flour blend (with xanthan gum included)
- 2 tablespoons tapioca starch (also called tapioca flour)
- 2 tablespoons granulated sugar
- 1 tablespoon baking powder
- 1/2 teaspoon salt
- 2 large eggs, separated
- 1 3/4 cups (420ml) whole milk (or dairy-free alternative such as oat milk)
- 1/3 cup (80ml) neutral oil (such as avocado oil or light olive oil)
- 1 teaspoon pure vanilla extract
- Cooking spray or melted butter, for greasing the waffle iron
For a rich, bakery-style flavor, you can also try this recipe with gluten-free oat milk in place of regular milk. It adds a subtle sweetness and creaminess that pairs beautifully with the vanilla.
This recipe makes approximately 4 large Belgian waffles (enough for 4 servings).
Another favorite: Gluten Free Pancake Recipe
Kitchen Equipment Needed
You don’t need much to make these waffles, but having the right tools makes the process smoother and ensures even cooking. The most important piece of equipment is a deep-pocket Belgian waffle iron, which creates those signature thick, fluffy waffles with deep wells.
- Belgian waffle iron (deep-pocket style)
- Electric hand mixer or stand mixer (for whipping egg whites)
- Large mixing bowl (for dry ingredients and final batter)
- Medium mixing bowl (for wet ingredients)
- Small bowl (for egg whites)
- Whisk
- Kitchen scale (recommended for precise gluten-free baking)
- Rubber spatula
- Ladle or large measuring cup (for pouring batter)
- Cooling rack (for keeping finished waffles crispy)
- Pastry brush or paper towel (for greasing the iron)
Read Also: Easy French Toast Recipe
Recommended Products for This Recipe
These are products I genuinely recommend based on quality and performance. Using the right tools and ingredients can make a big difference in how your waffles turn out.
1. Cuisinart Belgian Waffle Maker
A quality Belgian waffle iron with deep pockets is non-negotiable for getting that signature thick, fluffy texture. The Cuisinart model heats evenly and produces consistent results with a non-stick surface that makes cleanup simple.
2. Bob’s Red Mill Gluten-Free 1-to-1 Baking Flour
This is one of the most reliable gluten-free flour blends on the market. It already contains xanthan gum, making it a perfect drop-in replacement for all-purpose flour in this recipe without any complicated ratios or guesswork.
3. Anthony’s Tapioca Flour
Tapioca starch is the secret to getting that light, slightly chewy texture in gluten-free baked goods. This brand is certified gluten-free and finely milled for smooth incorporation into your batter.
4. OXO Kitchen Scale
Precision matters in gluten-free baking more than in almost any other type of baking. Measuring by weight with a kitchen scale ensures you’re adding exactly the right amount of flour each time, which leads to consistently perfect waffles.
5. Nonstick Cooling Rack
After cooking, resting waffles on a cooling rack instead of a plate keeps them crispy by allowing air to circulate underneath. This is a simple tip that makes a huge difference in texture.
You might also enjoy: Cracker Barrel Pancake Recipe
Step-by-Step Instructions
Step 1: Preheat Your Waffle Iron
- Turn on your Belgian waffle iron and set it to medium-high heat, following the manufacturer’s instructions for your specific model.
- Allow the iron to fully preheat before adding any batter. This usually takes 5 to 10 minutes. A properly preheated iron is essential for achieving that golden, crispy exterior.
- While the iron heats, lay out a cooling rack nearby so you can transfer finished waffles immediately.
Step 2: Separate the Eggs
- Crack the 2 eggs carefully, separating the yolks from the whites into two separate bowls.
- Place the egg whites in a clean, completely dry medium bowl. Any trace of fat or water can prevent the whites from whipping properly, so make sure the bowl is spotless.
- Set the egg yolks aside in a small bowl for use in Step 4.
Step 3: Whisk the Dry Ingredients
- In a large mixing bowl, add 2 cups (240g) of gluten-free all-purpose flour blend.
- Add 2 tablespoons of tapioca starch, 2 tablespoons of granulated sugar, 1 tablespoon of baking powder, and 1/2 teaspoon of salt.
- Whisk all the dry ingredients together thoroughly until evenly combined. This step ensures the leavening and starch are distributed throughout the flour so you don’t get any pockets of baking powder in the final waffle.
Step 4: Mix the Wet Ingredients
- In the medium mixing bowl (separate from the egg whites), combine the 2 egg yolks, 1 3/4 cups (420ml) of milk, 1/3 cup (80ml) of neutral oil, and 1 teaspoon of pure vanilla extract.
- Whisk vigorously until the mixture is smooth and fully combined. The oil and milk should look evenly blended with no separation.
Step 5: Whip the Egg Whites
- Using an electric hand mixer or stand mixer, beat the egg whites in their clean bowl on medium-high speed.
- Continue beating until stiff peaks form. This means when you lift the beater, the egg whites hold a firm point and don’t flop over. This process usually takes about 2 to 3 minutes.
- Stiff egg whites are the key to getting that light, fluffy interior that sets Belgian waffles apart. Do not skip or rush this step.
Step 6: Combine Wet and Dry Ingredients
- Pour the wet ingredient mixture from Step 4 into the large bowl with the dry ingredients.
- Stir with a rubber spatula or large spoon until just combined. Do not overmix. A few small lumps are completely fine.
- Overmixing gluten-free batter can make waffles dense and gummy, so stop stirring as soon as no large pockets of dry flour remain.
Step 7: Fold in the Egg Whites
- Add the whipped egg whites to the batter in two additions.
- For the first addition, stir about one-third of the egg whites directly into the batter to loosen it. You don’t need to be gentle at this stage.
- For the second addition, gently fold the remaining egg whites in using a rubber spatula. Use a sweeping under-and-over motion, rotating the bowl as you go. Stop as soon as the whites are incorporated and no large white streaks remain.
- This folding technique preserves the air you whipped into the egg whites, which is what gives the waffles their airy texture.
Step 8: Grease the Waffle Iron
- Use a pastry brush or folded paper towel to lightly coat both the top and bottom plates of your preheated waffle iron with cooking spray or melted butter.
- Even if your waffle iron is labeled non-stick, greasing it ensures the waffles release cleanly and develop a beautifully golden, slightly crispy surface.
Step 9: Cook the Waffles
- Using a ladle or large measuring cup, pour enough batter to fill your waffle iron according to its size. For a standard Belgian waffle iron, this is typically about 3/4 to 1 cup (180 to 240ml) of batter.
- Close the waffle iron and cook for 4 to 6 minutes, depending on your machine. Avoid opening the iron too early, as this can cause the waffle to tear.
- The waffle is done when steam stops escaping from the sides and the waffle appears golden brown. If your iron has an indicator light, wait until it signals doneness.
Step 10: Rest and Repeat
- Carefully open the waffle iron and transfer the finished waffle to the cooling rack using tongs or a fork. Do not stack waffles on top of each other, as this traps steam and makes them soggy.
- Repeat Steps 8 through 9 for the remaining batter. Re-grease the iron between each waffle for best results.
- If you’re making a large batch, you can keep finished waffles warm and crispy in a 200°F (93°C) oven on the cooling rack set over a baking sheet.
This technique for separating and whipping egg whites also works beautifully in a Dutch Baby Recipe if you want another impressive breakfast option.
Tips for Success
A few simple techniques will take your gluten-free Belgian waffles from good to exceptional. Pay special attention to the flour blend you use and the temperature of your waffle iron, as these two factors have the biggest impact on the final result.
- Use a gluten-free flour blend that contains xanthan gum. Blends without it will produce fragile, crumbly waffles. Check the label before purchasing.
- Measure flour by weight, not volume. Gluten-free flours can compact in the bag, and too much flour leads to dense waffles. A kitchen scale ensures accuracy every time.
- Do not open the waffle iron before the steam stops. Opening too early tears the waffle in half. Patience here is everything.
- Let the batter rest for 3 to 5 minutes after mixing before cooking. This gives the gluten-free flour time to hydrate and the baking powder time to activate, resulting in better rise.
- Keep finished waffles on a cooling rack rather than a plate. Air circulation underneath keeps them crispy instead of steaming them soft.
- Whip your egg whites to stiff peaks every single time. This is not optional if you want that light, airy texture Belgian waffles are known for.
- Room temperature eggs whip better. Let your eggs sit on the counter for 20 to 30 minutes before you begin if you have the time.
Read Also: Breakfast Casserole Recipe
Serving Suggestions
These gluten-free Belgian waffles are a blank canvas for whatever toppings or accompaniments you love. They shine equally with classic sweet toppings and unexpected savory pairings.
The deep pockets hold toppings beautifully, so every bite is loaded with flavor. Think of them as an edible bowl that’s always perfectly portioned.
- Fresh berries and whipped cream for a classic, elegant presentation
- Pure maple syrup and a pat of salted butter for the simplest and most satisfying combination
- Sliced banana and honey with a sprinkle of cinnamon for a naturally sweet option
- Powdered sugar and lemon zest for a bright, bakery-style finish
- Crispy fried chicken on top for a Southern-inspired sweet and savory meal
- Peanut butter and sliced strawberries for a kid-friendly and protein-packed breakfast
- Sausage Gravy poured over the top for an indulgent savory brunch
These waffles also pair wonderfully alongside Scrambled Eggs and Breakfast Potatoes for a full spread.
Variations to Try
Once you’ve mastered the base recipe, it’s easy to customize these waffles to fit different tastes, dietary needs, and occasions. The batter is flexible and takes to mix-ins and flavor changes beautifully.
- Dairy-free version: Swap whole milk for full-fat oat milk, almond milk, or coconut milk. All three work well and produce a slightly different but delicious flavor.
- Blueberry waffles: Gently fold 1/2 cup (75g) of fresh or frozen blueberries into the finished batter just before cooking. Frozen berries don’t need to be thawed first.
- Cinnamon spice waffles: Add 1 teaspoon of ground cinnamon and 1/4 teaspoon of nutmeg to the dry ingredients for a warm, cozy flavor profile.
- Chocolate chip waffles: Stir 1/3 cup (60g) of dairy-free mini chocolate chips into the batter for a crowd-pleasing option that kids especially love.
- Lemon poppy seed waffles: Add the zest of one lemon and 1 tablespoon of poppy seeds to the batter for a bright, citrusy twist.
- Vegan waffles: Replace the eggs with flax eggs (1 tablespoon ground flaxseed mixed with 3 tablespoons water per egg, rested for 5 minutes) and use a plant-based milk. The egg whites step will be omitted, so the waffles will be slightly denser but still delicious.
You might also enjoy: Basic Crepe Recipe
Storage and Reheating
These waffles are fantastic for meal prep and store well, making them a great option for busy weekday mornings. Cool them completely before storing to prevent sogginess.
- Refrigerator: Store cooled waffles in an airtight container or zip-top bag for up to 3 days.
- Freezer: Lay cooled waffles flat on a baking sheet and freeze for 1 to 2 hours until solid, then transfer to a freezer-safe bag or container. They keep well for up to 3 months. Freeze in single layers or place parchment paper between waffles to prevent sticking.
- Reheating in the toaster: The best method for restoring crispiness. Toast frozen waffles directly from the freezer on the medium-high setting for 2 to 3 cycles until heated through and crispy.
- Reheating in the oven: Place waffles in a single layer on a baking rack over a baking sheet at 350°F (175°C) for 8 to 10 minutes until warmed through and crispy.
- Avoid the microwave: Microwaving makes waffles soft and rubbery. The toaster or oven are always better options.
Read Also: French Toast Casserole Recipe
Nutritional Facts
The following values are approximate per one large Belgian waffle (based on this recipe making 4 servings) using whole milk and neutral oil without toppings.
| Nutrient | Amount Per Serving |
|---|---|
| Calories | 390 kcal |
| Total Fat | 16g |
| Saturated Fat | 3g |
| Cholesterol | 100mg |
| Sodium | 420mg |
| Total Carbohydrates | 52g |
| Dietary Fiber | 2g |
| Total Sugars | 8g |
| Protein | 8g |
| Calcium | 180mg |
| Iron | 2mg |
Note: Nutritional values will vary depending on the specific gluten-free flour blend used, any substitutions made, and the toppings added.
Another favorite: Baked Oatmeal Recipe
Health Benefits of Key Ingredients
This gluten free Belgian waffle recipe isn’t just delicious. Several of its key components offer real nutritional value worth knowing about.
Choosing high-quality ingredients makes a meaningful difference both in flavor and in how nourishing your breakfast actually is.
- Gluten-free flour blend: For people with celiac disease or gluten sensitivity, using a certified gluten-free flour blend eliminates harmful inflammatory responses. Many quality blends are made from whole grain sources like brown rice flour, which contains B vitamins, magnesium, and fiber.
- Eggs: Eggs are one of the most complete sources of protein and contain essential amino acids, choline (important for brain health), vitamins D, B12, and selenium. Separating and whipping the whites means you’re also getting protein in a particularly light, digestible form.
- Tapioca starch: While tapioca is primarily a carbohydrate, it is naturally very low in digestive fermentable carbs and is gentle on digestion compared to wheat flour. It is also a resistant starch, which may support gut health.
- Whole milk: Provides calcium, vitamin D, and a good dose of protein and healthy fats that contribute to satiety and help you stay full throughout the morning.
- Avocado oil (or neutral oil): When you choose avocado oil as the fat in this recipe, you’re adding heart-healthy monounsaturated fats and a high smoke point oil that performs beautifully in high-heat cooking.
- Pure vanilla extract: Beyond flavor, pure vanilla contains small amounts of vanillin, a compound with antioxidant properties. It adds warmth and complexity to the batter without adding excess sugar.
Read Also: Easy Acai Bowl Recipe
Frequently Asked Questions
1. Can I use a regular waffle iron instead of a Belgian waffle iron?
Yes, you can use a standard waffle iron to make this batter. The waffles will be thinner with shallower pockets, but the flavor will be the same. You’ll likely need to reduce the amount of batter per waffle and shorten the cooking time by about 1 to 2 minutes.
2. What is the best gluten-free flour blend to use for waffles?
Blends that work best for waffles are those formulated as a 1-to-1 substitute for all-purpose flour, such as Bob’s Red Mill Gluten-Free 1-to-1 Baking Flour or King Arthur Measure for Measure. These already include xanthan gum and are designed to mimic the behavior of wheat flour in baked goods.
3. Why are my gluten-free waffles coming out gummy or dense?
The most common culprits are too much flour, insufficient mixing of the egg whites, opening the waffle iron too early, or using a flour blend that doesn’t contain xanthan gum. Weighing your flour and whipping the egg whites to stiff peaks will resolve most texture issues.
4. Can I make the batter the night before?
You can mix the dry and wet ingredients separately the night before and store them in the refrigerator. However, you should whip and fold in the egg whites just before cooking, as the air that creates the fluffy texture dissipates quickly over time. Batter with the egg whites already folded in will still work the next morning but the waffles may not be quite as light.
5. Can I make this recipe dairy-free as well as gluten-free?
Absolutely. Swap the whole milk for full-fat oat milk, coconut milk (from the carton, not the can), or unsweetened almond milk. The waffles will still turn out delicious with any of these alternatives. Full-fat oat milk produces the closest texture to whole milk.
This recipe pairs beautifully with a weekend brunch alongside the Avocado Toast Recipe for a satisfying meal.
Gluten Free Belgian Waffles
Equipment
- Belgian waffle iron - Deep-pocket style
- Electric hand mixer - Or stand mixer for whipping egg whites
- Large mixing bowl - For dry ingredients and final batter
- Medium mixing bowl - For wet ingredients
- Small bowl - For egg whites
- Whisk
- Kitchen scale - Recommended for precise gluten-free baking
- Rubber spatula
- Ladle - Or large measuring cup for pouring batter
- Cooling rack - For keeping finished waffles crispy
- Pastry brush - Or paper towel for greasing the iron
Ingredients
- 2 cups gluten-free all-purpose flour blend - 240g, with xanthan gum included
- 2 tablespoons tapioca starch - Also called tapioca flour
- 2 tablespoons granulated sugar
- 1 tablespoon baking powder
- 1/2 teaspoon salt
- 2 large eggs - Separated
- 1 3/4 cups whole milk - 420ml, or dairy-free alternative such as oat milk
- 1/3 cup neutral oil - 80ml, such as avocado oil or light olive oil
- 1 teaspoon pure vanilla extract
- cooking spray - Or melted butter, for greasing the waffle iron
For Serving (Optional)
- Fresh berries - For topping
- Whipped cream - For topping
- Pure maple syrup - For topping
- Salted butter - For topping
- Sliced banana - For topping
- Honey - For topping
- Powdered sugar - For topping
- Lemon zest - For topping
- Crispy fried chicken - For a savory option
- Peanut butter - For topping
- Sliced strawberries - For topping
- Sausage gravy - For an indulgent savory topping
Instructions
- Preheat your Belgian waffle iron to medium-high heat. While it heats, place a cooling rack nearby to keep finished waffles crispy.
- Carefully separate the eggs, placing whites in a clean dry bowl and yolks in a small bowl. The egg whites must be in a completely grease-free bowl.
- In a large bowl, whisk together the gluten-free flour blend, tapioca starch, granulated sugar, baking powder, and salt until evenly combined.
- In a separate medium bowl, whisk the egg yolks, milk, neutral oil, and vanilla extract until smooth and fully combined.
- Using a hand or stand mixer, beat the egg whites on medium-high speed until stiff peaks form, about 2-3 minutes. Do not skip or rush this step.
- Pour the wet ingredients into the dry ingredients and stir with a spatula until just combined. A few small lumps are fine. Do not overmix.
- Fold one-third of the whipped egg whites into the batter to loosen it, then gently fold in the remaining whites with an under-and-over motion until just incorporated.
- Lightly coat the preheated waffle iron plates with cooking spray or melted butter using a pastry brush or paper towel.
- Pour about 3/4 to 1 cup of batter onto the hot waffle iron and close the lid. Cook for 4-6 minutes until steam stops escaping and the waffle is golden brown.
- Carefully transfer the finished waffle to a cooling rack to keep it crispy. Re-grease the iron and repeat with remaining batter.
Notes
- For best results, measure gluten-free flour by weight using a kitchen scale. Too much flour leads to dense waffles.
- Whip egg whites to stiff peaks every single time. This is essential for that light, airy texture.
- Do not open the waffle iron before steam stops escaping to prevent the waffle from tearing.
- Let the batter rest for 3-5 minutes after mixing before cooking to allow the flour to hydrate.
- Keep finished waffles on a cooling rack rather than stacking them to prevent sogginess.
- For a dairy-free version, substitute whole milk with full-fat oat milk, almond milk, or coconut milk.
- Add 1/2 cup of fresh or frozen blueberries, 1/3 cup of chocolate chips, or 1 teaspoon of cinnamon to the batter for easy variations.
- Frozen waffles can be reheated in the toaster directly from the freezer for the crispiest results. Avoid the microwave.
- Store cooled waffles in an airtight container for 3 days in the fridge, or freeze flat for up to 3 months.
Final Thoughts
If you’ve been disappointed by gluten-free waffles in the past, this recipe is exactly what you’ve been looking for.
By using a reliable flour blend, adding a touch of tapioca starch for structure, and taking the extra step of whipping egg whites, you get a waffle that genuinely holds its own against any traditional version.
These are waffles worth waking up early for. Golden, crispy, fluffy, and completely customizable.
Give this gluten free Belgian waffle recipe a try this weekend, and see for yourself just how good gluten-free baking can be.
If you make these, leave a comment below and let me know how they turned out. Feel free to share your favorite topping combinations too, because I love hearing how everyone makes this recipe their own.
Recommended:
- Buttermilk Pancake Recipe
- Pumpkin Pancake Recipe
- Air Fryer French Toast Recipe
- Classic French Toast Recipe
- Homemade Biscuit Recipe
- Egg Bake Recipe
- Breakfast Burrito Recipe
- Shakshuka Recipe
- Cloud Eggs Recipe
- Gluten Free Dairy Free Bread Recipe


