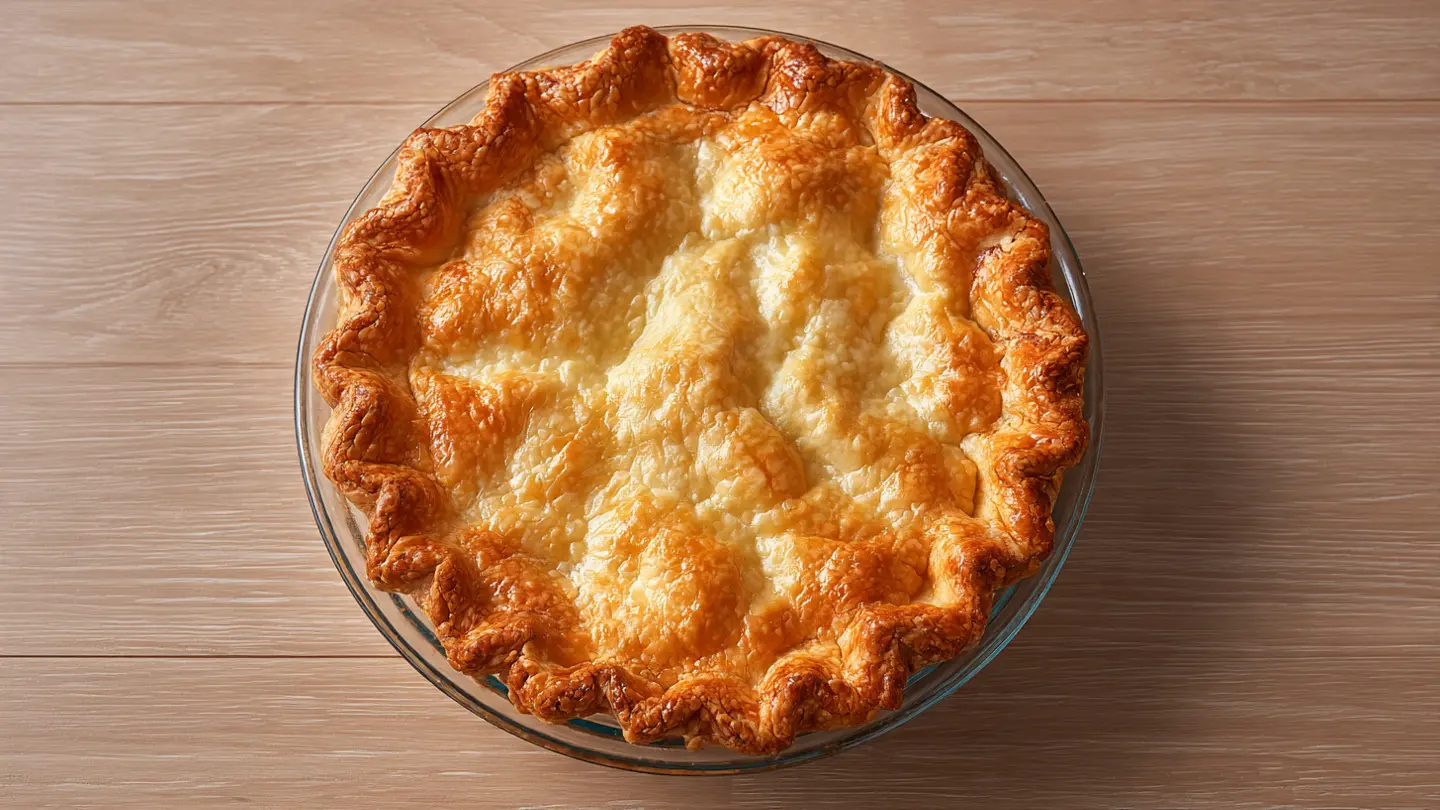
Making a perfect flaky pie crust recipe from scratch might seem intimidating, but with the right techniques and a few simple ingredients, you can create a buttery, tender crust that shatters beautifully with every bite. This all-butter pie crust delivers those gorgeous flaky layers you see in bakery pies, and once you master the basic technique, you’ll never want to buy store-bought again.
The secret to achieving that coveted flakiness lies in keeping your ingredients cold and handling the dough gently. When cold butter melts in the oven, it creates steam pockets between layers of dough, resulting in those light, crispy sheets that make every pie exceptional.
This recipe works beautifully for both sweet and savory pies. The subtle hint of sweetness complements fruit fillings perfectly, while the buttery richness elevates quiches and pot pies.
You might also enjoy: Classic Apple Pie Recipe
Why You’ll Love This Flaky Pie Crust Recipe
This recipe produces consistently excellent results because it focuses on temperature control and proper technique rather than relying on complicated steps or unusual ingredients. The dough comes together quickly and rolls out smoothly without excessive cracking.
Here’s what makes this crust stand out:
- Incredibly flaky texture with visible butter layers throughout
- Rich, buttery flavor that enhances any filling without overpowering it
- Easy to work with once you understand the basic principles
- Versatile enough for sweet pies, savory tarts, and everything in between
- Makes enough for two crusts, perfect for double-crust pies or making ahead
- Freezes beautifully so you can prep dough weeks in advance
- Foolproof results when you follow the temperature guidelines
Another favorite: Dutch Apple Pie Recipe
Ingredients
This recipe relies on just five basic ingredients that work together to create tender, flaky layers. Quality matters here, especially with the butter, since it provides most of the flavor.
- 2 ½ cups (315g) all-purpose flour, spooned and leveled
- 1 tablespoon (12g) granulated sugar
- 1 teaspoon (6g) fine sea salt
- 1 cup (2 sticks/226g) unsalted butter, very cold and cut into ½-inch cubes
- 6-8 tablespoons (90-120ml) ice water
For a savory variation, reduce the sugar to 1 teaspoon and consider adding ½ teaspoon of herbs like thyme or rosemary to the flour mixture.
Kitchen Equipment Needed
Having the right tools makes pie crust preparation significantly easier and helps you achieve better results. These items streamline the process and help maintain the crucial cold temperature.
- Large mixing bowl or food processor
- Pastry cutter or two forks
- Measuring cups and spoons
- Rolling pin
- Plastic wrap or parchment paper
- 9-inch pie dish
- Bench scraper (optional but helpful)
Recommended Products for This Recipe
These high-quality products can help you achieve professional results and make the pie-making process more enjoyable.
1. Marble Pastry Board
A marble pastry board stays naturally cool, which is essential when rolling out butter-based dough. The smooth surface prevents sticking and makes cleanup effortless. This investment will serve you well for years of baking.
2. French Rolling Pin
A French rolling pin gives you better control and feel when rolling dough. The tapered design helps create even thickness throughout, and the smooth wood surface doesn’t stick to dough as much as other materials.
3. Stainless Steel Pastry Blender
A quality pastry blender makes cutting butter into flour quick and efficient. The sturdy blades cut through cold butter easily, helping you achieve those perfect pea-sized pieces without warming the dough with your hands.
4. Glass Pie Dish
A clear glass pie dish lets you monitor the bottom crust for perfect golden-brown color. Glass conducts heat evenly, preventing soggy bottoms and ensuring your crust bakes through completely.
This pairs beautifully with From Scratch Pumpkin Pie Recipe for holiday baking.
Step-by-Step Instructions
Follow these detailed steps carefully, and you’ll have perfect pie crust every time. The key is working quickly to keep everything cold.
1. Prepare Your Ingredients
- Cut the cold butter into ½-inch cubes and return them to the refrigerator while you prepare the other ingredients
- Fill a small bowl with ice and water, then measure out 8 tablespoons and keep it in the refrigerator
- If your kitchen is warm, consider chilling your mixing bowl and pastry cutter for 15 minutes before starting
2. Mix the Dry Ingredients
- In a large mixing bowl, whisk together the flour, sugar, and salt until well combined
- This ensures even distribution of the salt and sugar throughout the dough
- Make sure there are no lumps in the flour before proceeding
3. Cut in the Butter
- Add the cold butter cubes to the flour mixture all at once
- Using a pastry cutter, two forks, or your fingertips, work the butter into the flour with quick, cutting motions
- Continue until the mixture resembles coarse crumbs with butter pieces ranging from pea-sized to lima bean-sized
- Some larger pieces are actually desirable as they create extra flaky layers
- This process should take 3-5 minutes, and the butter should still feel cold to the touch
4. Add the Ice Water
- Drizzle 6 tablespoons of ice water over the flour-butter mixture, distributing it evenly
- Using a fork or your hands, gently mix and toss the dough until it begins to clump together
- The dough should hold together when squeezed but still look slightly shaggy
- Add the remaining water 1 tablespoon at a time only if the dough seems too dry
- Avoid overmixing as this develops gluten and creates tough crust
5. Form the Dough Disks
- Turn the dough out onto a clean work surface and gather it into a mound
- Divide the dough into two equal portions
- Shape each portion into a flat disk about 1 inch thick
- The disk shape helps the dough chill evenly and makes rolling easier later
6. Chill the Dough
- Wrap each disk tightly in plastic wrap, pressing the wrap directly against the dough to prevent drying
- Refrigerate for at least 1 hour or up to 3 days
- This resting period allows the gluten to relax and the butter to firm up again
- For best results, chill for 2 hours before rolling
7. Roll Out the Dough
- Remove one disk from the refrigerator and let it sit at room temperature for 5 minutes to make rolling easier
- Lightly flour your work surface and rolling pin
- Place the disk in the center and roll from the center outward, rotating the dough a quarter turn after each roll
- Continue rolling until you have a circle about 12 inches in diameter and ⅛ inch thick
- If the dough cracks at the edges, gently press the cracks together with your fingers
8. Transfer to the Pie Dish
- Carefully roll the dough around your rolling pin, then unroll it over your pie dish
- Gently press the dough into the bottom and sides of the dish, being careful not to stretch it
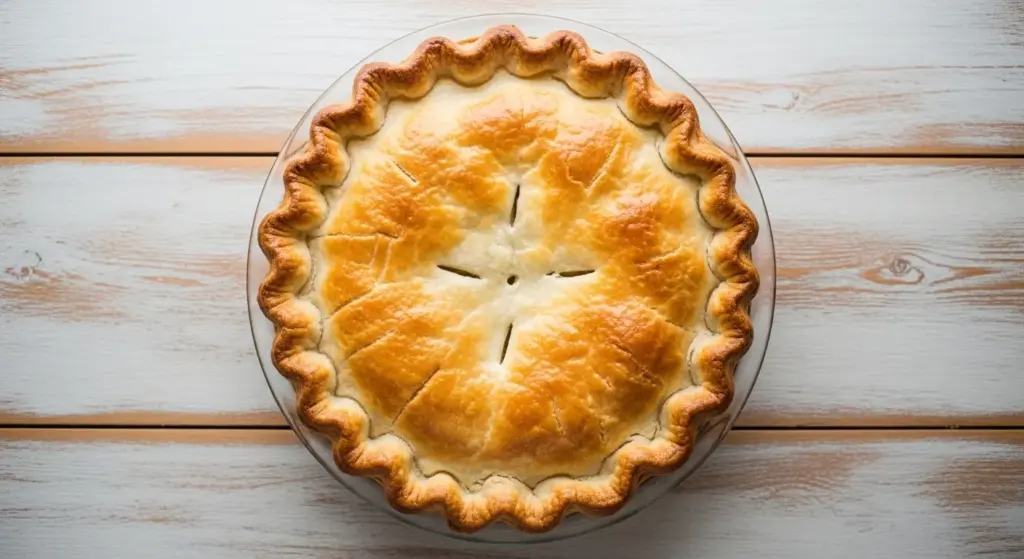
- If making a single-crust pie, trim the overhang to 1 inch beyond the rim
- Fold the overhang under itself and crimp decoratively
- For a double-crust pie, trim the bottom crust to ½ inch beyond the rim and reserve the second disk for the top
9. Chill Before Baking
- Place the prepared pie crust in the refrigerator for at least 30 minutes before filling and baking
- This prevents shrinkage and helps maintain the flaky texture
- If blind baking, prick the bottom with a fork, line with parchment paper, and fill with pie weights
Read Also: Classic Pumpkin Pie Recipe
Tips for Success
These professional techniques will help you avoid common pitfalls and achieve bakery-quality results every time you make pie crust.
- Keep everything cold: Cold butter is essential for flakiness, so work quickly and return the dough to the refrigerator if it becomes warm or sticky
- Don’t overwork the dough: Mix just until the ingredients come together; overmixing develops gluten and creates tough crust
- Use a light touch when rolling: Apply even, gentle pressure and avoid pressing down too hard, which can compress the layers
- Flour sparingly: Too much flour makes the crust dry and tough, so add just enough to prevent sticking
- Embrace the shaggy look: The dough should look slightly rough and uneven before chilling; this creates a more tender crust
- Measure flour correctly: Spoon flour into your measuring cup and level it off rather than scooping directly from the bag
- Rest the dough: Don’t skip the chilling time as it allows the gluten to relax and prevents shrinkage during baking
- Keep butter pieces visible: Those streaks of butter create the flaky layers, so don’t blend too thoroughly
The technique works wonderfully in Classic Chicken Pot Pie Recipe as well.
Serving Suggestions
This versatile pie crust works beautifully with both sweet and savory fillings, making it your go-to recipe for countless occasions.
Here are some delicious ways to use your homemade crust:
- Fill with spiced apples and a crumb topping for a rustic fall dessert
- Layer with Classic Egg Salad for elegant tea sandwiches using mini tart pans
- Create individual pot pies filled with chicken and vegetables for weeknight dinners
- Bake as a galette with seasonal fruit and a dusting of powdered sugar
- Make mini quiches filled with cheese, bacon, and caramelized onions for brunch
- Fill with Classic Chicken Salad for a delightful lunch option
- Top with fresh berries and whipped cream for a simple summer dessert
- Use as the base for pumpkin pie or pecan pie during the holidays
For a lighter option, try: Easy Shepherds Pie Recipe
Variations to Try
Once you’ve mastered the basic recipe, these creative variations add unique flavors and textures to your pie crusts.
- Whole wheat crust: Replace up to half the all-purpose flour with whole wheat flour for a nutty, hearty flavor that pairs well with savory fillings
- Herb-infused crust: Add 2 tablespoons of fresh minced herbs like rosemary, thyme, or sage to the dry ingredients for savory pies
- Cheddar crust: Mix 1 cup of shredded sharp cheddar cheese into the flour mixture before adding butter for pot pies or quiches
- Cinnamon sugar crust: Add 1 teaspoon of cinnamon to the dry ingredients and brush the top crust with melted butter and cinnamon sugar before baking
- Almond crust: Replace ¼ cup of flour with finely ground almonds for a subtle nutty flavor perfect for fruit pies
- Lemon zest crust: Add 1 tablespoon of fresh lemon zest to the dry ingredients for berry pies or custard fillings
- Vodka crust: Replace half the ice water with vodka to create an even flakier texture (the alcohol evaporates during baking)
Storage and Reheating
Proper storage keeps your pie crust fresh and maintains its wonderful texture for future use.
- Refrigerator: Wrapped dough disks keep for up to 3 days in the refrigerator; let them sit at room temperature for 5-10 minutes before rolling
- Freezer: Wrap disks tightly in plastic wrap, then place in a freezer bag for up to 3 months; thaw overnight in the refrigerator before using
- Baked crust: Store leftover baked pie at room temperature for 2 days or refrigerate for up to 4 days; cover loosely with foil
- Pre-baked shells: Freeze fully baked, cooled pie shells wrapped in plastic wrap and foil for up to 2 months
- Reheating: Warm refrigerated pie in a 350°F (175°C) oven for 10-15 minutes to restore crispness
- Unbaked crusts: You can roll out the dough, fit it into the pie dish, and freeze it directly in the dish for up to 1 month
You might also enjoy: Baked Mac and Cheese Recipe
Nutritional Facts
Per serving (⅛ of double crust, approximately 70g):
- Calories: 280
- Total Fat: 18g
- Saturated Fat: 11g
- Cholesterol: 45mg
- Sodium: 195mg
- Total Carbohydrates: 26g
- Dietary Fiber: 1g
- Sugars: 2g
- Protein: 3g
Note that these values are for the crust only and do not include any filling. Actual nutritional content may vary based on specific brands and measurements used.
Health Benefits of Key Ingredients
While pie crust is an indulgent treat, the simple ingredients do provide some nutritional value worth noting.
Butter: Provides fat-soluble vitamins A, D, E, and K that support immune function, bone health, and cellular processes. It contains conjugated linoleic acid (CLA), which has been studied for potential health benefits. The saturated fats in butter help the body absorb nutrients from the filling.
All-purpose flour: Enriched flour contains B vitamins including thiamin, riboflavin, and niacin that support energy metabolism and nervous system function. It provides iron for healthy red blood cells and folic acid for cell growth.
Salt: Essential for maintaining proper fluid balance, nerve transmission, and muscle function. The small amount used enhances flavor without contributing excessive sodium.
This technique works great in Easy Chicken Pot Pie Recipe too.
Frequently Asked Questions
1. Why does my pie crust shrink when I bake it?
Shrinking happens when the dough is overstretched during rolling or when it doesn’t rest long enough before baking. Always let your rolled crust chill for at least 30 minutes before baking. When transferring the dough to the pie dish, gently press it into place rather than stretching it to fit.
2. Can I make pie crust without a food processor?
Absolutely! Using a pastry cutter, two forks, or even your fingertips works perfectly well. The key is working quickly to keep the butter cold while cutting it into the flour until you achieve pea-sized pieces.
3. How do I prevent a soggy bottom crust?
Blind baking is your best defense against soggy bottoms when using wet fillings. Prick the bottom of the crust with a fork, line it with parchment paper, fill with pie weights or dried beans, and bake at 375°F (190°C) for 15 minutes. Remove the weights and bake for another 5-10 minutes until lightly golden.
4. Can I use salted butter instead of unsalted?
You can, but you’ll need to reduce or eliminate the added salt in the recipe. Salted butter varies in salt content by brand, making it harder to control the final flavor. Unsalted butter gives you better control over the seasoning.
5. What’s the best way to get the dough into the pie pan without tearing?
Roll the dough loosely around your rolling pin, position it over the pie dish, then gently unroll it into place. Alternatively, fold the dough into quarters, place the point in the center of the dish, and unfold. If tears do occur, simply press them together with moistened fingers.
Read Also: Classic Shepherds Pie Recipe
Final Thoughts
Mastering a homemade flaky pie crust recipe opens up a world of baking possibilities, from classic fruit pies to savory dinner creations. Once you understand the simple principles of keeping ingredients cold and handling the dough gently, you’ll find that making pie crust from scratch becomes second nature.
The satisfaction of creating those perfectly flaky, buttery layers is worth every minute spent learning the technique. Your pies will taste noticeably better, and you’ll have complete control over the ingredients and flavors.
I’d love to hear about your pie-making adventures! What’s your favorite filling to pair with this crust? Share your creations in the comments below, and don’t forget to let me know how your crust turned out.
Recommended:
- Creamy Mashed Potatoes Recipe
- Garlic Mashed Potatoes Recipe
- Easy Waffle Recipe
- Belgian Waffle Recipe
- Best Carrot Cake Recipe
- Carrot Cake with Cream Cheese Frosting Recipe
- Easy Pecan Pie Dump Cake Recipe
- Easy Sugar Cookie Recipe
- Cut Out Sugar Cookie Recipe
- Single Serving Sugar Cookie Recipe


