
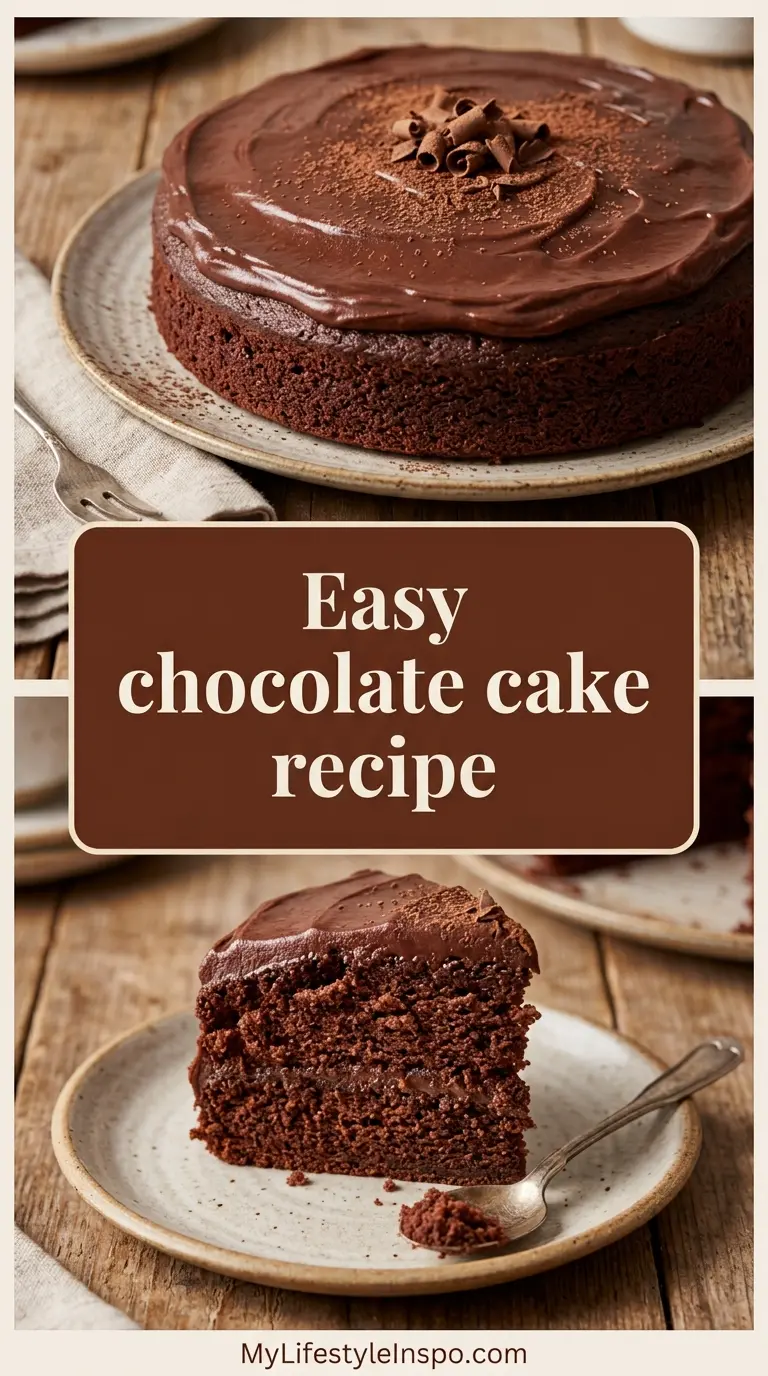
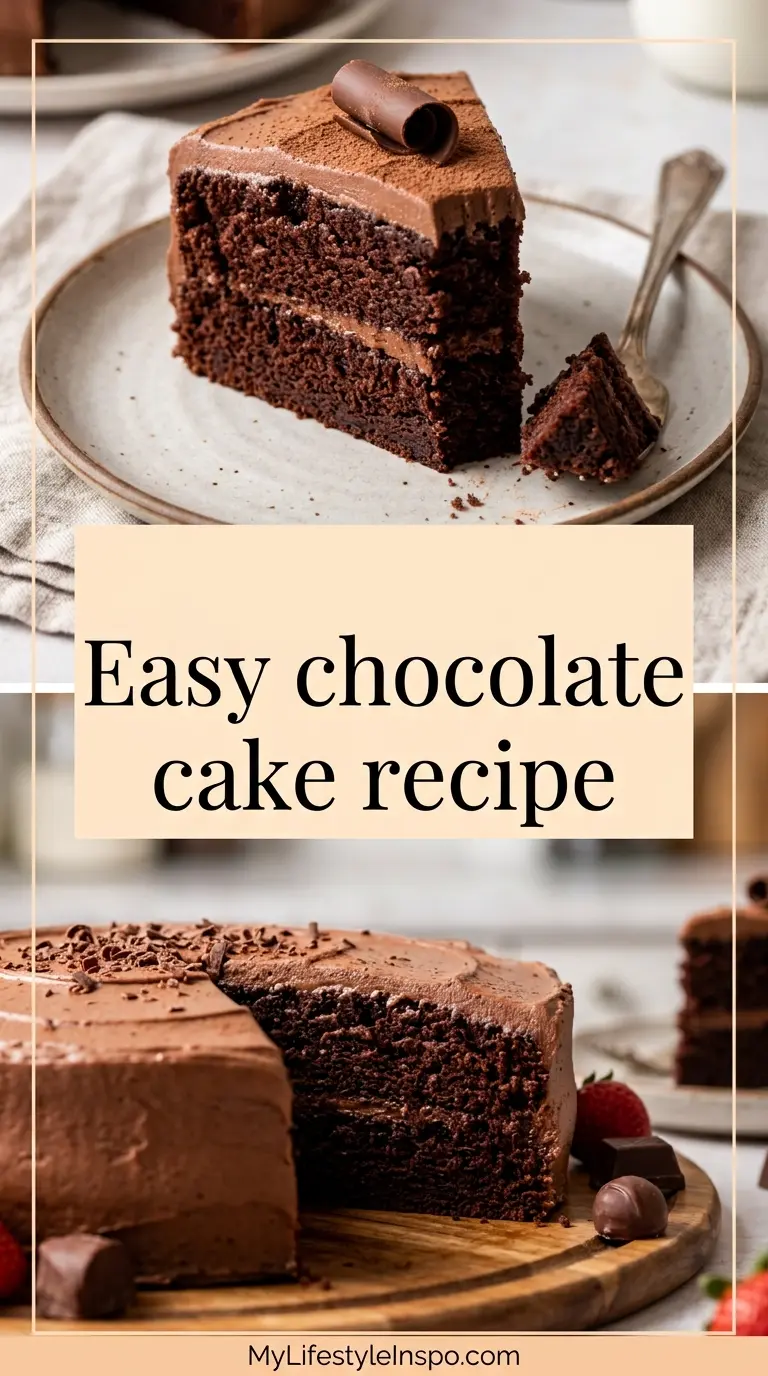
Nothing beats the joy of slicing into a homemade chocolate cake that’s moist, rich, and deeply chocolaty. This easy chocolate cake recipe delivers bakery-quality results without requiring advanced baking skills or specialty equipment.
You’ll love how simple this cake is to make from scratch. The batter comes together in just one bowl, using everyday pantry staples you probably already have on hand. No fancy mixers needed, just a whisk and a little elbow grease.
What makes this recipe truly special is the addition of boiling water to the batter, which might seem unusual at first. This technique blooms the cocoa powder, intensifying its chocolate flavor and creating an incredibly moist crumb that stays soft for days. The result is a tender, fudgy cake with a velvety texture that melts in your mouth.
This chocolate cake works beautifully for birthdays, celebrations, or even a Tuesday night when you’re craving something sweet. Frost it with chocolate buttercream for a classic finish, or try vanilla frosting for a fun contrast.
The two-layer version makes a stunning centerpiece, while the single-layer sheet cake variation is perfect for casual gatherings. Either way, you’ll have a crowd-pleasing dessert that tastes like you spent hours in the kitchen, even though you didn’t.
Why You’ll Love This Easy Chocolate Cake Recipe
This recipe has earned its place as a go-to chocolate cake for home bakers everywhere. It combines simplicity with exceptional results, making it ideal for both beginners and experienced bakers who want a reliable recipe they can make with their eyes closed.
The one-bowl method means minimal cleanup, which is always a win. You’ll appreciate how the ingredients come together quickly without multiple steps of creaming butter, beating eggs separately, or alternating wet and dry ingredients. Just mix everything in order, pour into pans, and bake.
Here’s what makes this cake stand out:
- Incredibly moist texture that doesn’t dry out, even after several days
- Rich chocolate flavor enhanced by blooming the cocoa powder with hot water
- Simple ingredients found in most pantries, no trips to specialty stores required
- Foolproof method that works every single time with consistent results
- Versatile base perfect for any frosting, filling, or decoration style
- No special equipment needed, just basic mixing bowls and pans
- Stays fresh at room temperature for up to three days or longer when refrigerated
- Easy to customize with add-ins like espresso powder, chocolate chips, or extracts
This pairs wonderfully with classic tiramisu for an Italian-inspired dessert spread.
Ingredients
The beauty of this recipe lies in its straightforward ingredient list. Each component plays a specific role in creating the perfect crumb, moisture level, and chocolate intensity.
Here’s what you’ll need:
For the Cake:
- 2 cups (250g) all-purpose flour
- 2 cups (400g) granulated sugar
- ¾ cup (75g) unsweetened cocoa powder
- 2 teaspoons baking soda
- 1 teaspoon baking powder
- 1 teaspoon salt
- 2 large eggs, at room temperature
- 1 cup (240ml) whole milk, at room temperature
- ½ cup (120ml) vegetable oil
- 2 teaspoons pure vanilla extract
- 1 cup (240ml) boiling water
For the Chocolate Buttercream Frosting:
- 1 cup (226g) unsalted butter, softened
- 3½ cups (420g) powdered sugar
- ½ cup (50g) unsweetened cocoa powder
- ½ cup (120ml) heavy cream or whole milk
- 2 teaspoons pure vanilla extract
- ¼ teaspoon salt
Kitchen Equipment Needed
Having the right tools makes baking this chocolate cake even easier. Don’t worry if you don’t have everything listed, as many items can be substituted with what you already own.
Here’s what you’ll use:
- Two 9-inch round cake pans (or one 9×13-inch pan for sheet cake)
- Parchment paper for lining pans
- Large mixing bowl
- Medium mixing bowl
- Whisk or electric hand mixer
- Rubber spatula
- Measuring cups and spoons
- Cooling rack
- Offset spatula for frosting
- Toothpick or cake tester
You might also enjoy making best chocolate chip cookies to complement your cake.
Recommended Products for This Recipe
After making this cake countless times, I’ve found a few products that genuinely improve the baking experience and final results. These aren’t essential, but they make a noticeable difference.
1. Ghirardelli Dutch Process Cocoa Powder
Dutch process cocoa powder has a smoother, more mellow chocolate flavor compared to natural cocoa. It’s been neutralized to reduce acidity, which creates a deeper, richer taste in baked goods. The Ghirardelli brand is consistently high quality and dissolves beautifully in the batter.
2. Nordic Ware Natural Aluminum Commercial Baker’s Half Sheet
This baking sheet is perfect if you’re making the sheet cake version. It’s commercial grade with reinforced edges that prevent warping, ensuring even baking every time. The natural aluminum conducts heat beautifully without hot spots.
3. Ateco Offset Spatula
An offset spatula makes frosting this cake incredibly easy. The angled blade lets you spread frosting smoothly across the top and sides without your knuckles getting in the way. It’s essential for creating those clean, professional-looking layers.
4. Wilton Cake Strips
These cake strips wrap around your cake pans and help prevent domed tops and crispy edges. They insulate the sides of the pan, ensuring even baking across the entire cake. Your layers will come out perfectly flat and level.
Step-by-Step Instructions
Follow these detailed instructions for perfect chocolate cake every time. Take your time with each step, and you’ll be rewarded with a beautifully moist, tender cake.
1. Prepare Your Pans and Preheat the Oven
- Preheat your oven to 350°F (175°C)
- Grease two 9-inch round cake pans with butter or non-stick spray
- Cut circles of parchment paper to fit the bottom of each pan
- Place the parchment circles in the pans and grease them as well
- Lightly dust the pans with cocoa powder, tapping out any excess
- This preparation prevents sticking and ensures easy cake removal
2. Combine the Dry Ingredients
- In a large mixing bowl, sift together the flour, sugar, cocoa powder, baking soda, baking powder, and salt
- Sifting is crucial as cocoa powder tends to be lumpy, and this ensures even distribution
- Whisk the dry ingredients together thoroughly for about 30 seconds
- Breaking up any remaining sugar clumps with your whisk ensures a smooth batter
- Set this bowl aside while you prepare the wet ingredients
3. Mix the Wet Ingredients
- In a medium bowl, whisk together the eggs until lightly beaten
- Add the milk, vegetable oil, and vanilla extract to the eggs
- Whisk vigorously for about 1 minute until the mixture is well combined and slightly frothy
- Making sure your eggs and milk are at room temperature helps them incorporate smoothly
- Cold ingredients can cause the batter to separate or create lumps
4. Combine Wet and Dry Ingredients
- Pour the wet ingredient mixture into the bowl with the dry ingredients
- Using a whisk or electric mixer on low speed, mix until just combined
- The batter will be thick and somewhat dry at this point, which is normal
- Scrape down the sides of the bowl with a rubber spatula
- Don’t overmix, just ensure there are no visible pockets of flour
- A few small lumps are fine and will disappear when you add the water
5. Add the Boiling Water
- Carefully pour in the 1 cup of boiling water
- Mix on low speed or whisk gently until the water is fully incorporated
- The batter will transform into a thin, pourable consistency
- This is exactly what you want; don’t be alarmed by how liquid it seems
- The hot water blooms the cocoa powder, intensifying the chocolate flavor
- Mix for no more than 30 seconds once the water is added to avoid overdevelopment of gluten
6. Pour Batter and Bake
- Divide the batter evenly between your two prepared cake pans
- Each pan should be about two-thirds full
- Gently tap each pan on the counter 2-3 times to release air bubbles
- Place both pans on the center rack of your preheated oven
- If they don’t fit side by side, place them on the same rack with space between them
- Bake for 30-35 minutes until a toothpick inserted in the center comes out clean or with just a few moist crumbs
- The cake should spring back when lightly touched
- Avoid overbaking, as this can lead to dryness
7. Cool the Cakes
- Remove pans from oven and place on cooling racks
- Let the cakes cool in the pans for 10 minutes
- This allows the structure to set without sticking
- After 10 minutes, run a knife around the edges to loosen
- Invert the pans onto cooling racks and gently tap to release the cakes
- Peel off the parchment paper circles carefully
- Allow cakes to cool completely before frosting, at least 1-2 hours
- If you’re in a hurry, you can refrigerate them for 30 minutes once they’ve cooled to room temperature
8. Make the Chocolate Buttercream Frosting
- In a large bowl, beat the softened butter with an electric mixer for 2-3 minutes until pale and fluffy
- Sift in the powdered sugar and cocoa powder to prevent lumps
- Add the vanilla extract and salt
- Beat on low speed until the dry ingredients are mostly incorporated
- Add the heavy cream 2 tablespoons at a time
- Increase speed to medium-high and beat for 3-4 minutes until light and fluffy
- The frosting should be smooth, creamy, and easily spreadable
- If too thick, add more cream one tablespoon at a time; if too thin, add more powdered sugar
9. Assemble and Frost the Cake
- Place one cake layer on your serving plate or cake stand
- Spread about 1 cup of frosting evenly across the top
- Place the second cake layer on top, lining up the edges
- Apply a thin crumb coat of frosting all over the cake to seal in crumbs
- Refrigerate for 15-20 minutes to set the crumb coat
- Apply the remaining frosting in a thicker, final layer
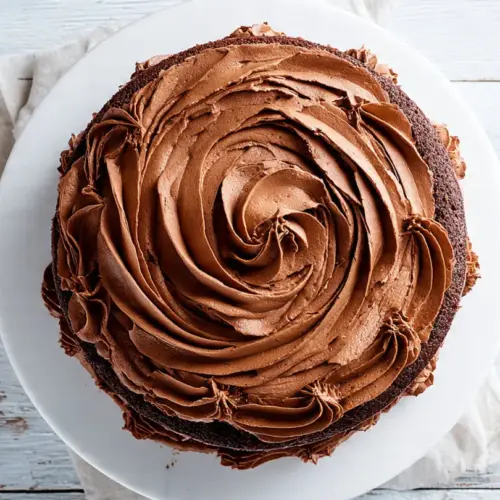
- Use an offset spatula to create smooth sides and top
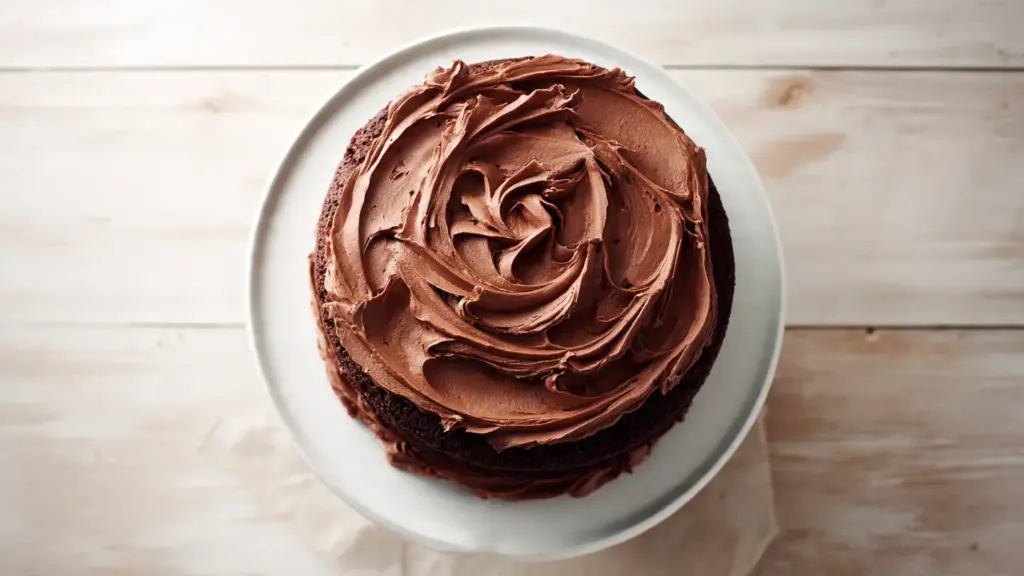
- Add decorative swirls or keep it simple, depending on your preference
Tips for Success
Making a perfect chocolate cake becomes easier when you know these helpful tips. These insights come from years of baking and troubleshooting common issues.
Here’s how to ensure the best results:
- Measure flour correctly by spooning it into your measuring cup and leveling off with a knife, never packing it down
- Use room temperature ingredients so they mix together smoothly without lumps or separation
- Don’t skip sifting the cocoa as it’s prone to clumps that won’t dissolve in the batter
- Boil fresh water rather than using water that’s been sitting in a kettle, for the best blooming effect
- Test for doneness early by checking at 28 minutes, as ovens vary in temperature
- Cool completely before frosting to prevent the buttercream from melting and sliding off
- Level your cake layers if they domed during baking, using a serrated knife for even stacking
- Chill between frosting layers to make the final coat easier to apply smoothly
- Bring frosted cake to room temperature before serving for the best flavor and texture
For another delicious dessert option, try this best carrot cake.
Serving Suggestions
This versatile chocolate cake pairs beautifully with many accompaniments and can be dressed up or kept simple depending on the occasion.
Serve it in these delicious ways:
- Classic presentation: Frost with chocolate buttercream and top with chocolate shavings or sprinkles
- Vanilla contrast: Use vanilla buttercream frosting instead for a black and white cake effect
- Fresh berries: Add raspberries, strawberries, or sliced strawberries between layers and on top
- Ice cream pairing: Serve warm slices with vanilla ice cream or homemade whipped cream
- Coffee complement: Enjoy with freshly brewed coffee or an espresso for an afternoon treat
- Ganache drizzle: Pour warm chocolate ganache over the top for extra decadence
- Cream cheese frosting: Swap buttercream for tangy cream cheese frosting for a different flavor profile
- Naked cake style: Skip the outer frosting and just fill between layers for a rustic look
Consider making easy tiramisu for another coffee-flavored dessert option.
Variations to Try
Once you’ve mastered the basic recipe, these variations add exciting twists while maintaining the same foolproof method.
Try these creative adaptations:
- Espresso chocolate cake: Add 2 tablespoons instant espresso powder to the dry ingredients for a mocha flavor that enhances the chocolate
- German chocolate cake: Top with coconut pecan frosting instead of buttercream for a classic variation
- Mint chocolate cake: Add 1 teaspoon peppermint extract to the batter and frost with mint buttercream
- Chocolate chip addition: Fold 1 cup of chocolate chips into the batter before baking for extra pockets of melted chocolate
- Cupcakes: Divide batter among 24 lined cupcake tins and bake for 18-22 minutes
- Sheet cake: Pour all batter into a greased 9×13-inch pan and bake for 35-40 minutes
- Bundt cake: Use a greased and floured bundt pan and bake for 45-50 minutes
- Chocolate orange: Add 1 tablespoon orange zest and replace vanilla with orange extract
Read Also: Carrot Cake With Cream Cheese Frosting
Storage and Reheating
Proper storage keeps your chocolate cake moist and delicious for days, making it perfect for advance preparation.
Follow these storage guidelines:
- Room temperature: Store covered cake at room temperature for up to 3 days; keep in a cake dome or cover with plastic wrap
- Refrigerator: Frosted cake stays fresh in the fridge for up to 1 week; bring to room temperature 30 minutes before serving for best flavor
- Freezer: Wrap unfrosted cake layers tightly in plastic wrap, then aluminum foil, and freeze for up to 3 months
- Freezing frosted cake: Place frosted cake in freezer for 30 minutes to firm up, then wrap well and freeze for up to 2 months
- Thawing: Transfer frozen cake to refrigerator overnight, then let come to room temperature before serving
- Storing leftovers: Press plastic wrap directly against cut sides to prevent drying out
- Individual slices: Wrap slices separately in plastic wrap for easy grab-and-go portions
You might also love this old fashioned chocolate chip cookie for another chocolate treat.
Nutritional Facts
Here’s the approximate nutritional information per slice (assuming 12 servings, cake with frosting):
- Calories: 520
- Total Fat: 24g
- Saturated Fat: 11g
- Cholesterol: 75mg
- Sodium: 380mg
- Total Carbohydrates: 73g
- Dietary Fiber: 3g
- Sugars: 58g
- Protein: 5g
Note that nutritional values are estimates and can vary based on specific ingredients used and portion sizes. This cake is meant to be an indulgent treat enjoyed in moderation.
Health Benefits of Key Ingredients
While this is definitely a dessert to be enjoyed as a treat, some ingredients offer surprising nutritional benefits worth noting.
Here’s what’s good about what’s inside:
Cocoa powder contains flavonoids and antioxidants that may support heart health and improve blood flow. Dark cocoa provides minerals like iron, magnesium, and zinc. The compounds in cocoa can also boost mood by triggering the release of endorphins.
Eggs provide high-quality protein, essential amino acids, and important nutrients like choline, which supports brain health. They also contain vitamins D, B12, and selenium. The eggs in this cake add structure while contributing beneficial nutrients.
Milk offers calcium for strong bones and teeth, along with vitamin D, protein, and potassium. Whole milk provides healthy fats that help your body absorb fat-soluble vitamins. It also contributes to the cake’s tender, moist texture.
Vanilla extract contains small amounts of antioxidants and has been traditionally used for its calming properties. While used in small quantities, it enhances the overall flavor profile significantly. Pure vanilla extract offers more complex flavor than imitation varieties.
For a healthier breakfast option, check out old fashioned pancake.
Frequently Asked Questions
1. Can I use natural cocoa powder instead of Dutch-process cocoa?
Yes, you can substitute natural cocoa powder for Dutch-process in this recipe without any other changes. Natural cocoa has a more acidic, sharper chocolate flavor, while Dutch-process is smoother and milder. Both work well, so use whichever you have on hand.
2. Why is my cake dry even though I followed the recipe exactly?
The most common cause of dry cake is overbaking or measuring too much flour. Always check your cake at the minimum baking time, and remove it when a toothpick comes out with a few moist crumbs, not completely clean. When measuring flour, spoon it into the cup and level off rather than scooping directly from the bag, which compacts it.
3. Can I make this cake ahead of time?
Absolutely! You can bake the unfrosted cake layers up to 2 days ahead and keep them wrapped at room temperature, or freeze them for up to 3 months. The frosted cake also keeps well in the refrigerator for up to 5 days. Just bring it to room temperature before serving for the best flavor and texture.
4. What can I use instead of vegetable oil?
You can substitute melted coconut oil, canola oil, or even melted butter for the vegetable oil. Oil keeps the cake moister than butter since it remains liquid at room temperature. If using melted butter, the cake will have a slightly denser crumb and won’t stay as moist as long, but it will still be delicious.
5. How do I prevent my cake layers from sticking to the pans?
The key is proper pan preparation. Grease your pans thoroughly with butter or baking spray, line the bottoms with parchment paper circles, then grease the parchment too. Don’t skip the parchment paper, as it guarantees easy removal. Also, let the cakes cool in the pans for exactly 10 minutes before inverting onto cooling racks.
If you enjoy baking, try this chewy chocolate chip cookies recipe next.
Easy Chocolate Cake
Equipment
- Oven - Preheated to 350°F
- 9-inch round cake pans - Two pans
- Parchment paper - For lining pans
- Large mixing bowl
- Medium mixing bowl
- Whisk
- Electric hand mixer - Optional, can use whisk
- Rubber spatula
- Measuring cups and spoons
- Cooling rack
- Offset spatula - For frosting
- Toothpick or cake tester
- Cake strips - Optional, prevents domed tops
Ingredients
- 2 cups all-purpose flour - 250g
- 2 cups granulated sugar - 400g
- ¾ cup unsweetened cocoa powder - 75g, Dutch process preferred
- 2 teaspoons baking soda
- 1 teaspoon baking powder
- 1 teaspoon salt
- 2 large eggs - at room temperature
- 1 cup whole milk - 240ml, at room temperature
- ½ cup vegetable oil - 120ml
- 2 teaspoons pure vanilla extract
- 1 cup boiling water - 240ml, fresh
For the Chocolate Buttercream Frosting
- 1 cup unsalted butter - 226g, softened
- 3½ cups powdered sugar - 420g
- ½ cup unsweetened cocoa powder - 50g, for frosting
- ½ cup heavy cream - 120ml, or whole milk
- 2 teaspoons pure vanilla extract - for frosting
- ¼ teaspoon salt - for frosting
Instructions
- Preheat oven to 350°F (175°C). Grease two 9-inch round cake pans with butter or non-stick spray, line bottoms with parchment paper, grease parchment, and dust with cocoa powder.
- In a large mixing bowl, sift together flour, sugar, cocoa powder, baking soda, baking powder, and salt. Whisk thoroughly for 30 seconds until well combined.
- In a medium bowl, whisk eggs until beaten. Add milk, vegetable oil, and vanilla extract. Whisk vigorously for 1 minute until frothy and well combined.
- Pour wet mixture into dry ingredients and whisk until just combined. Scrape down sides with rubber spatula. Do not overmix.
- Carefully pour in boiling water and mix gently until fully incorporated. Batter will become thin and pourable. Mix for no more than 30 seconds.
- Divide batter evenly between prepared pans. Tap pans on counter 2-3 times to release air bubbles. Bake 30-35 minutes until toothpick comes out with moist crumbs.
- Cool cakes in pans for 10 minutes. Run knife around edges, invert onto cooling racks, peel off parchment. Cool completely for 1-2 hours before frosting.
- Beat softened butter with electric mixer for 2-3 minutes until pale and fluffy. Sift in powdered sugar and cocoa powder. Add vanilla and salt.
- Beat on low until dry ingredients are incorporated. Add heavy cream 2 tablespoons at a time. Increase to medium-high and beat 3-4 minutes until light and fluffy.
- Place one cake layer on serving plate. Spread 1 cup frosting evenly across top. Add second layer. Apply thin crumb coat, refrigerate 15-20 minutes, then apply final frosting layer.
Notes
- Measure flour by spooning into measuring cup and leveling off with a knife. Never pack flour into the cup as this leads to dry cake.
- Use room temperature eggs and milk for the smoothest batter without lumps or separation.
- Always sift cocoa powder to prevent clumps that won’t dissolve properly in the batter.
- Use fresh boiling water for the best blooming effect on cocoa powder. Stale or lukewarm water won’t work as well.
- Check cakes for doneness at 28 minutes. Ovens vary in temperature so start checking early.
- Cool cakes completely before frosting or the buttercream will melt and slide off.
- For perfect layers, use a serrated knife to level the cake tops if they domed during baking.
- Chill cake between frosting layers for smoother application of the final coat.
- Store covered at room temperature for up to 3 days or refrigerate for up to 1 week.
- Unfrosted cake layers freeze well for up to 3 months when wrapped in plastic and foil.
- Bring frosted cake to room temperature for 30 minutes before serving for best flavor.
- For a sheet cake, pour all batter into a greased 9×13-inch pan and bake for 35-40 minutes.
- Add 2 tablespoons instant espresso powder to the dry ingredients for a mocha flavor variation.
- Fold 1 cup of chocolate chips into the batter before baking for extra chocolate pockets.
Final Thoughts
This easy chocolate cake recipe has everything you want in a homemade dessert: rich chocolate flavor, incredibly moist texture, and a foolproof method that works every single time. It’s the kind of recipe you’ll return to again and again, knowing it will always deliver delicious results.
The beauty of this cake lies in its simplicity. You don’t need fancy equipment, hard-to-find ingredients, or advanced baking skills to create something truly spectacular. Just follow the steps, use quality cocoa powder, and don’t overbake, and you’ll have a cake that rivals anything from a bakery.
Give this easy chocolate cake recipe a try for your next celebration, or just because you deserve something sweet. Once you taste how moist and chocolaty it is, you’ll understand why it’s become a favorite for so many home bakers. I’d love to hear how your cake turns out, so feel free to leave a comment below and share your experience!
Recommended:
- Classic Apple Pie Recipe
- Dutch Apple Pie Recipe
- From Scratch Pumpkin Pie Recipe
- Classic Pumpkin Pie Recipe
- Easy Sugar Cookie Recipe
- Cut Out Sugar Cookie Recipe
- Single Serving Sugar Cookie Recipe
- Sweet Cornbread Recipe
- Skillet Cornbread Recipe
- French Toast Casserole Recipe


