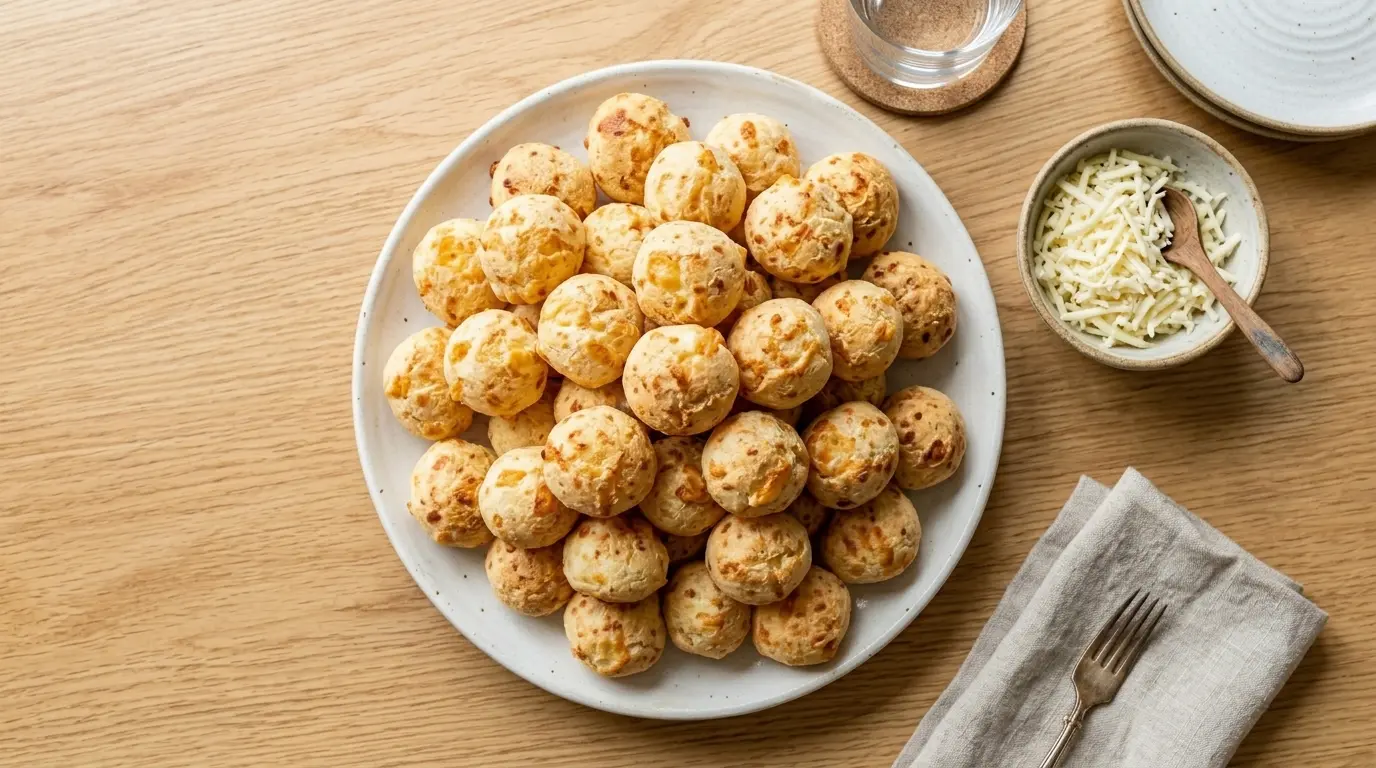
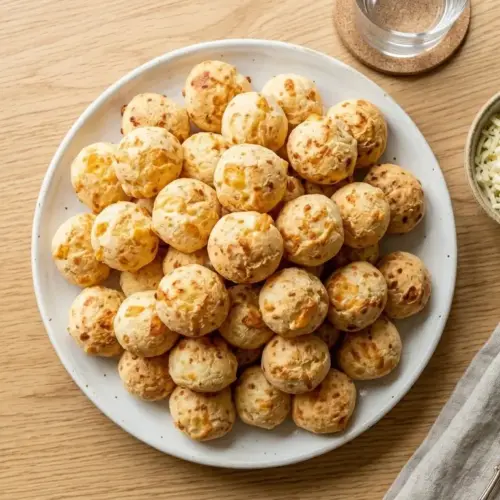
Pao de queijo has a way of winning people over the second it comes out of the oven. These little Brazilian cheese breads are crisp and golden on the outside, then soft and chewy in the middle, with a salty, cheesy flavor that makes them almost impossible to stop eating.
The best part is how simple the dough comes together. Tapioca starch, eggs, cheese, milk, and oil are really all you need, and there’s no yeast or rising time involved.
If you’ve never worked with tapioca starch before, don’t worry. This recipe walks through every step so your batch turns out perfectly puffed and chewy on the first try.
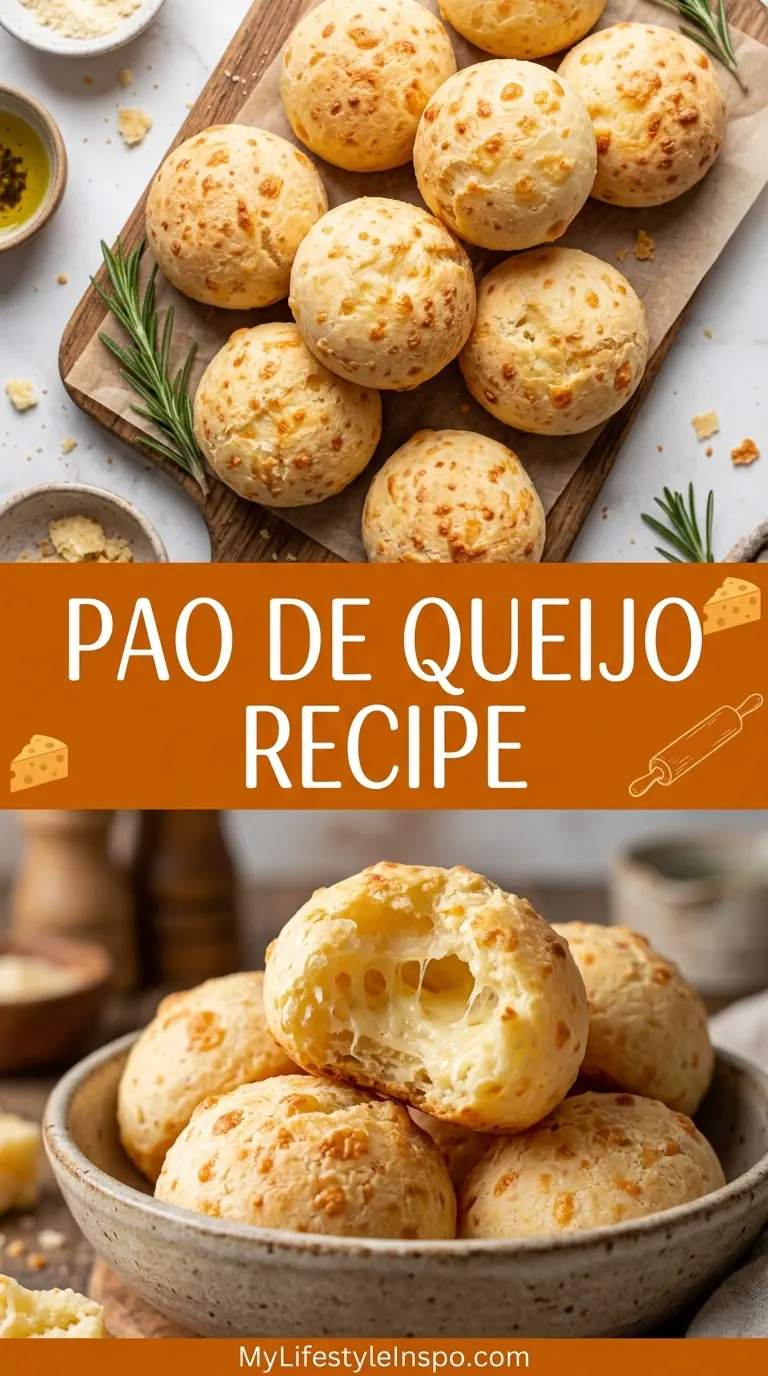
Why You’ll Love This Pao De Queijo
These cheese breads check every box: they’re naturally gluten free, quick to make, and taste like something you’d pay a premium for at a bakery.
They also freeze beautifully, so you can keep a stash of unbaked dough balls ready to pop in the oven whenever a craving hits.
- Naturally gluten free since the dough uses tapioca starch instead of wheat flour
- Ready in about 40 minutes from start to finish, including bake time
- Only 6 main ingredients, most of which are pantry staples
- Freezer friendly, so you can bake a few now and save the rest for later
- Crisp, golden exterior with a soft, stretchy, cheesy center
- No yeast, no kneading, and no waiting around for dough to rise
Ingredients
This recipe makes about 20 medium pao de queijo, which is enough for a hungry family breakfast or a batch to share at a gathering. The tapioca starch is the ingredient that gives these their signature chew, so it’s worth seeking out a good quality one if you can.
- 2 cups (240g) tapioca starch (also labeled tapioca flour)
- 2/3 cup (160ml) whole milk
- 1/3 cup (80ml) neutral oil, such as vegetable or canola oil
- 1 teaspoon salt
- 2 large eggs, at room temperature
- 1 1/2 cups (170g) shredded Parmesan cheese
- 1/2 cup (60g) shredded mozzarella cheese
Kitchen Equipment Needed
You don’t need any special equipment for this recipe, though a few tools make the process faster and less messy. A stand mixer or hand mixer helps the dough come together more evenly than mixing by hand, since the batter is quite sticky.
- Stand mixer or hand mixer with paddle attachment
- Medium saucepan
- Mixing bowl
- Baking sheet
- Parchment paper
- Cookie scoop
- Measuring cups and spoons
Recommended Products for This Recipe
These are a few products that genuinely make a difference in how well your pao de queijo turns out, based on quality, consistency, and ease of use. None of these are required, but each one solves a common problem people run into with this recipe.
1. Bob’s Red Mill Tapioca Flour
This tapioca starch is finely milled and hydrates evenly, which helps the dough come together smoothly without lumps. It’s widely available and consistent from bag to bag, which matters a lot in a recipe with so few ingredients.
2. KitchenAid Stand Mixer
Pao de queijo dough is thick, sticky, and genuinely tough to mix by hand once the eggs and cheese go in. A stand mixer with a paddle attachment does the heavy lifting and gives you a smoother, more even dough.
3. OXO Cookie Scoop
A cookie scoop keeps every ball of dough the same size, which means they bake evenly and finish at the same time. It also keeps your hands much cleaner than trying to portion sticky dough with a spoon.
4. USA Pan Baking Sheet
A heavy gauge baking sheet distributes heat evenly, which helps the bottoms of the cheese breads brown properly without scorching. It’s a small upgrade that makes a noticeable difference in the finished texture.
Step-by-Step Instructions
1. Preheat the Oven and Prep the Pan
- Preheat your oven to 400°F (200°C).
- Line a baking sheet with parchment paper.
- Set the pan aside while you make the dough.
2. Heat the Milk, Oil, and Salt
- Combine the milk, oil, and salt in a medium saucepan.
- Heat over medium heat, stirring occasionally, until the mixture comes to a full boil.
- Remove the pan from the heat as soon as it boils. This step is important because the hot liquid is what gelatinizes the tapioca starch and gives the dough its signature chewy texture.
3. Combine the Hot Liquid with the Tapioca Starch
- Place the tapioca starch in the bowl of a stand mixer, or a large mixing bowl if working by hand.
- Pour the hot milk mixture over the tapioca starch all at once.
- Mix on low speed, or stir with a sturdy spoon, until the mixture is combined. It will look thick, sticky, and a little strange at this stage, almost like a paste. That’s completely normal.
- Let the mixture cool for about 5 minutes before moving to the next step, since adding eggs to a very hot mixture can cause them to scramble.
4. Add the Eggs
- With the mixer running on low speed, add the eggs one at a time.
- Mix well after each addition before adding the next egg.
- At first, the dough may look separated or lumpy. Keep mixing and it will smooth out as the eggs fully incorporate.
5. Mix in the Cheese
- Add the shredded Parmesan and mozzarella cheese to the dough.
- Mix on low speed until the cheese is fully incorporated and the dough looks glossy and sticky.
- The dough should hold together but still feel tacky to the touch. If it feels extremely loose or runny, mix in an extra tablespoon of tapioca starch at a time until it firms up slightly.
6. Shape the Dough Balls
- Wet your hands with a little cold water to prevent the sticky dough from clinging to your fingers.
- Use a cookie scoop to portion the dough into balls about the size of a golf ball.
- Roll each portion gently between your palms to smooth it into a round shape.
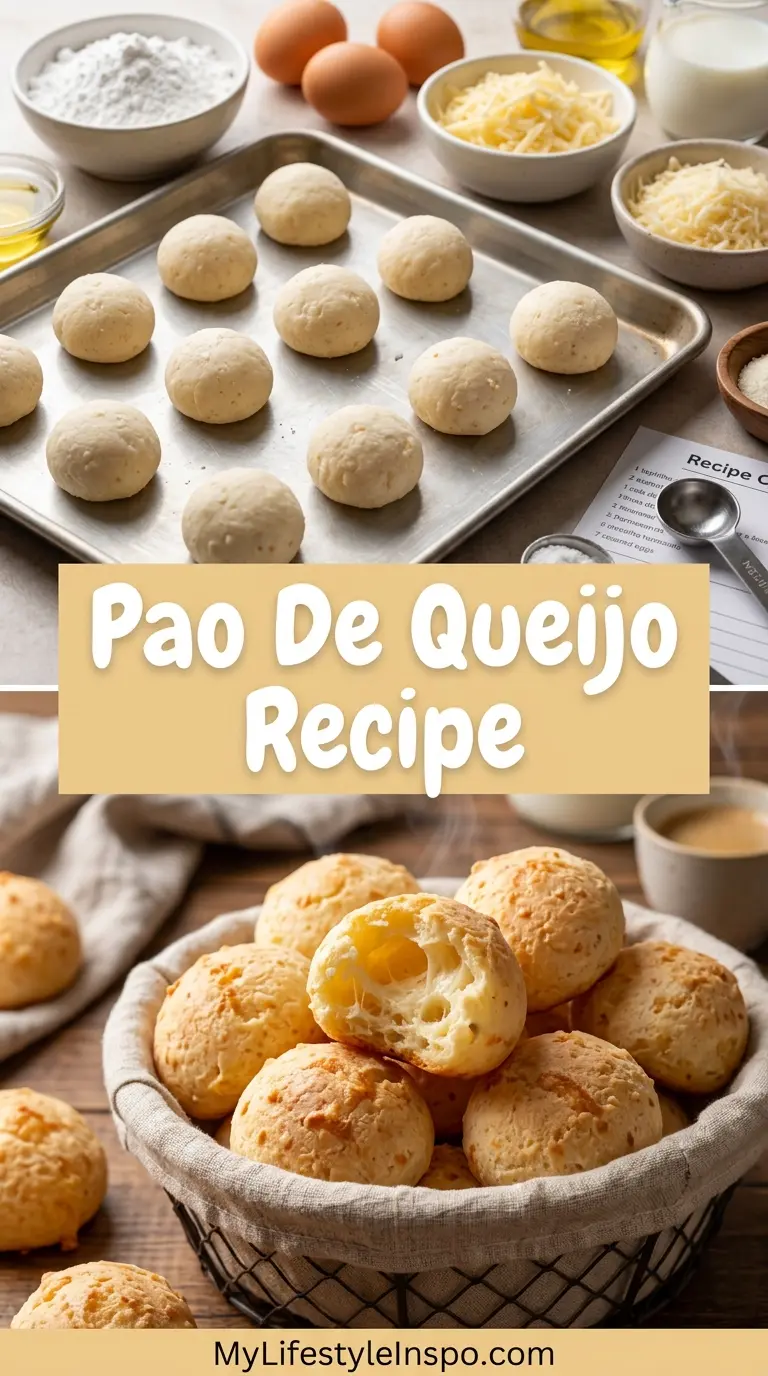
- Place the balls on the prepared baking sheet, spacing them about 1.5 inches (4cm) apart, since they will puff up as they bake.
7. Bake Until Golden
- Bake in the preheated oven for 18 to 20 minutes, or until the pao de queijo are puffed up and lightly golden on top.
- The bottoms should be a deeper golden brown, which is a good sign they’re fully cooked through.
- Remove from the oven and let them cool for 2 to 3 minutes on the pan before serving.
Tips for Success
The biggest factor in how well this recipe turns out comes down to two things: getting the milk mixture hot enough and not overbaking the dough balls. A few extra details go a long way toward a perfect batch.
- Make sure the milk mixture reaches a full rolling boil before pouring it over the tapioca starch, since an under heated liquid won’t properly gelatinize the starch
- Let the tapioca mixture cool slightly before adding eggs so they don’t scramble on contact
- Wet your hands before shaping the dough to prevent sticking
- Use freshly shredded cheese rather than pre-shredded bags, since pre-shredded cheese often contains anti-caking agents that affect how well it melts
- Don’t overcrowd the baking sheet, since the dough balls will expand significantly in the oven
- If your dough feels too soft to shape, chill it in the refrigerator for 15 minutes before rolling
Serving Suggestions
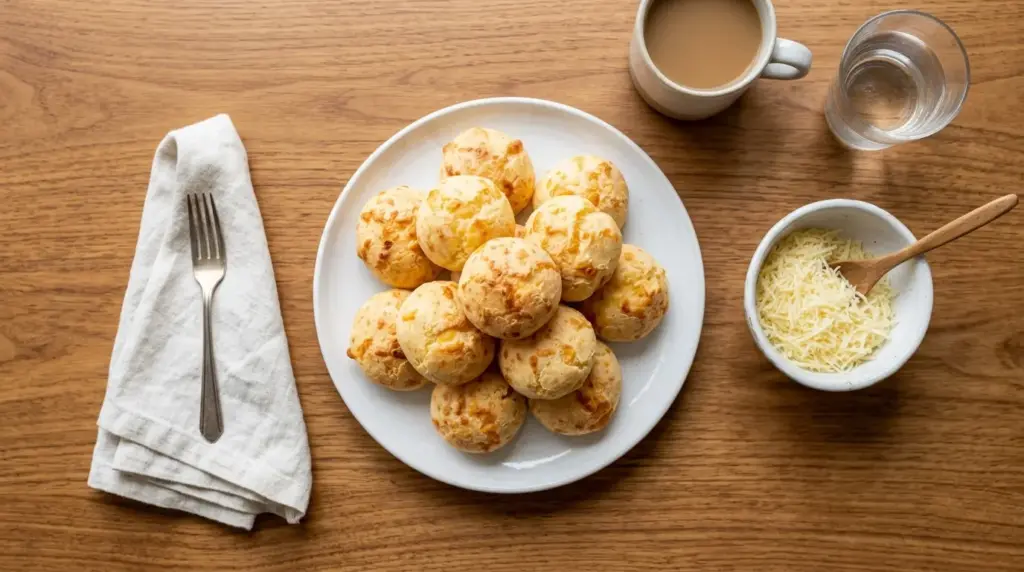
Pao de queijo is best served warm, ideally within a few minutes of coming out of the oven, when the exterior is crisp and the inside is soft and stretchy. In Brazil, these are a common breakfast item or afternoon coffee snack, often served alongside a strong cup of coffee.
They also work well as a side for soups, stews, or a weekend brunch spread.
- Serve alongside a bowl of black bean soup for a comforting, filling meal
- Pair with scrambled eggs and fresh fruit for a Brazilian-inspired breakfast
- Offer as an appetizer with a small dish of chimichurri or garlic butter for dipping
- Add to a brunch board next to fresh fruit, cured meats, and soft cheeses
- Serve with coffee or hot chocolate for an afternoon snack
Variations to Try
Once you’ve made the classic version, this dough is easy to customize. A few small ingredient swaps can give you a completely different flavor while keeping the same chewy texture.
- Garlic pao de queijo: Add 1/2 teaspoon of garlic powder or 2 teaspoons of minced fresh garlic to the milk mixture before boiling
- Herb pao de queijo: Mix in 1 tablespoon of finely chopped fresh herbs, such as chives or parsley, along with the cheese
- Spicy pao de queijo: Add a pinch of cayenne pepper or a finely diced jalapeno to the dough
- Cheddar and bacon version: Swap the mozzarella for shredded sharp cheddar and fold in 1/4 cup of crumbled cooked bacon
- Mini bite-size version: Use a teaspoon to portion smaller dough balls and reduce the bake time to about 12 minutes
Storage and Reheating
Pao de queijo is at its absolute best fresh from the oven, but leftovers and make-ahead dough both store well with the right approach. Baked pao de queijo tend to firm up as they cool, so reheating brings back some of that fresh-baked texture.
- Store baked pao de queijo in an airtight container at room temperature for up to 2 days
- Refrigerate baked leftovers for up to 5 days in a sealed container
- Freeze unbaked dough balls on a tray until solid, then transfer to a freezer bag for up to 3 months
- Bake frozen dough balls directly from frozen, adding 3 to 5 extra minutes to the bake time
- Reheat baked leftovers in a 350°F (175°C) oven for 5 to 7 minutes to restore the crisp exterior
Nutritional Facts
The values below are approximate and based on one serving, which is about 2 pieces of pao de queijo out of a 20-piece batch.
- Calories: approximately 140 per serving
- Protein: 5g
- Carbohydrates: 12g
- Fat: 8g
- Saturated Fat: 2.5g
- Sodium: 210mg
- Calcium: 10% of daily value
Health Benefits of Key Ingredients
While pao de queijo is best thought of as an occasional treat rather than a health food, a few of its core ingredients bring some real nutritional value to the table. The cheese in particular contributes protein and calcium that you don’t always get from bread.
- Eggs provide high-quality protein along with vitamins B12 and D, supporting muscle repair and bone health
- Parmesan cheese is naturally lower in lactose than many cheeses and delivers a concentrated source of calcium and protein
- Tapioca starch is naturally gluten free, making this recipe accessible to people avoiding wheat or gluten
- Milk adds calcium, vitamin D, and a small amount of additional protein to each serving
Frequently Asked Questions
1. Can I make pao de queijo without a stand mixer?
Yes, though the dough is quite sticky and will require more effort to mix by hand. Use a sturdy wooden spoon or silicone spatula and be prepared to mix vigorously once the eggs and cheese are added.
2. Why is my dough too runny to shape?
This usually happens when the tapioca starch hasn’t fully absorbed the liquid, or when the eggs were added while the mixture was still too hot. Try mixing in an extra tablespoon of tapioca starch at a time until the dough firms up enough to hold its shape.
3. Can I use a different cheese?
Parmesan and mozzarella are the most common combination outside Brazil, but you can experiment with other melting cheeses like Monterey Jack, mild cheddar, or Gruyere. Avoid very soft cheeses like cream cheese or ricotta, since they don’t provide the same structure.
4. Why didn’t my pao de queijo puff up much?
This is often related to oven temperature or an under hydrated dough. Make sure your oven is fully preheated before baking, and double check that your milk mixture reached a full boil before combining it with the tapioca starch.
5. Can I freeze the baked pao de queijo instead of the raw dough?
You can, though freezing the unbaked dough balls generally gives better texture once reheated. If freezing baked pieces, reheat them straight from frozen in a 350°F oven for about 10 minutes to help restore some of the original crispness.
Pao de Queijo

Equipment
- Stand mixer or hand mixer with paddle attachment
- Medium saucepan
- Mixing bowl
- Baking sheet
- Parchment paper
- Cookie scoop - optional but recommended for even sizing
- Measuring cups and spoons
Ingredients
- 2 cups tapioca starch - 240g, also labeled tapioca flour
- 2/3 cup whole milk - 160ml
- 1/3 cup neutral oil - 80ml, such as vegetable or canola oil
- 1 teaspoon salt
- 2 large eggs - at room temperature
- 1 1/2 cups Parmesan cheese - 170g, freshly shredded
- 1/2 cup mozzarella cheese - 60g, shredded
Instructions
- Preheat the oven to 400°F (200°C) and line a baking sheet with parchment paper.
- Combine the milk, oil, and salt in a saucepan and bring to a full rolling boil over medium heat, stirring occasionally.
- Place the tapioca starch in a mixer bowl, pour the hot milk mixture over it, and mix until combined into a thick paste. Let cool for 5 minutes.
- Add the eggs one at a time, mixing well after each addition until the dough smooths out and comes together.
- Mix in the shredded Parmesan and mozzarella until fully incorporated and the dough is glossy and sticky.
- Wet your hands with cold water, portion the dough into golf ball-sized rounds using a cookie scoop, and place them on the prepared baking sheet spaced 1.5 inches apart.
- Bake for 18 to 20 minutes until puffed and lightly golden on top with deeper golden bottoms. Cool for 2-3 minutes before serving.
Notes
- Make sure the milk mixture reaches a full rolling boil before pouring it over the tapioca starch, since an under-heated liquid won’t properly gelatinize the starch.
- Let the tapioca mixture cool slightly before adding eggs so they don’t scramble on contact.
- Wet your hands before shaping the dough to prevent sticking.
- Use freshly shredded cheese rather than pre-shredded bags, since pre-shredded cheese often contains anti-caking agents that affect how well it melts.
- Don’t overcrowd the baking sheet, since the dough balls will expand significantly in the oven.
- If your dough feels too soft to shape, chill it in the refrigerator for 15 minutes before rolling.
- Freeze unbaked dough balls on a tray until solid, then transfer to a freezer bag for up to 3 months. Bake from frozen, adding 3-5 extra minutes.
- Store baked pao de queijo in an airtight container at room temperature for up to 2 days or refrigerate for up to 5 days.
- Reheat baked leftovers in a 350°F oven for 5-7 minutes to restore the crisp exterior.
Final Thoughts
Pao de queijo is one of those recipes that feels a little bit like magic the first time you make it.
A handful of simple ingredients turn into something crisp, chewy, and completely addictive in under an hour. Once you get the hang of the process, it becomes one of those go-to recipes you’ll want to make again and again.
Give this batch a try this weekend, and let me know in the comments how they turned out. If you loved them as much as I do, feel free to share this recipe with anyone who needs a little Brazilian cheese bread in their life.
Recommended:
- Sourdough Discard Flatbread
- Easy Naan Bread
- Cheese Ball
- Seven Layer Dip
- Creamy Tomato Soup
- Classic Tuna Salad
- Greek Turkey Meatball
- Mediterranean Chicken Sheet Pan Dinner
- Avgolemono Soup
- Birria Pizza



