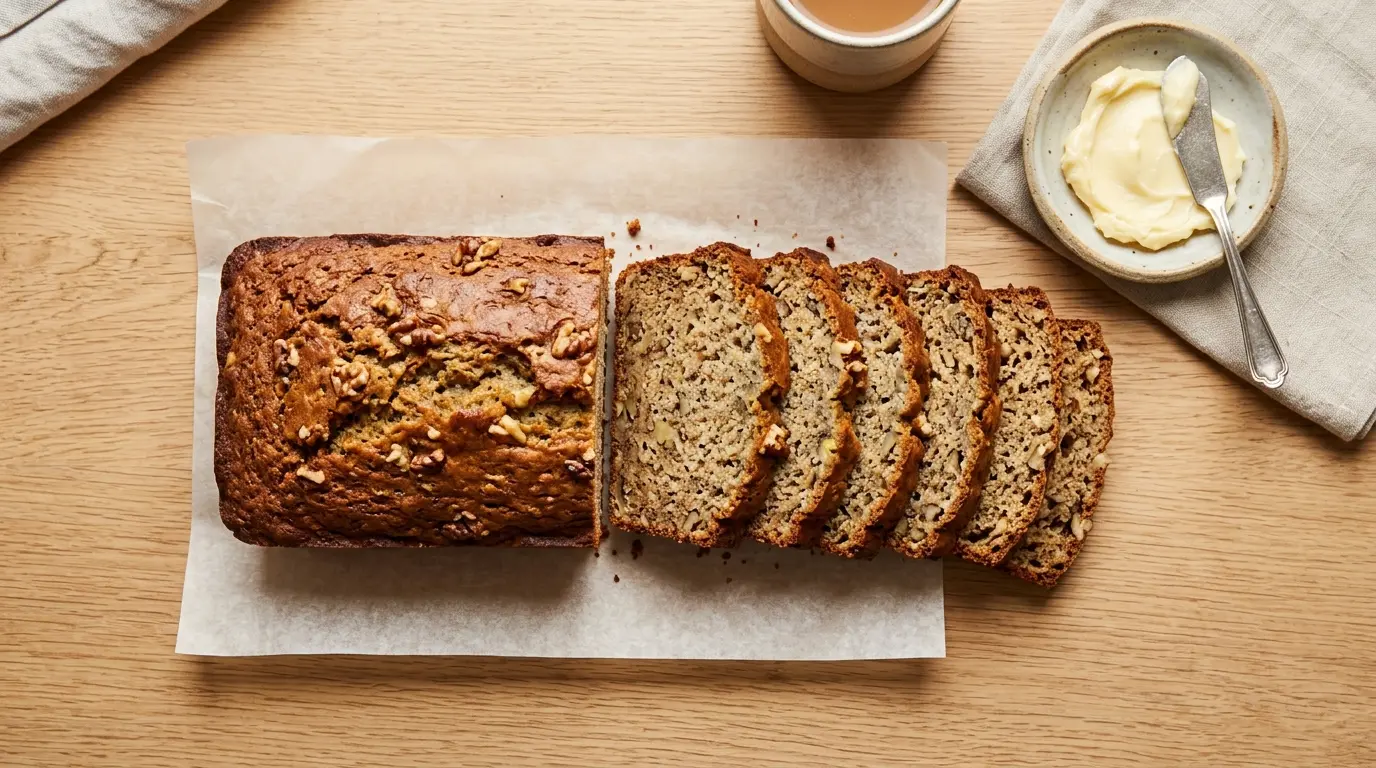
If you’ve been searching for a gluten free banana bread recipe that actually tastes like the real thing, you’ve landed in the right place.
Most gluten-free bakes come with a warning: expect a gummy center, a crumbly texture, or a loaf that collapses the moment it cools. This recipe throws all of that out the window.
The secret is using a high-quality gluten-free all-purpose flour blend, a combination of baking soda and baking powder for lift, and very ripe bananas that are practically black on the outside.
Ripe bananas aren’t just sweeter; they contain more natural sugars and moisture, which helps the loaf bake through evenly without becoming dense. Pair that with a splash of vanilla, a little cinnamon, and just the right ratio of fat, and you end up with a loaf that slices cleanly, stays moist for days, and has that warm, familiar banana bread flavor.
This is the kind of recipe you’ll make every single time you spot those sad, spotty bananas on your counter.
You might also enjoy: Vegan Banana Bread
Why You’ll Love This Gluten Free Banana Bread Recipe
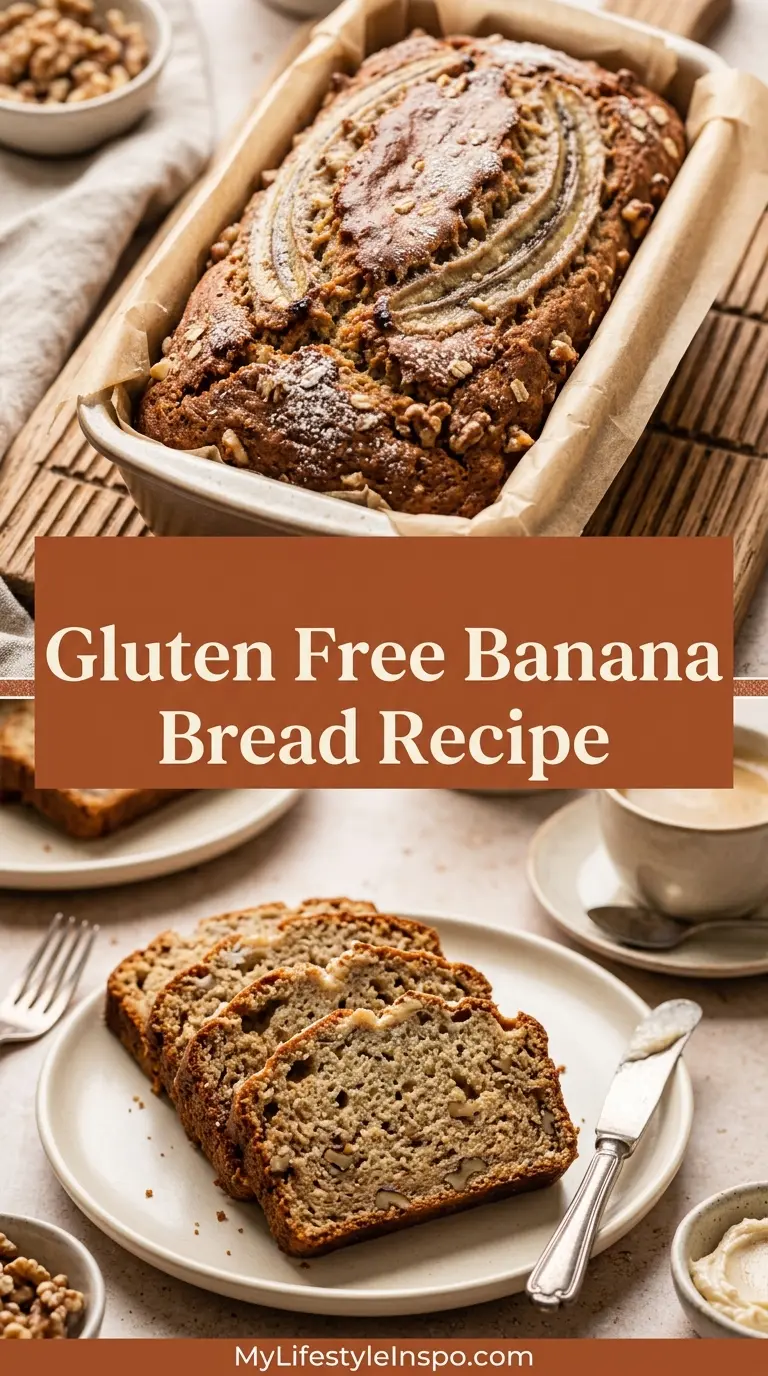
This recipe delivers everything you want from a classic banana bread, just without the gluten.
The crumb is tender and moist, not dry or gritty the way some gluten-free breads can be. It holds together perfectly when sliced and doesn’t crumble apart the moment you pick it up.
It comes together in one bowl, with no stand mixer required. You’ll have the batter ready in under 15 minutes.
It’s naturally adaptable to other dietary needs too. Swap in dairy-free butter, use a flax egg, and you’ve got a vegan loaf that still bakes up beautifully.
The flavor is deeply banana-forward with warm cinnamon notes running through every slice. It tastes like comfort food, not a compromise.
- Moist, tender crumb with no gummy center
- Ready in about 65 minutes, start to finish
- Works with bananas at any stage of ripeness
- Naturally dairy-free adaptable
- No mixer, no fuss, minimal cleanup
- Freezes well for easy meal prep
- A crowd-pleaser even for non-gluten-free eaters
Read Also: Chocolate Chip Banana Bread Recipe
Ingredients
Using a reliable gluten-free flour blend is the most important call you’ll make for this recipe. Look for one that already contains xanthan gum (such as Bob’s Red Mill 1-to-1 or King Arthur Measure for Measure), as xanthan gum mimics the binding and elasticity that gluten normally provides. Without it, the loaf can fall apart.
- 3 medium very ripe bananas (about 1 1/2 cups / 360g mashed)
- 1 3/4 cups (210g) gluten-free all-purpose flour blend (with xanthan gum)
- 1/2 cup (100g) granulated sugar
- 1/4 cup (55g) packed light brown sugar
- 2 large eggs, room temperature
- 1/3 cup (75g) unsalted butter, melted (or coconut oil for dairy-free)
- 1 teaspoon pure vanilla extract
- 1 teaspoon baking soda
- 1/2 teaspoon baking powder
- 1/2 teaspoon ground cinnamon
- 1/4 teaspoon fine sea salt
- 2 tablespoons sour cream or plain Greek yogurt (for extra moisture and a tender crumb)
This recipe pairs beautifully with a thick slice of gluten-free cheesecake for an indulgent dessert spread.
Kitchen Equipment Needed
Having your equipment ready before you start makes the whole process faster and cleaner.
- 9×5-inch loaf pan
- Parchment paper
- Large mixing bowl
- Kitchen scale (recommended for accurate flour measurement)
- Fork or potato masher
- Whisk
- Rubber spatula
- Measuring cups and spoons
- Wire cooling rack
- Toothpick or cake tester
Read Also: 4 Ingredient Gluten Free Bread Recipe
Recommended Products for This Recipe
These are products I genuinely recommend based on quality and performance. They can make a real difference in how your loaf turns out.
1. King Arthur Measure for Measure Gluten-Free Flour
This flour blend is one of the most reliable on the market for baking quick breads. It swaps 1:1 with regular all-purpose flour, already contains xanthan gum, and produces a crumb that’s virtually indistinguishable from wheat-based bakes. It’s a staple for anyone baking gluten-free regularly.
2. OXO Good Grips Non-Stick Loaf Pan
A quality loaf pan with even heat distribution is key to avoiding a soggy center or burnt edges. The OXO non-stick surface releases bread cleanly, and the sturdy construction ensures it holds its shape in the oven.
3. OXO Stainless Steel Kitchen Scale
Measuring gluten-free flour by weight is the single biggest thing you can do to improve your baking results. Scooping from the bag packs too much flour in, which dries out the loaf. A reliable digital scale takes the guesswork out entirely.
4. Nielsen-Massey Pure Vanilla Extract
The vanilla in this loaf does a lot of quiet work, rounding out the banana flavor and adding depth. Nielsen-Massey uses a cold-extraction process that preserves the complex flavor compounds you lose in cheaper extracts. A small bottle goes a long way.
Another great recipe to try when bananas are on the counter: Banana Bread Recipe with Greek Yogurt
Step-by-Step Instructions
Step 1: Prepare Your Pan and Preheat the Oven
- Preheat your oven to 350°F (175°C). Give the oven at least 15 full minutes to reach temperature before baking; an underpowered oven leads to a dense, underbaked loaf.
- Spray your 9×5-inch loaf pan generously with non-stick cooking spray, coating the bottom and all four sides.
- Cut a strip of parchment paper long enough to line the bottom and overhang on the two long sides. This creates a “sling” that makes lifting the finished loaf out a breeze. Press the parchment firmly into the corners so it lies flat.
Step 2: Mash the Bananas
- Peel your three ripe bananas and place them in your large mixing bowl. The riper they are, the sweeter and more flavorful your bread will be. Very ripe bananas with dark, almost black skins are ideal.
- Using a fork or potato masher, mash the bananas firmly until you have a mostly smooth puree. A few small lumps are perfectly fine; they add texture. Avoid mashing into a completely liquid puree, as too much banana liquid can make the loaf gummy.
- Measure out your mashed banana, aiming for about 1 1/2 cups (360g). If your bananas are small, you may need a fourth.
Step 3: Mix the Wet Ingredients
- Add the melted butter (or coconut oil) directly to the mashed bananas and stir to combine.
- Add both the granulated sugar and the brown sugar to the bowl. The brown sugar adds a light molasses flavor and extra moisture; don’t skip it. Stir well until the sugars are fully incorporated.
- Crack in the two eggs and add the vanilla extract. Whisk everything together vigorously for about 30 seconds until the mixture looks uniform and slightly thickened.
- Add the two tablespoons of sour cream (or Greek yogurt) and stir to combine. This ingredient acts like insurance against a dry crumb; the acidity tenderizes the batter and the fat adds richness. It makes a noticeable difference.
Step 4: Add the Dry Ingredients
- Sprinkle the baking soda, baking powder, cinnamon, and salt directly over the wet ingredient mixture. There’s no need to pre-mix them separately in another bowl; adding them this way and whisking briefly distributes them just as evenly.
- Whisk for about 20 seconds to blend the leaveners and salt thoroughly into the wet mixture. You want no visible pockets of baking soda.
- Add all of the gluten-free flour blend at once. Spoon the flour into your measuring cup and level off the top with a knife; do not scoop directly from the bag. If you have a kitchen scale, weigh out 210g for perfectly consistent results.
- Using a rubber spatula, fold the flour in with gentle strokes, turning the bowl as you go. Mix until just combined, meaning no dry streaks of flour remain. Do not overmix; overworking the batter can cause the loaf to be dense and tough.
Step 5: Pour the Batter and Top It
- Pour the batter into your prepared loaf pan. Use the rubber spatula to scrape every bit of batter from the bowl and spread the top of the batter gently into an even layer.
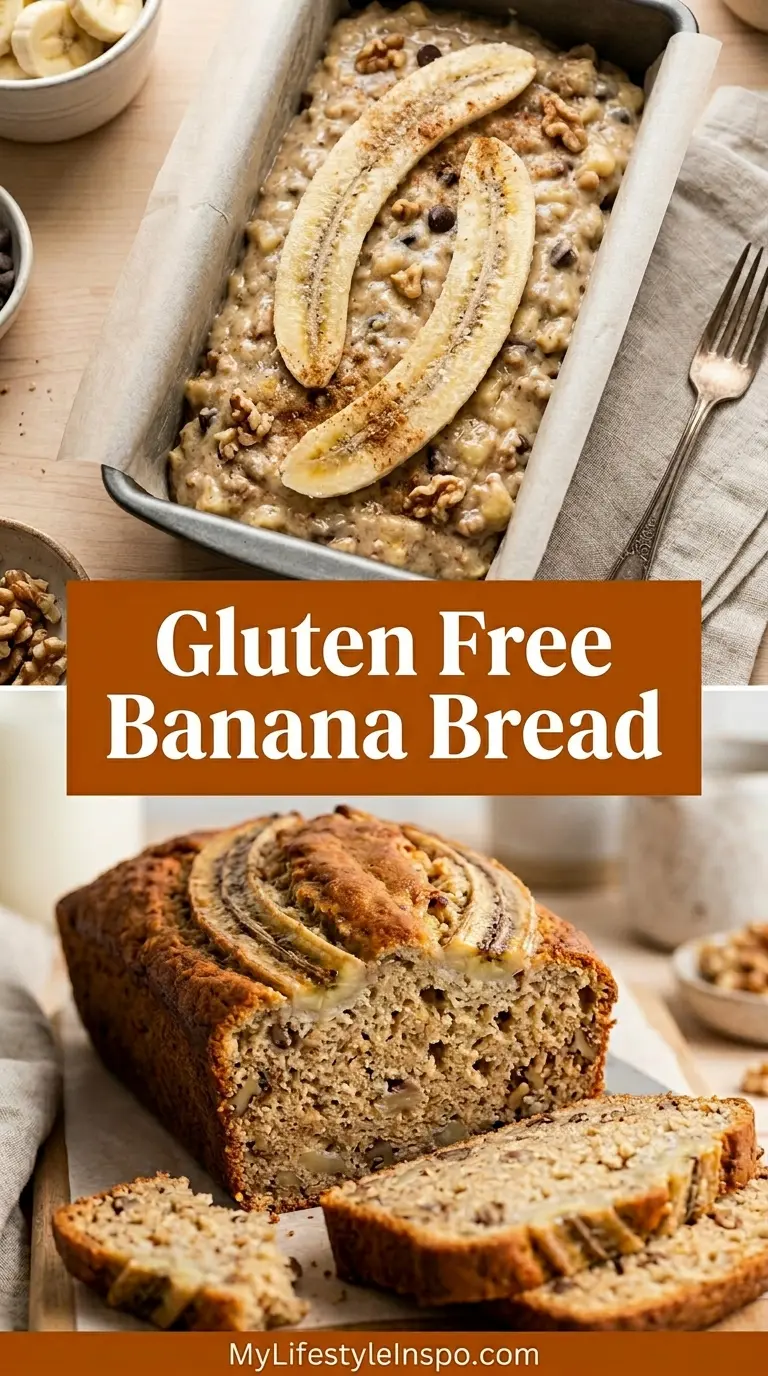
- At this point, you can press a few banana slices on top for a decorative finish, sprinkle over a pinch of brown sugar for a caramelized top crust, or leave it plain. All three options are delicious.
Step 6: Bake the Banana Bread
- Place the loaf pan on the center rack of your preheated oven.
- Bake for 55 to 65 minutes. Begin checking at the 55-minute mark by inserting a toothpick or cake tester into the very center of the loaf. If it comes out clean or with just a few moist crumbs, the bread is done. If it comes out with wet batter clinging to it, bake for another 5 to 10 minutes and check again.
- If the top of the loaf starts to brown too quickly before the center is set (often around the 40-minute mark), tent a loose piece of aluminum foil over the top. This slows the browning without stopping the baking.
- The internal temperature of the finished loaf should read around 200°F to 205°F (93°C to 96°C) on an instant-read thermometer if you have one. This is the most reliable way to know it’s fully baked.
Step 7: Cool Before Slicing
- Remove the pan from the oven and set it on a wire cooling rack. Leave the loaf in the pan for 15 full minutes; this allows the structure to firm up so it doesn’t collapse when you remove it.
- After 15 minutes, use the parchment sling to lift the loaf out of the pan and place it directly on the wire rack.
- Let it cool for at least 30 more minutes before slicing. Cutting into warm banana bread tears the crumb and makes it look underbaked even when it isn’t. Patience here is genuinely worth it.
This banana bread recipe with sour cream follows a similar approach and is another excellent option to have on hand.
Tips for Success
Small adjustments make a big difference when it comes to gluten-free baking. Keep these in mind before you start.
- Use bananas that are very ripe. The more spots, the better. Under-ripe bananas don’t mash well and won’t provide enough sweetness or moisture.
- Measure flour by weight. Even a couple of tablespoons too much gluten-free flour can make the loaf dry and crumbly. A kitchen scale eliminates this problem completely.
- Don’t skip the sour cream or yogurt. It’s a small amount but it dramatically improves the tenderness of the crumb.
- Room temperature eggs matter. Cold eggs can make the melted butter seize and clump. Take them out of the fridge 30 minutes before baking.
- Fold, don’t beat. Over-mixing develops the starches in gluten-free flour blends, which leads to a gummy texture. Stir until just combined.
- Test at 55 minutes. All ovens are different. Start checking early to avoid over-baking, which dries the loaf out.
- Let it cool completely. It’s hard to wait, but slicing too early tears the crumb and makes even a perfectly baked loaf look raw inside.
For another wonderfully simple baked breakfast, check out this baked oatmeal recipe.
Serving Suggestions
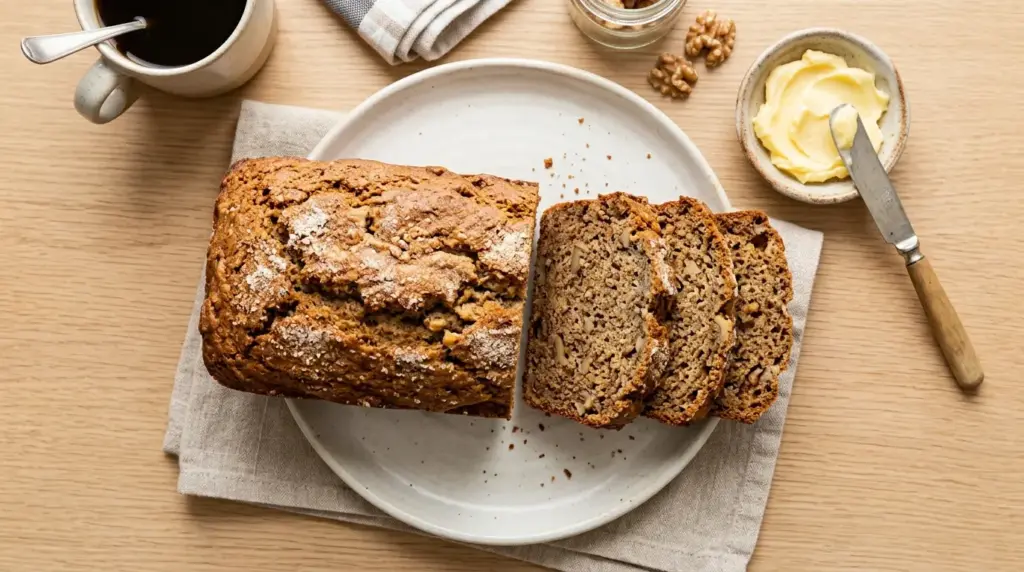
This banana bread is wonderful on its own, but a few simple additions make it even better.
It’s delicious toasted with a smear of cinnamon butter melting into the warm crumb. The combination of cinnamon, brown sugar, and banana is hard to beat on a slow weekend morning.
- Topped with a generous spread of cream cheese frosting for a dessert-worthy slice
- Served alongside a tall glass of peanut butter banana smoothie for a filling breakfast
- Paired with a hot cup of coffee or a frothy vanilla smoothie
- Layered into a parfait with Greek yogurt and fresh banana slices
- Sliced thick and pan-fried in a little butter for a golden, crispy French toast-style treat
- Served warm with a scoop of vanilla ice cream for a simple dessert
Variations to Try
Once you’ve made the classic version, there are so many easy directions you can take this loaf.
The base recipe is intentionally simple so that mix-ins and flavors shine through without competition.
- Chocolate Chip Banana Bread: Fold in 3/4 cup (130g) of semi-sweet or dark chocolate chips before pouring the batter into the pan.
- Banana Walnut Bread: Add 3/4 cup (75g) of roughly chopped walnuts for crunch and a nutty depth. Toast them first for extra flavor.
- Snickerdoodle Banana Bread: Mix 1 teaspoon of cream of tartar into the batter and roll the top of the loaf in a cinnamon-sugar mixture before baking.
- Peanut Butter Swirl: Warm 3 tablespoons of peanut butter until pourable, drop spoonfuls on top of the batter in the pan, and swirl gently with a toothpick.
- Dairy-Free Version: Swap the butter for melted coconut oil and use a dairy-free yogurt in place of the sour cream. The loaf turns out just as moist.
- Nut-Free Version: Replace any almond flour or nut-based add-ins with extra gluten-free flour blend or sunflower seeds for crunch.
- Mini Loaves or Muffins: Divide the batter between a muffin tin or mini loaf pans. Reduce the baking time to 22 to 25 minutes for muffins and 30 to 35 minutes for mini loaves.
For more banana-flavored inspiration, this snickerdoodle banana bread recipe is a reader favorite.
Storage and Reheating
This loaf stays moist for several days when stored properly, and it freezes exceptionally well.
- Room temperature: Wrap the cooled loaf tightly in plastic wrap or store it in an airtight container. It will stay moist for up to 3 days at room temperature.
- Refrigerator: Wrapped airtight, the loaf keeps for up to 1 week in the fridge. Note that refrigeration can firm up the crumb slightly; a quick 15-second warm in the microwave brings it back to life.
- Freezer (whole loaf): Wrap the fully cooled loaf in a double layer of plastic wrap, then in aluminum foil or a zip-top freezer bag. It keeps for up to 3 months. Thaw overnight on the counter or in the fridge.
- Freezer (individual slices): Slice the loaf and freeze slices separated by small pieces of parchment paper in a zip-top bag. Pull out individual slices as needed and toast straight from frozen for 2 to 3 minutes.
- Reheating: A slice reheats beautifully in a toaster, in a dry skillet over medium-low heat, or in a microwave for 20 to 30 seconds wrapped in a damp paper towel to retain moisture.
You might also love this old fashioned pumpkin bread recipe as a seasonal companion loaf to keep in the freezer alongside your banana bread.
Nutritional Facts
The following values are approximate and based on one slice, assuming the loaf is cut into 10 equal slices. Values will vary depending on the specific flour blend and add-ins used.
| Nutrient | Per Slice (approx.) |
|---|---|
| Calories | 220 kcal |
| Total Fat | 8g |
| Saturated Fat | 4.5g |
| Carbohydrates | 36g |
| Dietary Fiber | 1.5g |
| Total Sugars | 18g |
| Protein | 3g |
| Sodium | 180mg |
| Potassium | 180mg |
For a lighter option, swap out half the butter for unsweetened applesauce and reduce the granulated sugar by two tablespoons.
Another great way to enjoy banana-flavored nutrition is in a banana protein smoothie.
Health Benefits of Key Ingredients
This loaf isn’t just comfort food. The ingredients doing the heavy lifting are genuinely good for you.
It starts with bananas, one of the most nutrient-dense fruits around.
- Bananas are an excellent source of potassium, which supports heart function and healthy blood pressure. They also contain vitamin B6, magnesium, and prebiotic fiber that feeds beneficial gut bacteria.
- Eggs provide high-quality complete protein along with choline, a nutrient essential for brain health and liver function. The fat in the yolk also helps the body absorb fat-soluble vitamins.
- Cinnamon is more than a flavoring; it contains antioxidant compounds called polyphenols and has been studied for its role in supporting healthy blood sugar regulation.
- Gluten-free flour blends made from rice flour and tapioca are often fortified with iron and B vitamins. They’re also easier to digest for people with gluten sensitivity or celiac disease.
- Sour cream or Greek yogurt contributes probiotics and calcium, along with protein that helps keep you satisfied longer after eating.
For more wholesome baked goods, try this gluten-free dairy-free bread recipe.
Frequently Asked Questions
1. Can I use almond flour instead of a gluten-free flour blend?
Almond flour can partially replace a gluten-free all-purpose blend, but it shouldn’t be the only flour. Almond flour is much denser and higher in fat, so a loaf made with 100% almond flour will be wet, flat, and fragile. A good approach is to use 1 1/4 cups of gluten-free all-purpose flour and 1/2 cup of almond flour for a slightly richer, moister crumb that still holds its shape.
2. Why is my gluten free banana bread gummy in the middle?
A gummy center is almost always caused by too much moisture, too much banana, or underbaking. Make sure you’re mashing 1 1/2 cups of banana (not more), and that your loaf reaches an internal temperature of about 200°F to 205°F (93°C to 96°C). If the top is browning too fast while the center is still raw, tent the loaf with foil and continue baking.
3. Can I make this recipe without eggs?
Yes. Replace each egg with a flax egg: mix 1 tablespoon of ground flaxseed with 3 tablespoons of water and let it sit for 5 minutes until it becomes gel-like. The loaf will be slightly denser but will still hold together well. This makes the recipe fully vegan when combined with coconut oil and dairy-free yogurt.
4. What’s the best gluten-free flour for banana bread?
The most consistently reliable options are King Arthur Measure for Measure, Bob’s Red Mill 1-to-1 Baking Flour, and Better Batter Original Blend. All three contain xanthan gum and are formulated to swap 1:1 with all-purpose flour in quick bread recipes. Avoid single-ingredient flours like pure rice flour or pure tapioca starch, as they won’t provide the right texture on their own.
5. How ripe should my bananas be?
The riper, the better. Bananas with fully yellow skins still have a slightly starchy flavor and less moisture than ideal. Bananas with lots of brown or black spots are at peak sweetness and will mash down much more easily into a smooth puree. If your bananas aren’t ripe enough, you can speed up the process by roasting them unpeeled on a baking sheet at 300°F (150°C) for about 20 minutes. They’ll be soft, sweet, and perfect.
Read Also: Eggless Banana Bread Recipe

Gluten Free Banana Bread

Equipment
- 9×5-inch loaf pan
- Parchment paper
- Large mixing bowl
- Kitchen scale - Recommended for accurate flour measurement
- Fork or potato masher
- Whisk
- Rubber spatula
- Measuring cups and spoons
- Wire cooling rack
- Toothpick or cake tester
- Instant-read thermometer - Optional, for checking internal temperature
Ingredients
- 3 medium very ripe bananas - about 1 1/2 cups or 360g mashed
- 1 3/4 cups gluten-free all-purpose flour blend - 210g, with xanthan gum, such as Bob’s Red Mill 1-to-1 or King Arthur Measure for Measure
- 1/2 cup granulated sugar - 100g
- 1/4 cup packed light brown sugar - 55g
- 2 large eggs - room temperature
- 1/3 cup unsalted butter - 75g, melted, or coconut oil for dairy-free
- 1 teaspoon pure vanilla extract
- 1 teaspoon baking soda
- 1/2 teaspoon baking powder
- 1/2 teaspoon ground cinnamon
- 1/4 teaspoon fine sea salt
- 2 tablespoons sour cream or plain Greek yogurt - for extra moisture and a tender crumb
Optional Toppings
- Banana slices - for decorative finish on top
- Brown sugar - pinch, for a caramelized top crust
Variation Add-ins
- 3/4 cup semi-sweet or dark chocolate chips - 130g, for chocolate chip banana bread
- 3/4 cup roughly chopped walnuts - 75g, for banana walnut bread, toasted for extra flavor
- 3 tablespoons peanut butter - warmed until pourable, for peanut butter swirl
Instructions
- Preheat your oven to 350°F (175°C) and position a rack in the center. Spray a 9×5-inch loaf pan with non-stick spray and line the bottom with a parchment paper sling, allowing overhang on the two long sides.
- Peel the bananas and place them in a large mixing bowl. Mash with a fork or potato masher until mostly smooth but still with a few small lumps, measuring about 1 1/2 cups (360g).
- Add the melted butter, granulated sugar, and brown sugar to the mashed bananas, stirring until fully combined. Whisk in the eggs and vanilla extract vigorously for about 30 seconds until the mixture is uniform and slightly thickened.
- Add the sour cream or Greek yogurt and stir to combine. Sprinkle the baking soda, baking powder, cinnamon, and salt over the wet mixture and whisk for about 20 seconds to distribute evenly.
- Add the gluten-free flour blend all at once. Fold with a rubber spatula using gentle strokes until just combined and no dry streaks remain. Do not overmix or the loaf will be dense.
- Pour the batter into the prepared loaf pan and spread it into an even layer. Add optional toppings like banana slices or a sprinkle of brown sugar if desired.
- Bake for 55 to 65 minutes on the center rack. Check at 55 minutes with a toothpick inserted into the center; it should come out clean or with a few moist crumbs. Tent with foil if the top browns too quickly.
- Remove the pan from the oven and let the loaf rest in the pan for 15 minutes on a wire rack. Use the parchment sling to lift the bread from the pan and cool for at least 30 more minutes before slicing.
Notes
- Use very ripe bananas with dark, almost black skins for the best sweetness and moisture.
- Measure gluten-free flour by weight (210g) for consistent results; scooping can pack too much flour and dry out the loaf.
- Do not skip the sour cream or Greek yogurt; it dramatically improves tenderness and prevents a dry crumb.
- Bring eggs to room temperature before mixing to prevent the melted butter from seizing.
- Fold the batter gently and stop as soon as the flour is incorporated; overmixing develops starches and causes gumminess.
- Start testing for doneness at 55 minutes; all ovens vary, and over-baking dries out the loaf.
- Let the bread cool completely before slicing to avoid tearing the crumb and revealing an underbaked appearance.
- For a dairy-free version, substitute melted coconut oil for the butter and use dairy-free yogurt or sour cream.
- To make this recipe vegan, replace each egg with a flax egg (1 tablespoon ground flaxseed + 3 tablespoons water, rested for 5 minutes).
- Store cooled loaf wrapped in plastic wrap at room temperature for up to 3 days, or freeze individual slices separated by parchment for up to 3 months.
Final Thoughts
This gluten free banana bread recipe has earned a permanent spot in my baking rotation, and I think it will in yours too.
It proves that gluten-free baking doesn’t have to mean sacrificing texture, flavor, or moisture. When you use the right flour, treat your bananas right, and let the loaf cool completely before slicing, the result is something genuinely worth looking forward to.
Give it a try the next time those bananas start looking a little too ripe to eat fresh. I’d love to hear how it turns out for you, whether you kept it classic or added a handful of chocolate chips. Drop a comment below and let me know!
Recommended:
- Banana Nut Bread Recipe with Pecans
- Banana Bread Recipe with Walnuts and Chocolate Chips
- Paula Deen Banana Bread Recipe
- Amish Banana Bread Recipe
- Maui Banana Bread Recipe
- Starbucks Banana Bread Recipe
- Banana and Apple Bread Recipe
- Keto Banana Bread Recipe
- Banana Nut Bread Recipe Without Flour
- Classic Zucchini Bread Recipe