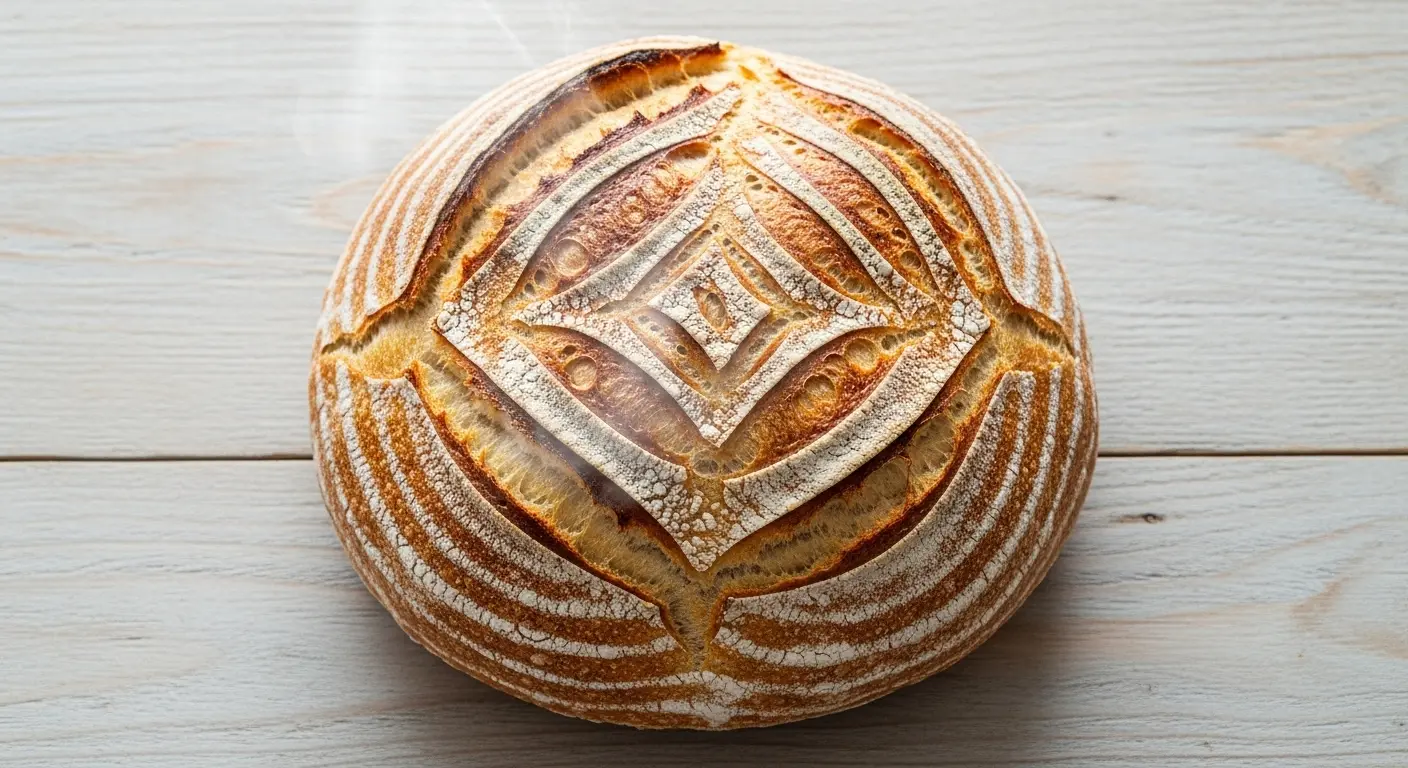
Same Day Sourdough Bread
This same day sourdough bread delivers authentic sourdough character — a golden, crackly crust and airy, chewy crumb — without the typical two-day process. Using a higher ratio of active starter to flour and warm dough temperatures, you can mix, ferment, shape, and bake a beautiful loaf all in one day, in just 7-10 hours from start to finish.
Equipment
- Large mixing bowl
- Kitchen scale - For accurate measurements
- Dutch oven or cast iron pot with lid - Essential for crust development
- Bench scraper or sharp knife - For scoring the dough
- Kitchen towel or plastic wrap - For covering dough during rests
- Parchment paper
- Wire cooling rack
- Banneton basket - (optional) For final proof
- Bread lame or scoring tool - (optional) For clean, professional scores
- Proofing box - (optional) For maintaining dough temperature
Ingredients
- 150 g active sourdough starter - 2/3 cup; fed and bubbly, at peak activity
- 350 g lukewarm water - 1 1/2 cups; around 85-90°F (29-32°C)
- 500 g bread flour - 4 cups; plus extra for dusting
- 10 g sea salt - 2 teaspoons
Instructions
- The evening before baking, feed your starter with equal parts flour and water (e.g., 50g each), stir well, cover loosely, and leave at room temperature overnight. By morning it should be bubbly, doubled in size, and pass the float test.
- In a large bowl, combine the lukewarm water and active starter, stirring until dissolved, then add the bread flour and salt and mix until no dry flour remains — about 2-3 minutes. The dough will look shaggy and sticky; that's fine.
- Cover the bowl with a damp kitchen towel or plastic wrap and let the dough rest for 30 minutes at room temperature. The flour will absorb the water and the dough will become smoother and more elastic.
- With wet hands, grab one edge of the dough, stretch it upward, and fold it to the opposite side; rotate the bowl 90° and repeat until all four sides are folded. This begins building gluten structure.
- Cover and rest the dough for 30 minutes, then perform a second complete set of stretch and folds; rest another 30 minutes and perform a third and final set. The dough will become noticeably stronger and smoother with each round.
- Cover the bowl tightly and place in a warm spot (75-80°F / 24-27°C) for 3-5 hours, until the dough has increased in volume by 50-75% and appears puffy with visible surface bubbles. Use visual cues — not just the clock — to judge readiness.
- Turn the dough out onto a lightly floured surface, fold the edges toward the center to form a round, then flip seam-side down and use your hands or a bench scraper to drag it in a circular motion to build surface tension.
- Place the shaped dough seam-side up into a heavily floured towel-lined bowl (or banneton), cover, and let proof for 1-2 hours at room temperature until puffy and slowly springing back when gently pressed. You can also refrigerate for 30-60 minutes to slow things down.
- About 45 minutes before baking, place your Dutch oven with its lid inside the oven and preheat to 450°F (232°C). The preheated pot is essential for oven spring and a crispy crust.
- Carefully remove the hot Dutch oven, turn the proofed dough out onto parchment paper seam-side down, and make one or more quick, decisive cuts at a 45-degree angle with a sharp blade or lame. Lower the dough on the parchment into the Dutch oven and cover immediately.
- Bake covered at 450°F (232°C) for 20 minutes without opening the oven; the trapped steam helps the bread rise dramatically during this phase.
- Remove the lid and continue baking for 25-30 minutes until the crust is deep golden brown and the internal temperature reaches 205-210°F (96-99°C). Lower to 425°F if the top is browning too quickly.
- Lift the bread out using the parchment paper and transfer to a wire cooling rack; let cool for at least 1 hour before slicing to allow the crumb to set properly. Cutting into hot bread will result in a gummy texture.
Notes
- Starter readiness: Your starter should be at least 2-3 weeks old and consistently doubling within 4-8 hours of feeding. Always do the float test before mixing.
- Temperature is everything: Keep dough at 75-80°F (24-27°C) during fermentation. A turned-off oven with the light on works perfectly as a proofing spot.
- Watch the dough, not the clock: Fermentation times vary based on your kitchen temperature and starter strength — always rely on visual cues like volume increase and bubbles.
- Flour substitution: All-purpose flour can be used, but reduce water by 25g and expect a slightly softer, less chewy crumb. Bread flour is strongly recommended.
- Too sticky to handle? Reduce water by 25g on your next bake. Wet hands (not extra flour) are the best tool for handling sticky dough during stretch and folds.
- No Dutch oven? Bake on a preheated baking stone or heavy baking sheet and place a shallow pan of hot water on the bottom rack to create steam.
- Storage: Store cooled bread in a paper bag or bread box at room temperature for up to 3 days. Avoid plastic bags, which soften the crust.
- Freezing: Slice before freezing, wrap tightly in plastic wrap, and freeze for up to 3 months. Toast slices directly from frozen.
- Reviving stale bread: Wrap in foil and warm in a 350°F (177°C) oven for 10-15 minutes to refresh the crust.
- Flavor variations: Try folding in 50-75g seeds, 100g shredded cheddar with diced jalapeño, or chopped olives and fresh rosemary during the final stretch and fold for a custom loaf.